Zendesk Help Center Integration
This guide walks you through integrating TextUnited with the Zendesk Help Center, making it easy to translate and sync your help articles. With this integration, you can efficiently manage multilingual support, ensuring your customers receive help in their preferred language.
Integrating TextUnited with Zendesk lets you provide multilingual support more easily by automating the translation of your help articles and syncing them back to your Zendesk Guides center. This integration uses TextUnited's translation tools to simplify, making your support content accessible to a global audience.
Prerequisites
Before you start the integration, make sure you have the following:
- An active Zendesk account. If you’re new to Zendesk, you can sign up here.
- A TextUnited account. To create one, follow the steps in the User Accounts guide here.
Important
To use the multi-language support feature, you need Guide Professional or Enterprise and Support Professional or Enterprise subscriptions in Zendesk. This requires upgrading both the Guide and Support modules to the appropriate levels. TextUnited provides this integration with all its subscription plans.
Setting Up the Integration
Step 1: Access TextUnited Platform
Log in to your TextUnited platform, and head to the "Start a New Project" button to set up your Zendesk Connection:

Start a new project
Step 2: Select Zendesk Help Center Integration
Select the "Zendesk Help Center Integration" option from the project creation options. A modal window will open, prompting you to enter the necessary details to connect TextUnited with Zendesk.

Select Zendesk Help Center Integration
Step 3: Input Zendesk Credentials
In the modal window, please provide the following details:
- Zendesk Account Email: Enter the email address linked to your Zendesk account.
- Zendesk Subdomain: Input the URL of your Zendesk instance (e.g., https://<your_zendesk_subdomain>.zendesk.com).
- API Token: To generate an API token, go to the Zendesk admin center, enable API token access, generate a token, and paste it into the provided field.
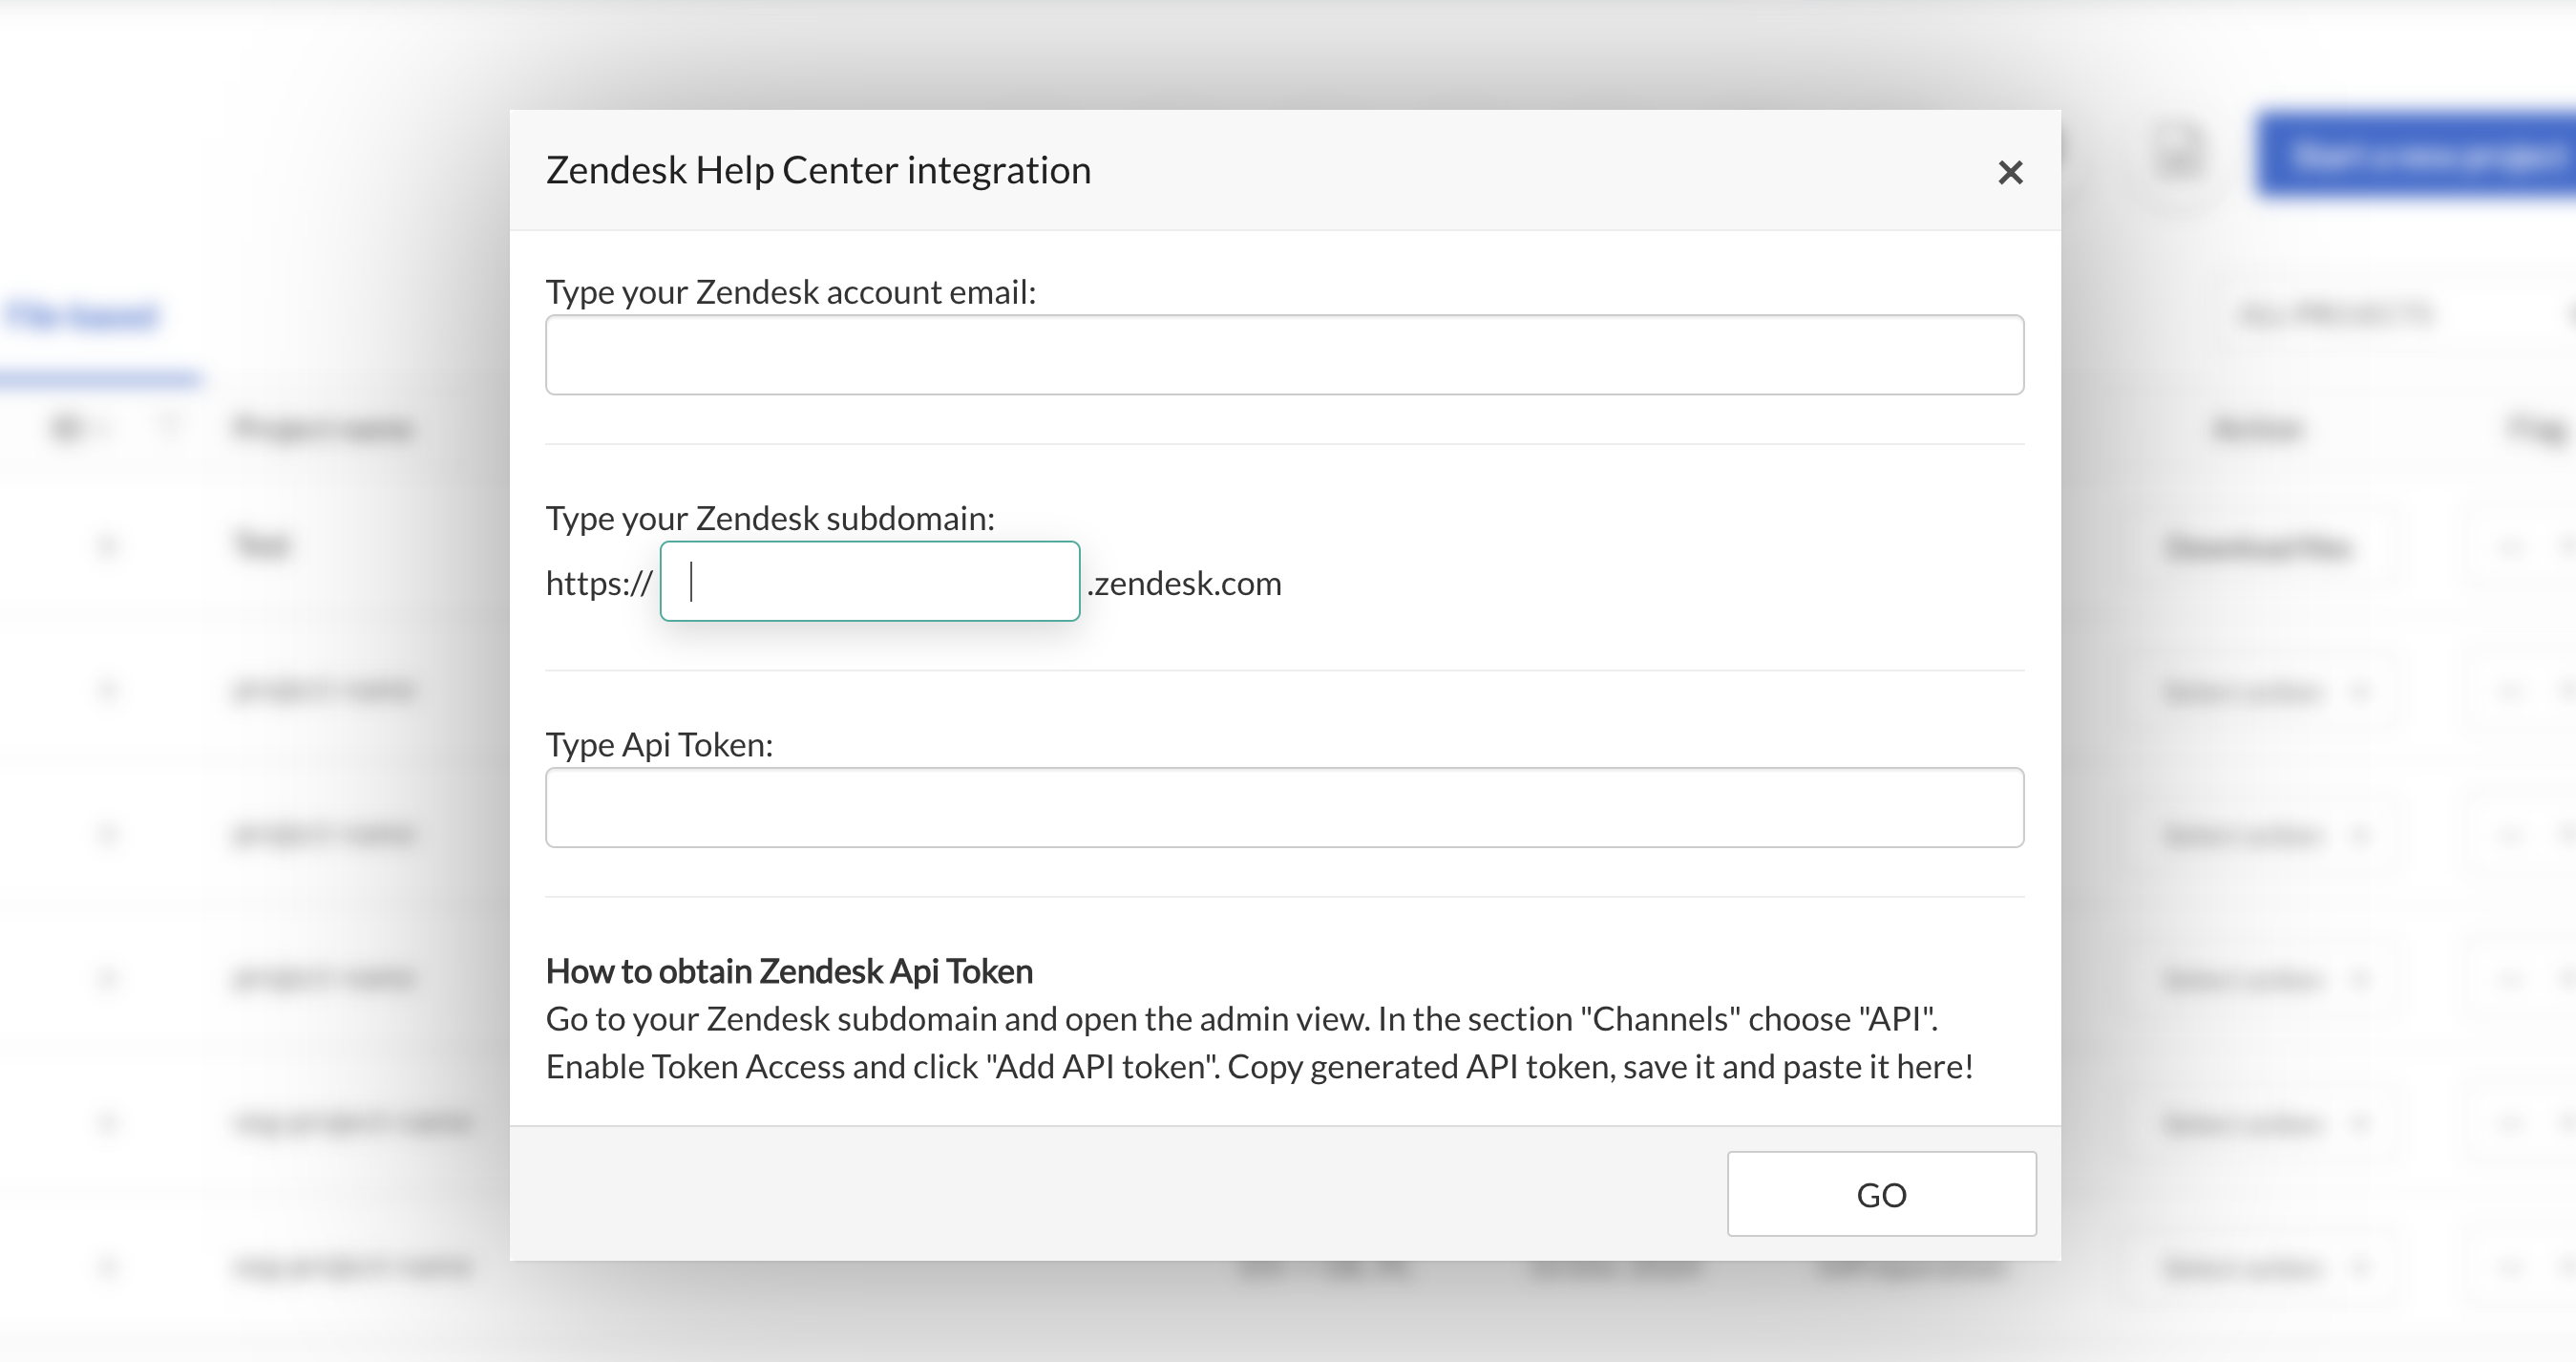
Zendesk Account Details
Step 4: Initiate Your Project
Click the "GO" button to start creating your Zendesk project. This will begin the setup process, guiding you through the configuration of your project details.
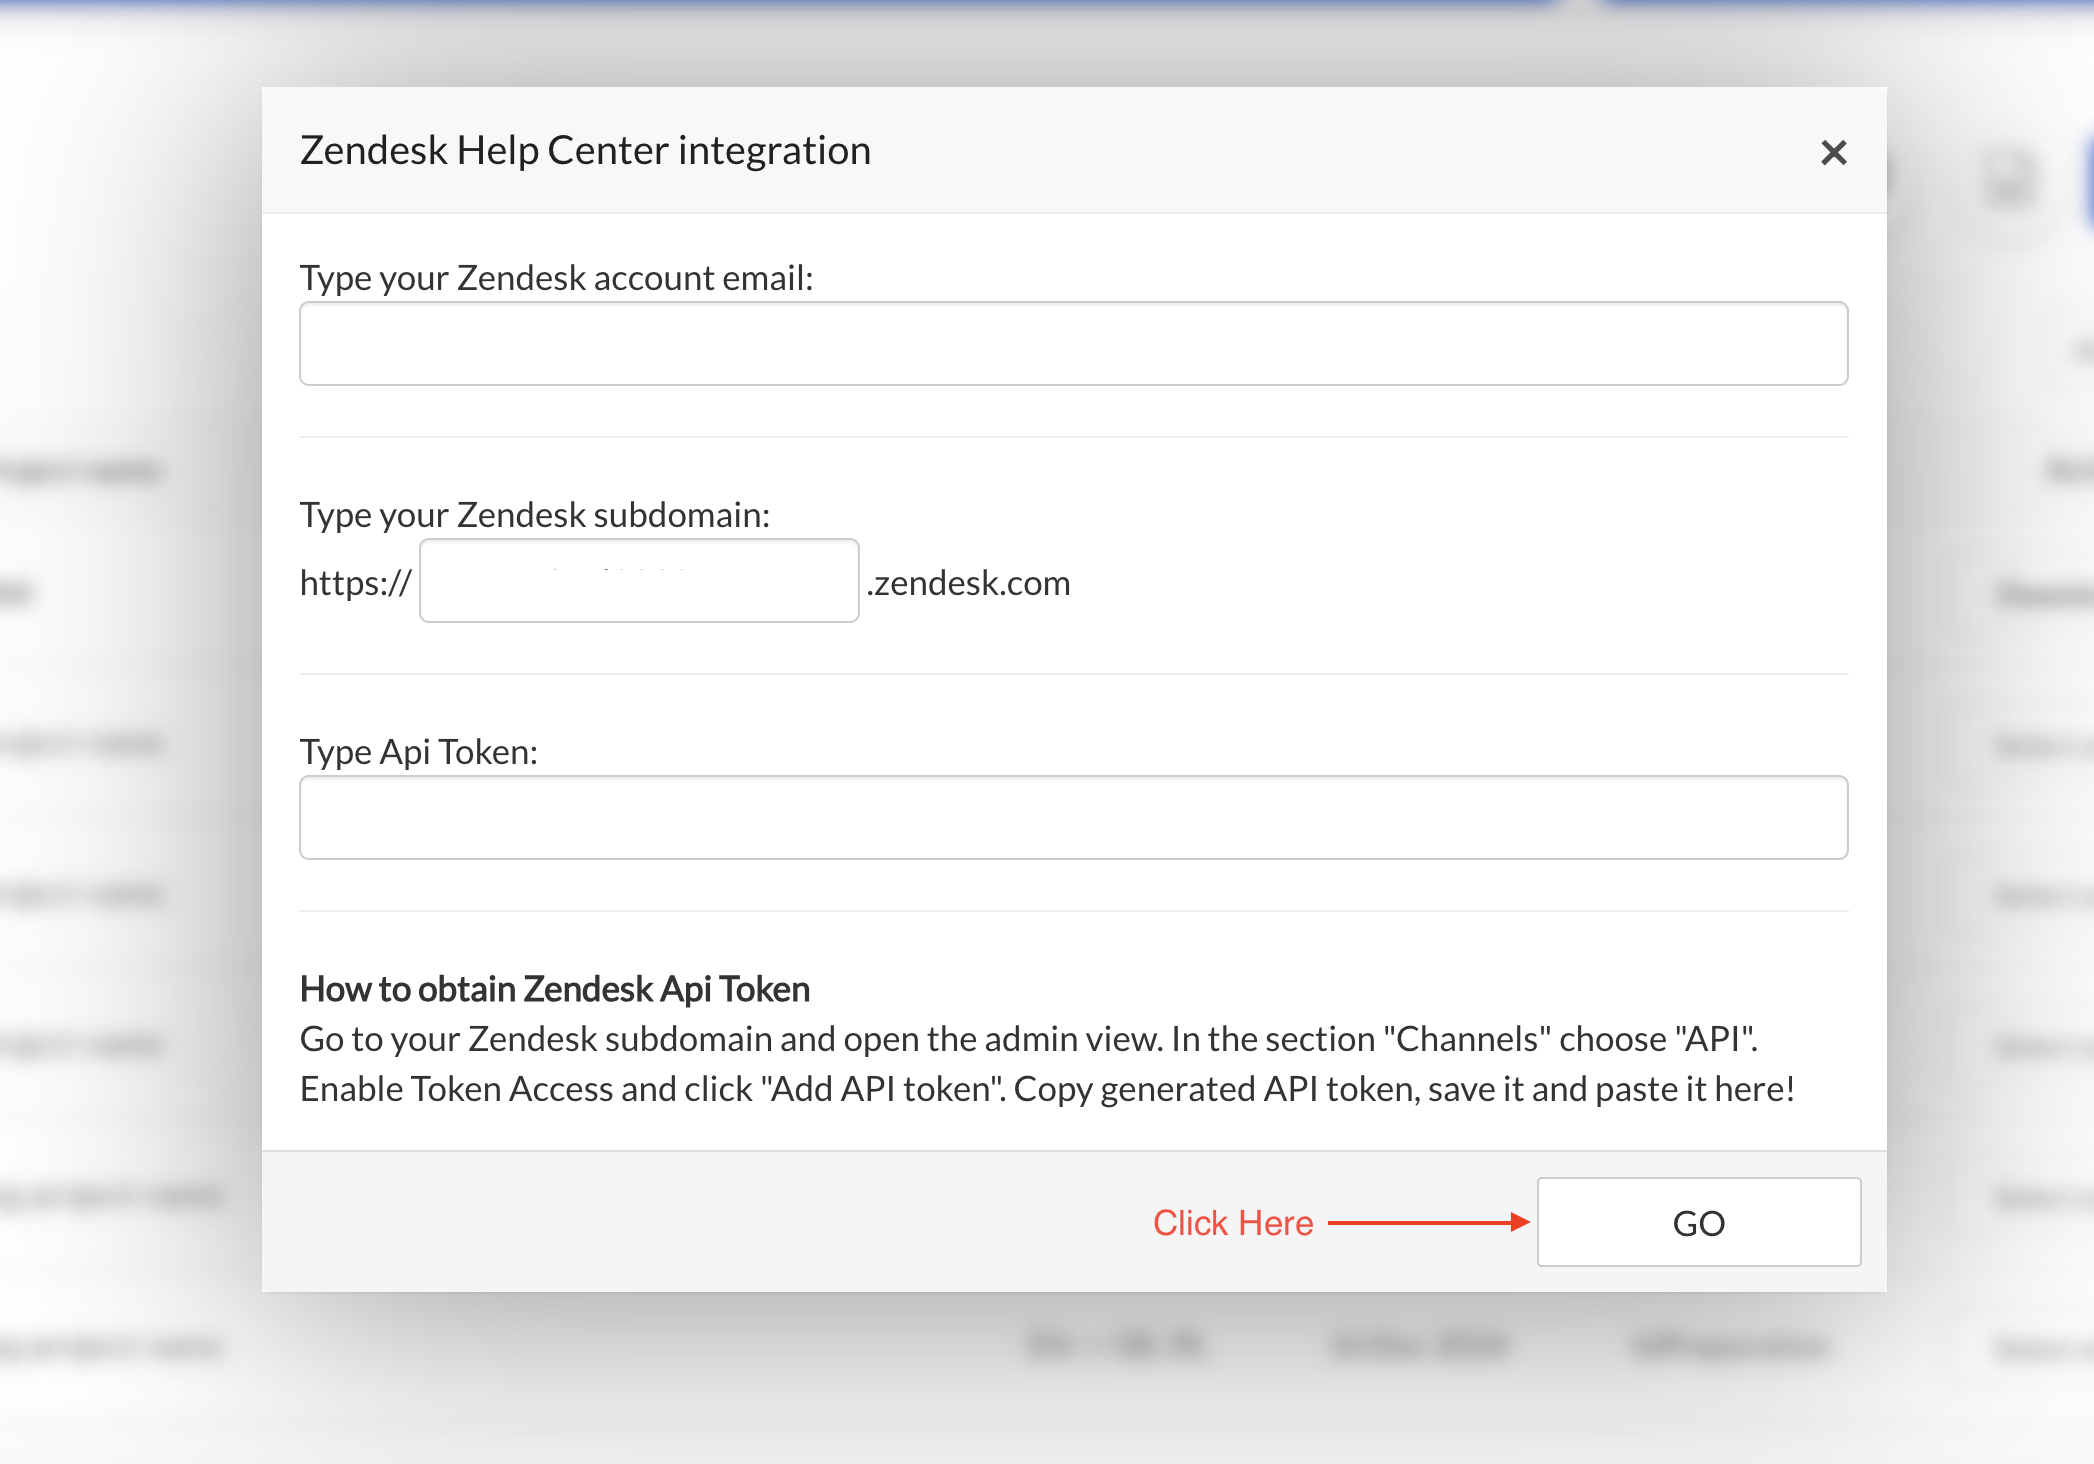
Showing the "GO" button
Step 5: Configure Your Project
The project configuration involves four key steps:
Step 1: Naming Your Project
Give your project a clear and descriptive name that reflects its purpose or content. This will make it easier to identify and manage later on.
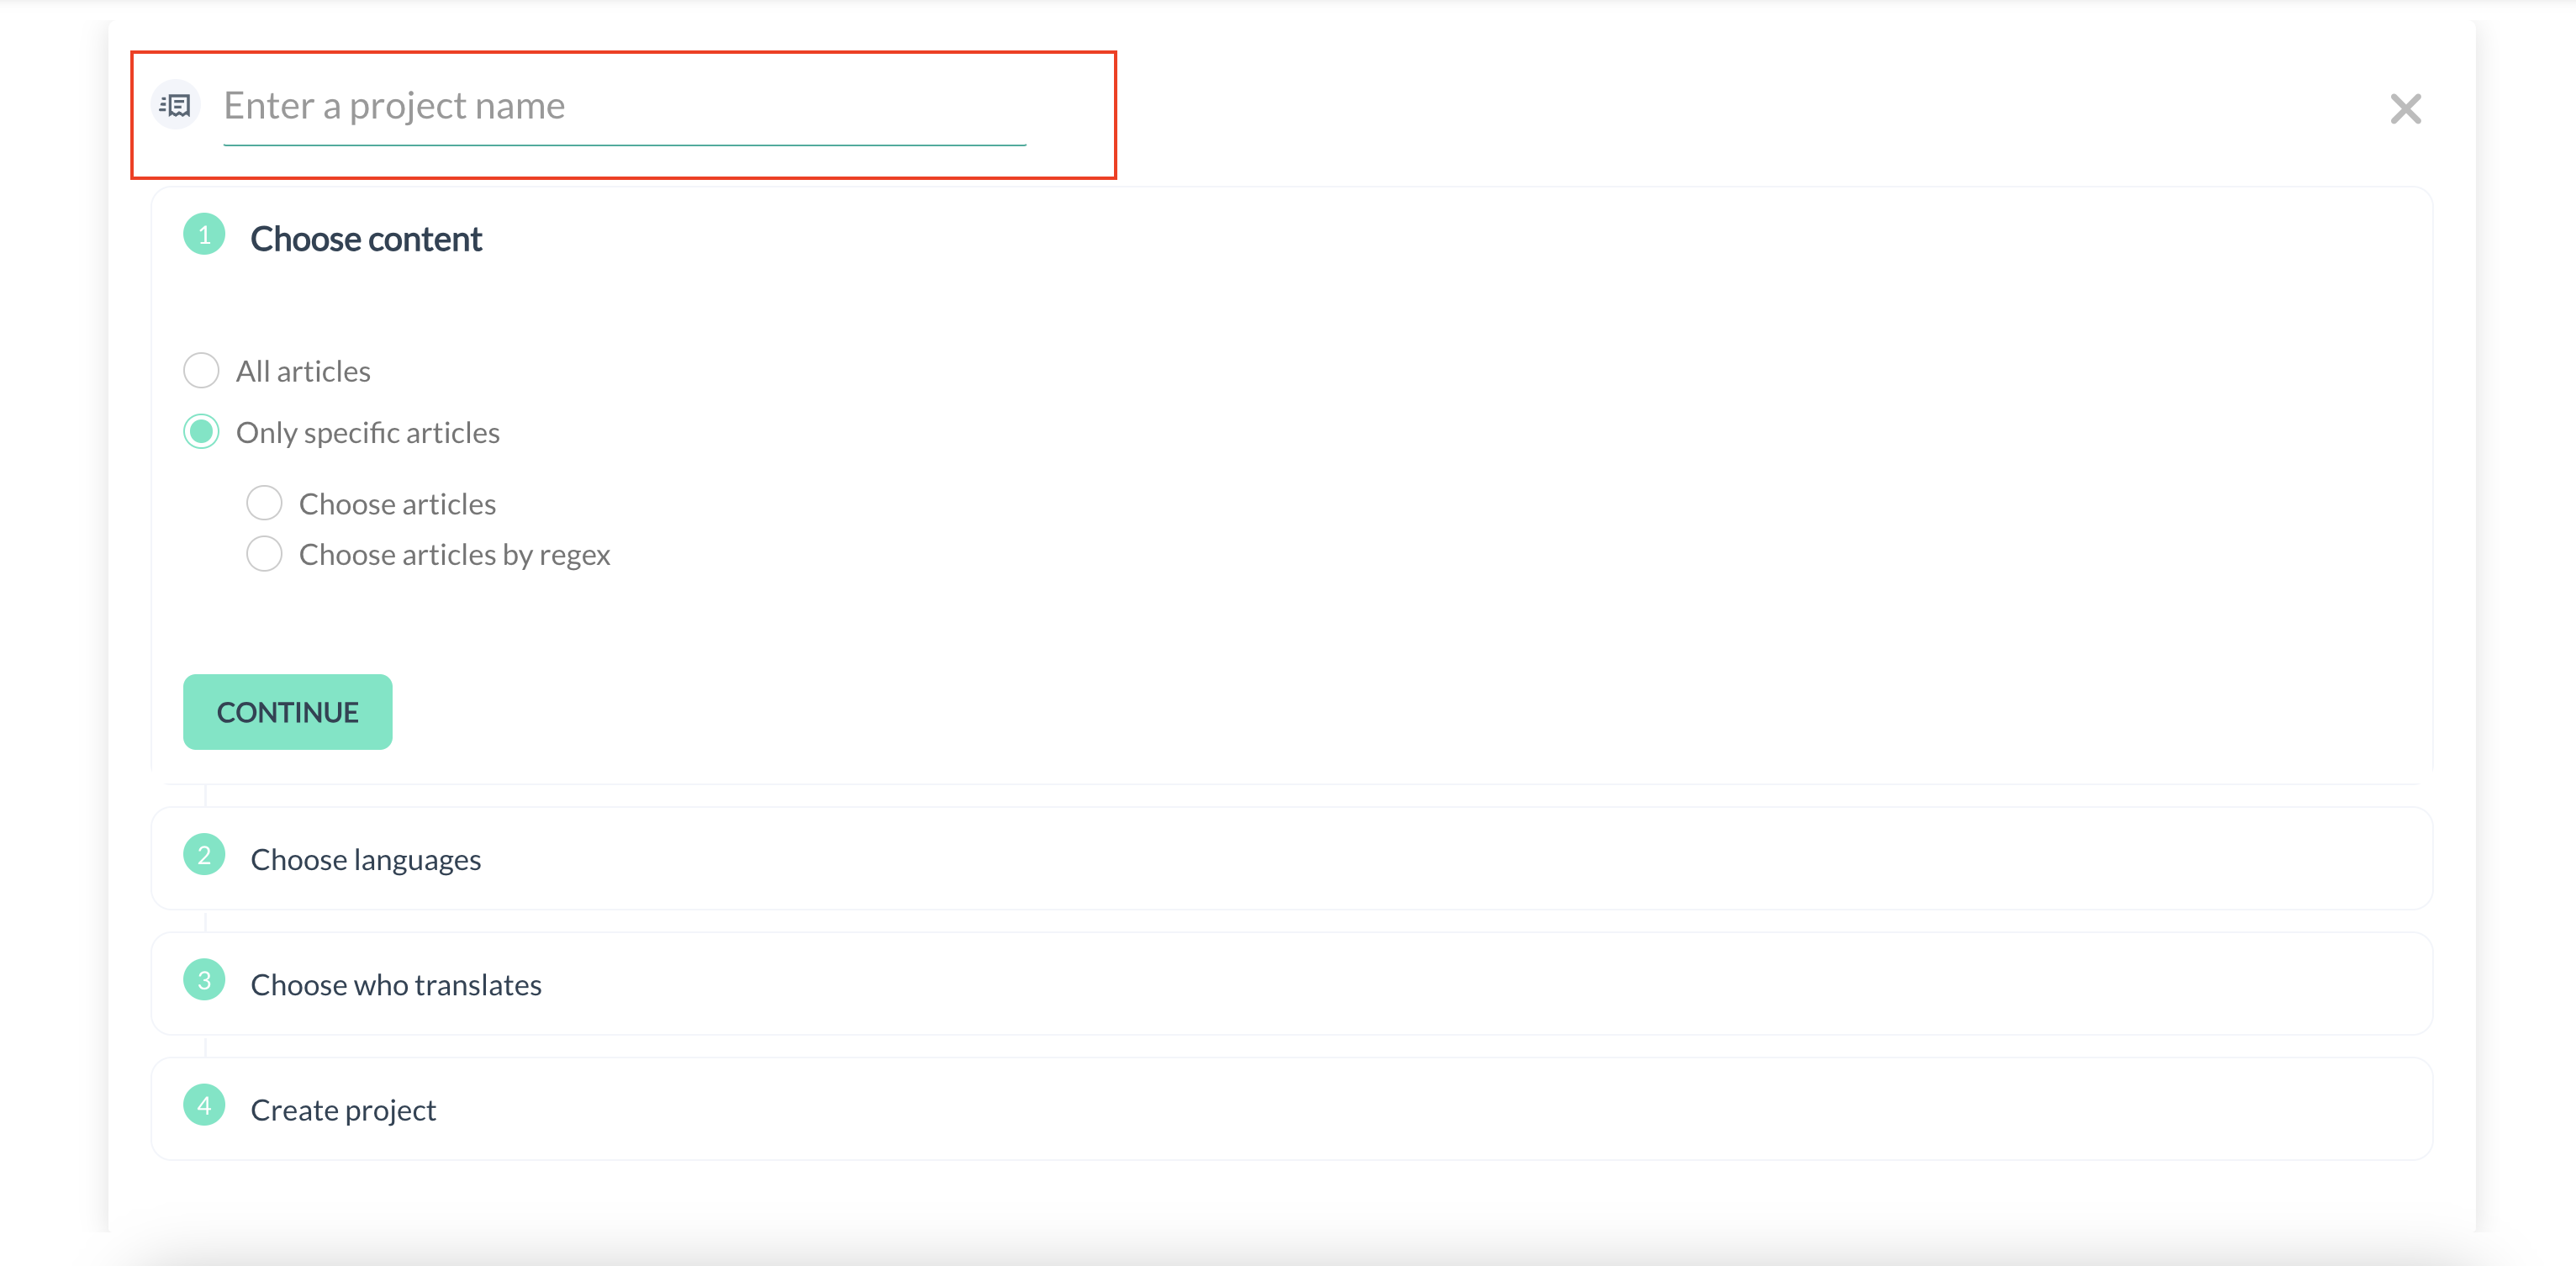
Showing the Input field for entering your project name
Step 2: Choosing Content for Translation
Select the content you want to translate:
- All Articles: Choose this option if you want to translate all of your existing articles.
- Only Specific Articles: Select this if you're focusing on certain articles. You can narrow down your choice by categorizing them into general, FAQs, or announcements.
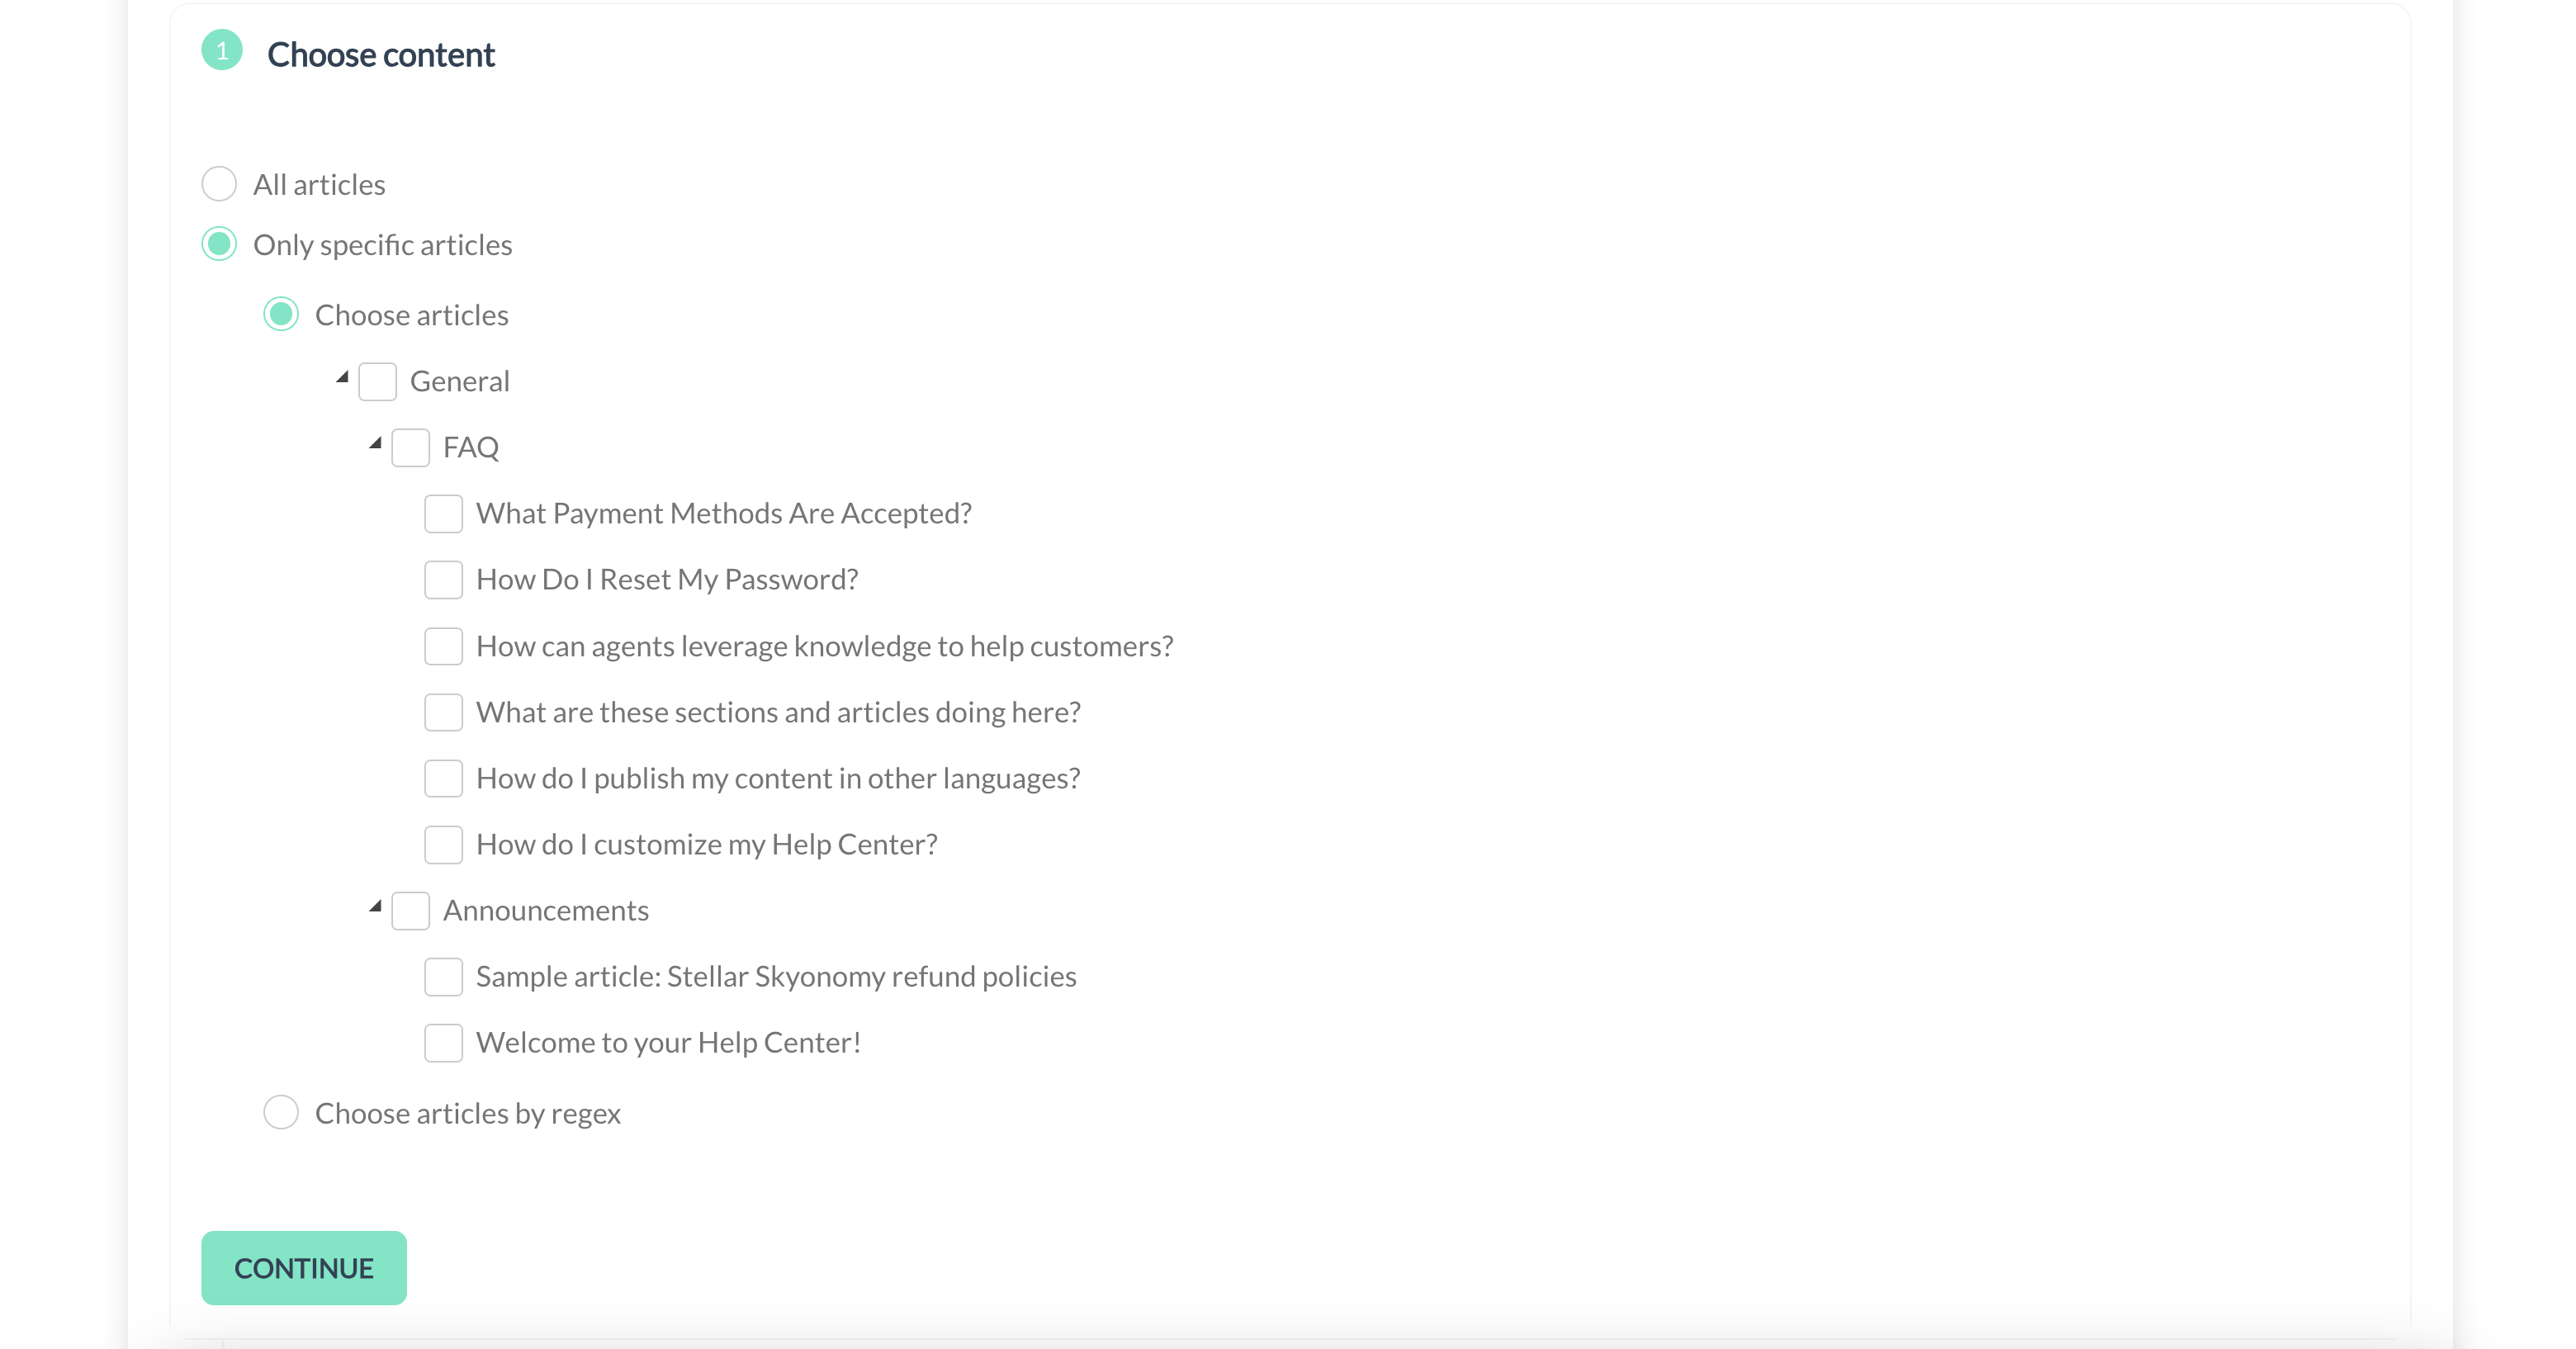
Showing the first step - Choose the articles you would like to translate
Step 3: Language Selection
Specify the source language of your content and the target languages you want to translate into. Before moving forward, make sure these target languages are enabled in your Zendesk Help Center settings to prevent any issues.
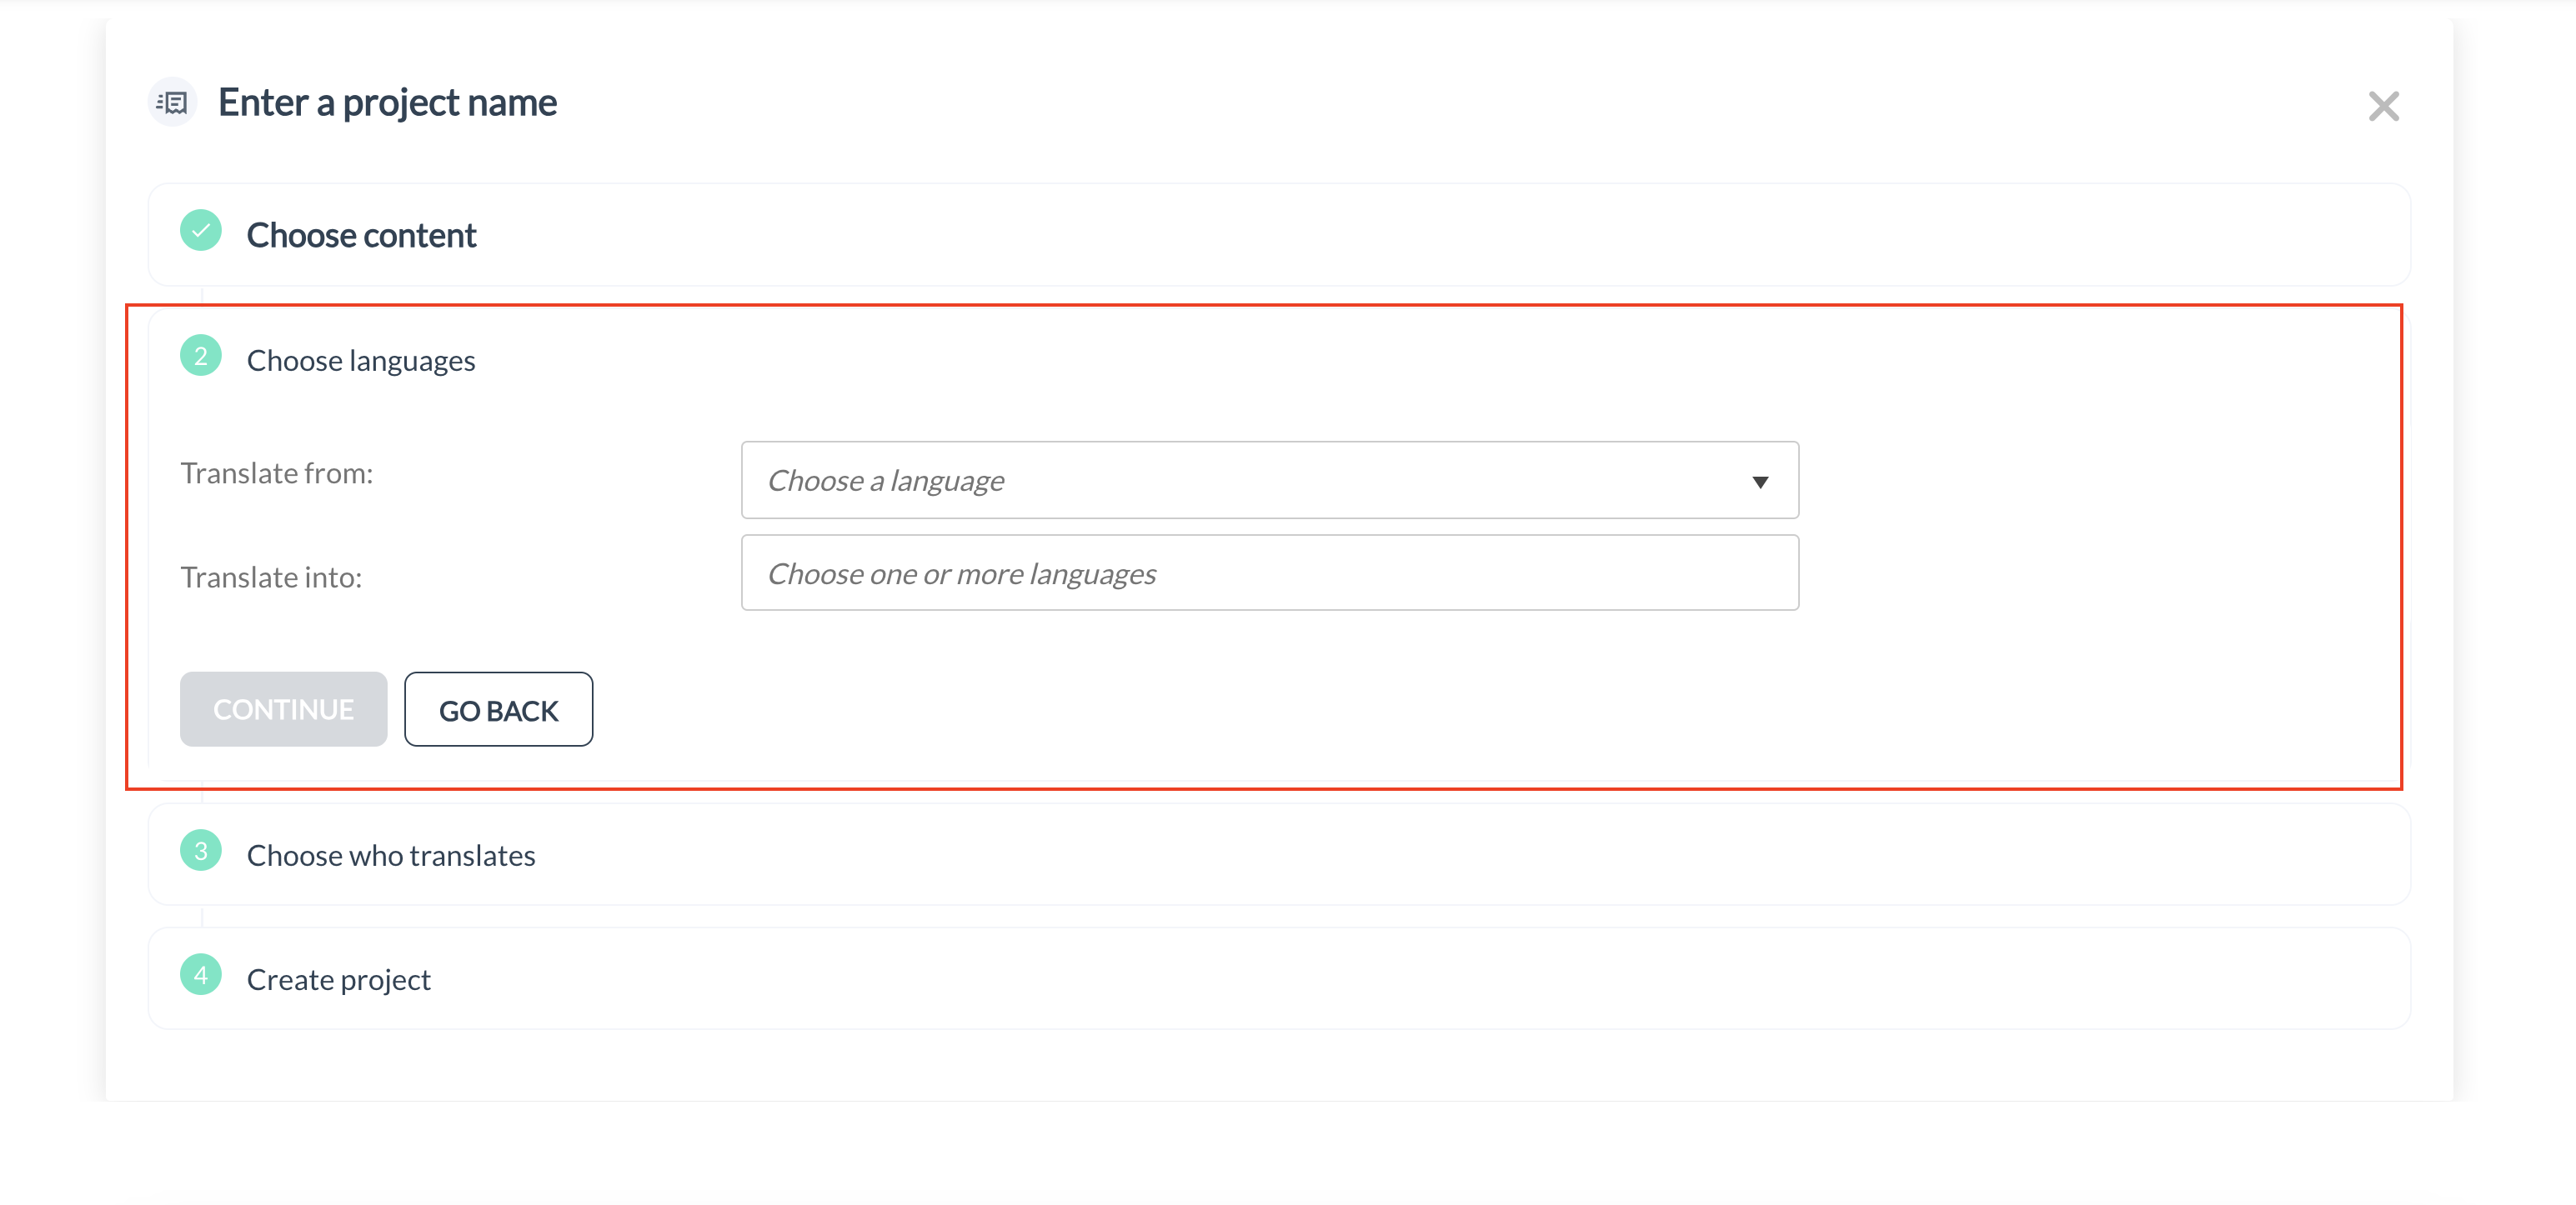
Showing the second step - Choose your source language and target languages
Step 4: Translator Assignment

Showing the two Translation Services available for your Zendesk projects
Choose Your Translation Service:
- ME & MY TEAM: Pick this if you want to manage the translation process yourself, potentially with help from your team. This option is free of charge.
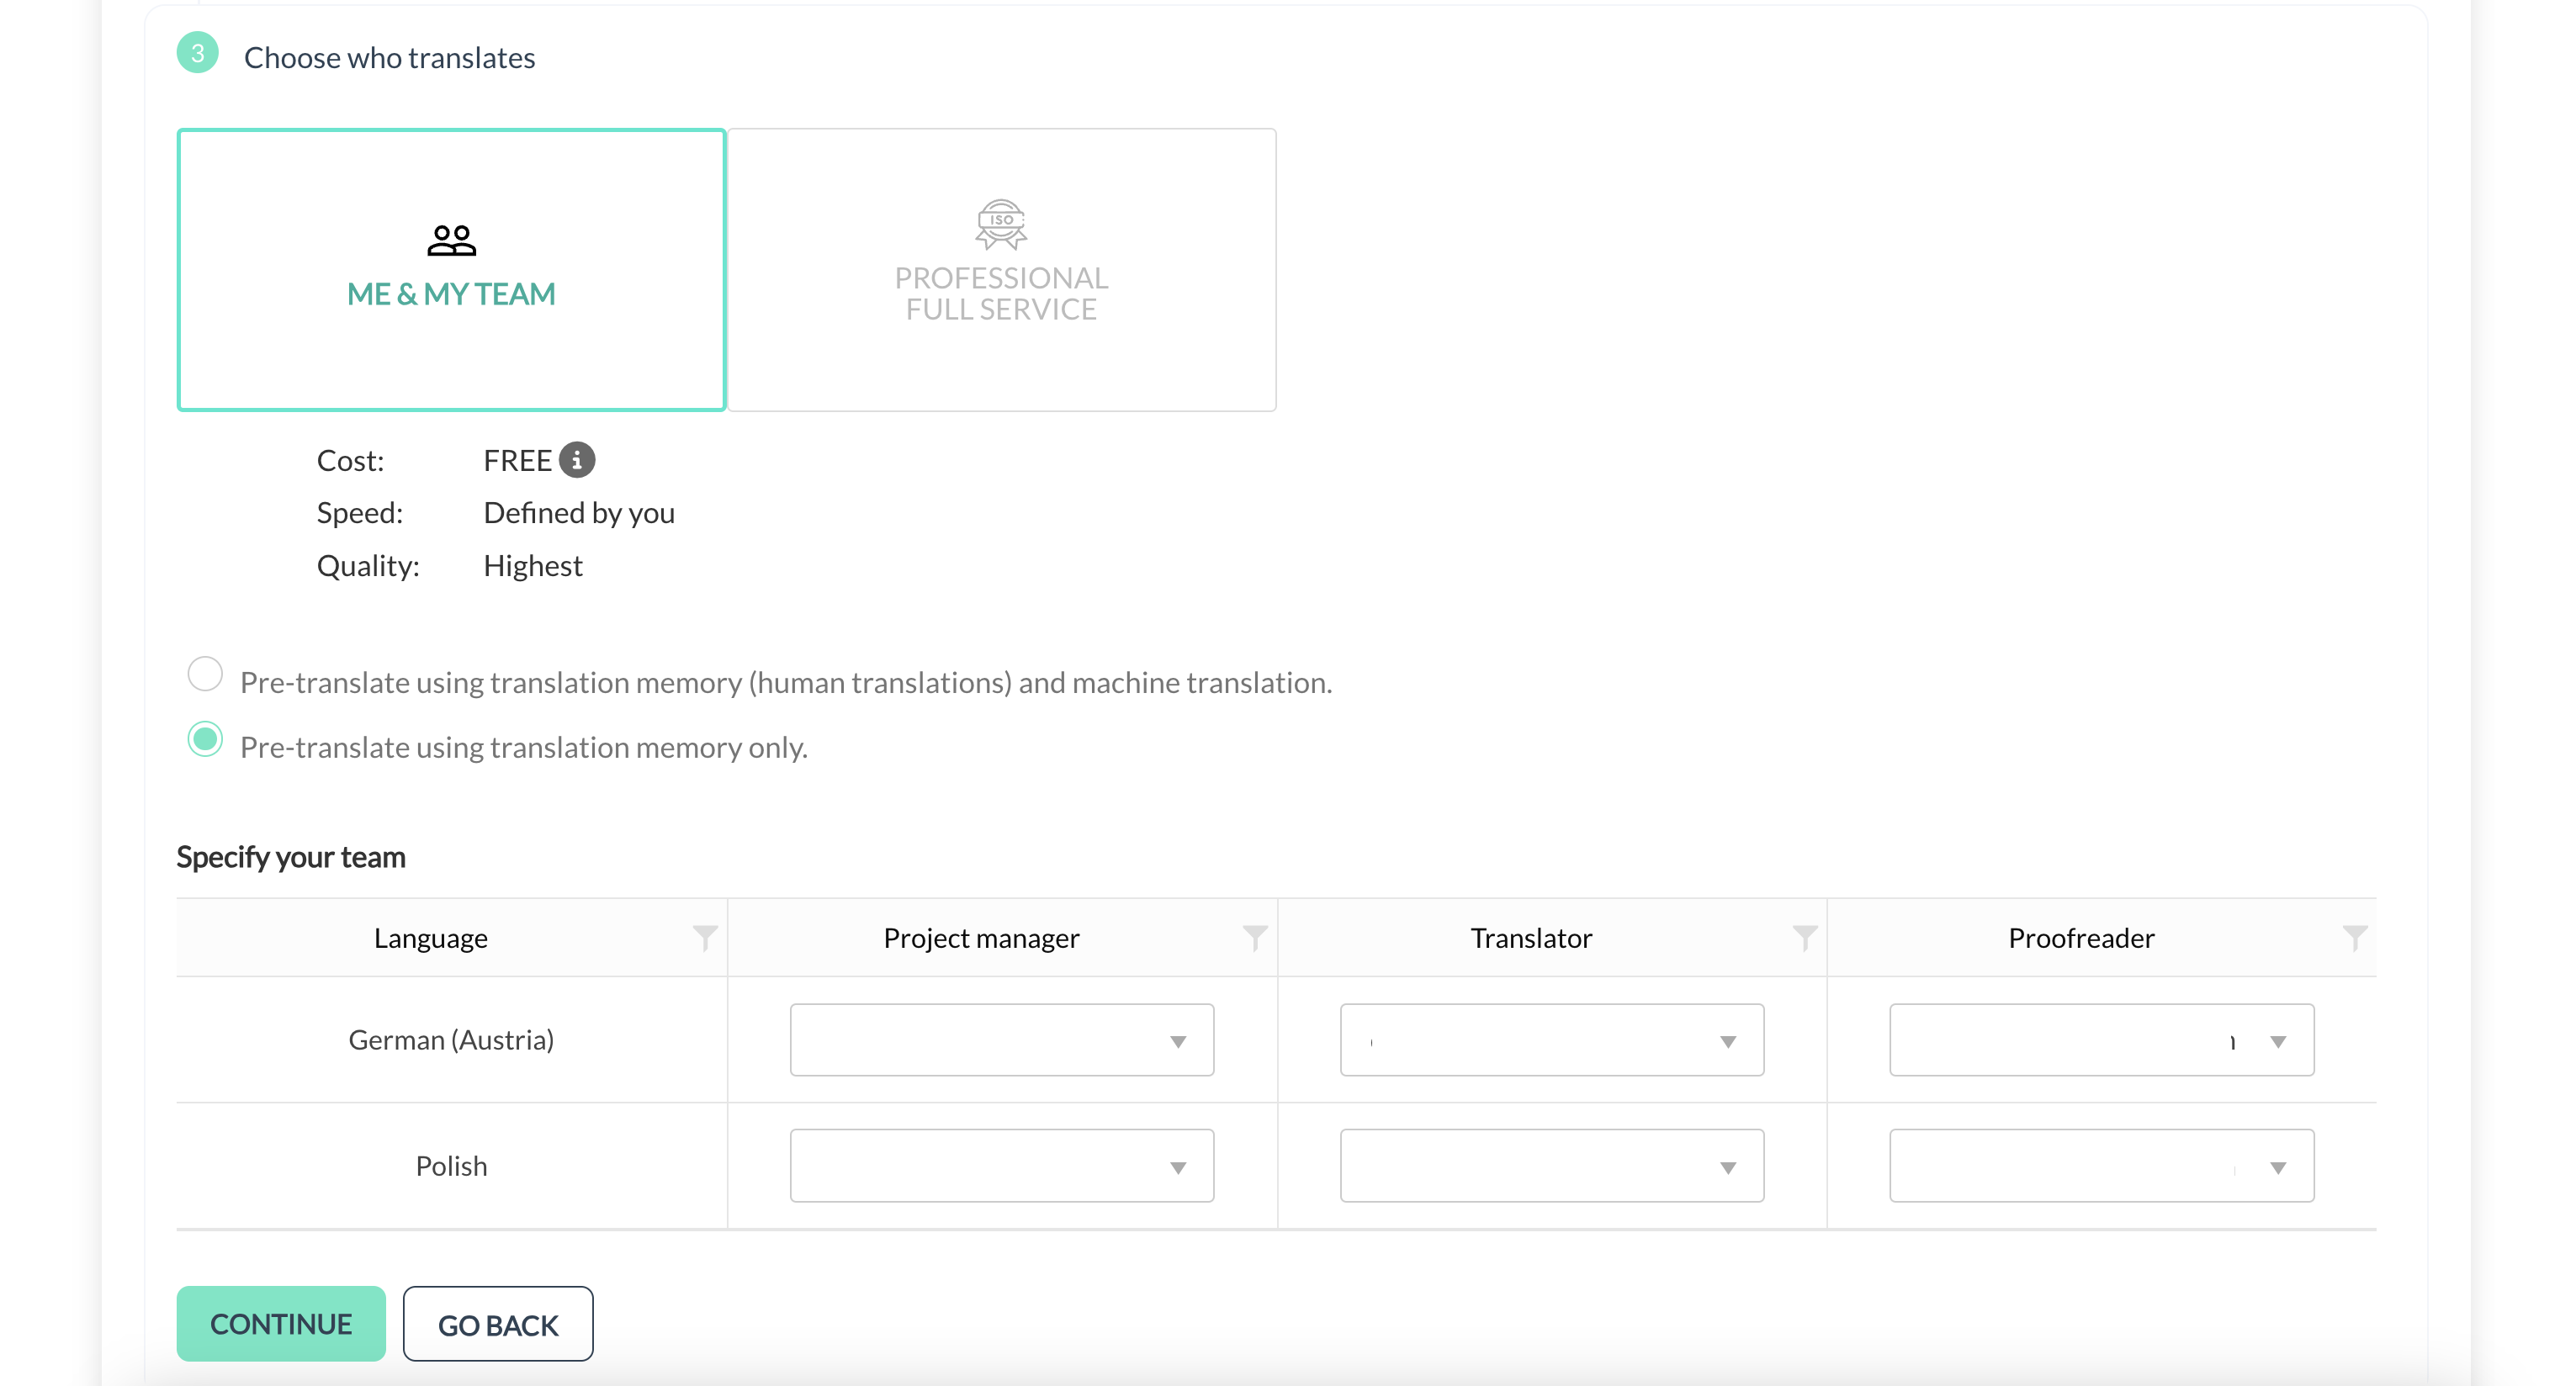
Showing the "ME & MY TEAM" Translation Service options
- PROFESSIONAL FULL SERVICE: Opt for this if you prefer TextUnited’s professional translation services. This paid option ensures high-quality and timely delivery.
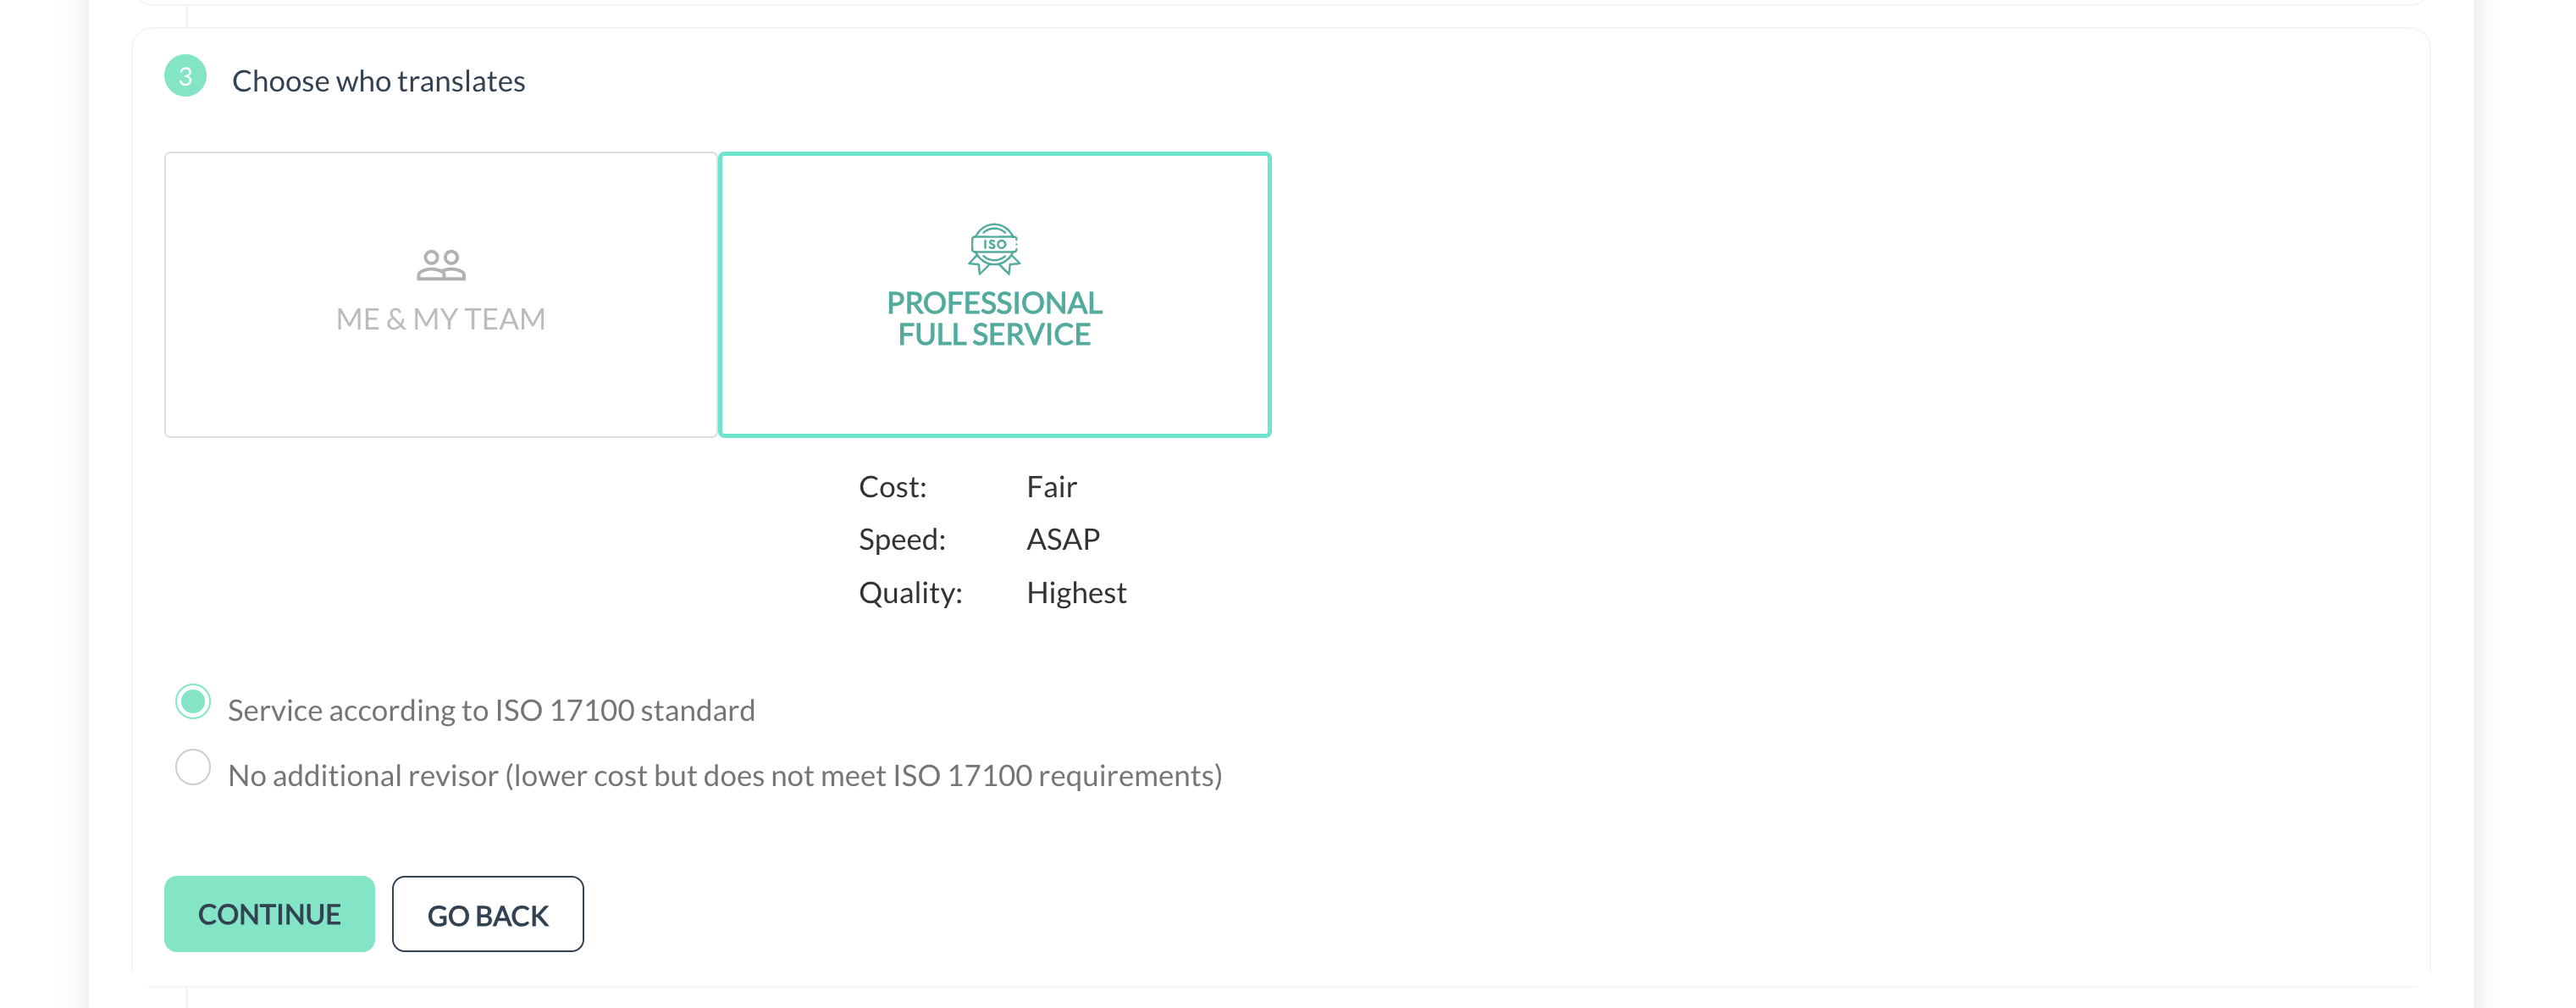
Showing the "Professional Full Service" Translation Service options
Step 6: Finalize Project Setup
Take a moment to review your selections and click "CREATE A PROJECT".
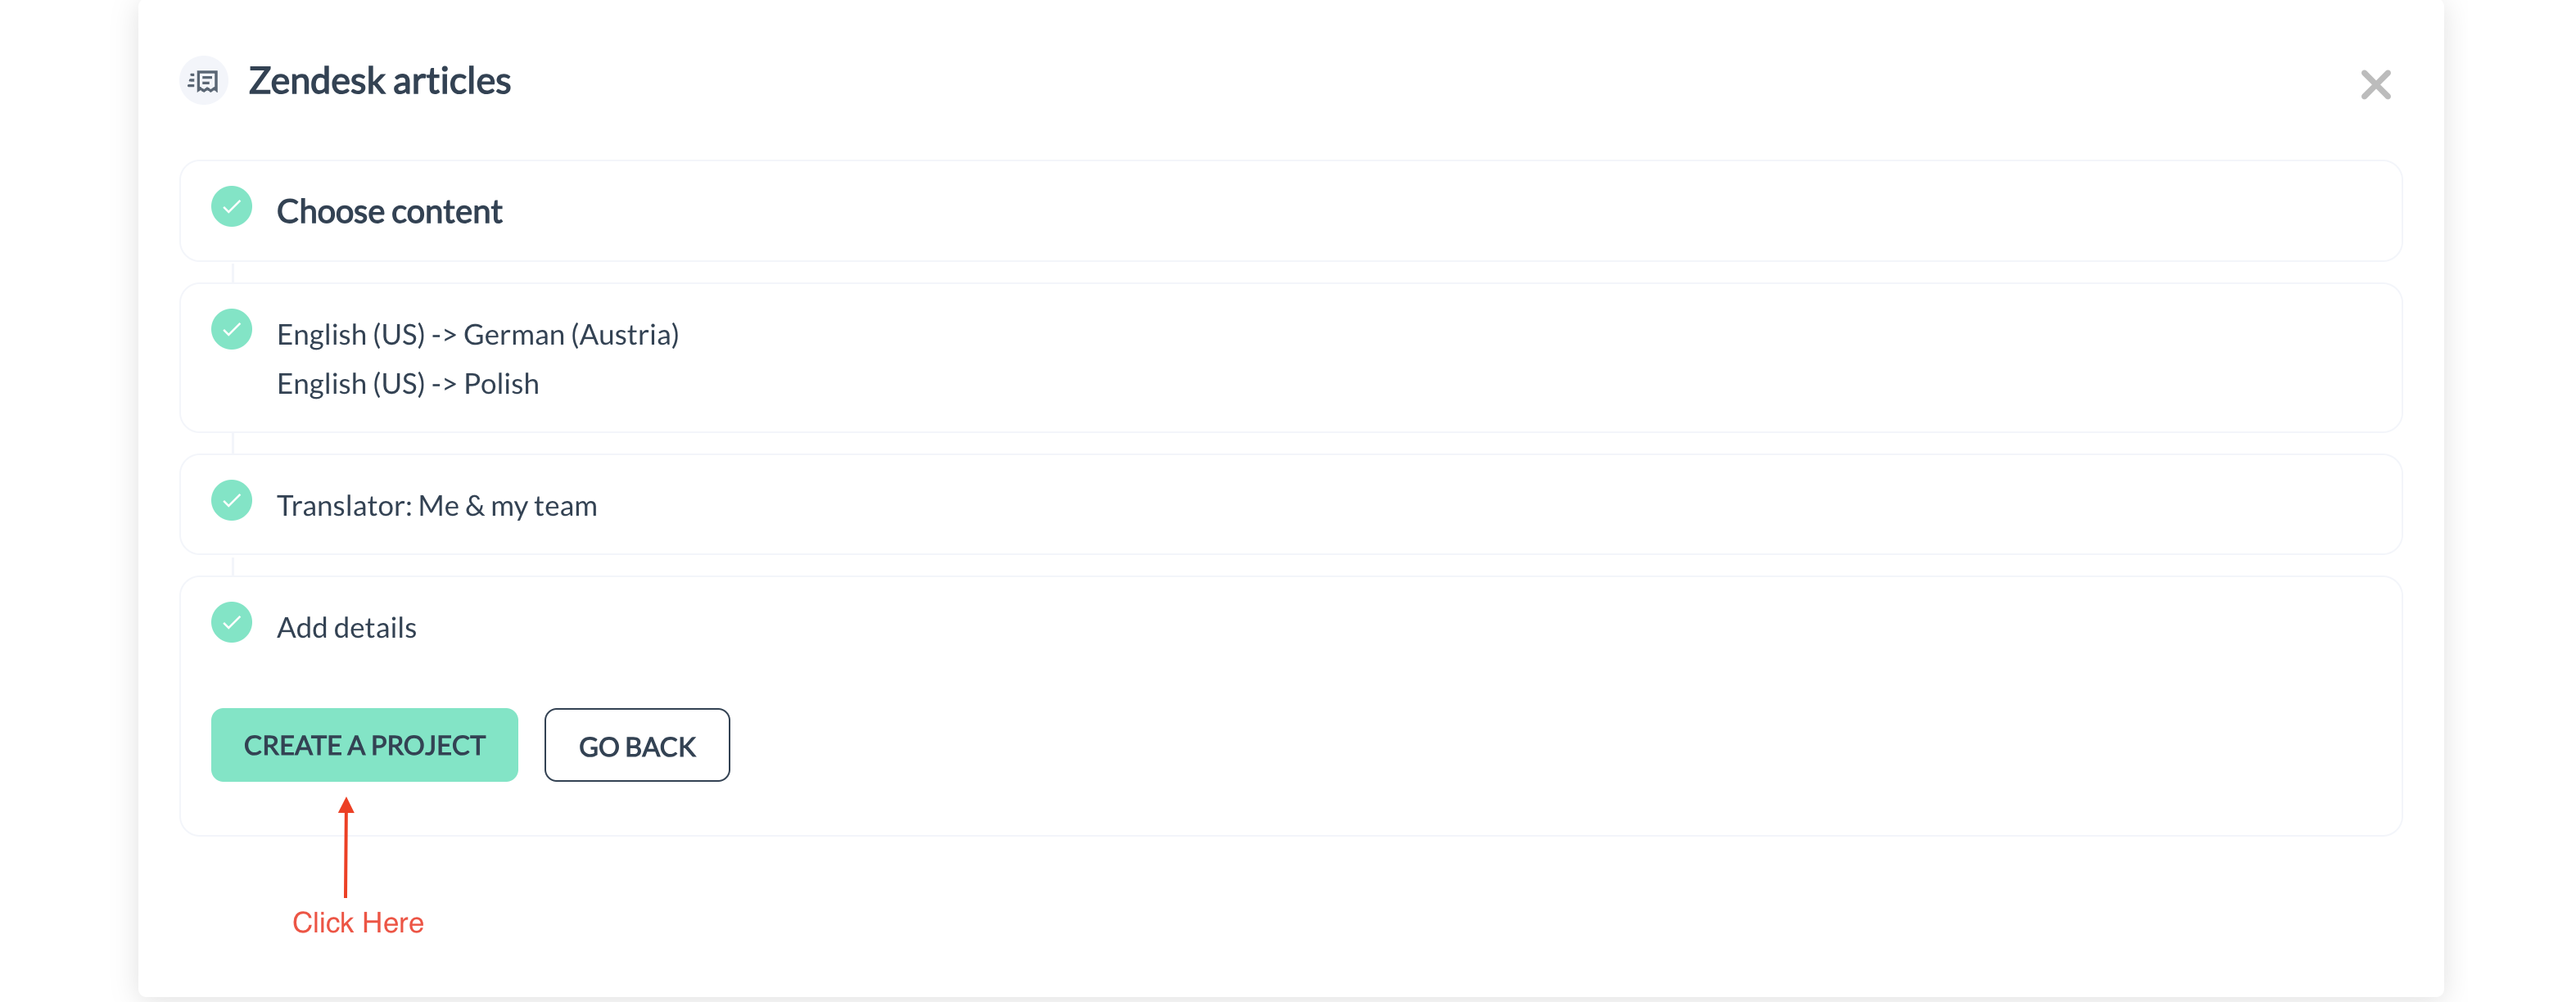
Showing the "CREATE A PROJECT" button
You can either start with the default settings or manually adjust them. This includes customizing translators, setting rates, or tweaking other project settings as needed.
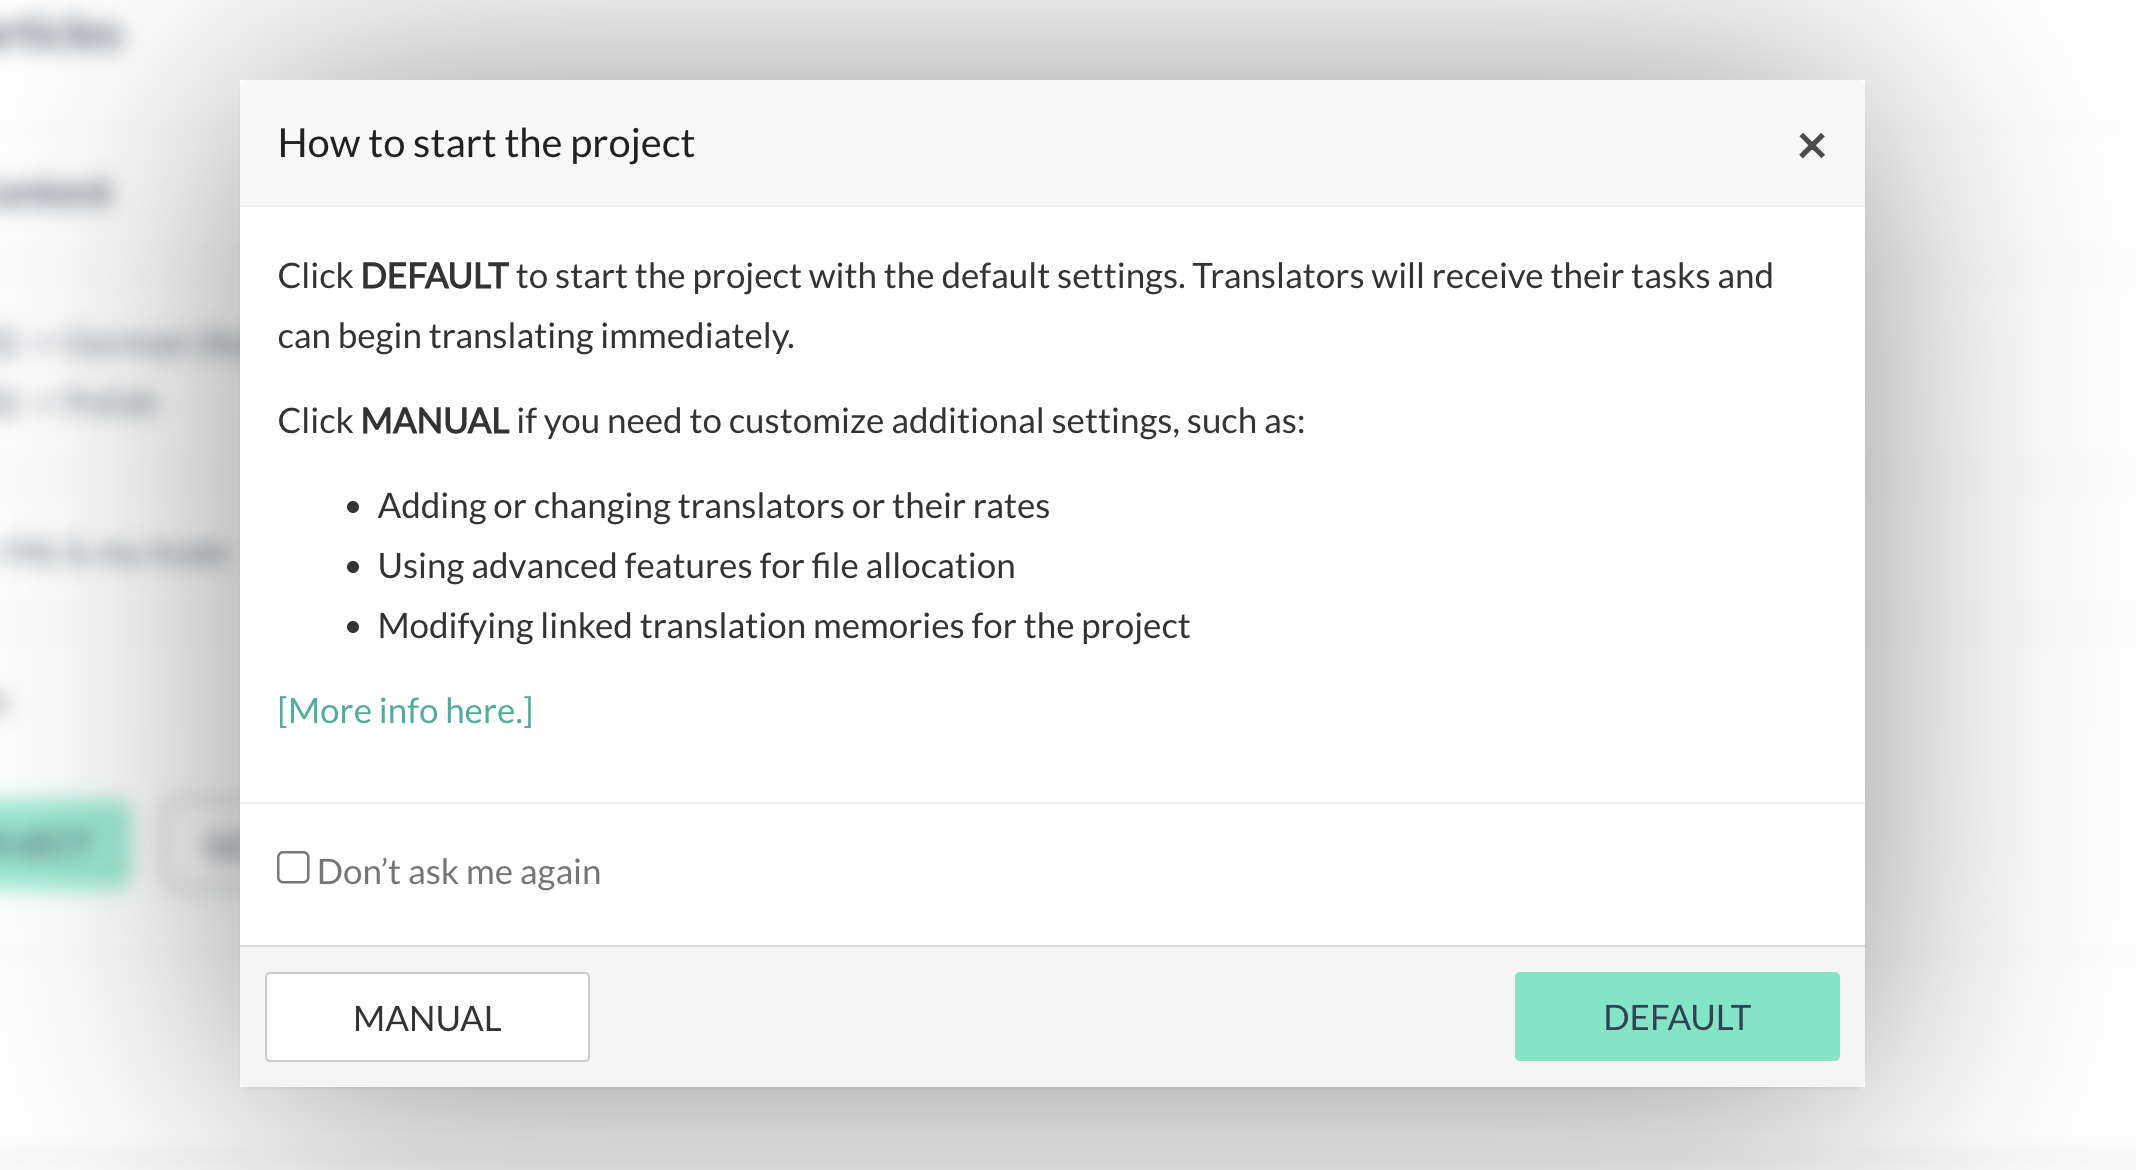
Showing the "DEFAULT" and "MANUAL" buttons
Step 7: Manage Connected Sources
Once you've created a Zendesk project, you automatically create a connected source. Each connected source in the Zendesk category enables you to edit the project files, which is particularly useful when dealing with multiple languages or needing to update content post-translation.
Step 1: Accessing Connected Sources
Navigate to the Connected Sources section by clicking on the hamburger menu at the top-right corner of your TextUnited dashboard:
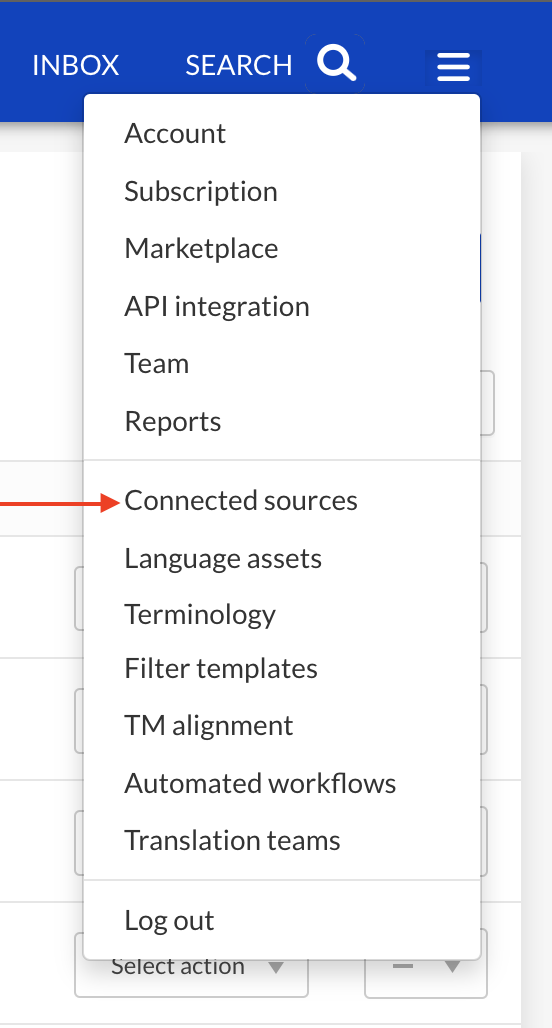
Select "Connected Sources"
Go to the Zendesk category. This section is dedicated to managing the integration between TextUnited and Zendesk, specifically focusing on the content that has been or will be translated.

Zendesk Category in Connected Sources
Step 2: Editing Source Files
-
Scenario: When you need to add new articles to an existing project or update the content of previously translated articles.
-
Action:
- Locate the project whose source files you wish to edit.
- Click on "Change source files".

Change Source Files
- Select the new articles you want to add to the project.
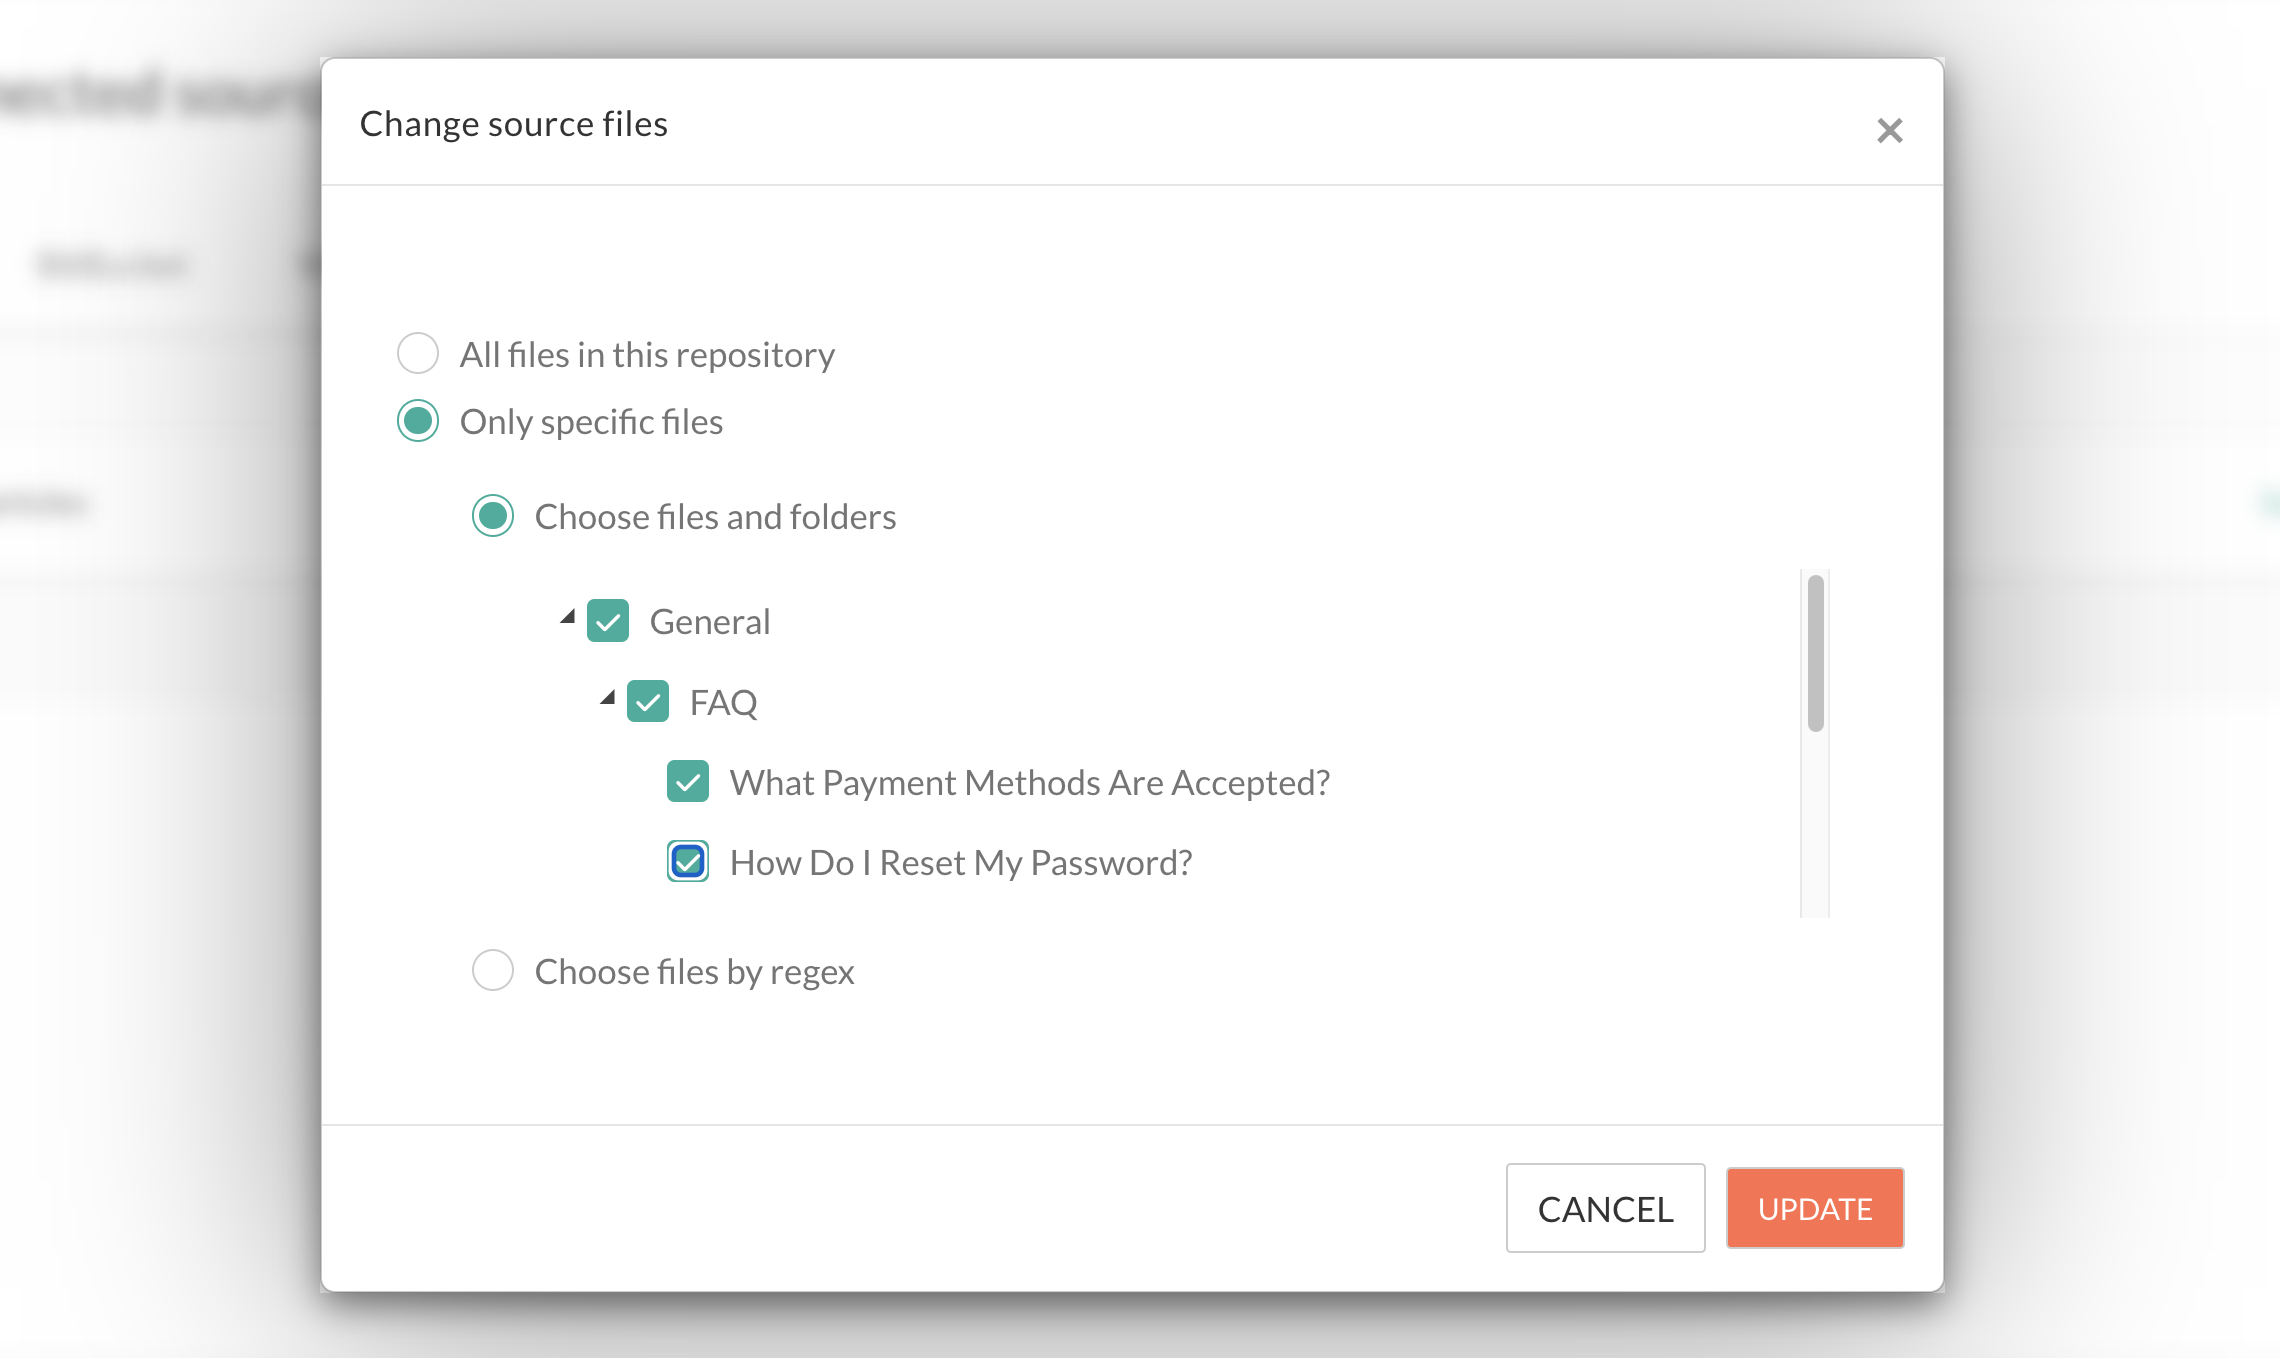
- Click "UPDATE". This action will restart the project, and translators will begin working on the newly added articles.
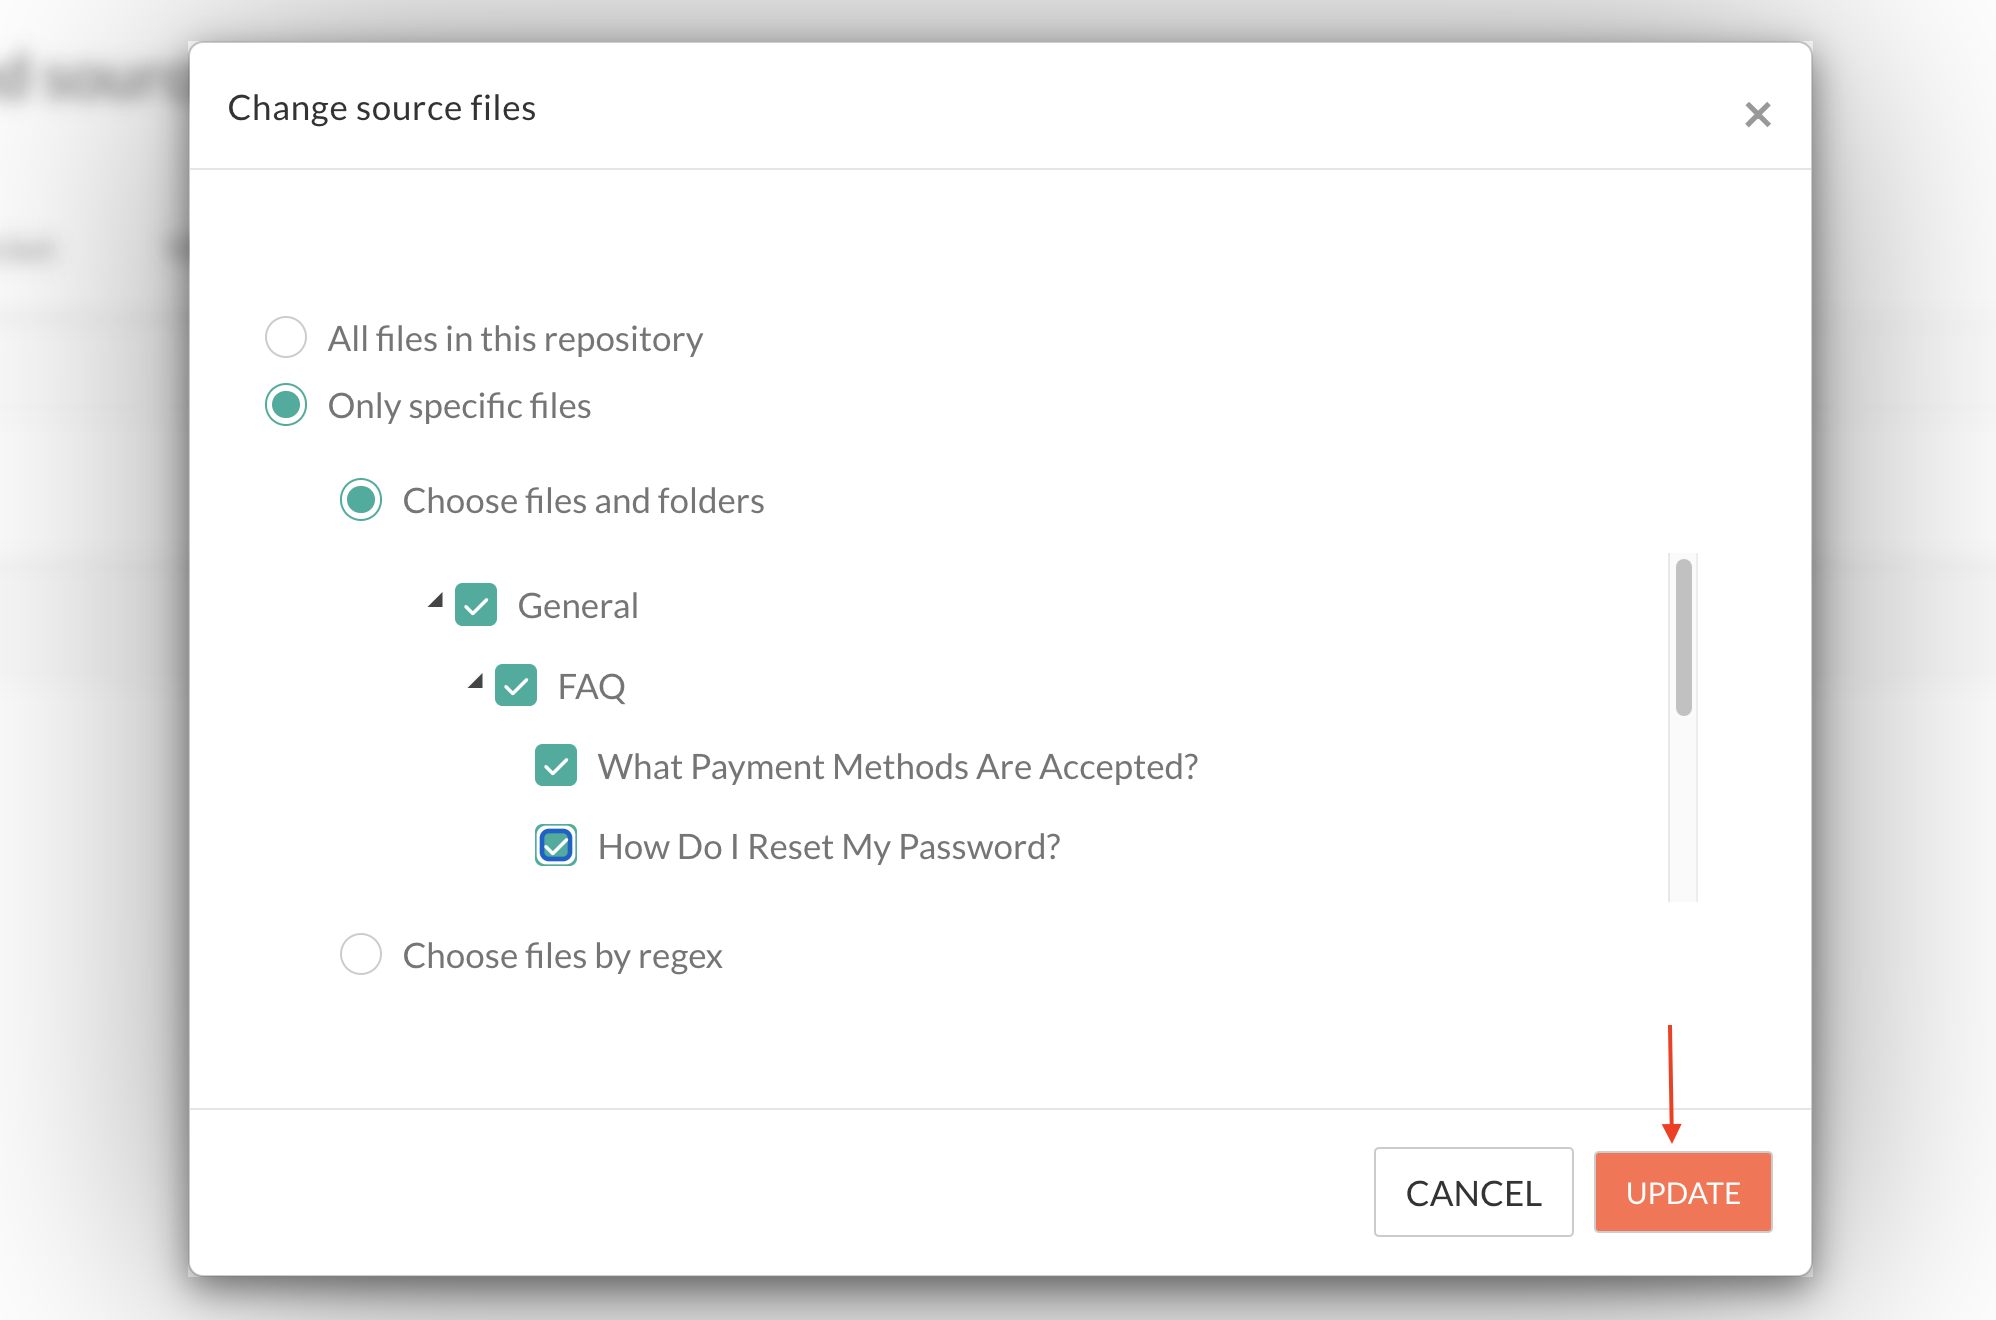
Showing the "UPDATE" button
Once you click the "UPDATE" button, you will be prompted to confirm that you want to change your source files. Click "UPDATE" again to proceed:

Step 3: Synchronizing Translations
To synchronize your new changes, click the "Sync" button:

Sync button
You will see three options:
- Get Current Source Files: Ideal for scenarios where articles have been updated or new content has been added to Zendesk since the last translation. This option ensures that the latest version of the articles is used for translation.
- Action: Click on "Get current source files". The system will create files based on the current translations and send them back, potentially taking some time due to the processing involved.
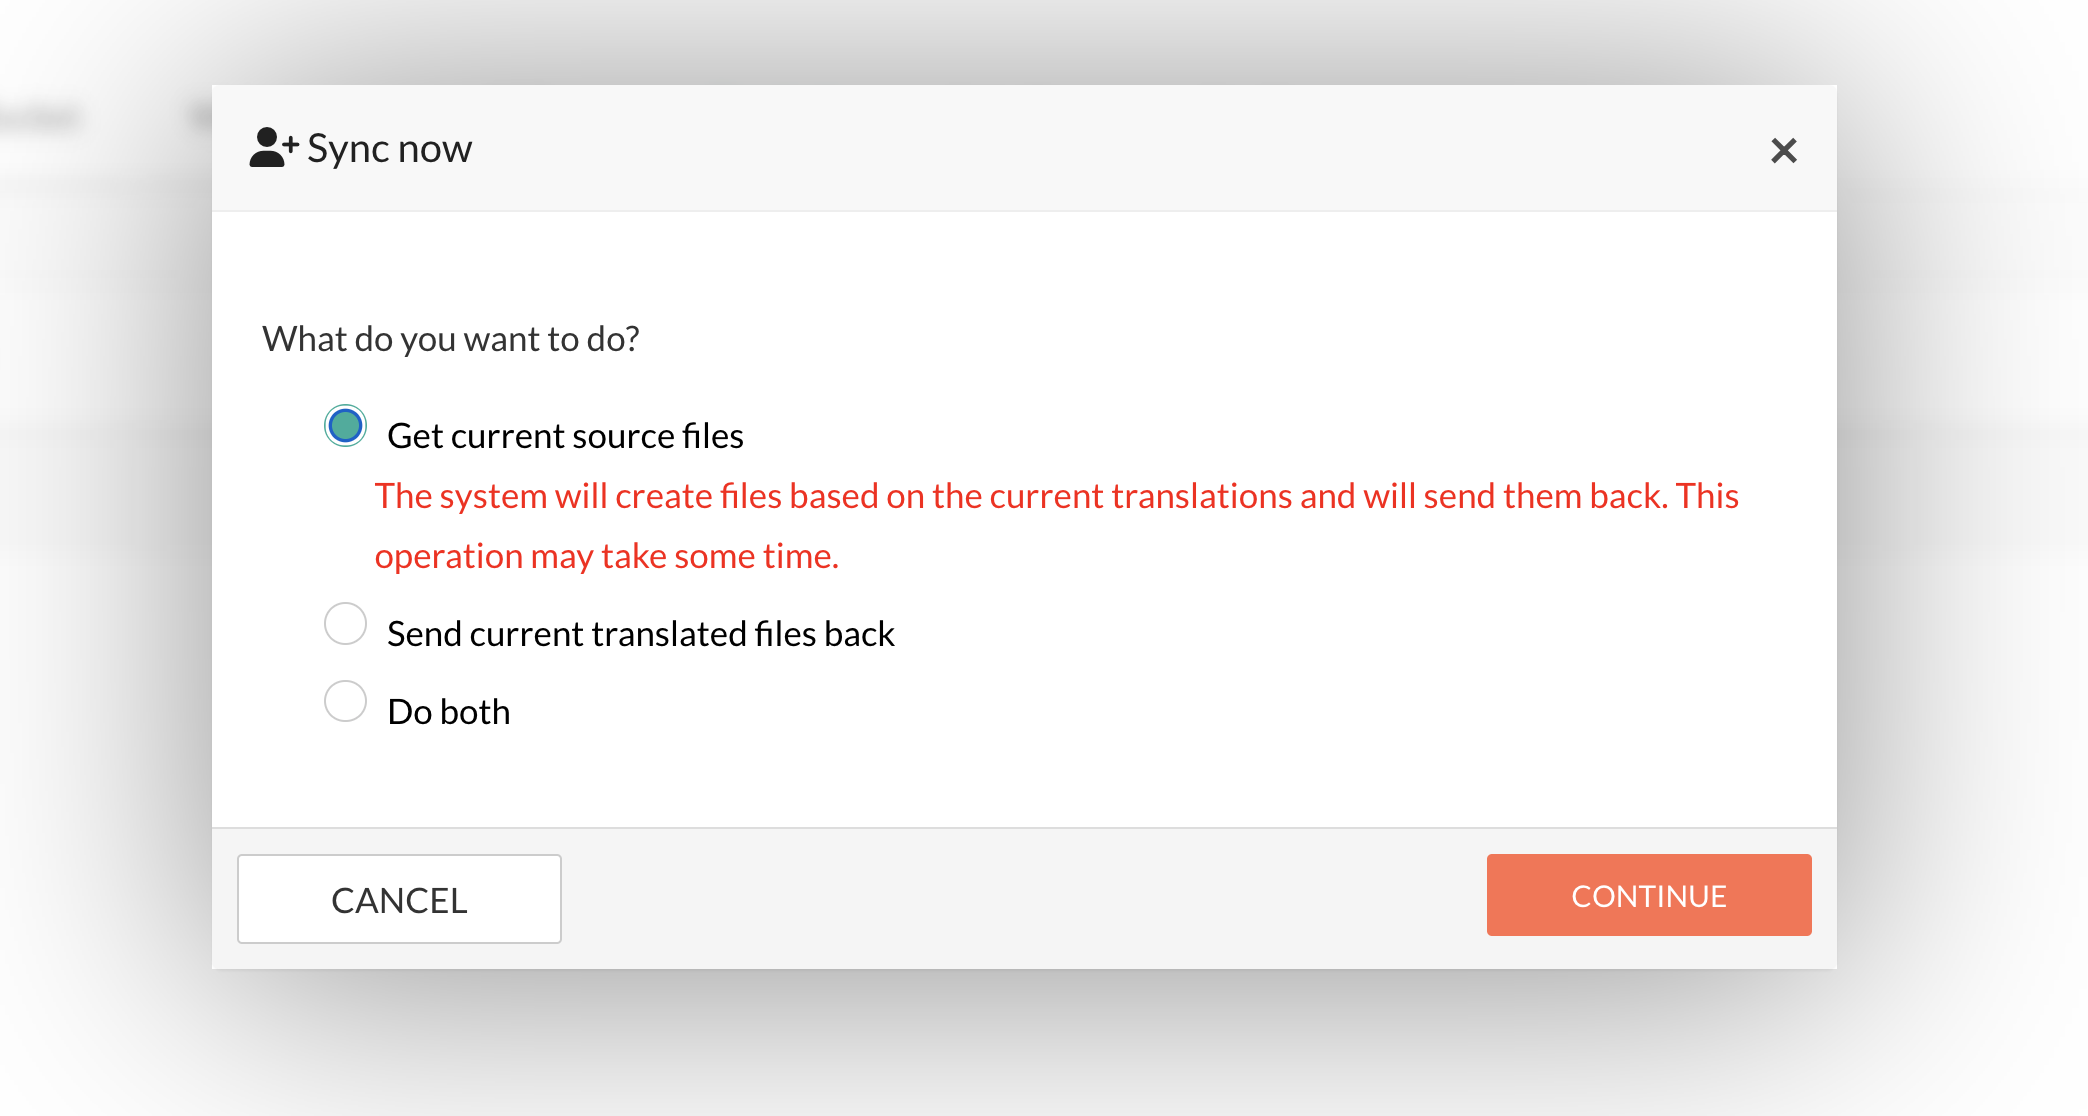
Showing the "Get current source files" option
-
Send Current Translated Files Back: Useful for synchronizing translated files across all projects within a single Zendesk connection, ensuring consistency and accuracy.
- Action: Click on "Send current translated files back". Similar to the previous option, the system will create files based on the current translations and send them back, which may take some time.
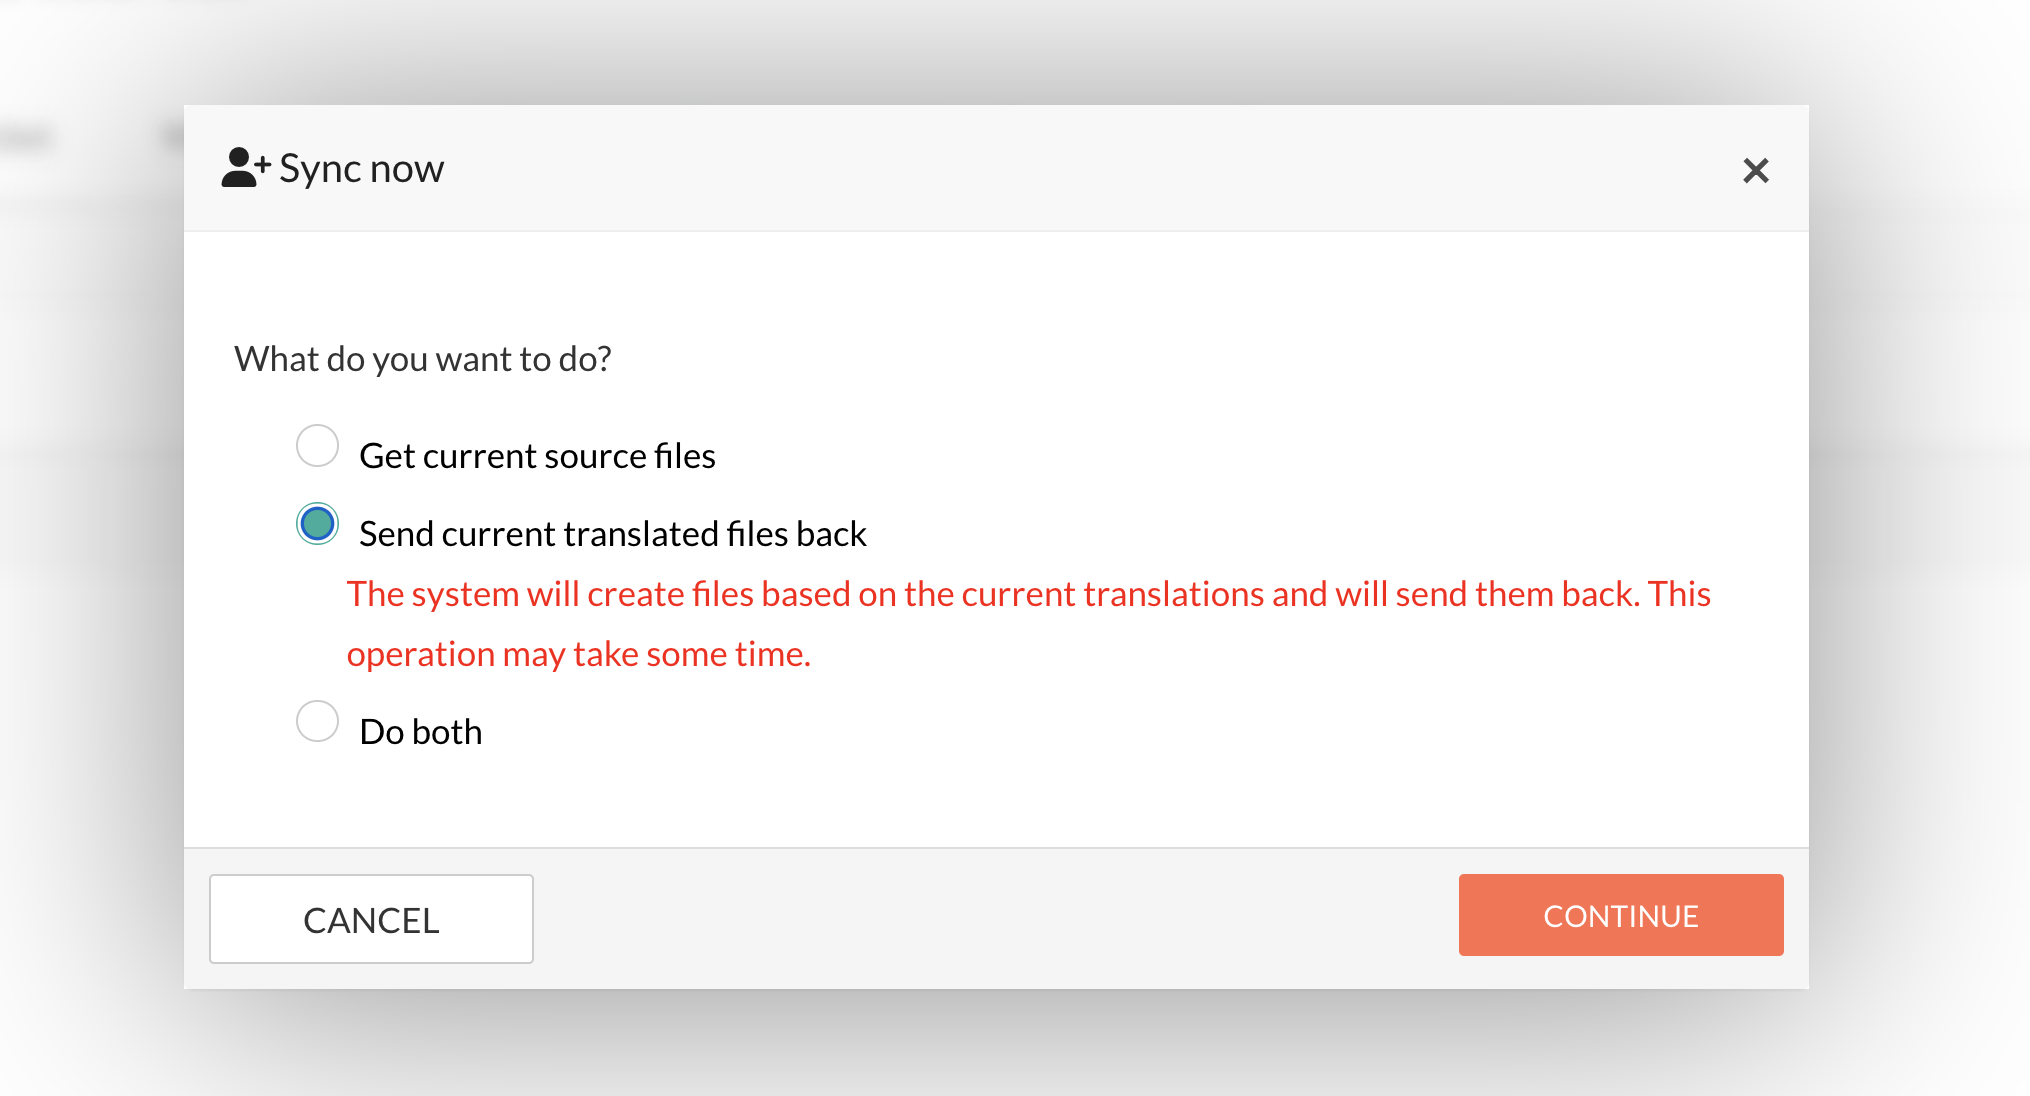
Showing the "Send current translated files back" option
-
Do Both: Combines the functionalities of the above options, synchronizing both the source files and sending back the current translated files.
- Action: Click on "Do both". This comprehensive approach ensures that both the source files are updated and the translated files are synchronized back to Zendesk.
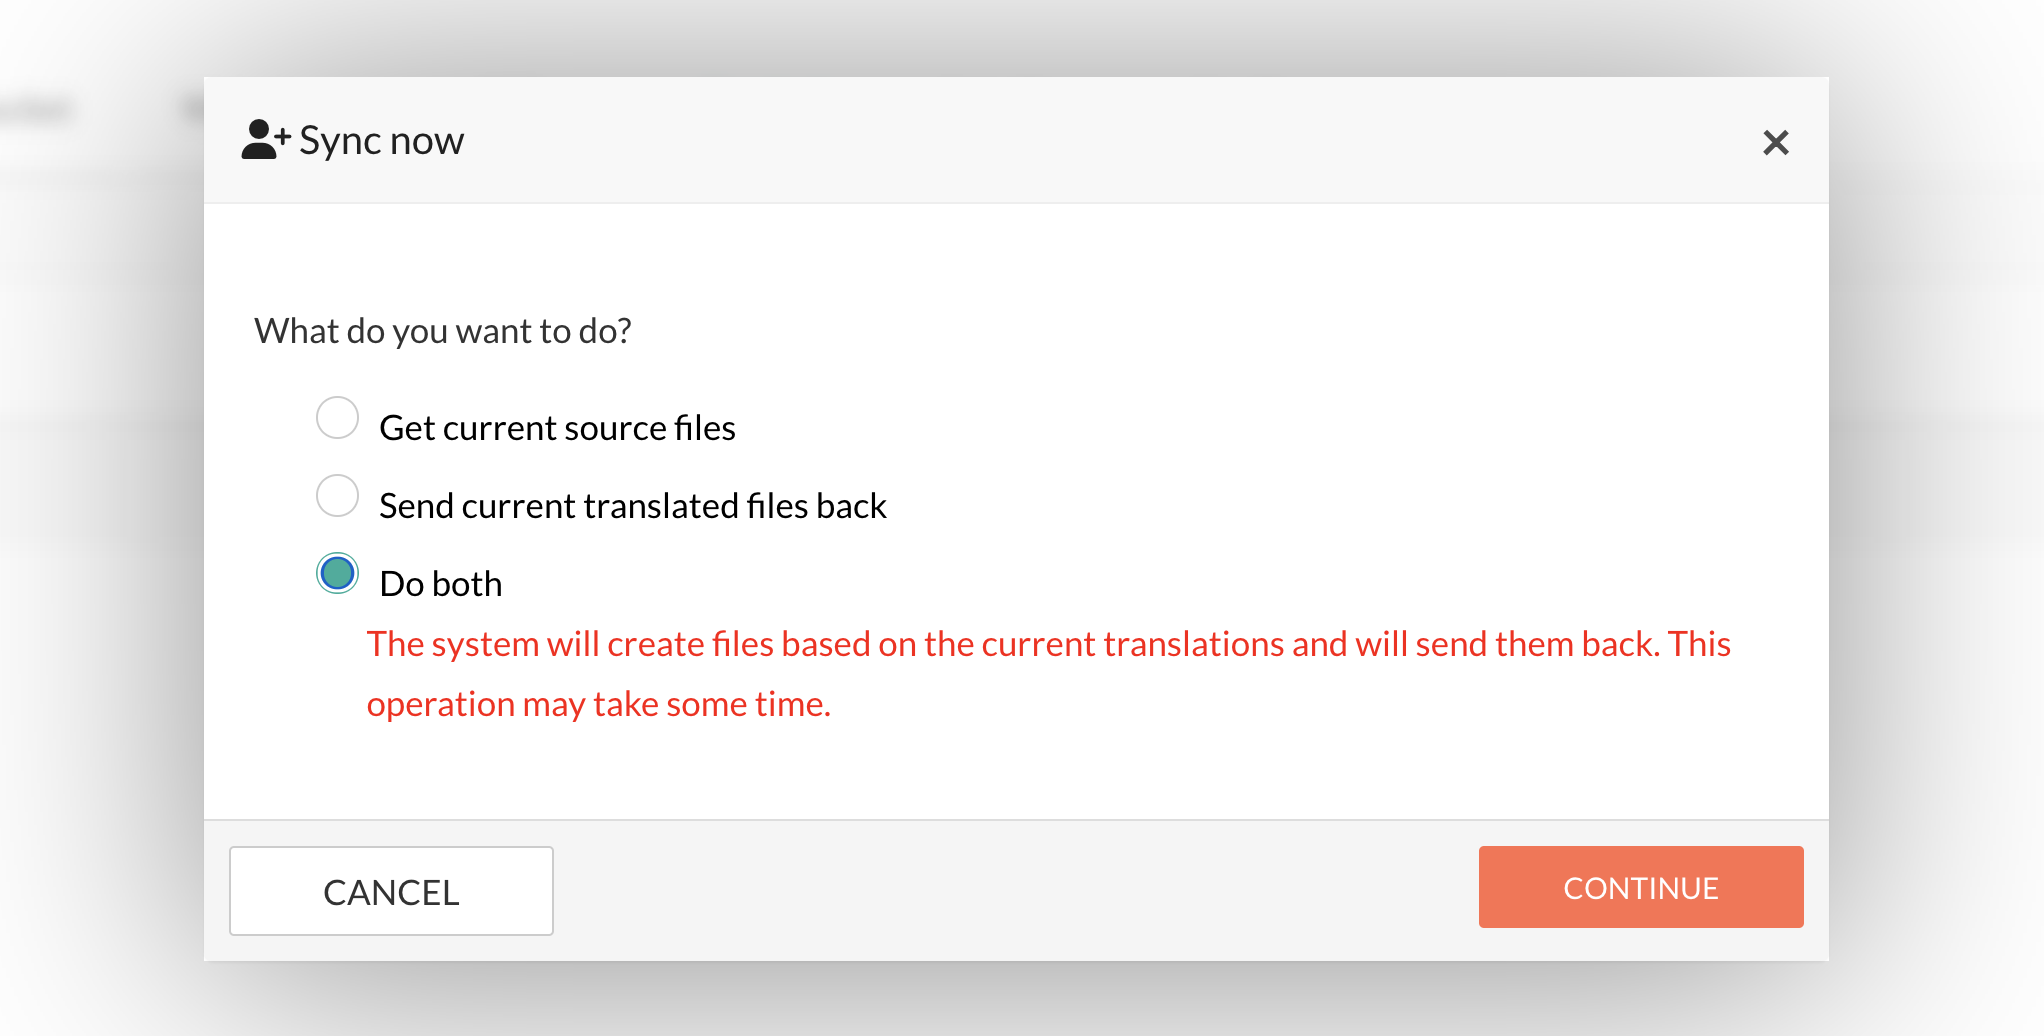
Showing the "Do both" option
Step 4: Deleting a Connection (Optional)
-
Caution: This action removes the integration link between TextUnited and Zendesk. It's recommended to use this option only if you're certain you no longer need the integration.
-
Action:
- Locate the delete option for the connection.

Delete button
- Click on "Delete". A modal will open, confirming the deletion. Confirm the action by clicking either "NO" or "YES". Be aware that this cannot be undone.
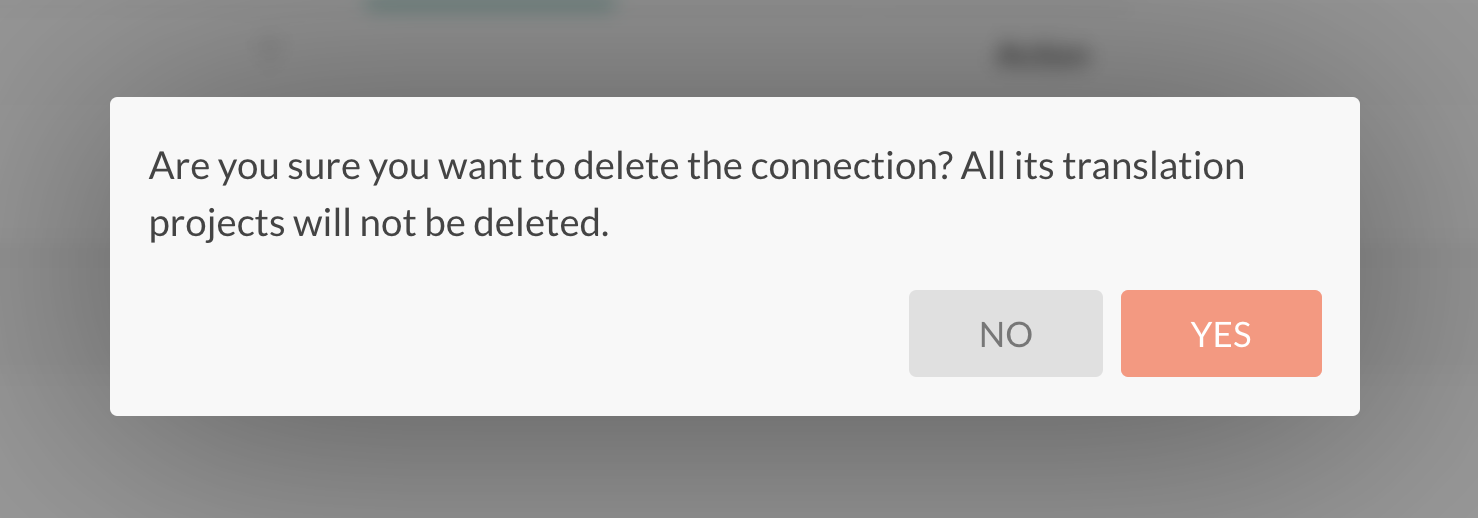
Confirm deletion
-
Step 8: Monitoring Project Progress
Once you start the project, you'll be taken back to your TextUnited dashboard. From there, you can track the project's progress until it's complete, with a 100% progress bar showing when it's done.
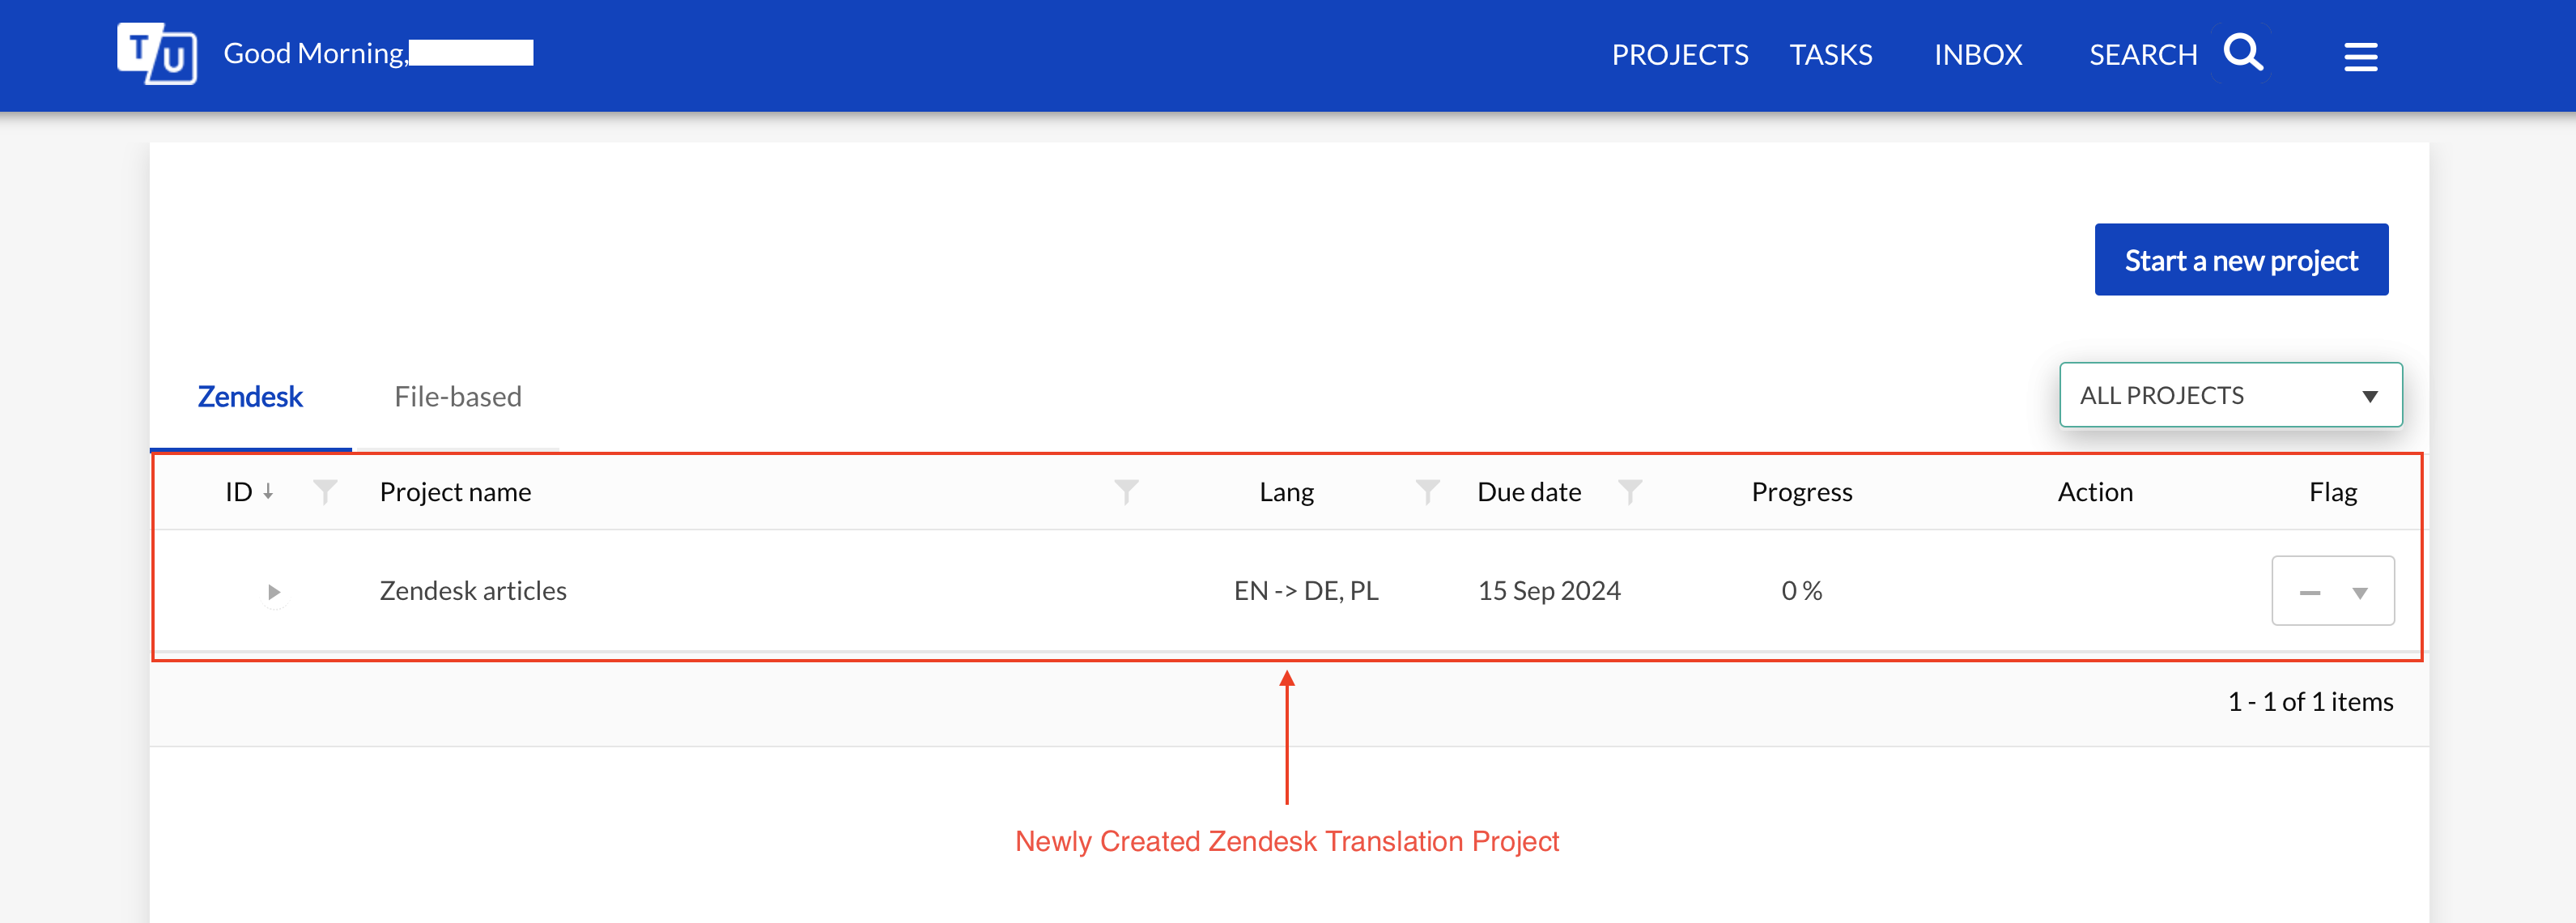
Newly Created Translation Project
Step 9: Synchronizing Translations Back to Zendesk
Once you're done, click the "SYNC BACK" button in the project details to update your Zendesk Guides with the translated content. After syncing, check your Zendesk account to ensure the translated content appears in your Guides.
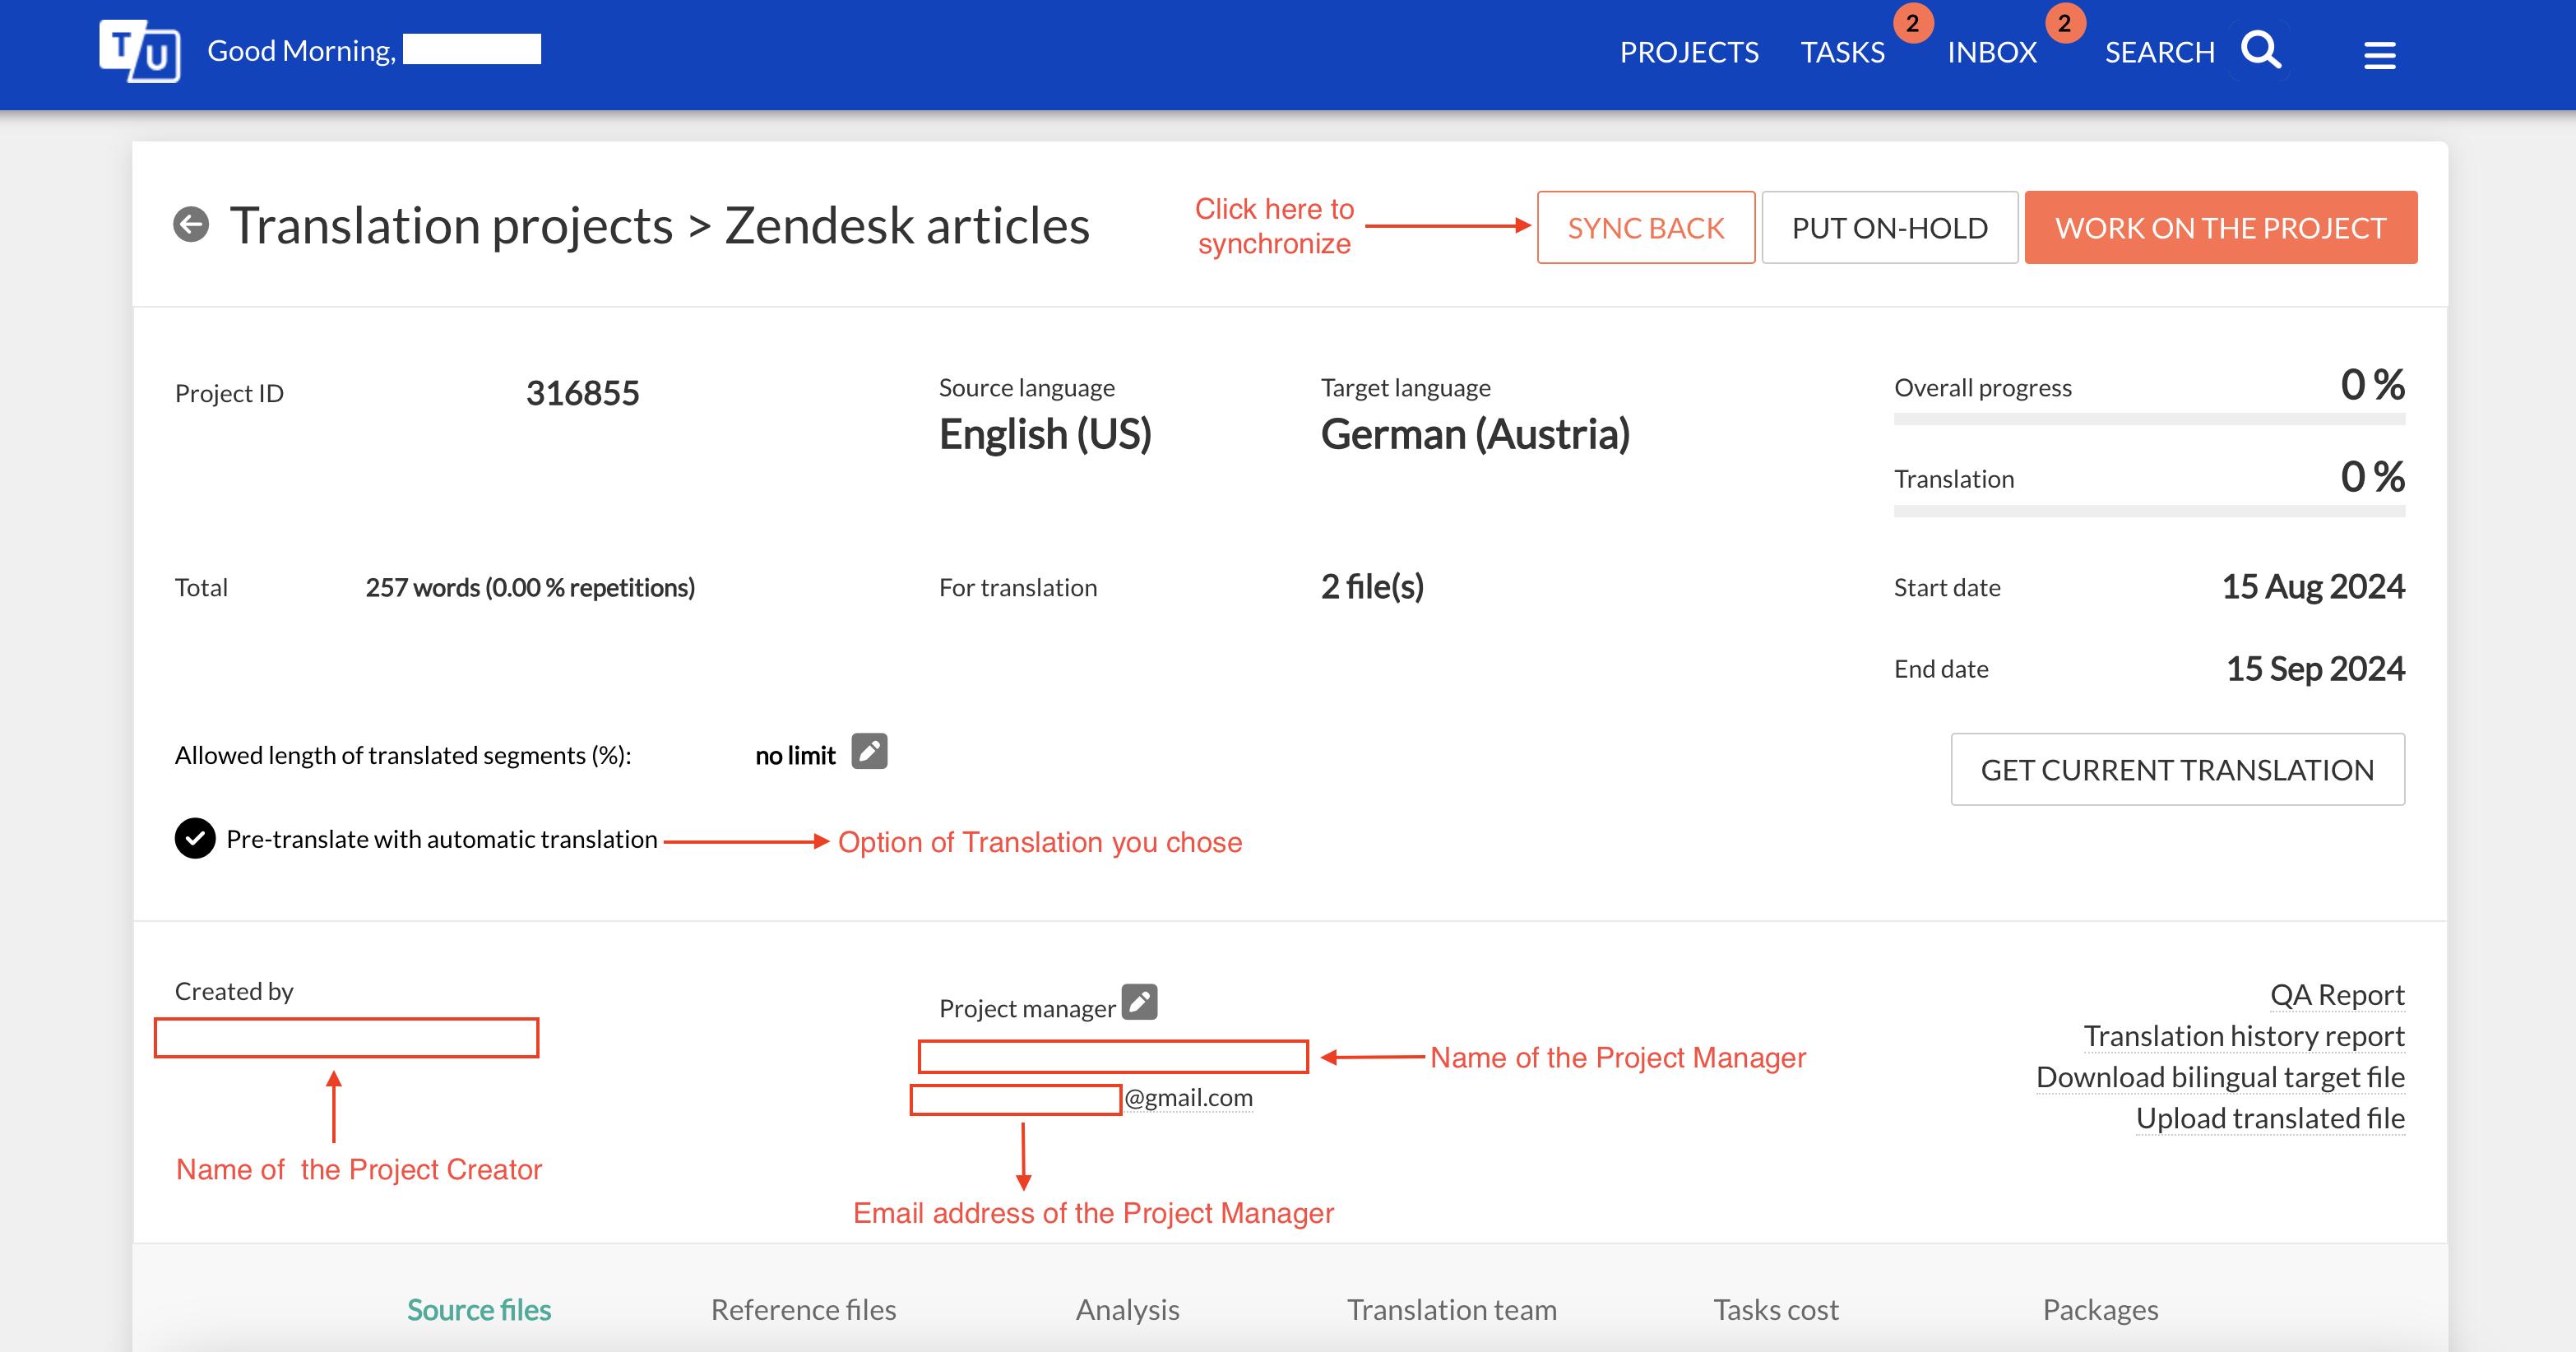
Showing the project details - Click the "SYNC BACK" button
Updated 9 months ago
