Confluence Integration
This guide walks you through the steps to integrate TextUnited with Confluence, making it easy to translate Confluence content directly within TextUnited. With this integration, you can effortlessly make your content accessible to a global audience by simplifying the translation process.
Before you begin
Ensure that you have access to both your Confluence instance and a TextUnited account. If you don't have a TextUnited account, you can create one by referring to this guide for registering and creating an account.
Step-by-Step Integration Process
Initial Steps
Step 1: Log into Your Confluence Instance
Navigate to your Confluence workspace and log in with your credentials.
Step 2: Install TextUnited App
- Click the Apps dropdown menu and select "Find new apps".
- Search for "TextUnited translation integration for Confluence" and click "Learn more" to be redirected to the TextUnited service page.
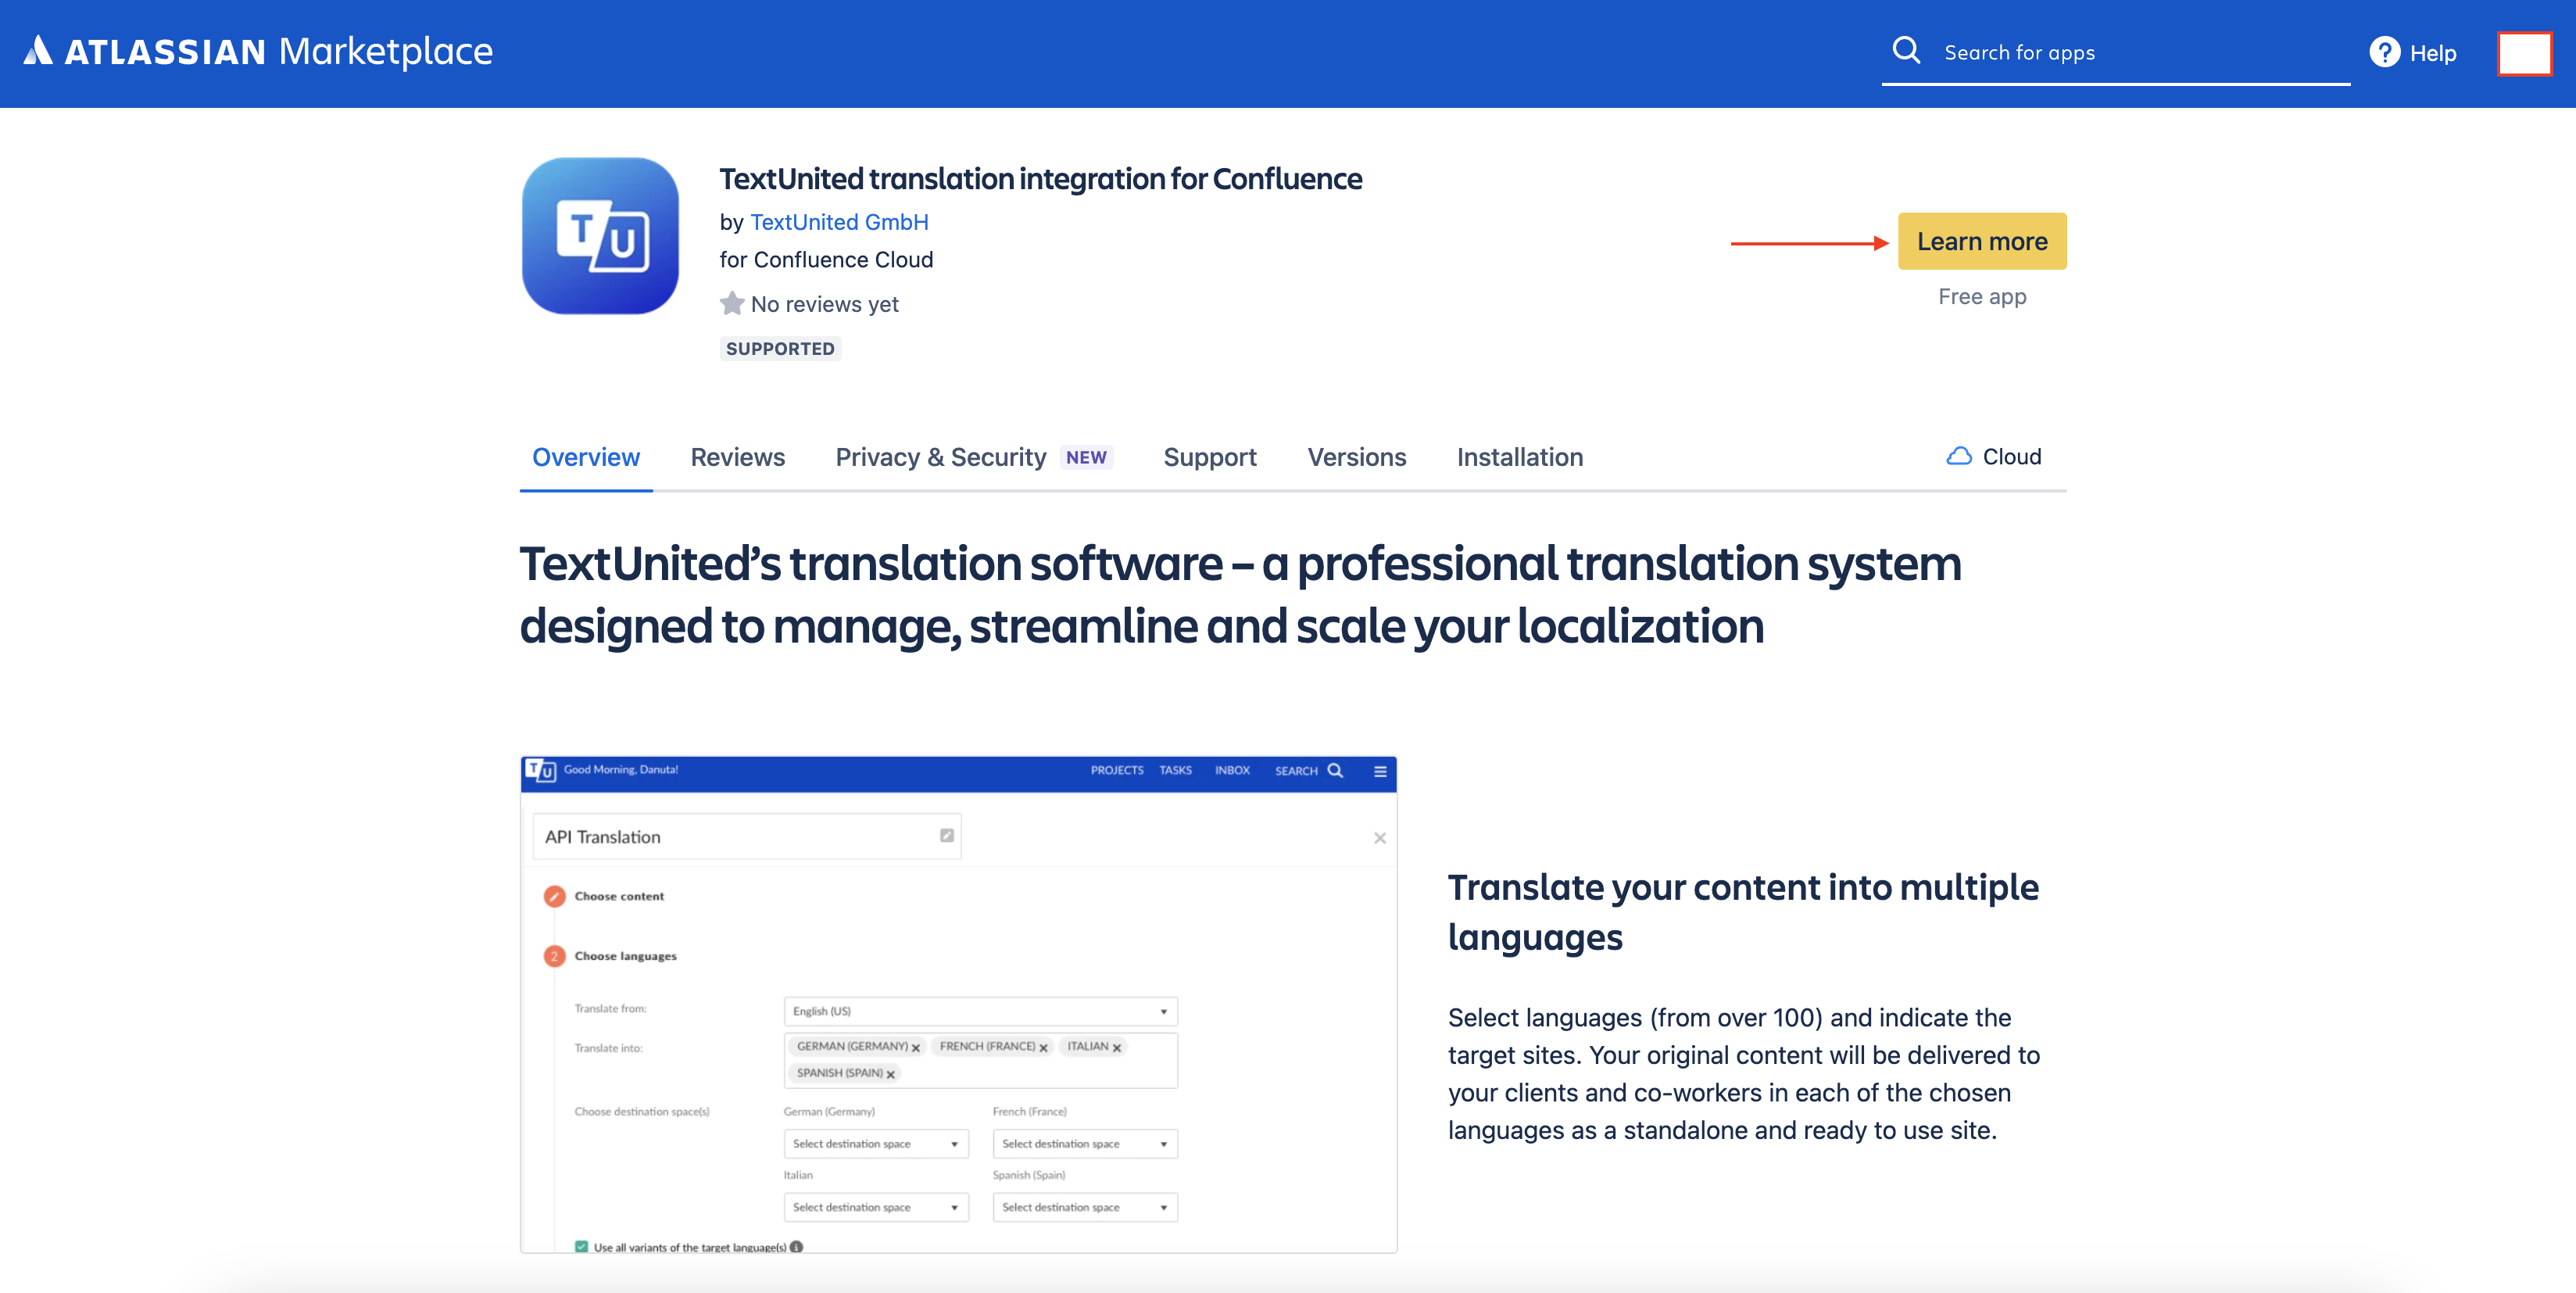
Showing the "Learn more" button
- On the TextUnited service page, click "GET FREE TRIAL":

Showing the "GET FREE TRIAL"
Step 3: Sign Up for TextUnited
- To start a free trial, create a user account in TextUnited. Follow the prompts to continue the integration.
Guide on Signing Up
Refer to this detailed guide to sign up for TextUnited.
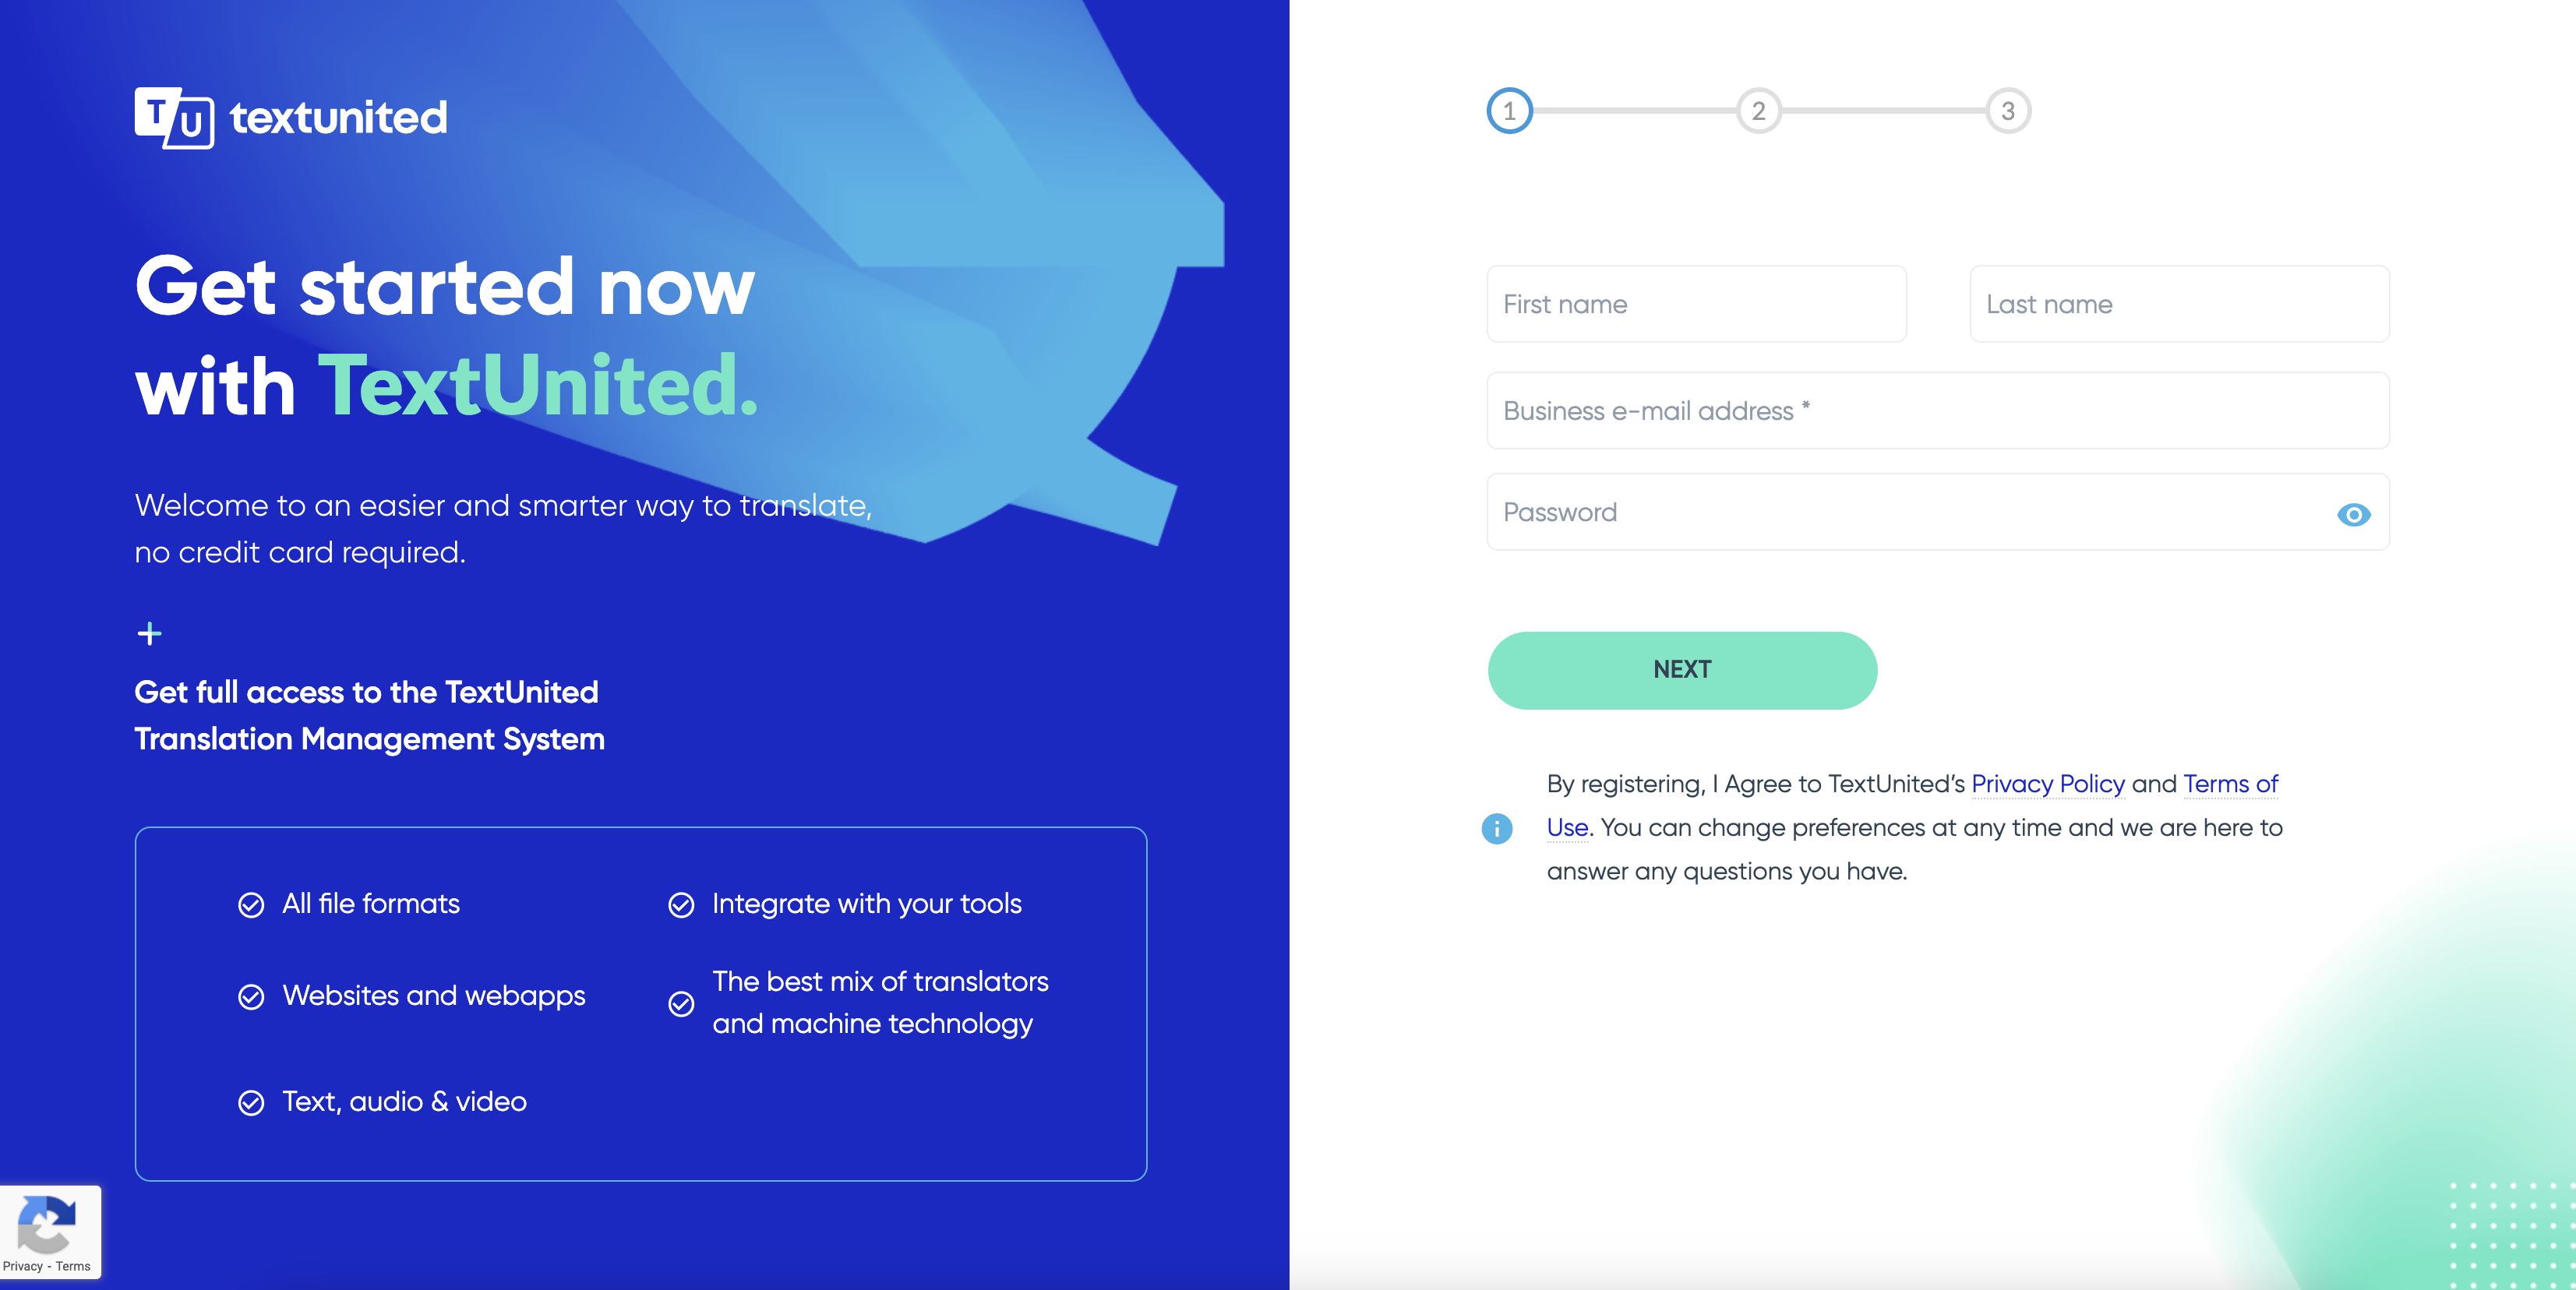
Fill form for free trial
Step 4: Start a New Project
- After logging in to TextUnited, click "Start a new project" and then select the Confluence integration icon.
Guide to Logging In
For guidance, refer to the Logging In documentation to learn how to log into your account.

Confluence Integration icon
Step 5: Authorize Confluence Connection
Authorize the connection to your Confluence site. If you have multiple sites, select the appropriate one and click "Accept":
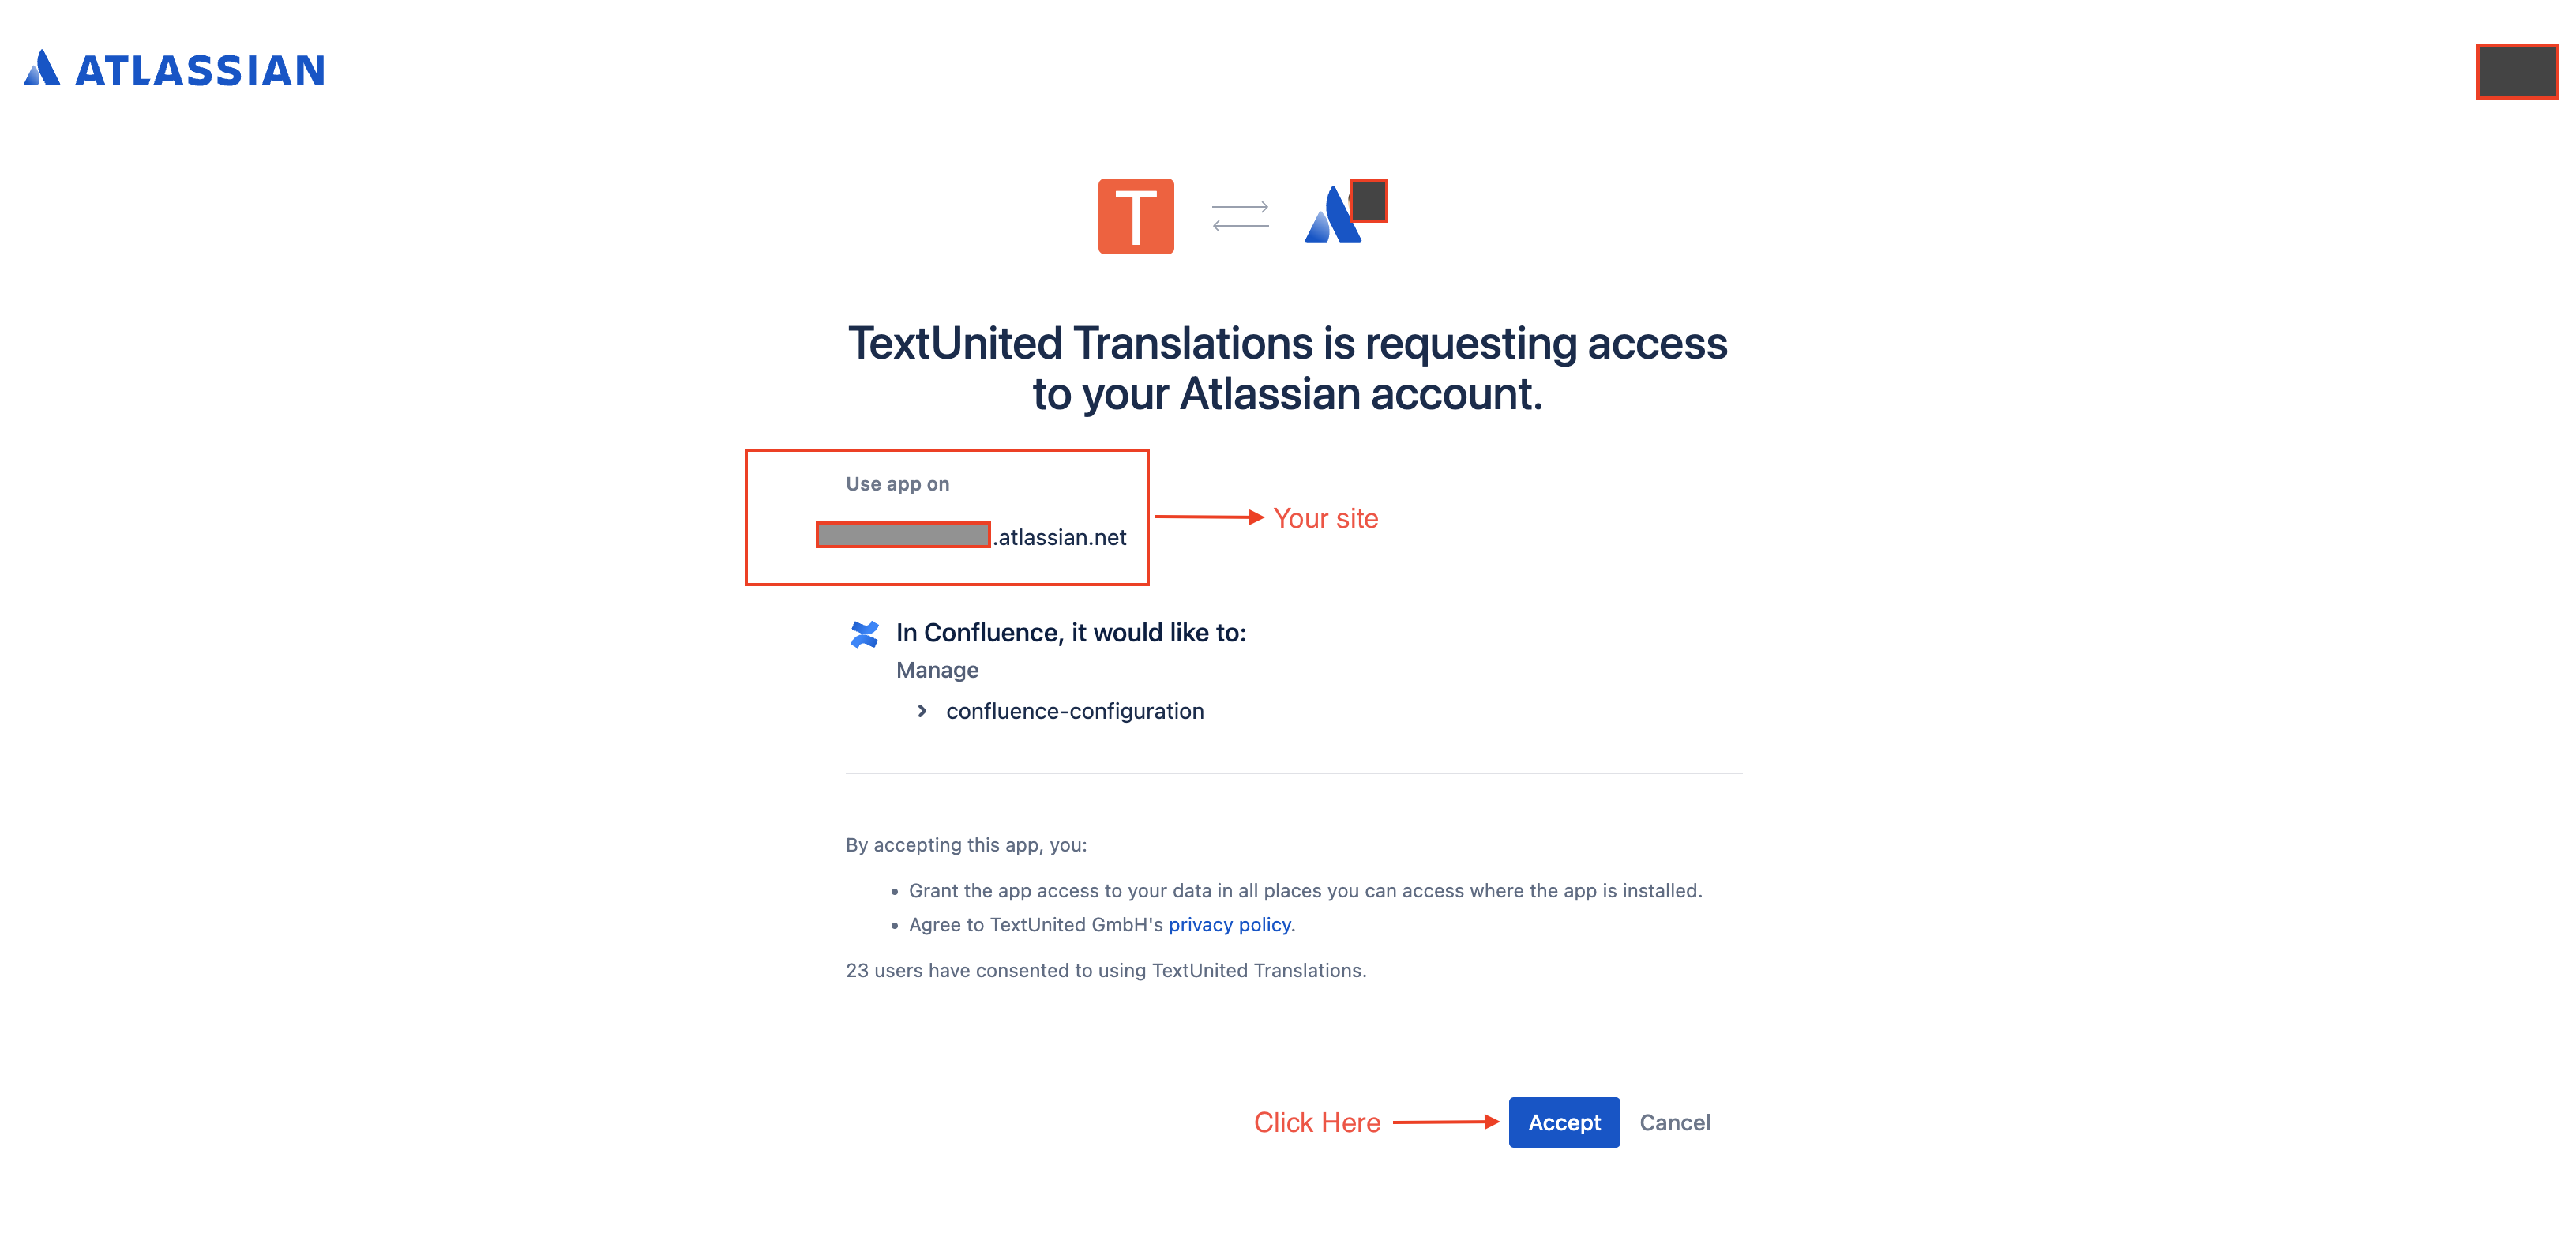
Click "Accept" to authorize the connection to your Confluence site
Detailed Project Configuration
Step 6: Enter Project Details
- Enter a project name.
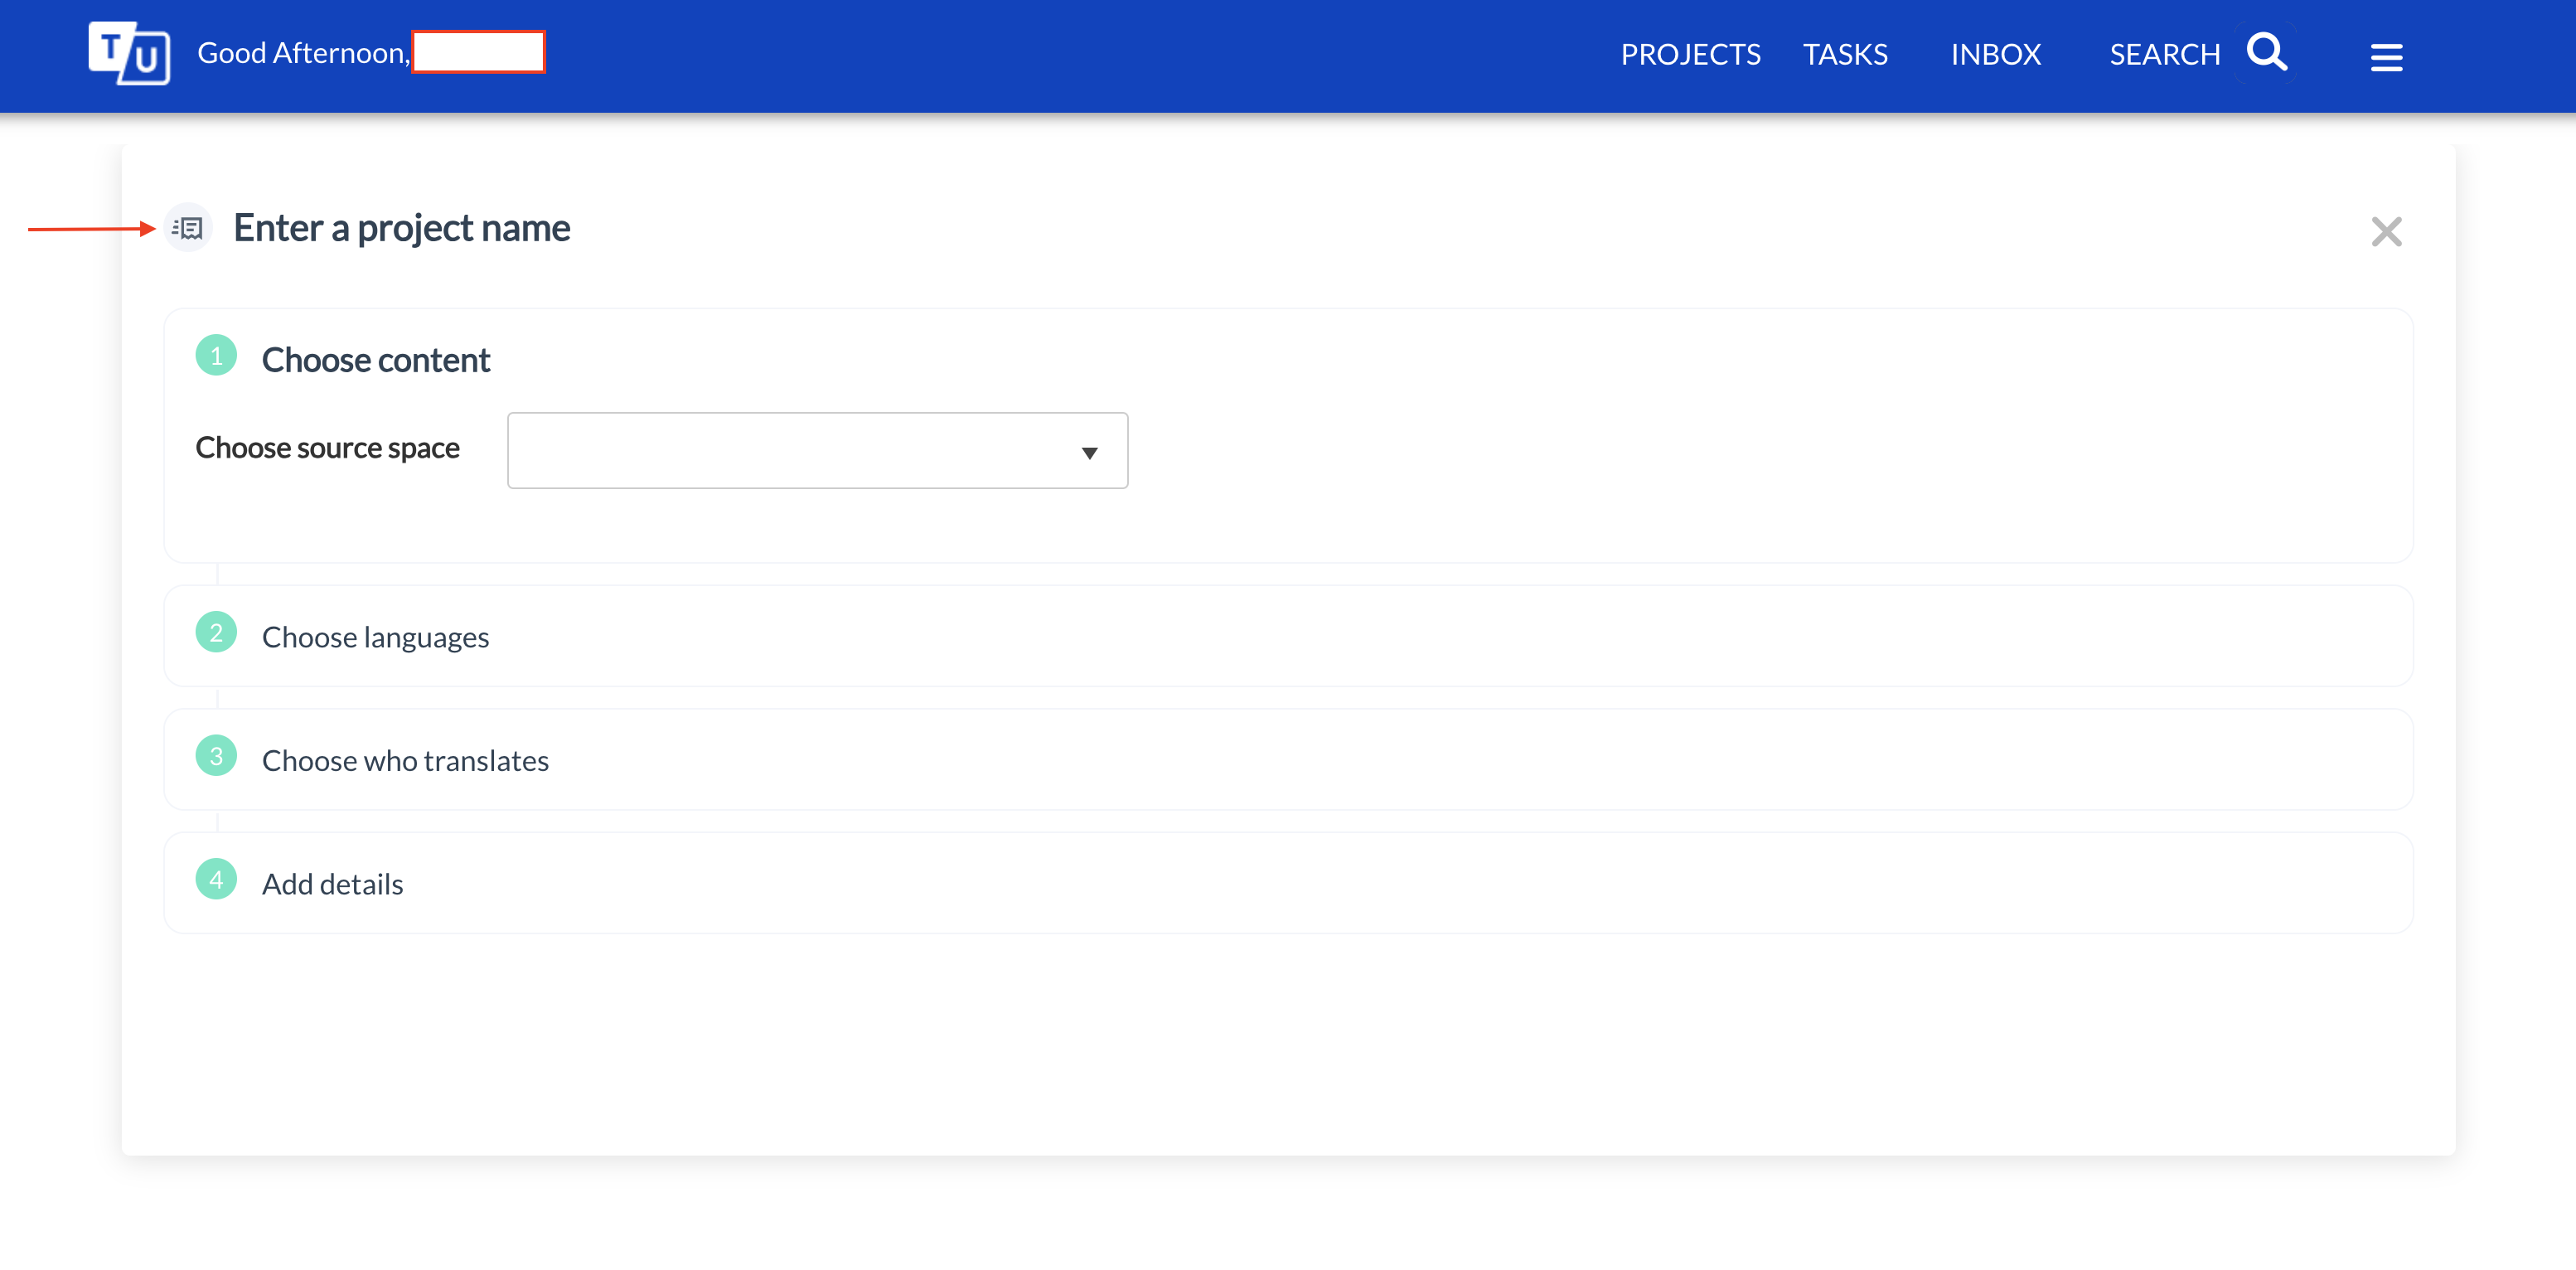
Enter a project name
- Choose whether to translate "All pages" or "Only specific pages". If selecting specific pages, your Confluence pages will be listed for you to choose from.
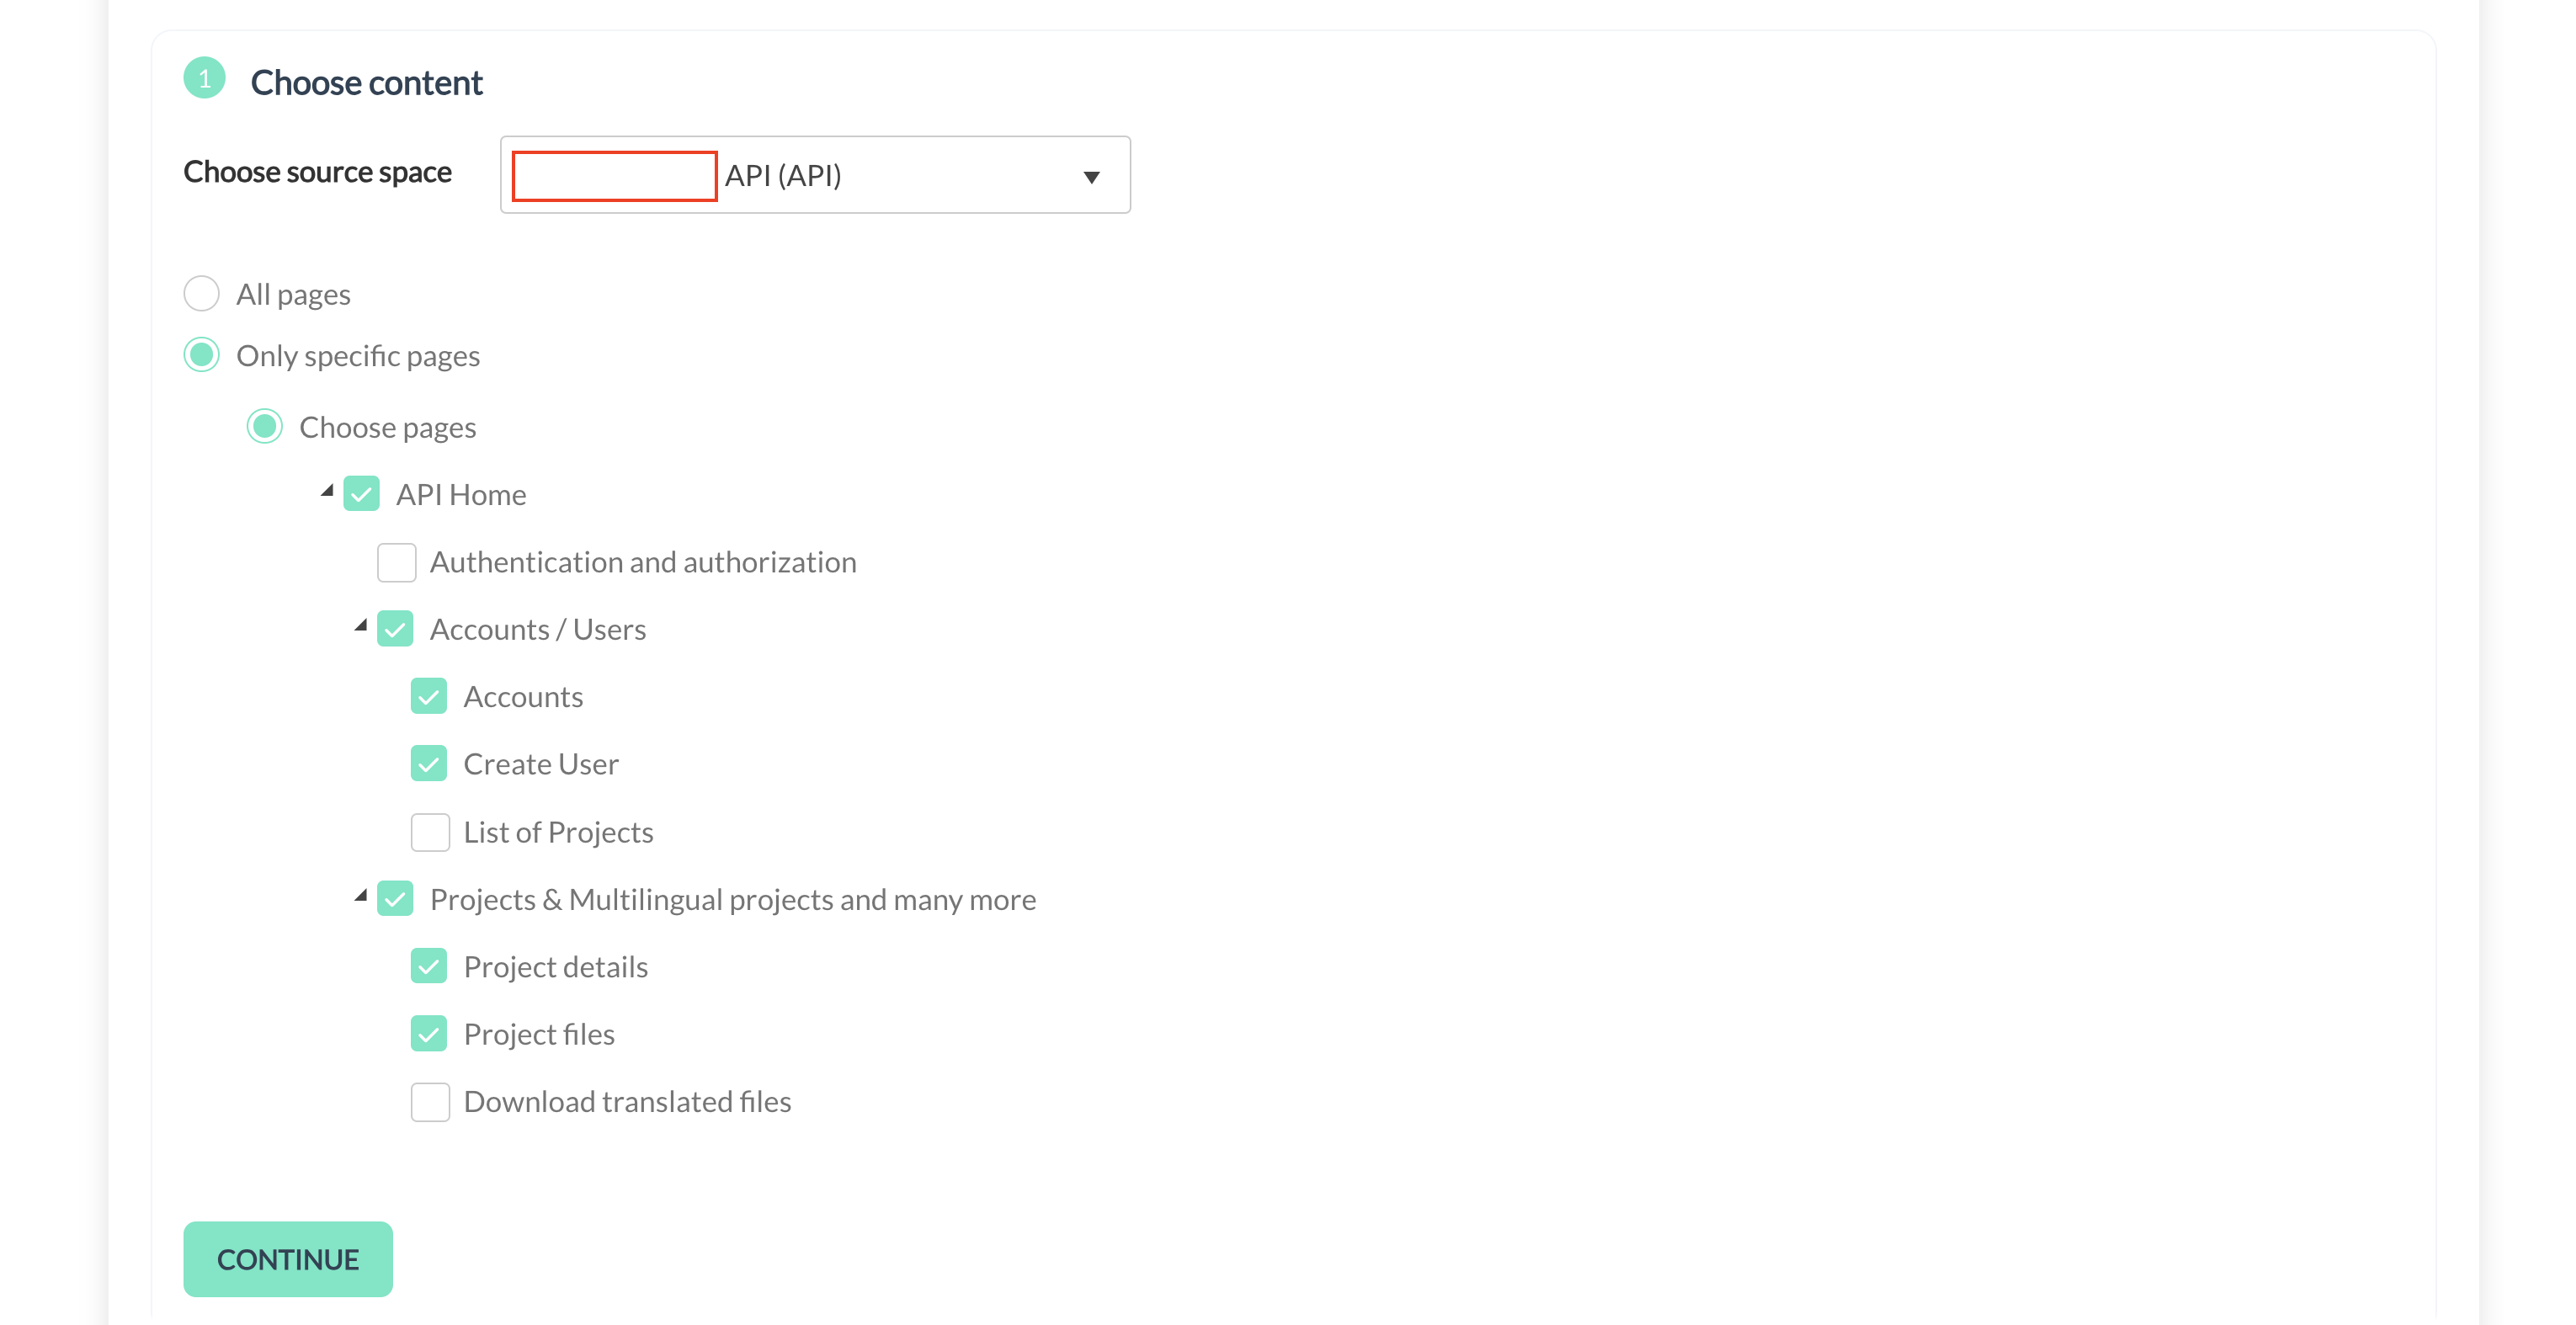
Choose the content you want to translate
Step 7: Select Languages
Select the source and target languages. Choose a destination space for the translated content from the dropdown list displaying all your Confluence spaces.

Choose languages
Hint: Creating Destination Spaces
It's advisable to create destination spaces in advance for the translated versions of your site. Your original documentation will be translated and saved there.
Step 8: Choose Translation Service
- Select "ME & MY TEAM" if you plan to handle the project yourself. Choose "PROFESSIONAL FULL SERVICE" for TextUnited to manage the translation (a paid service).
- For "ME & MY TEAM", you can pre-translate content with automatic translation and review it yourself or with a teammate or freelance translator. Alternatively, select "Pre-translate using translation memory" to reuse only human translations.
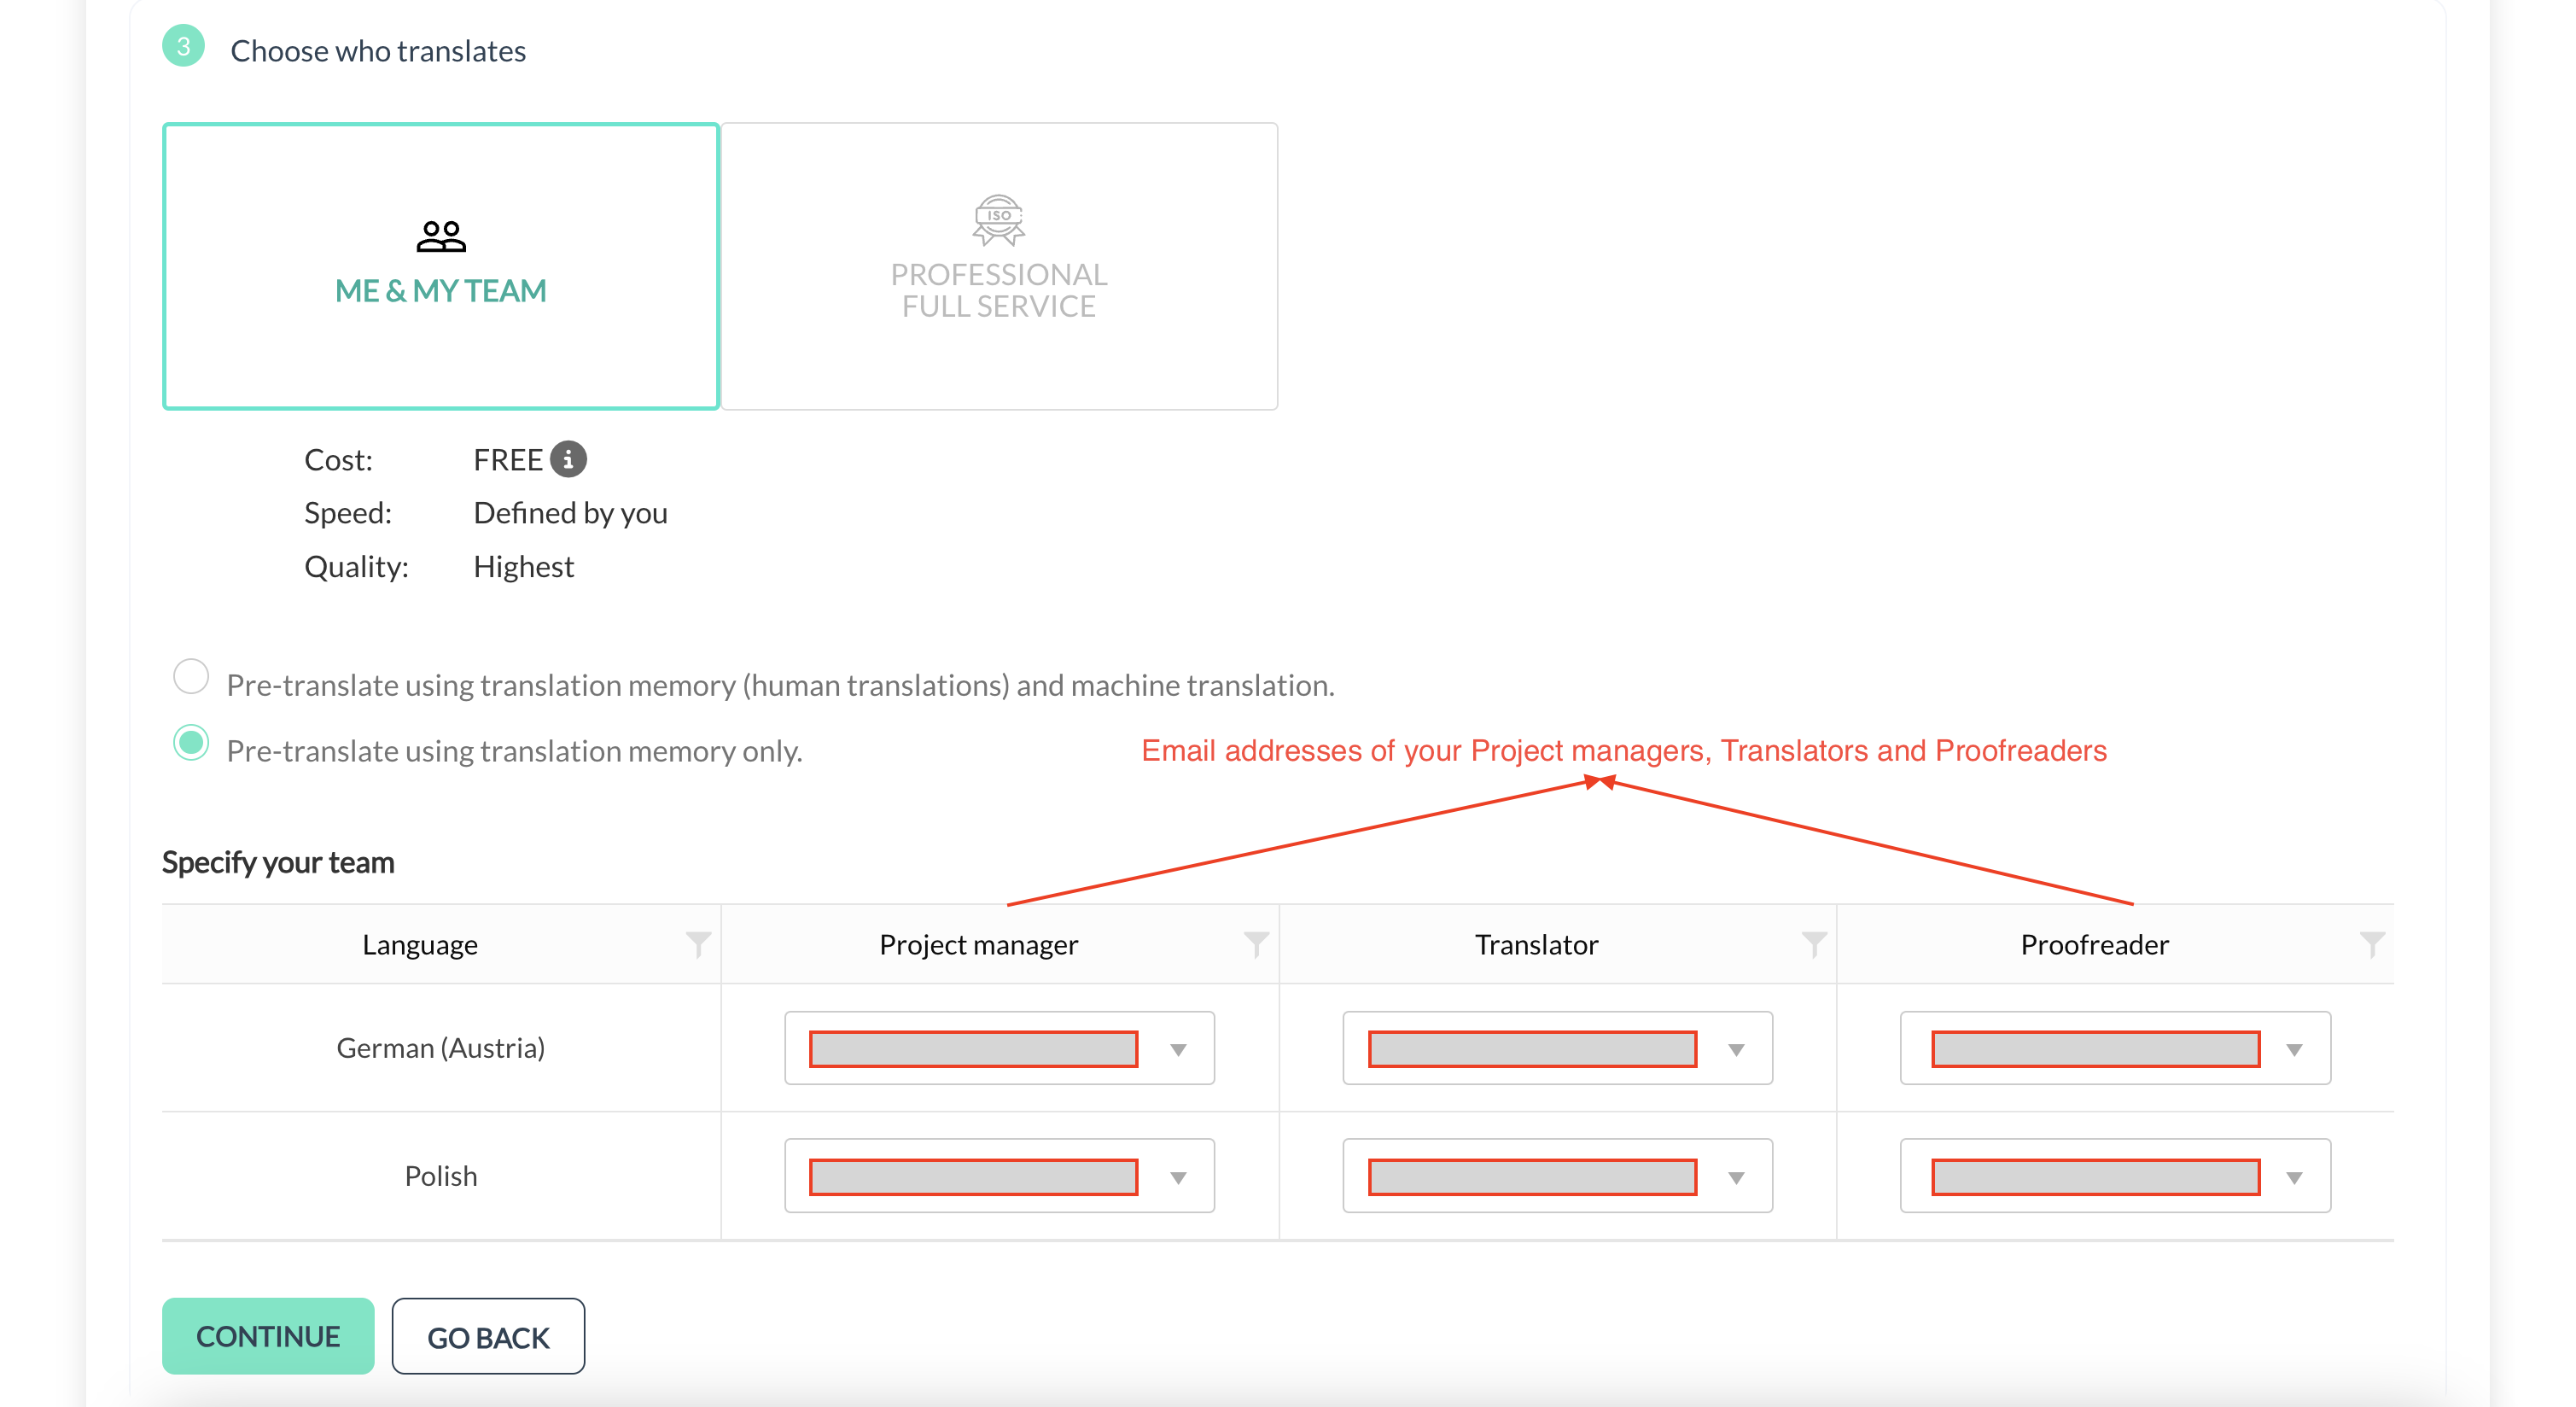
Choose who translates
Step 9: Create the Project
- Click "CREATE A PROJECT". The project will be created, and you'll see it listed among your projects shortly.
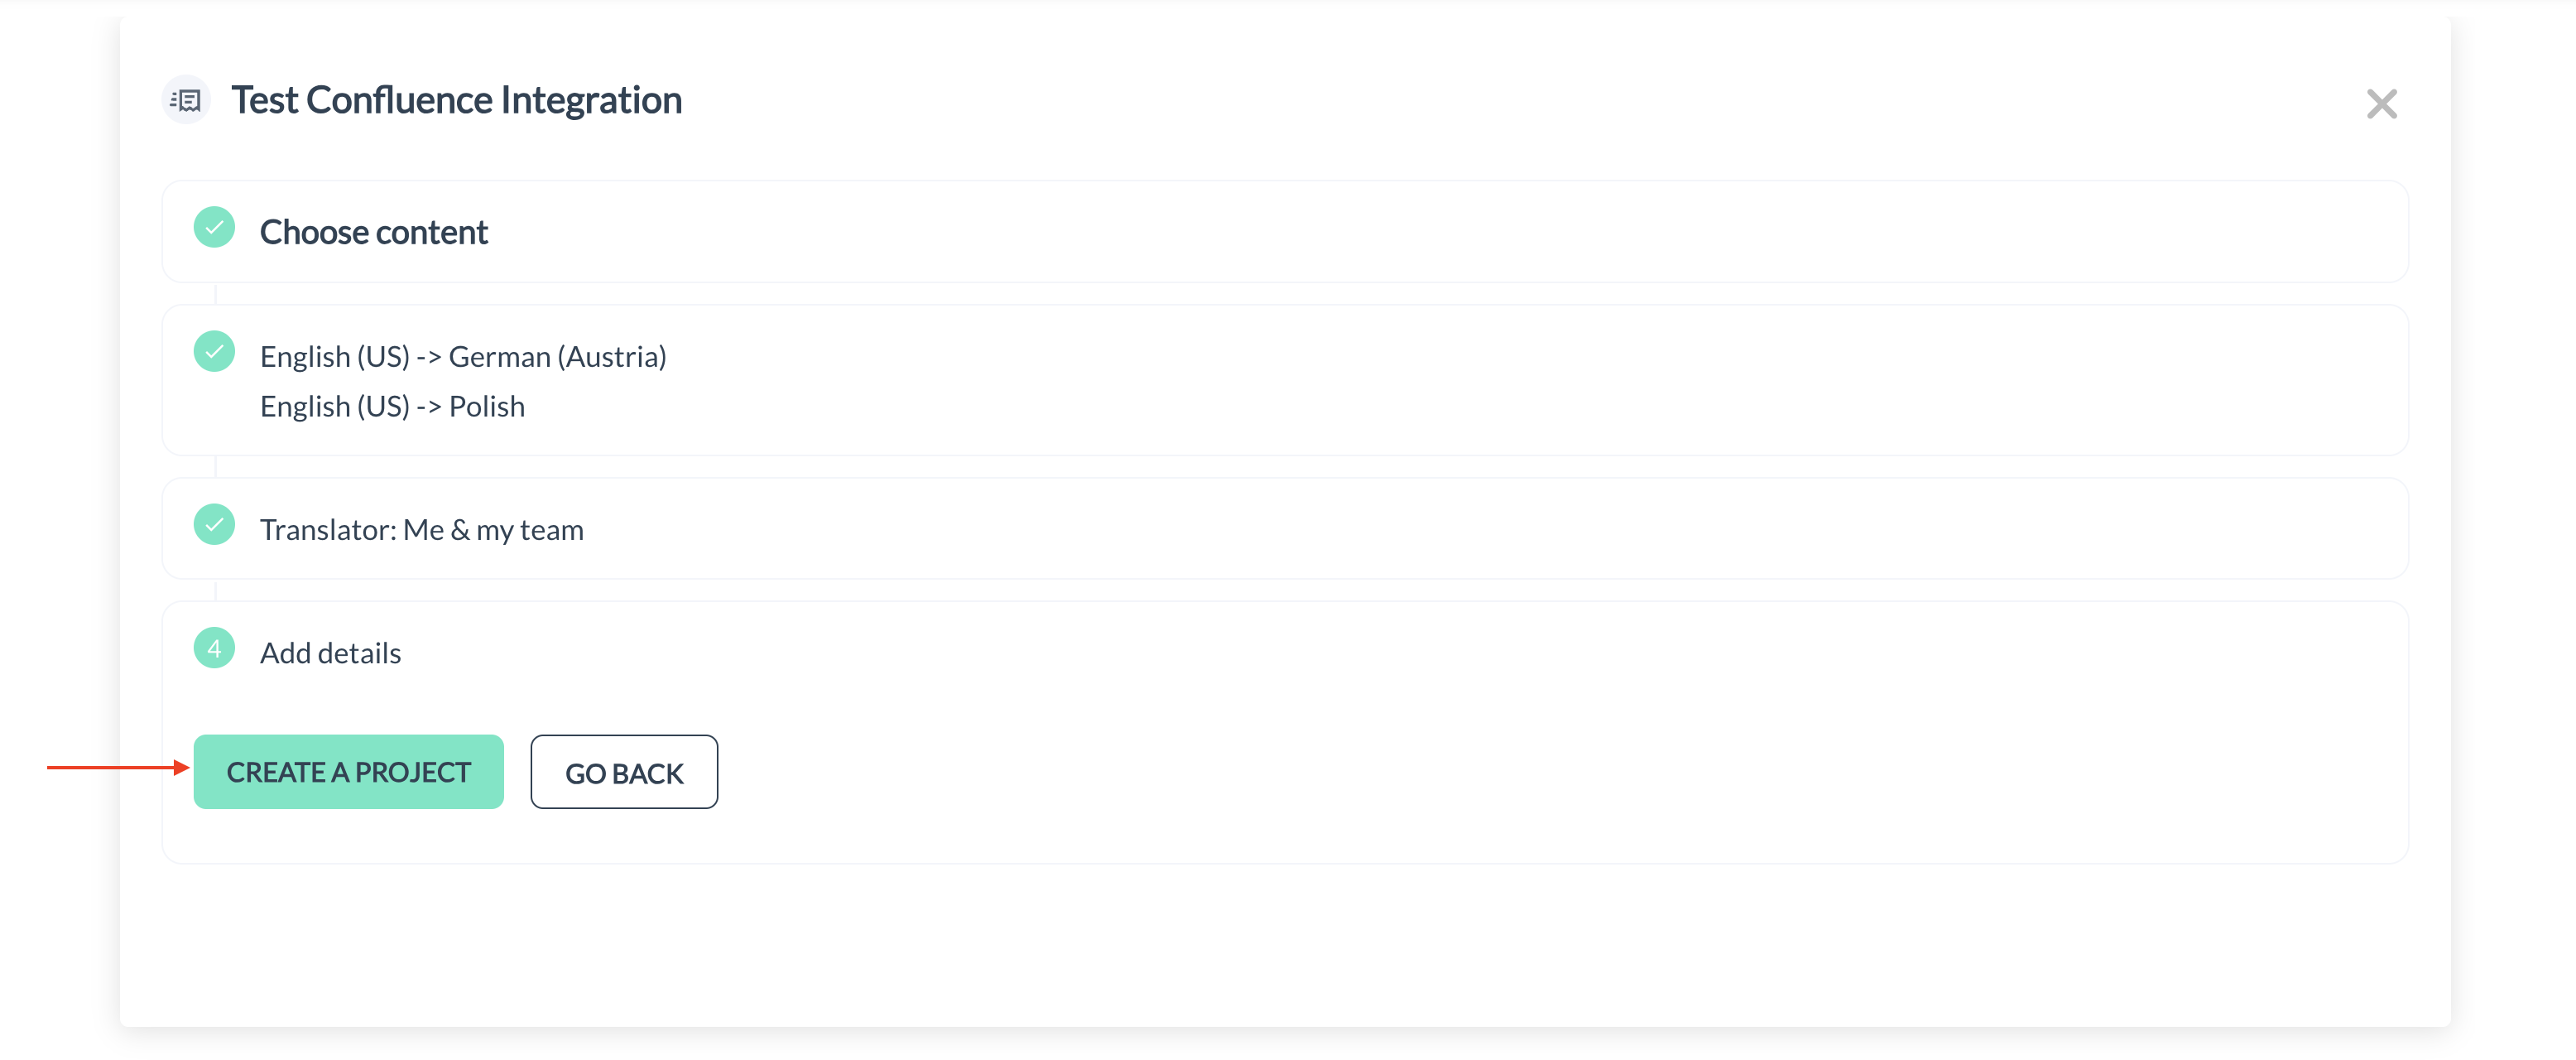
Click "CREATE A PROJECT"
- Once you click the "CREATE A PROJECT" button, a modal will open. Choose either "DEFAULT" or "MANUAL" depending on your preference.
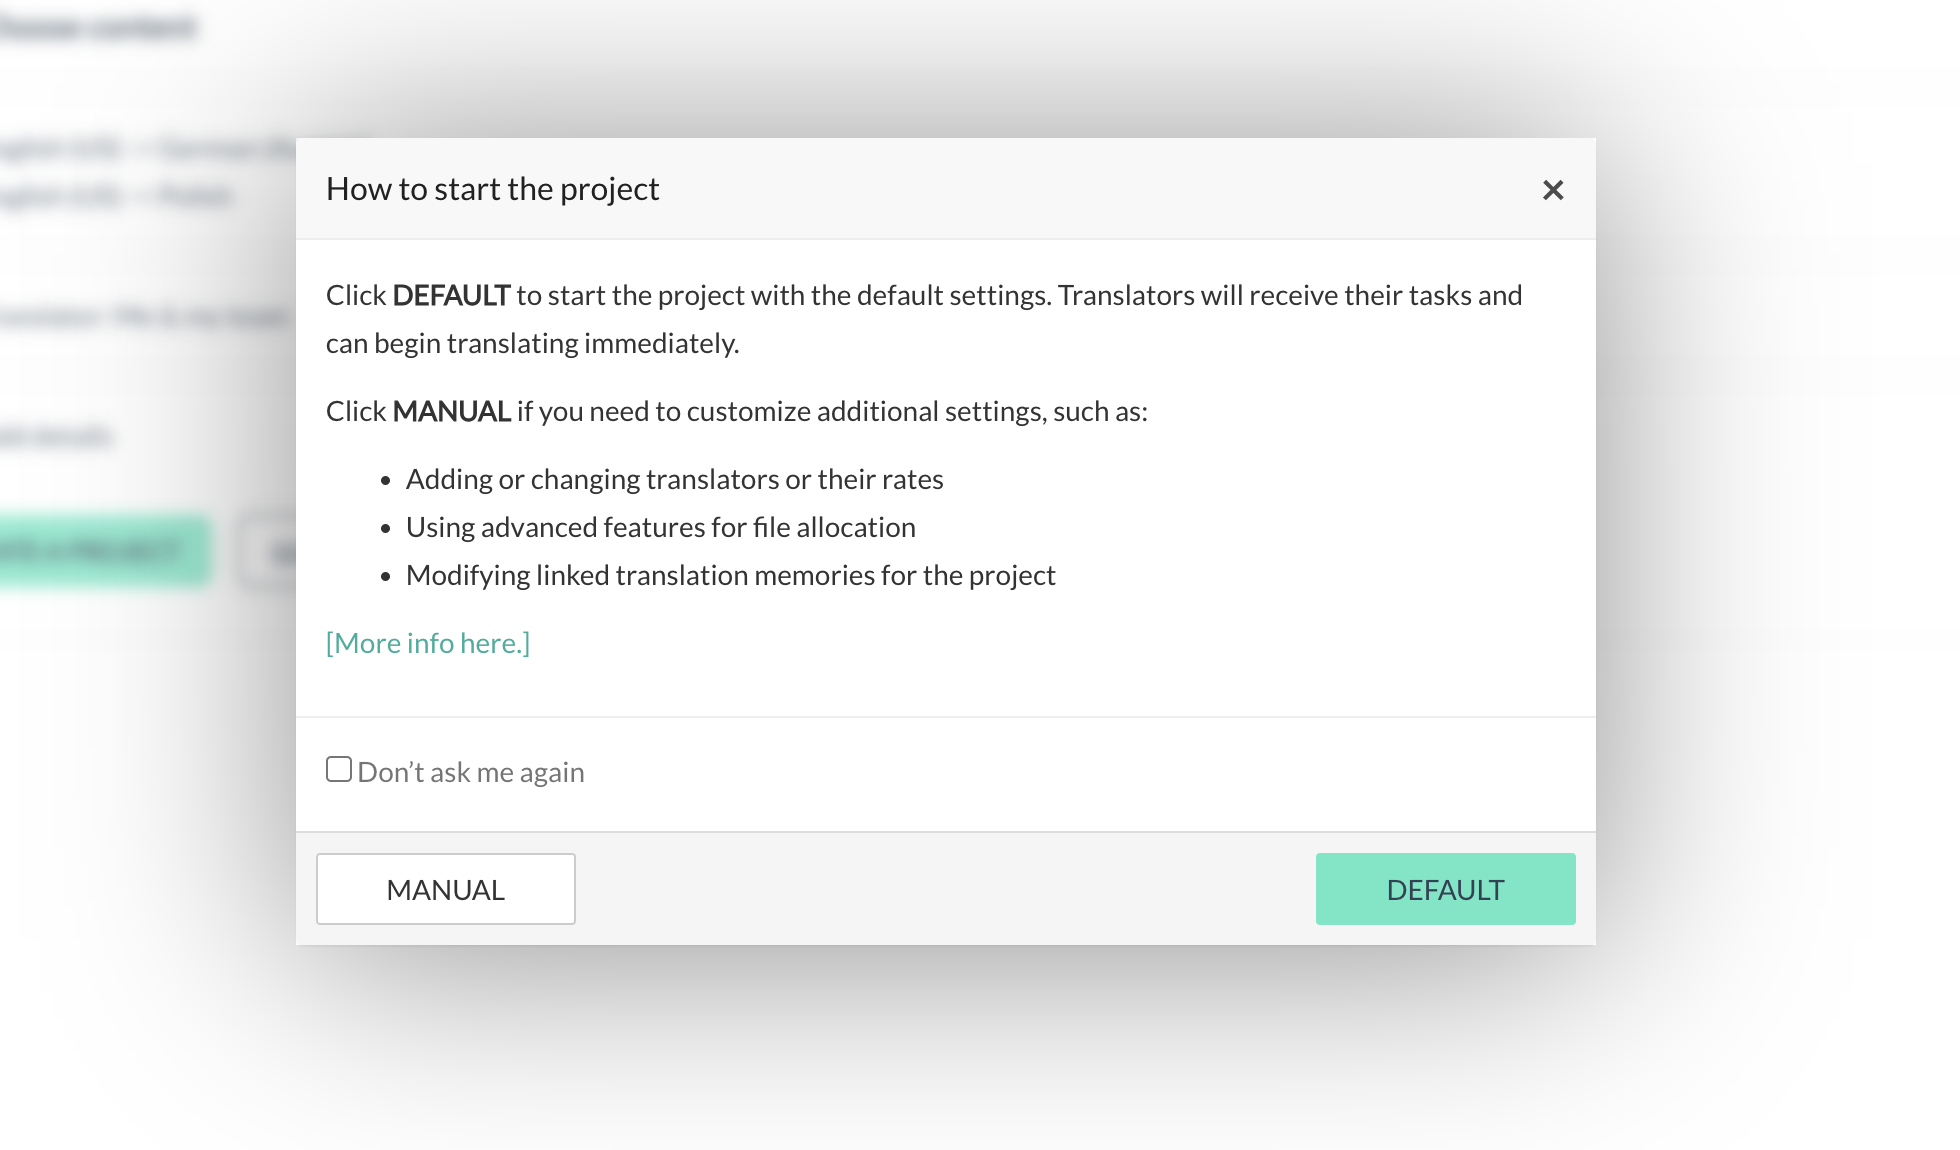
Showing the "DEFAULT" and "MANUAL"
- Your project will start, and you'll see the following loading information. Please wait for it to finish loading.
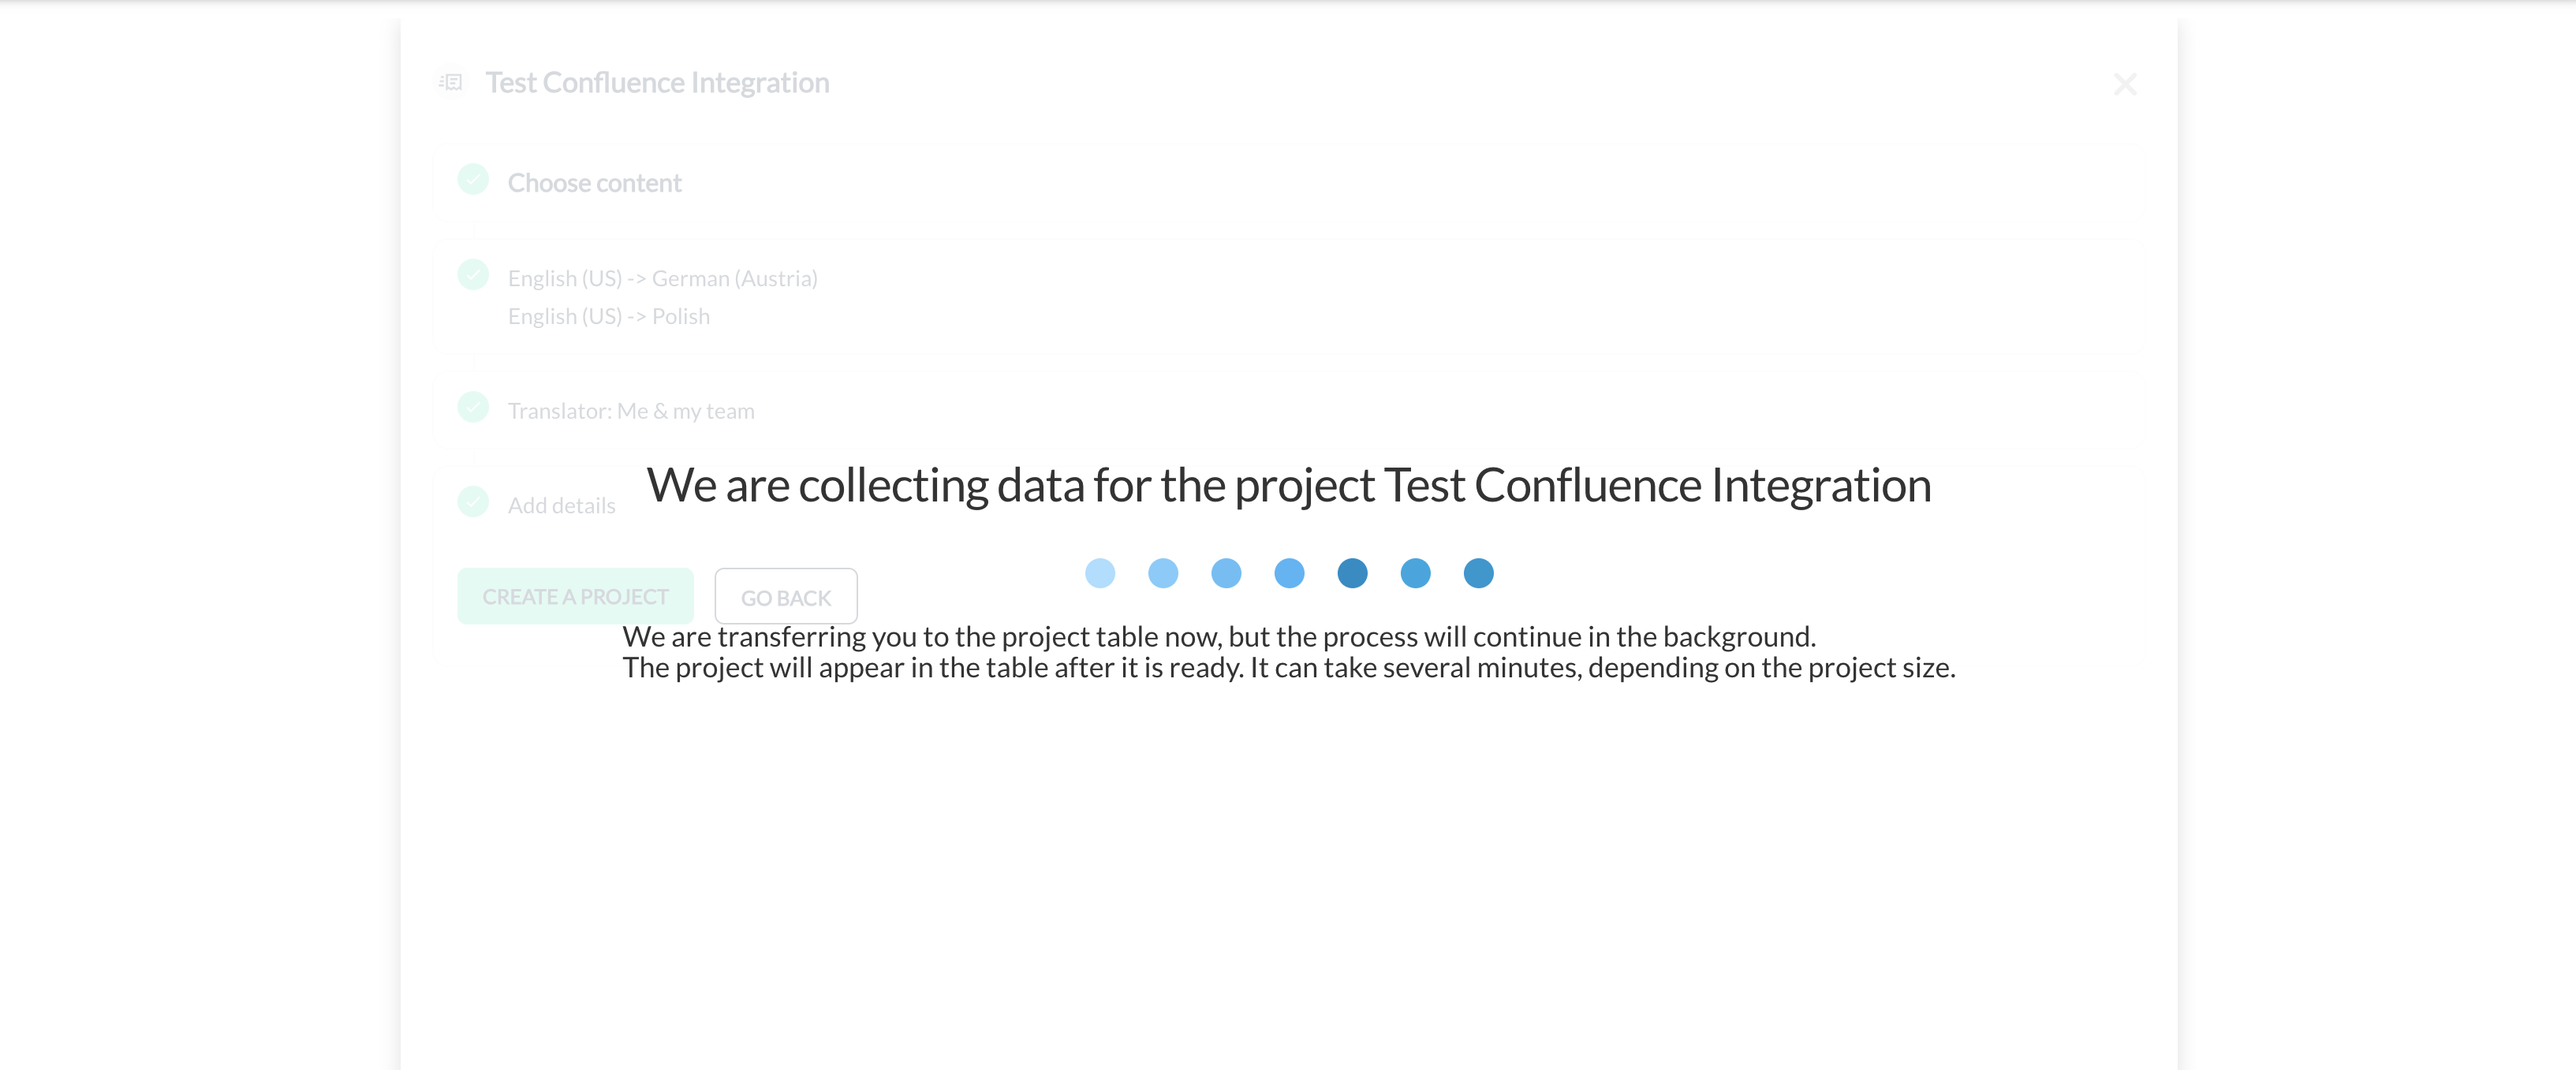
Starting a project
- After your project has been successfully created, you will find it under the Confluence tab
Working on the Project
Step 10: Review and Work on the Project
- Click the project name to view its details
- Click "WORK ON THE PROJECT" to start working on the project.
- Navigate to the article you wish to translate and click "Translate".
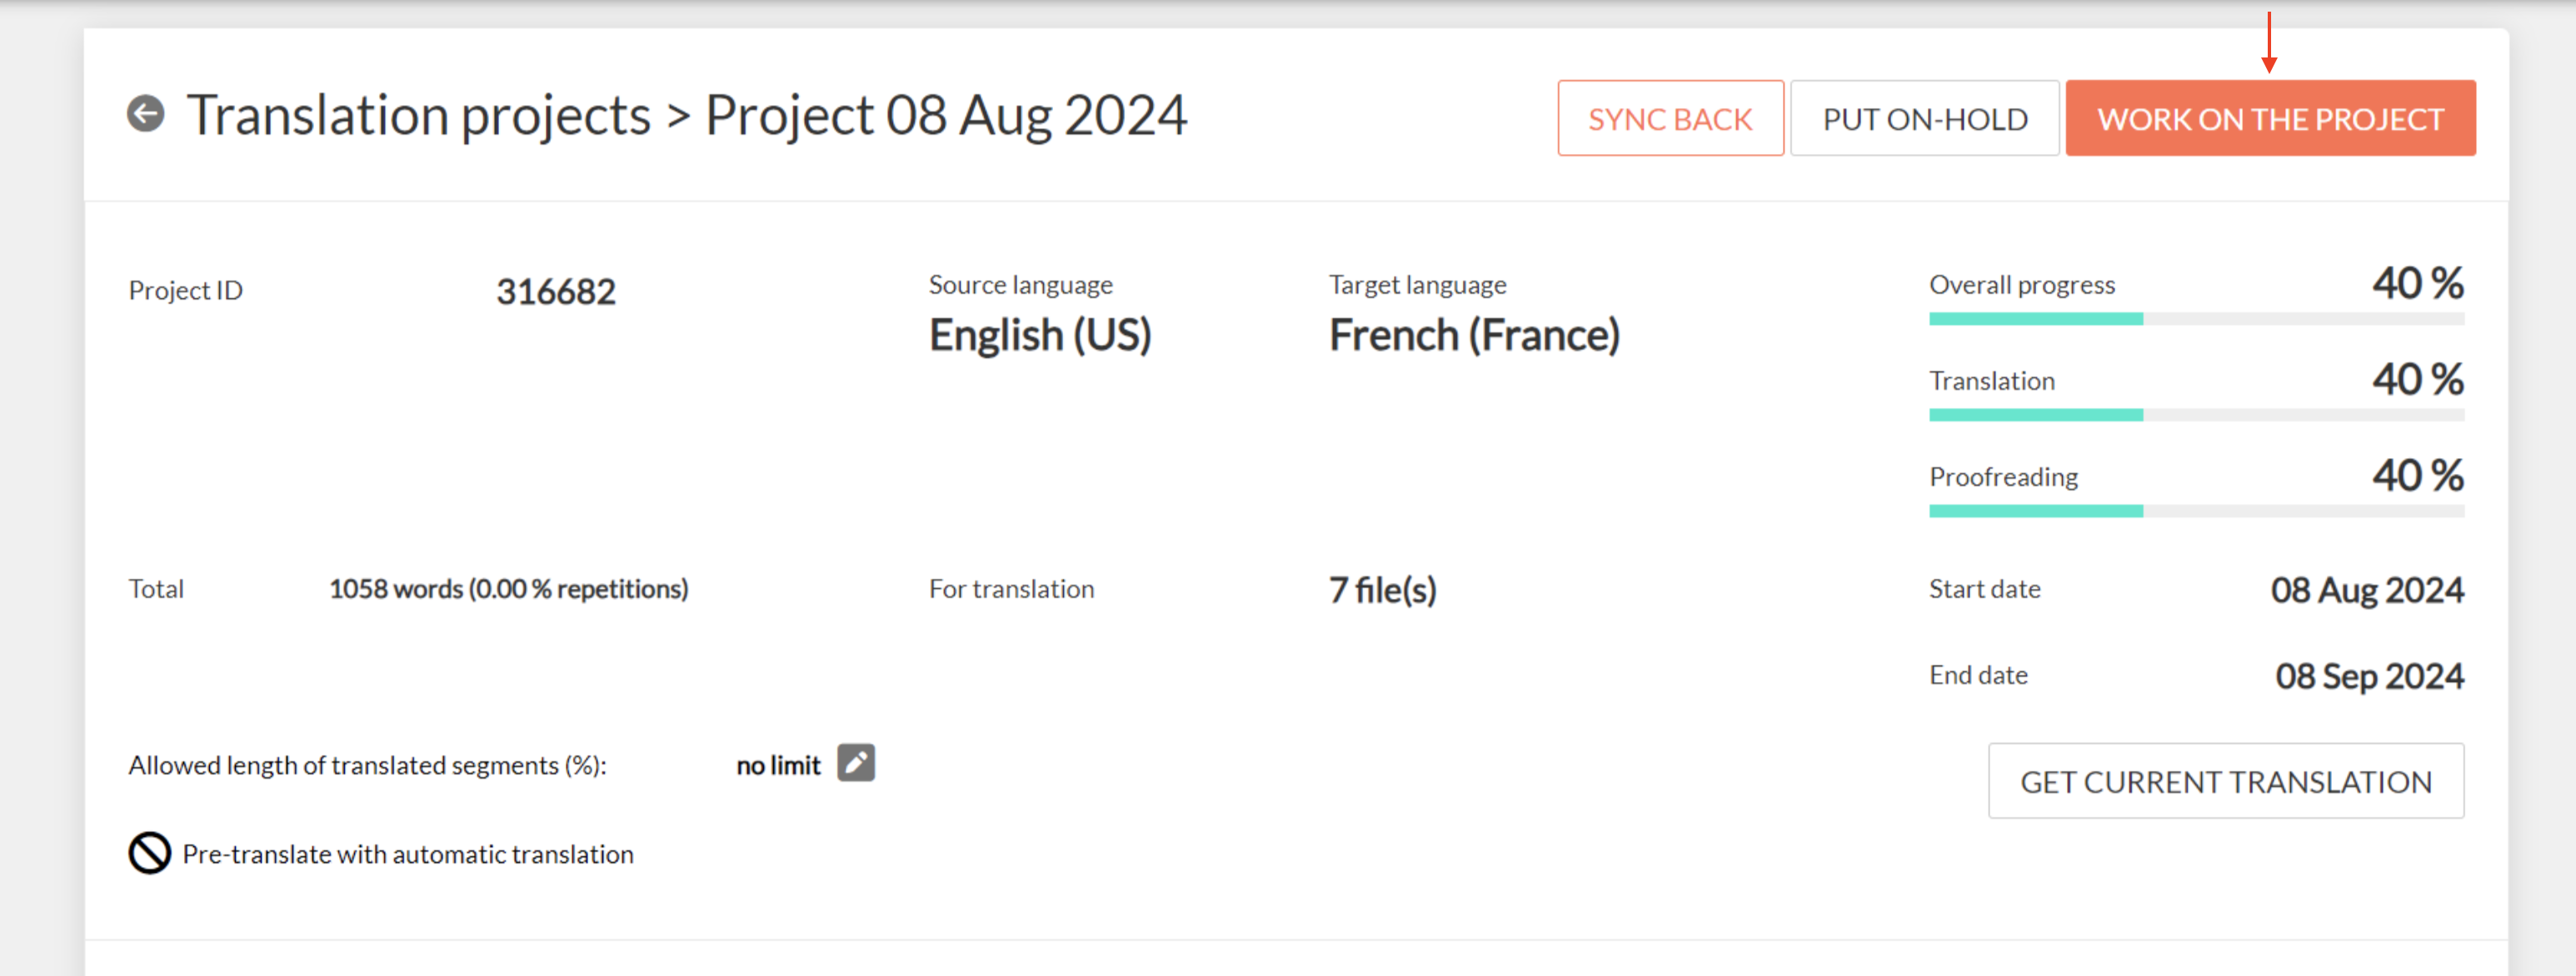
Work on the project
Step 11: Edit and Sync Translations
- In the translation editor, edit the translated content as needed.
- Once finished, go to the project details and click "SYNC BACK" to send the translated content back to Confluence.
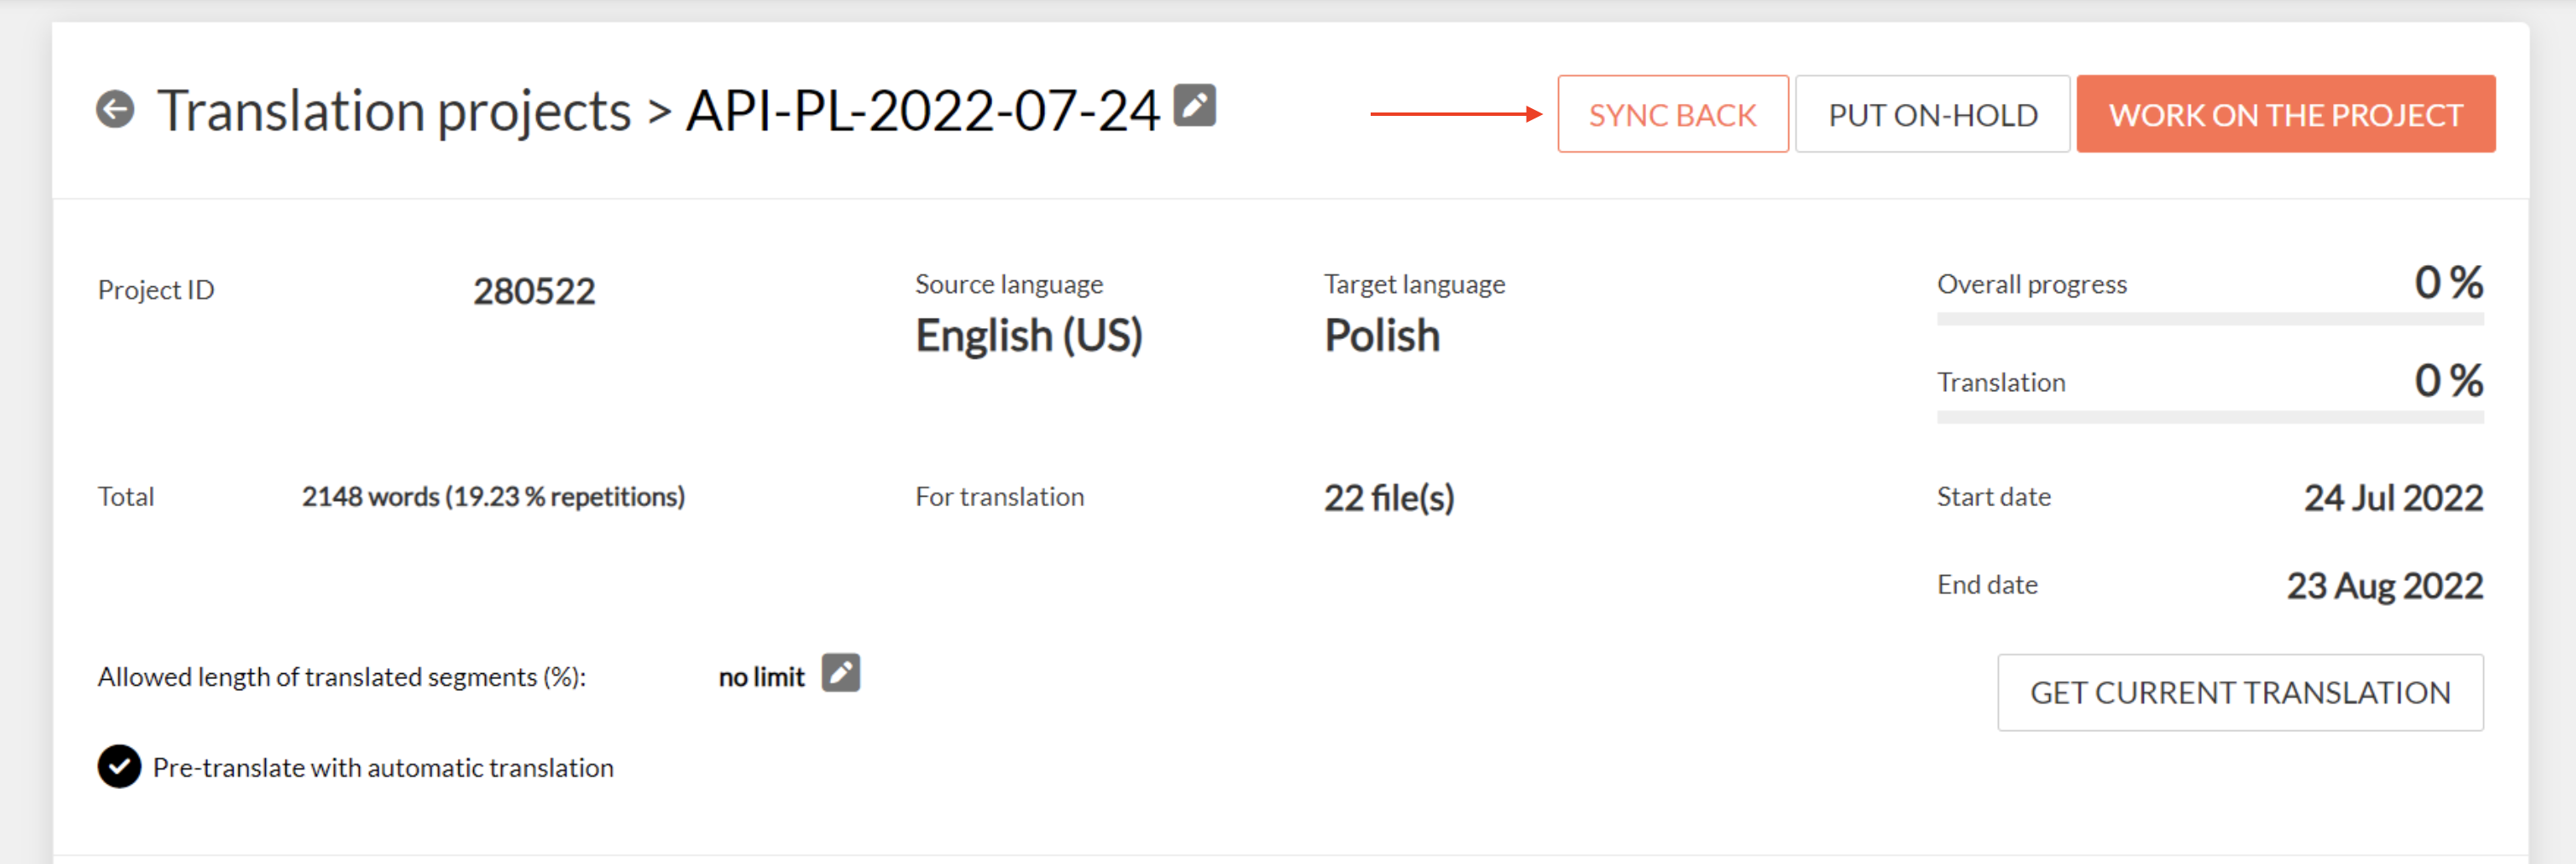
Sync back
Managing Connected Sources
Once you've created a Confluence project, a connected source is automatically created. Go to the top-right, click the hamburger menu, and then select "Connected sources":
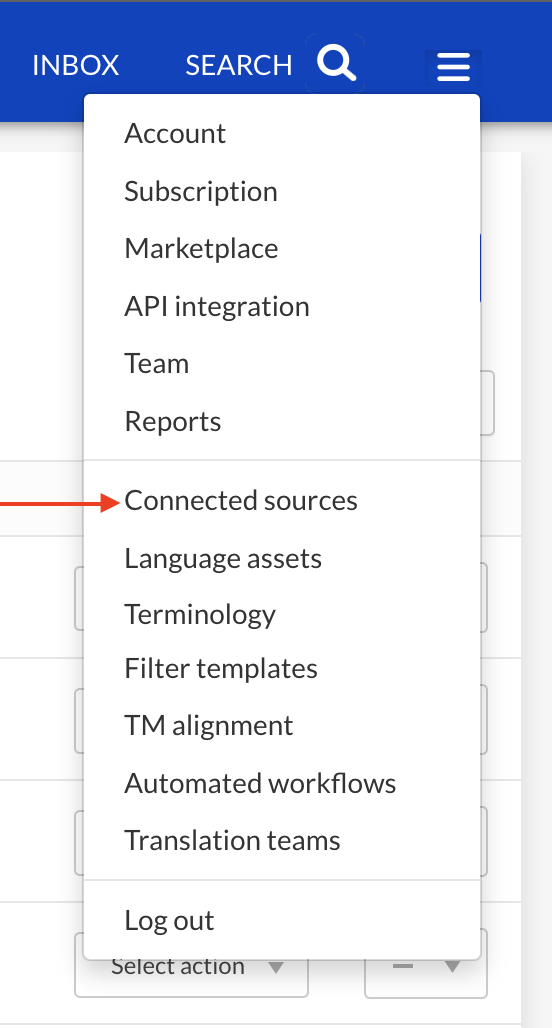
Click "Connected sources"
Each connected source in the Confluence category enables you to edit the project files, which is particularly useful when dealing with multiple languages or needing to update content post-translation.

Showing the Confluence category in the Connected sources
Step 12: Editing Source Files
- Click "Change Source Files" to add new articles or update existing ones without creating a new project.

Change Source Files
- This flexibility allows for dynamic content management, ensuring that your documentation remains current and relevant. Select your files and click "UPDATE":
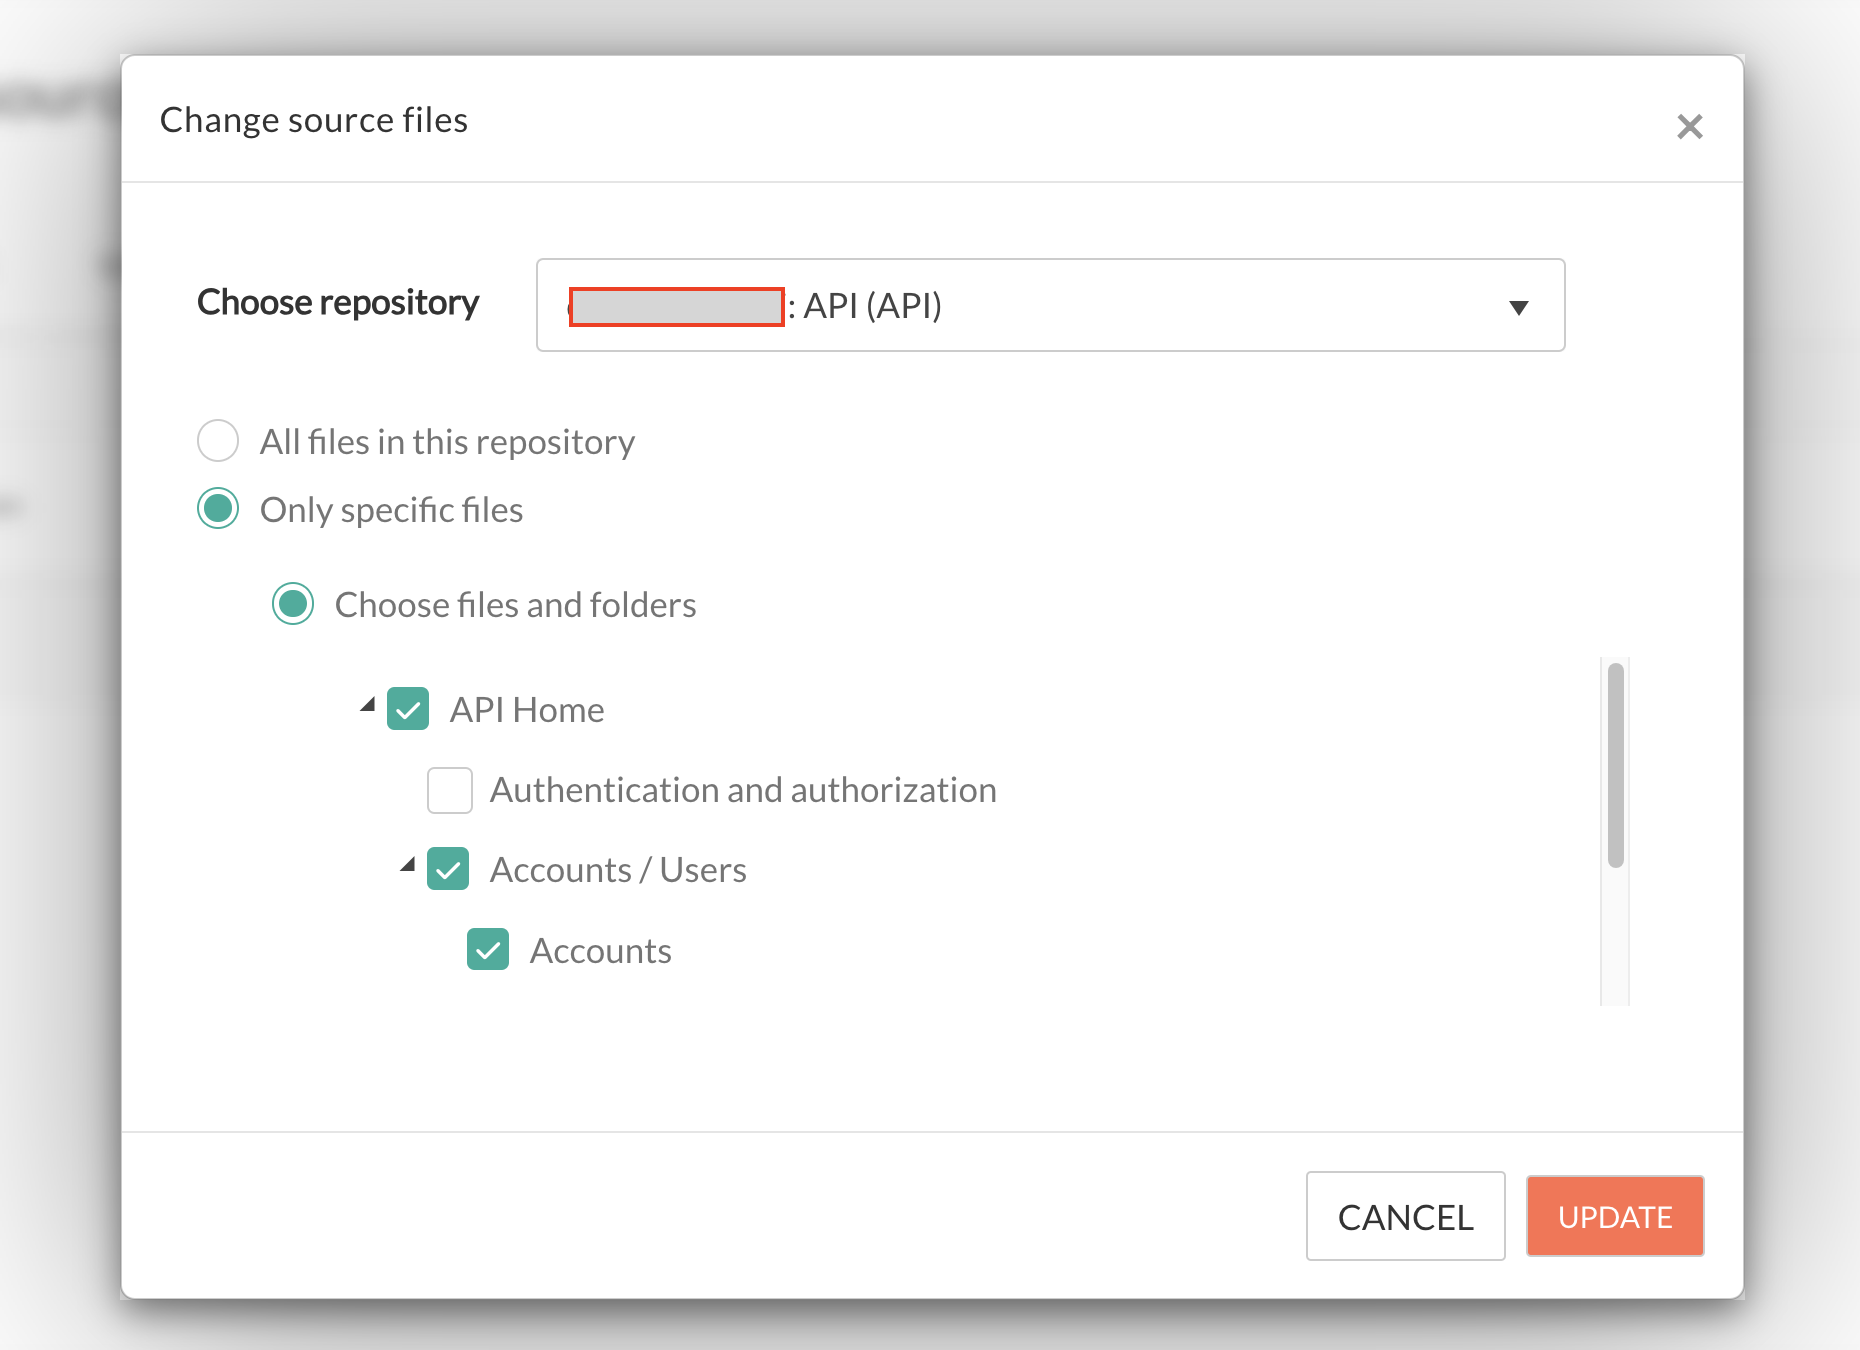
Showing where you can change your source files
- Confirm the source files you are about to change, and then click either the "CANCEL" or "UPDATE" button.
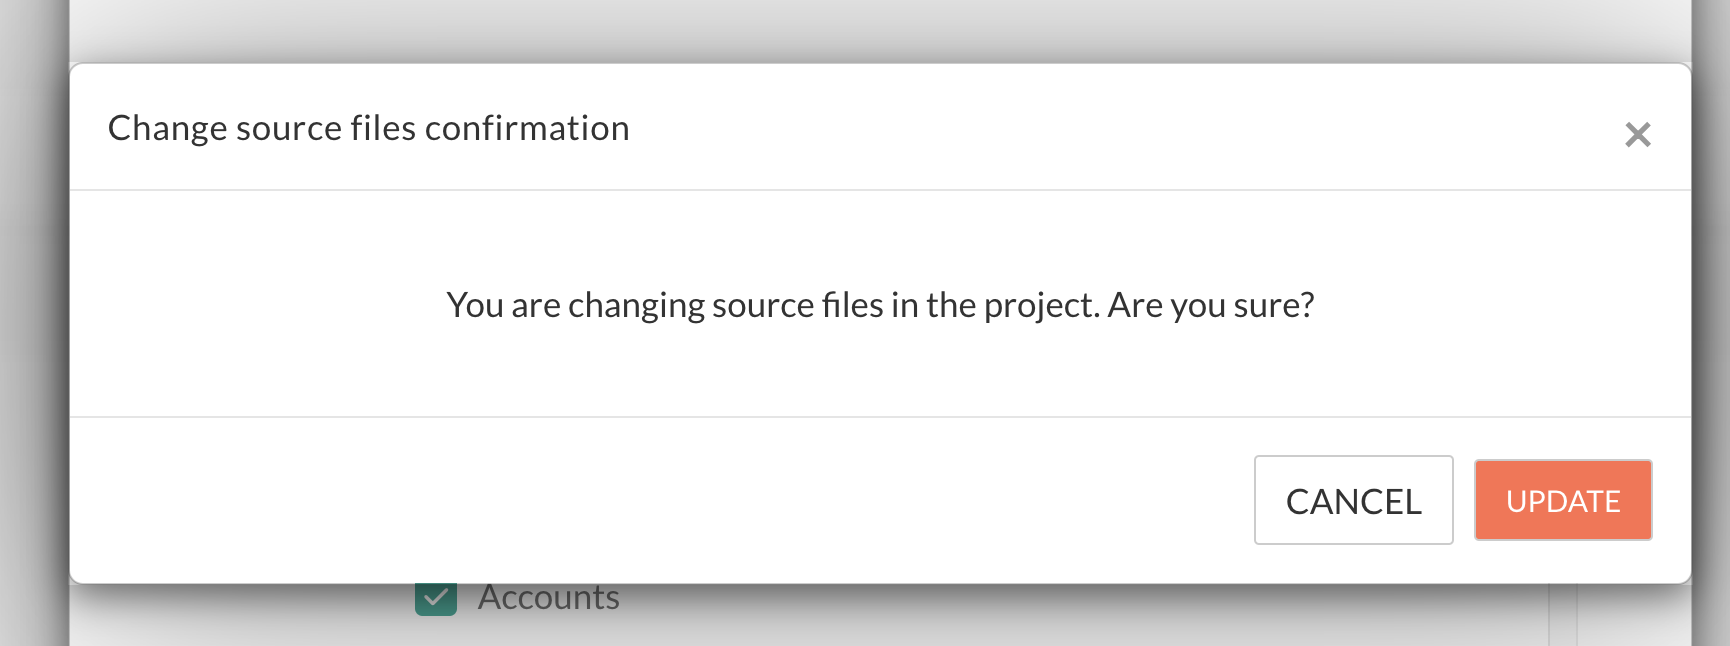
Change source files confirmation
Step 13: Synchronization Options
Click "Sync" to see the options available for synchronization:

Sync button
The options available include:
- Get Current Source Files: The system creates files based on the current translations and sends them back. This operation may take some time. This option is ideal for scenarios where articles have been updated or new content has been added to Confluence since the last translation. It ensures that the latest version of the articles is used for translation.
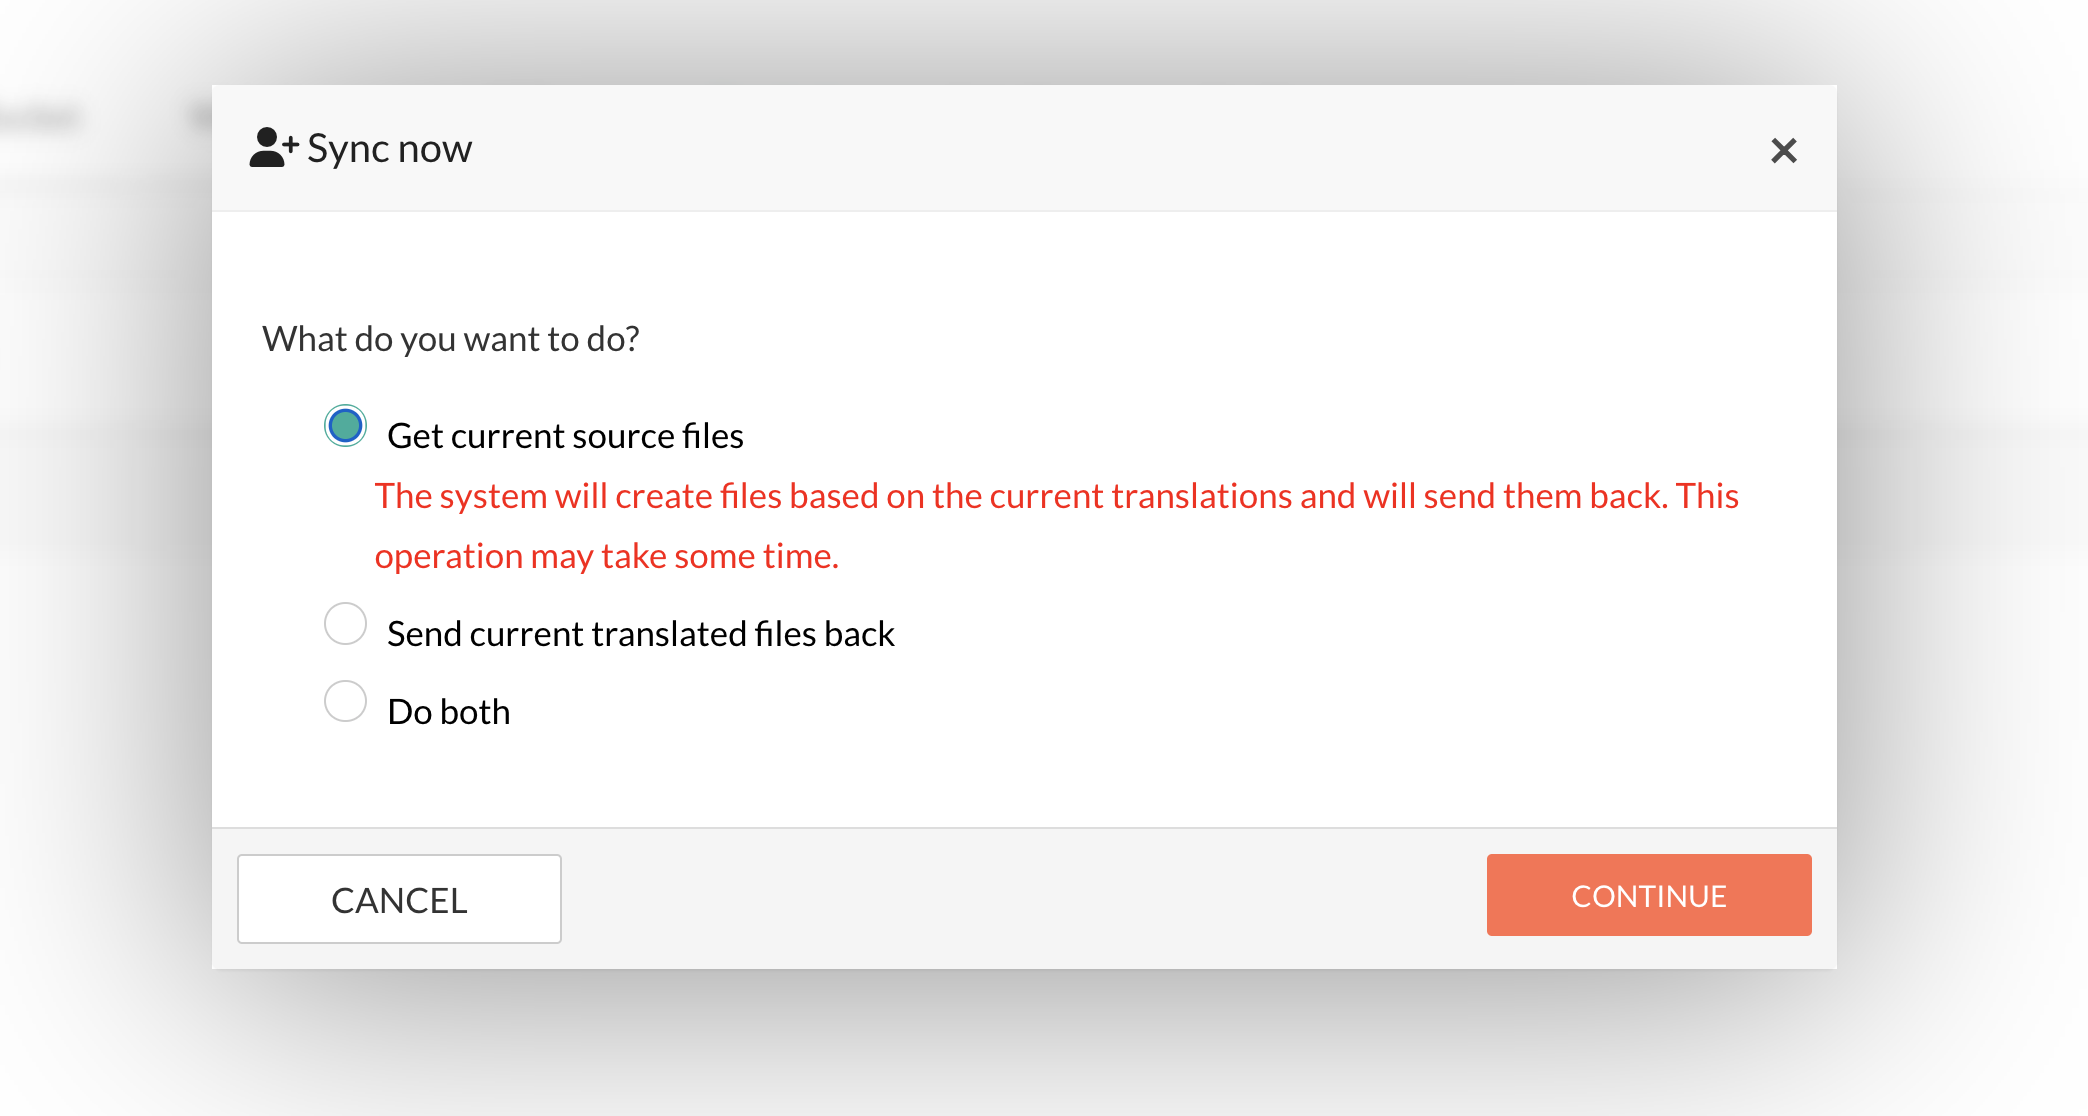
Showing the "Get current source files" option
- Send current translated files back: The system creates files based on the current translations and sends them back. This operation may take some time. This option is useful for synchronizing translated files across all projects within a single Confluence connection, ensuring consistency and accuracy.
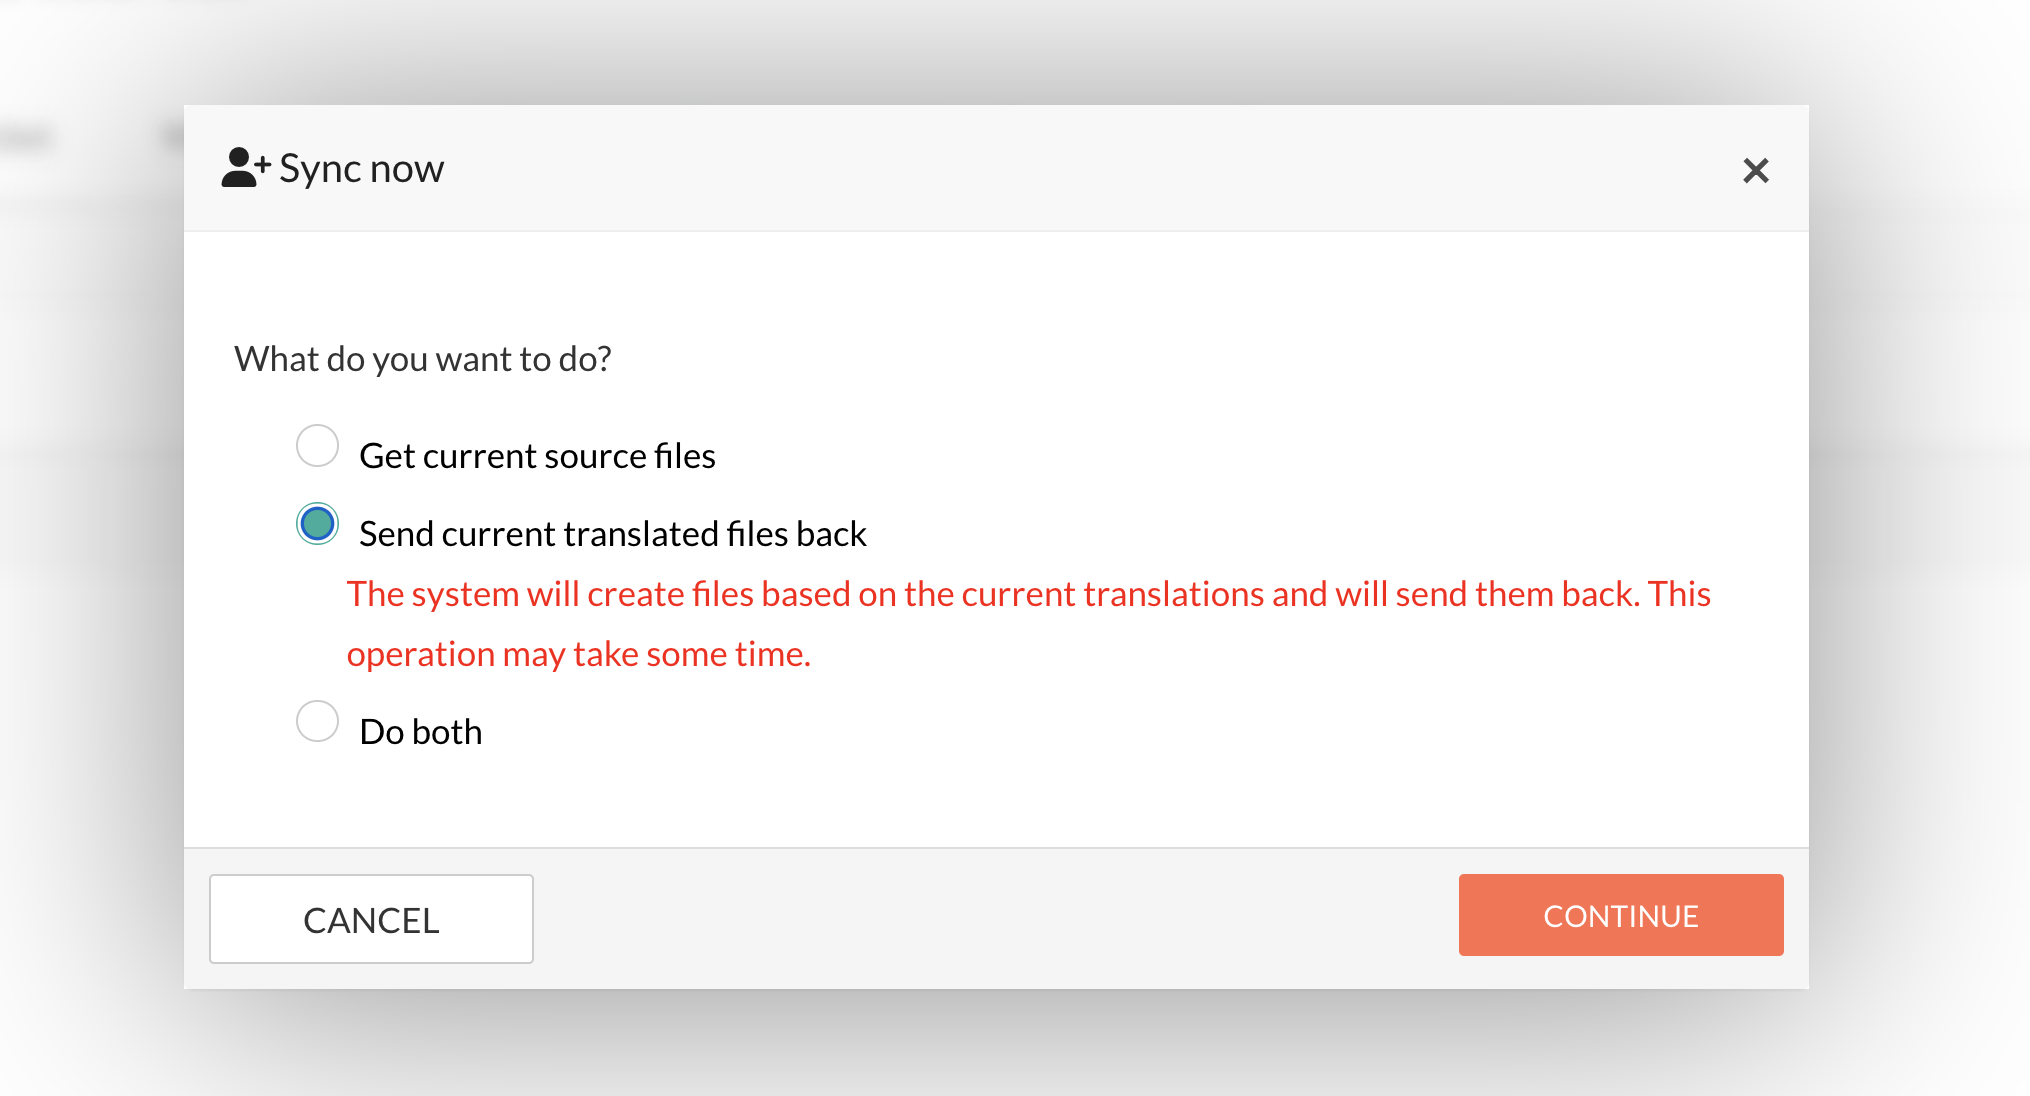
Showing the "Semd current translated files back" option
- Do Both: The system performs both operations simultaneously—creating files based on the current translations and sending them back. This operation may take some time. This comprehensive approach ensures that both the source files are updated and the translated files are synchronized back to Confluence.
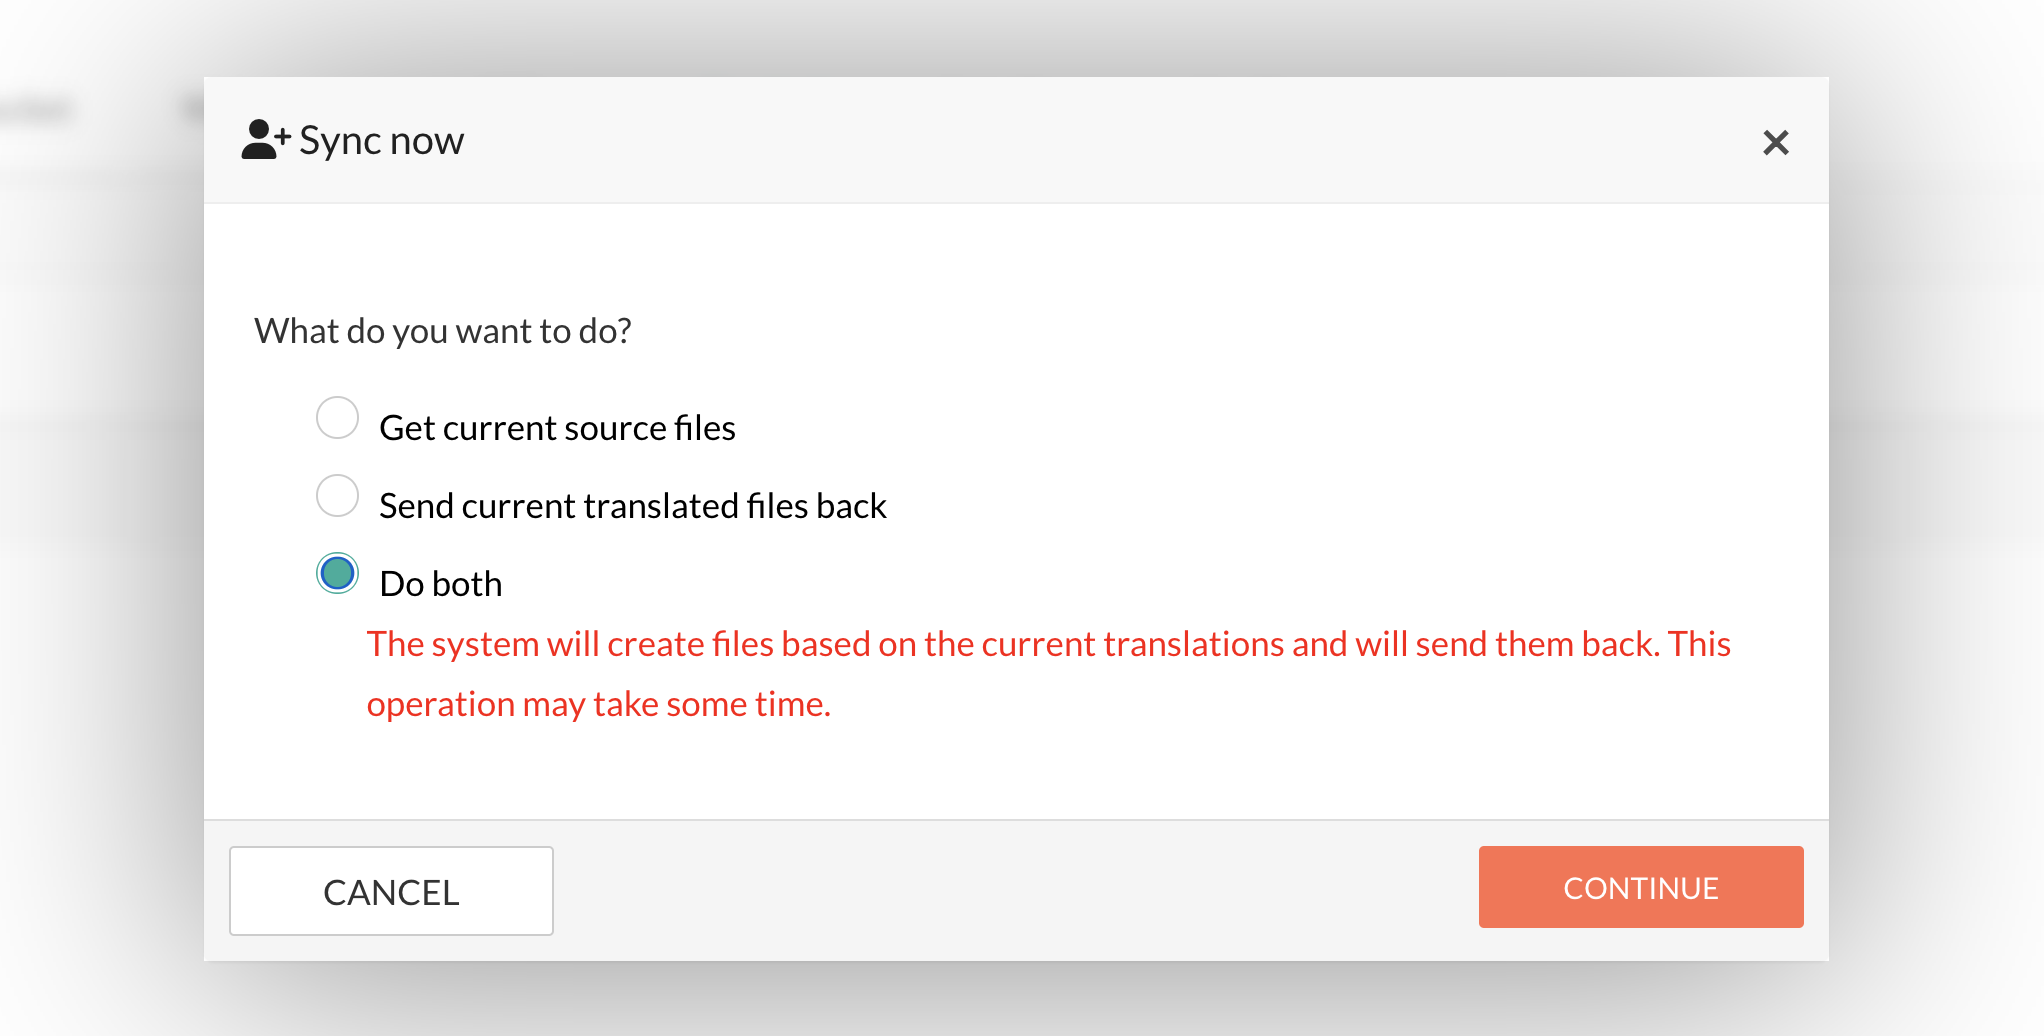
Showing the "Do both" option
Step 14: Continuous Translation
- Set continuous translation: Introduce automation to your translation workflow by setting up continuous translation for similar content. This feature monitors your Confluence space for new or updated content matching your criteria and automatically triggers translations, saving time and effort. To do this, you require your "Confluence Username" and "Confluence API Token":
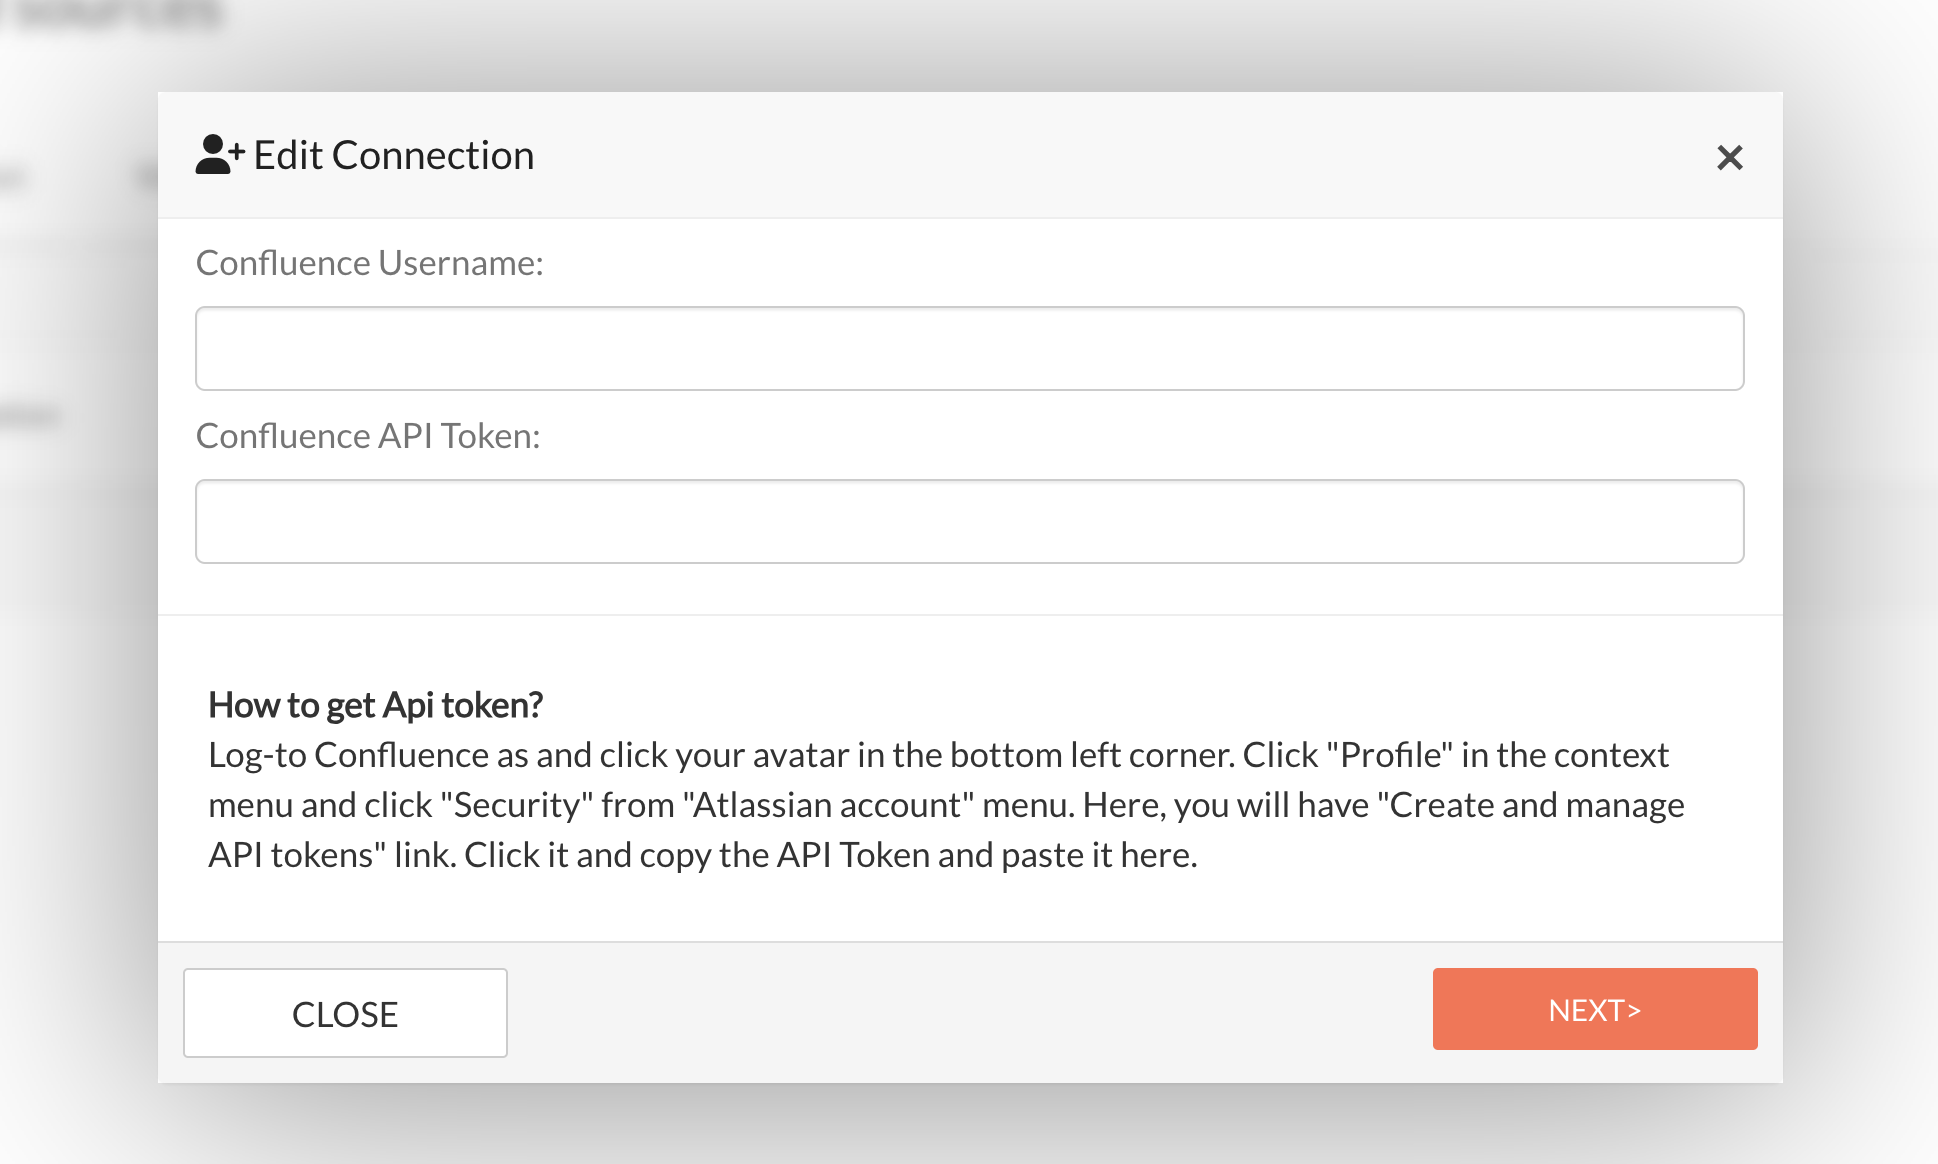
Edit connection
Step 15: Deleting a Connection
- Remove the integration link between TextUnited and Confluence if no longer needed. This action is irreversible, so consider carefully before removing the connection. To do this, click the "Delete" button:

Delete button
- A modal will open, confirming the deletion. Confirm the action by clicking either "NO" or "YES". Be aware that this cannot be undone.
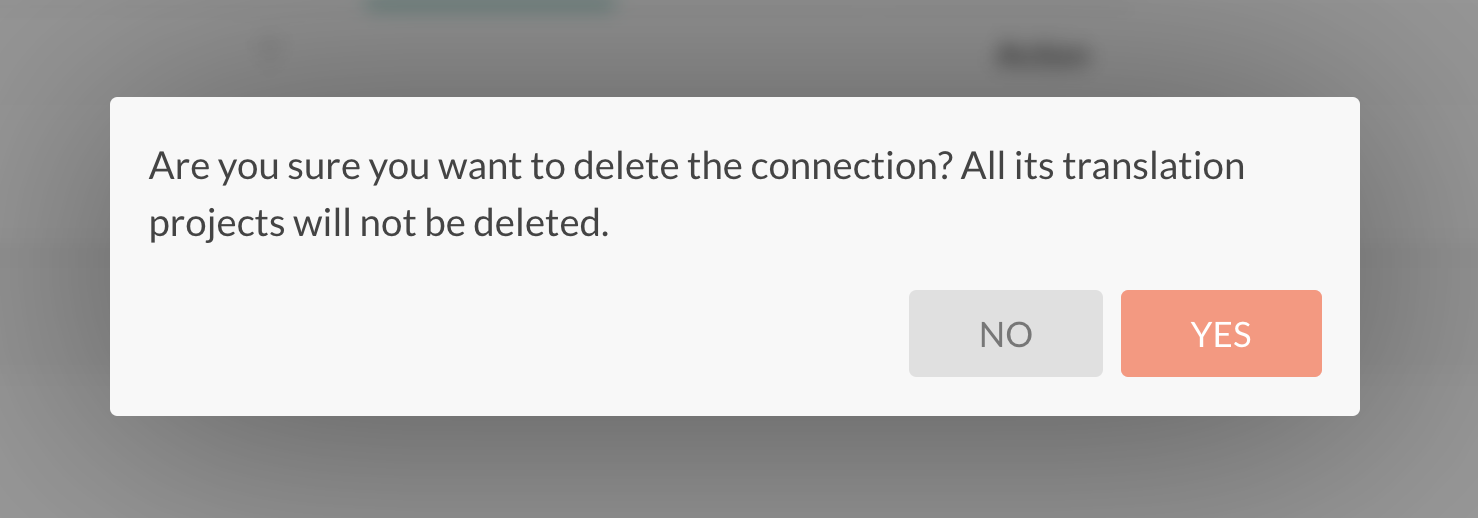
Confirm deletion
Updated 9 months ago
