FTP Server Integration
The FTP Server Integration in TextUnited allows users to upload and manage files stored on their FTP server for translation projects. This guide will walk you through the entire process, from connecting to your FTP server to completing a translation project.
Prerequisites
Before setting up the integration, make sure you have:
- FTP Credentials: Hostname, Username, and Password for your FTP server.
- Files Organized: Ensure that the files and folders you want to translate are properly organized in your FTP server for easier selection.
Setting Up the FTP Integration in TextUnited
Step 1: Connecting to Your FTP Server
- Log into your TextUnited account. (Refer to this guide for creating an account and logging in.)
- Start a new project by clicking on Start a new project.

Start a new project
- From the project options, select FTP Integration.

FTP Server Integration option
- On the FTP Project screen, enter your FTP credentials:
- Hostname: Enter the hostname of your FTP server
- Username: Provide your FTP server username.
- Password: Enter your FTP password.
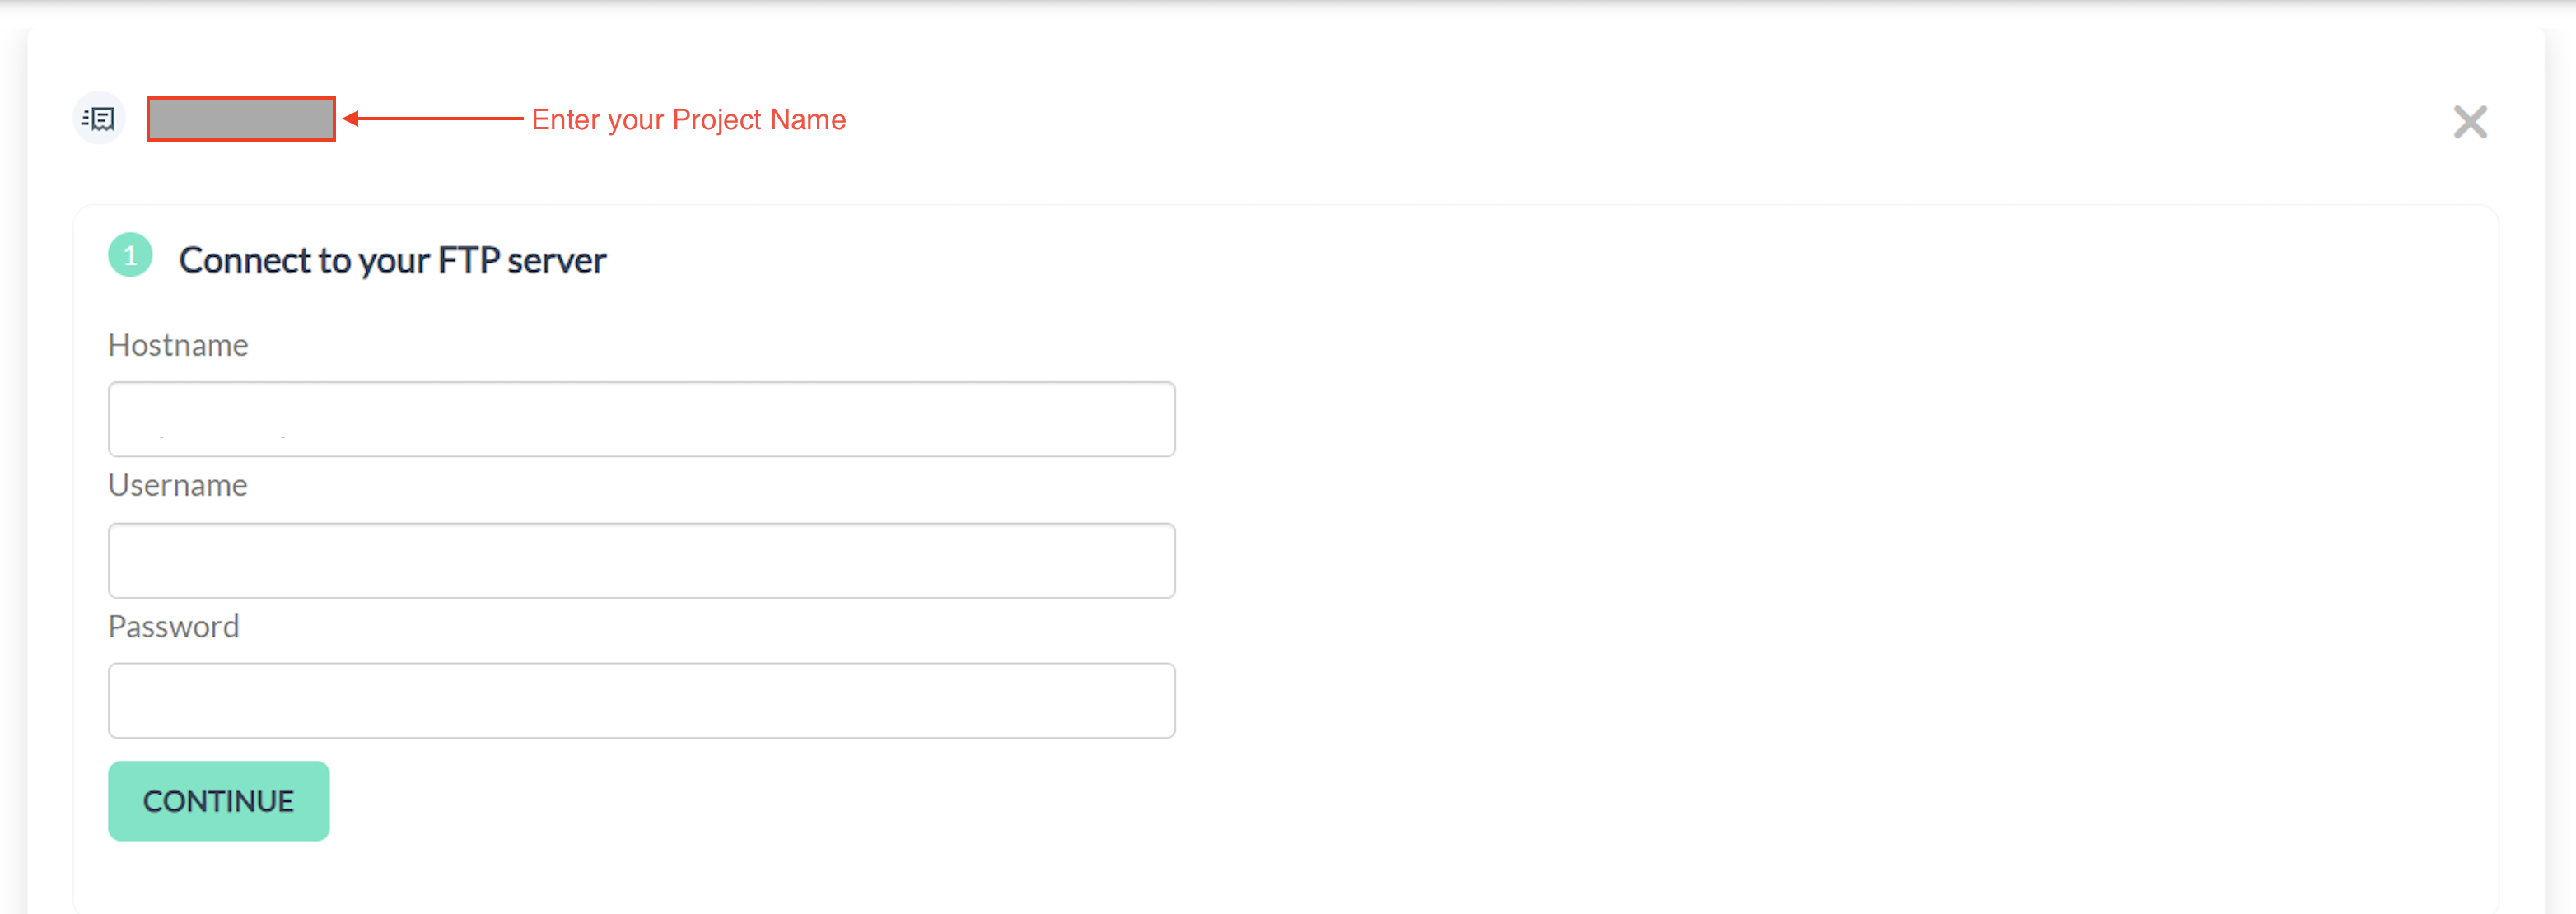
Enter your FTP Credentials
- Click Continue to establish the connection.
Step 2: Choosing Content from the FTP Server
-
After successfully connecting, choose the content you wish to translate.
-
You have two main options:
- All files in this repository: Select all files available in the FTP folder.
- Only specific files: Select specific files or folders manually.
-
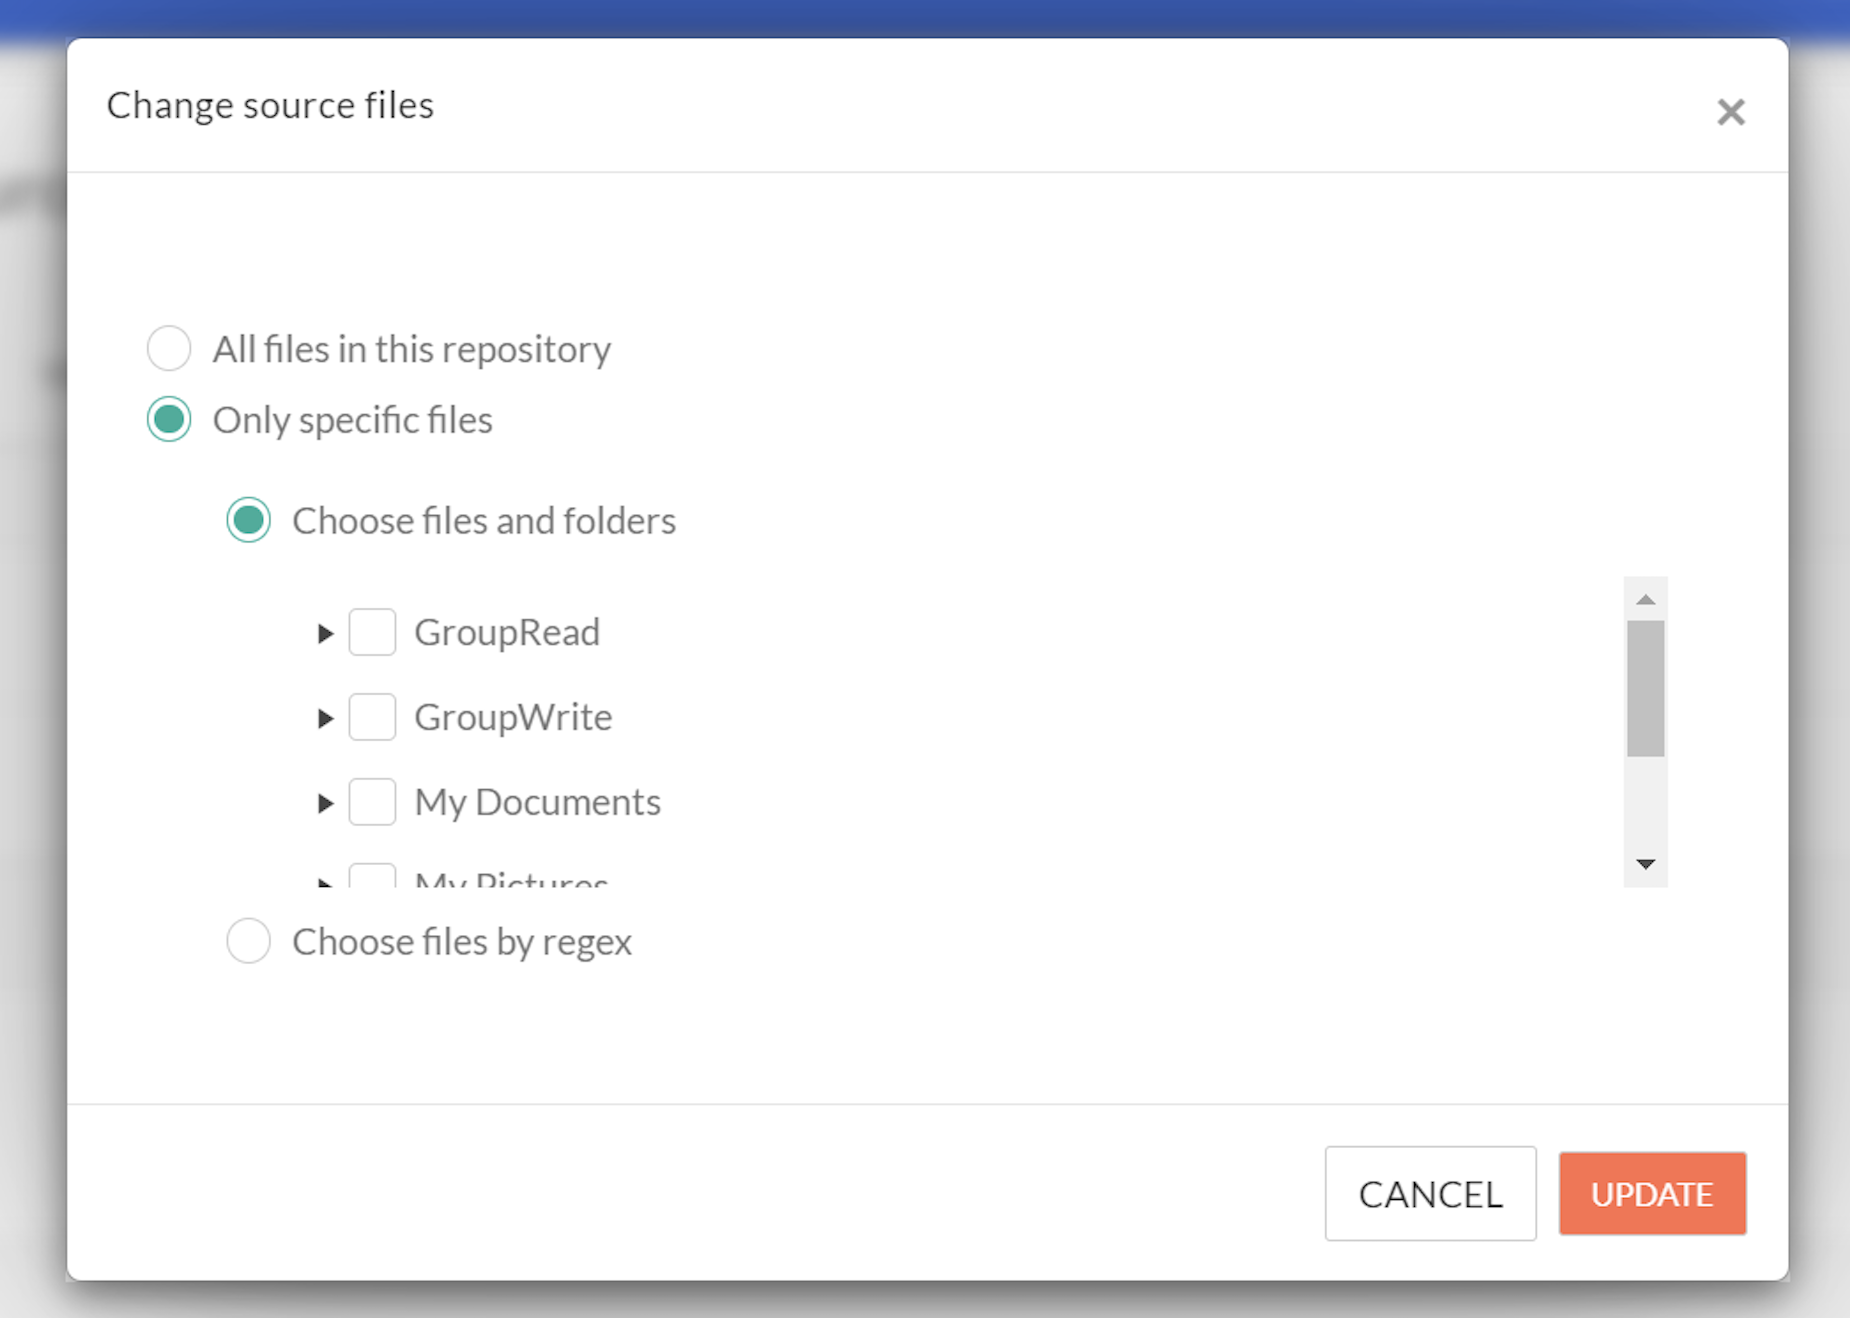
If choosing specific files:
- Expand the folder structure and select the files or folders you want to include in your project.
-
Click Continue after selecting the files.
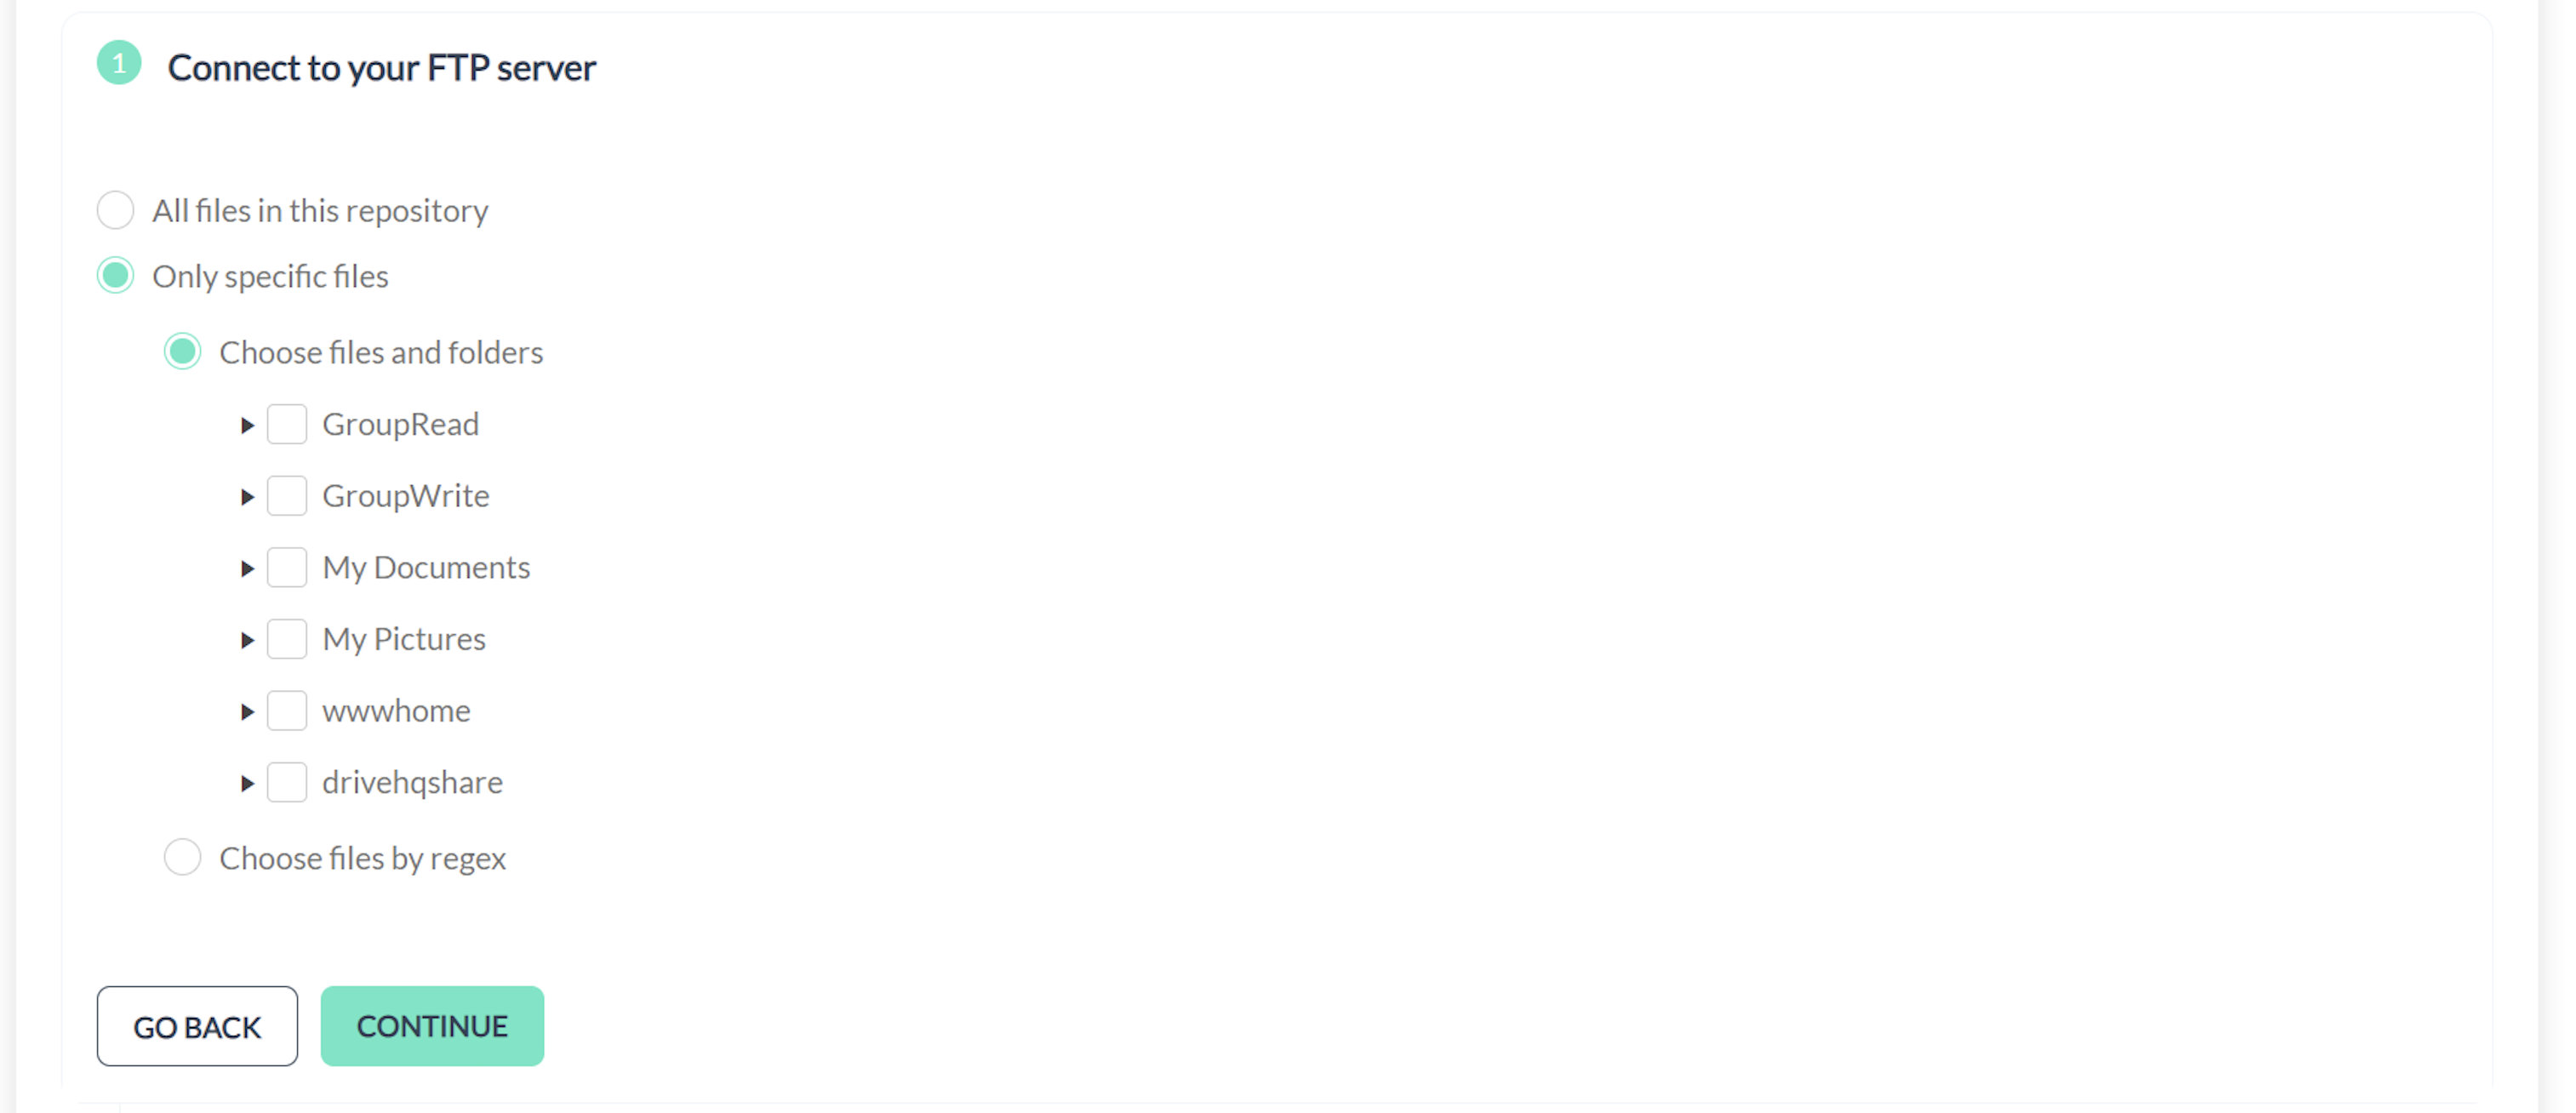
Select files
Step 3: Choosing Languages
- In the Choose Languages step, select the languages for translation:
- Translate from: This is the source language of your original content (detected automatically in most cases).
- Translate into: Select one or more target languages for your translation project.
- Optionally, check the box for Use all variants of the target language(s) to include all language variants.
- Click Continue to proceed.
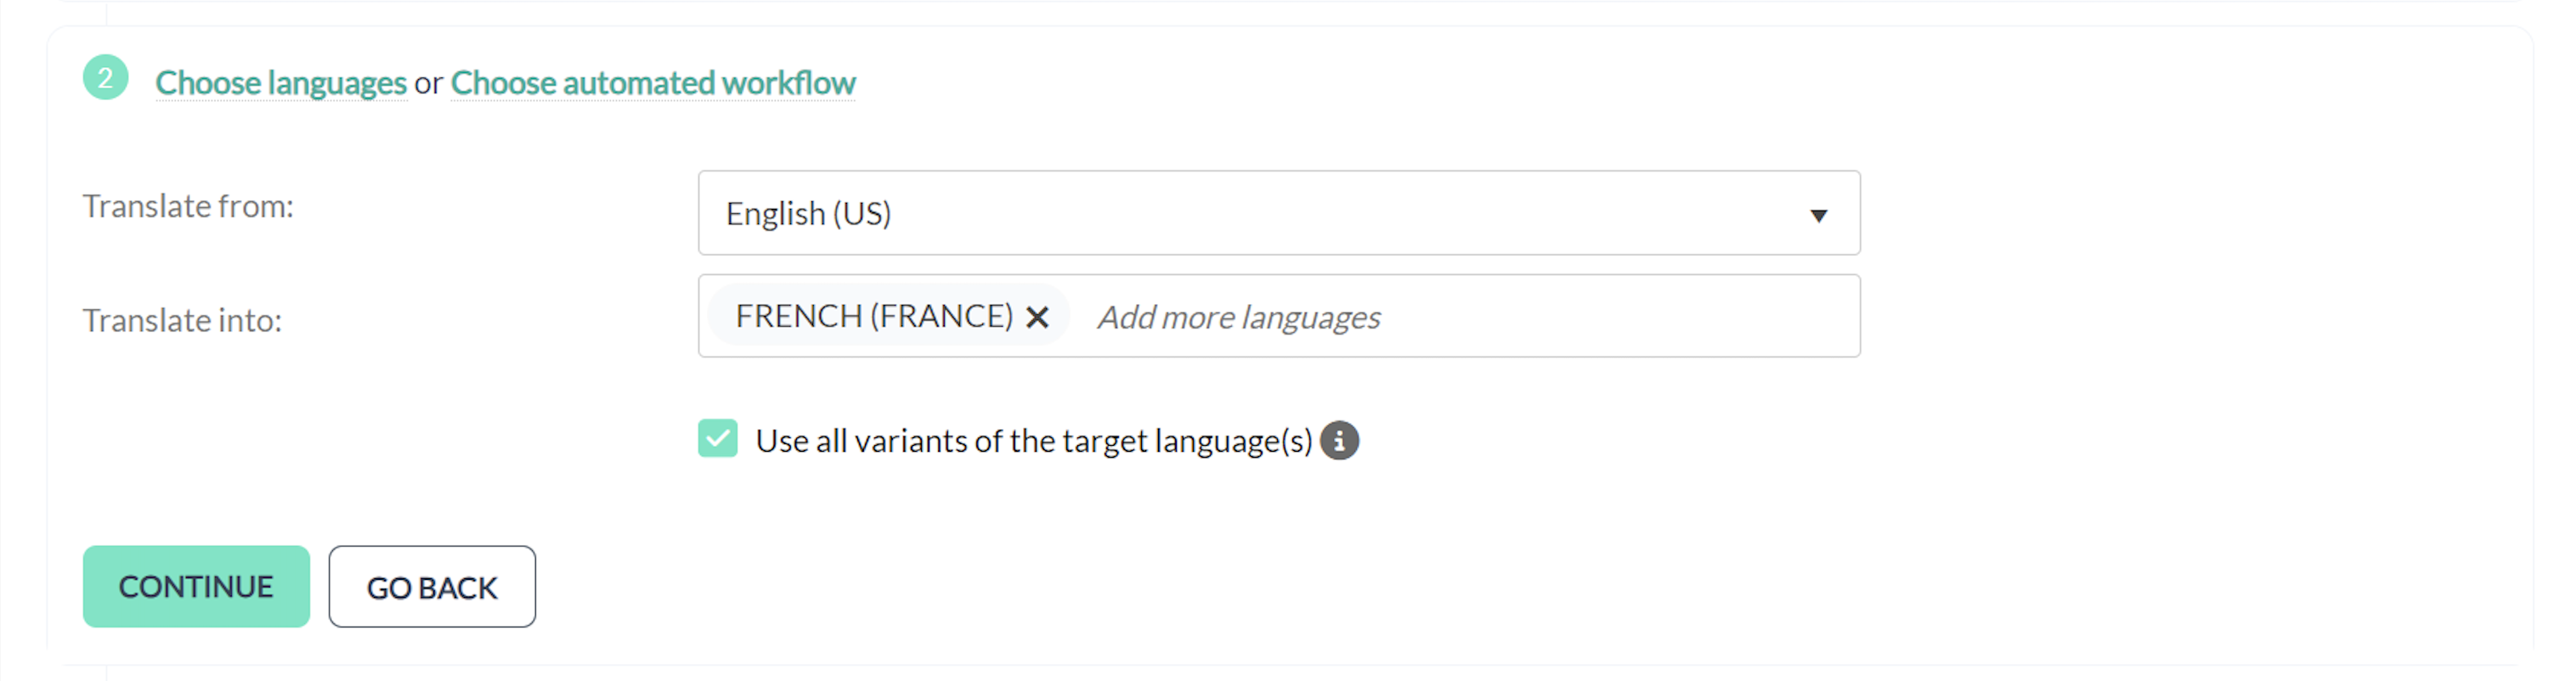
Choose languages
Step 4: Choosing Who Translates
- In the Who Translates section, select the method for managing your translation project:
- Me & My Team: Choose this if you and your team will manage the translation. You can assign specific team members to roles such as Project Manager, Translator, and Proofreader.
- Professional Full Service: Let TextUnited handle the translation process with professional translators and project managers.
- If selecting Me & My Team, fill out the team details, assigning members to each role.
- Choose whether to pre-translate using translation memory only or a combination of human and machine translation.
- Click Continue.

Choose who translates
Step 5: Finalizing the Project
- In the final step, review all your selections.
- Click Create a Project to finalize and start your project.
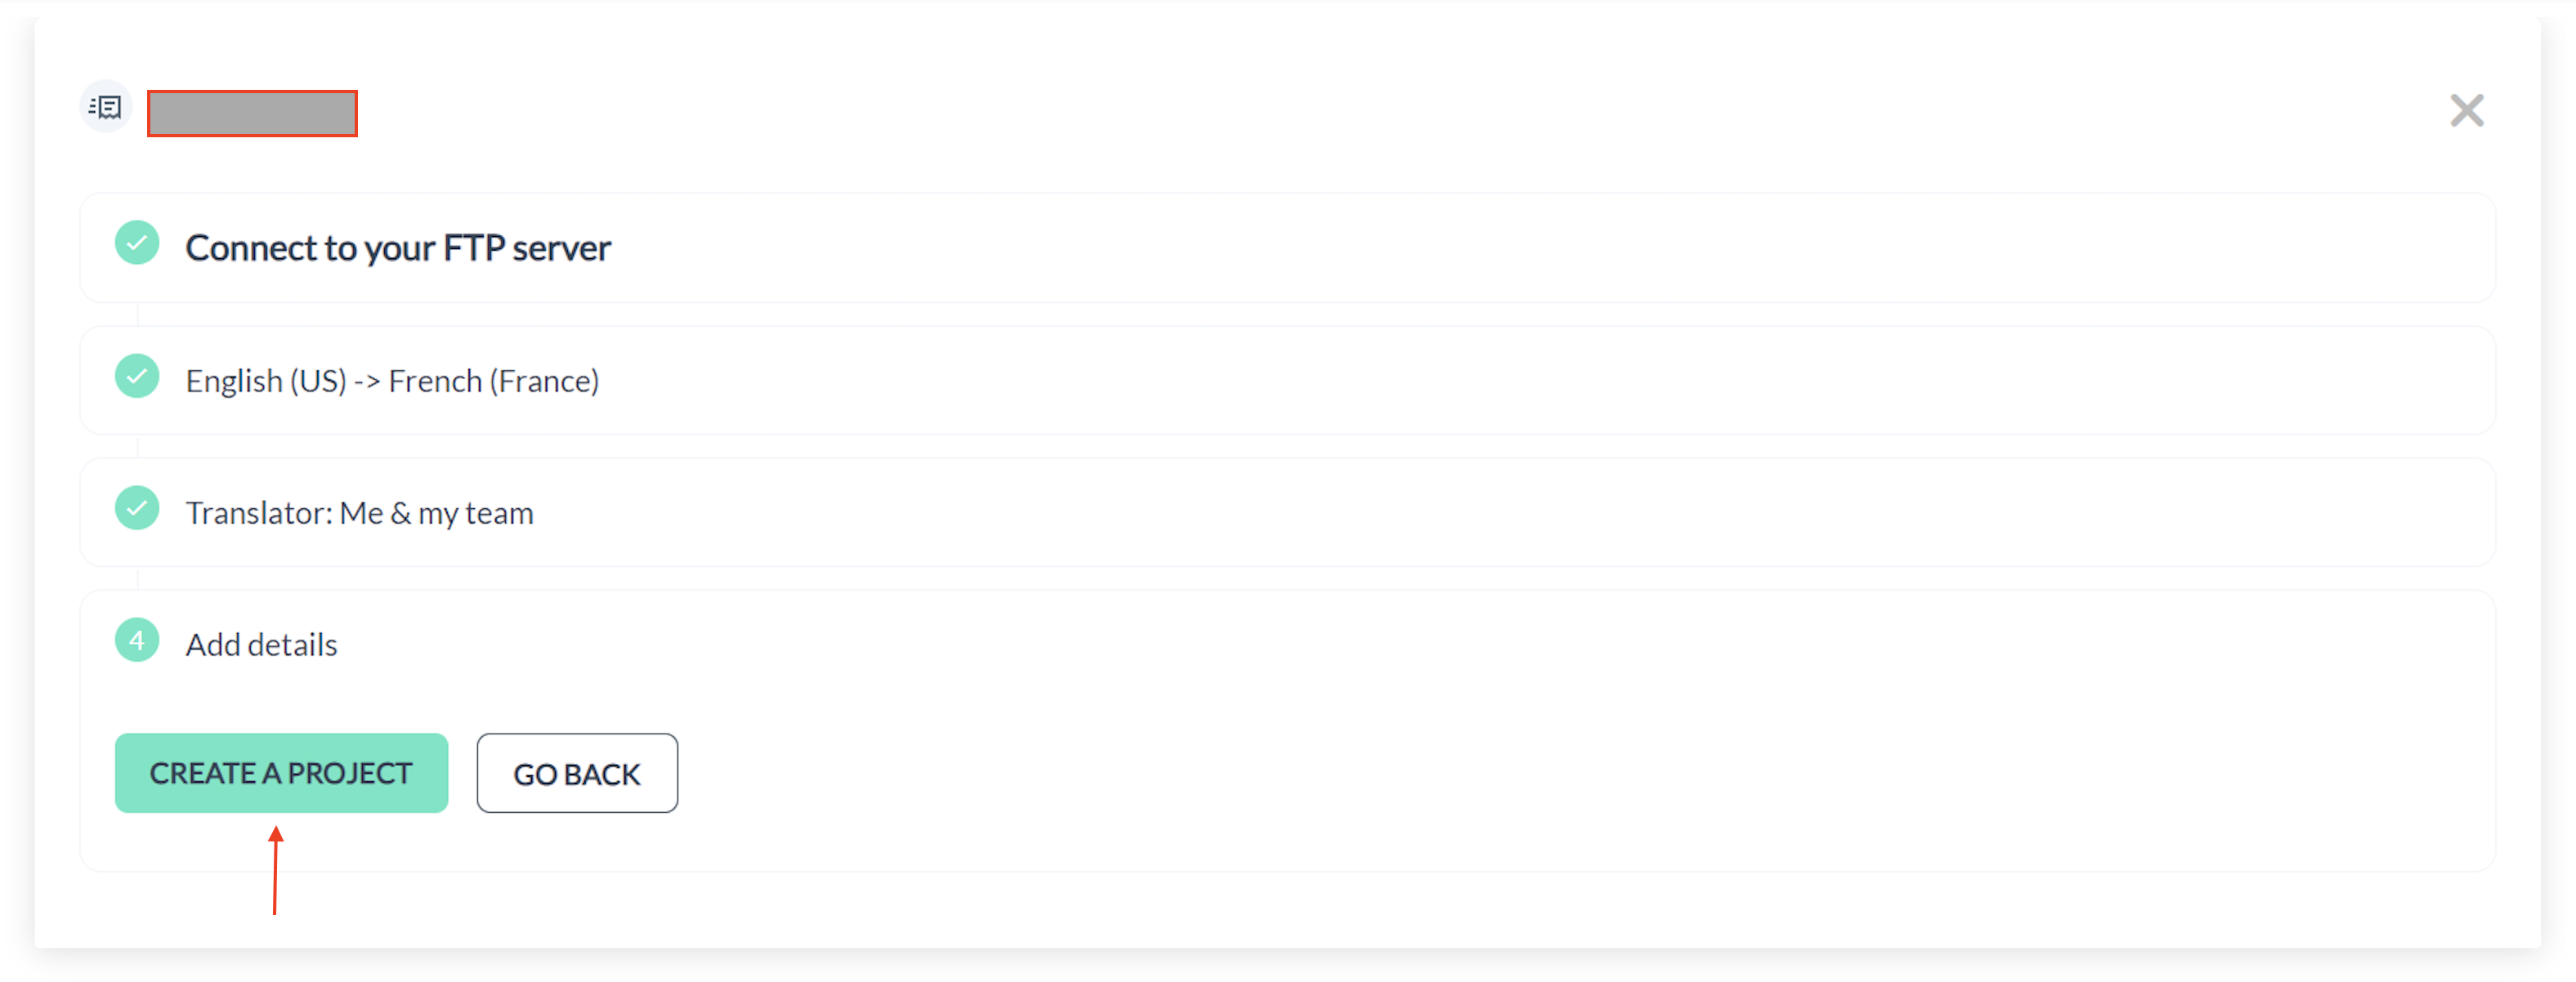
Create A Project button
- Afterward, you'll find your project under the FTP tab:
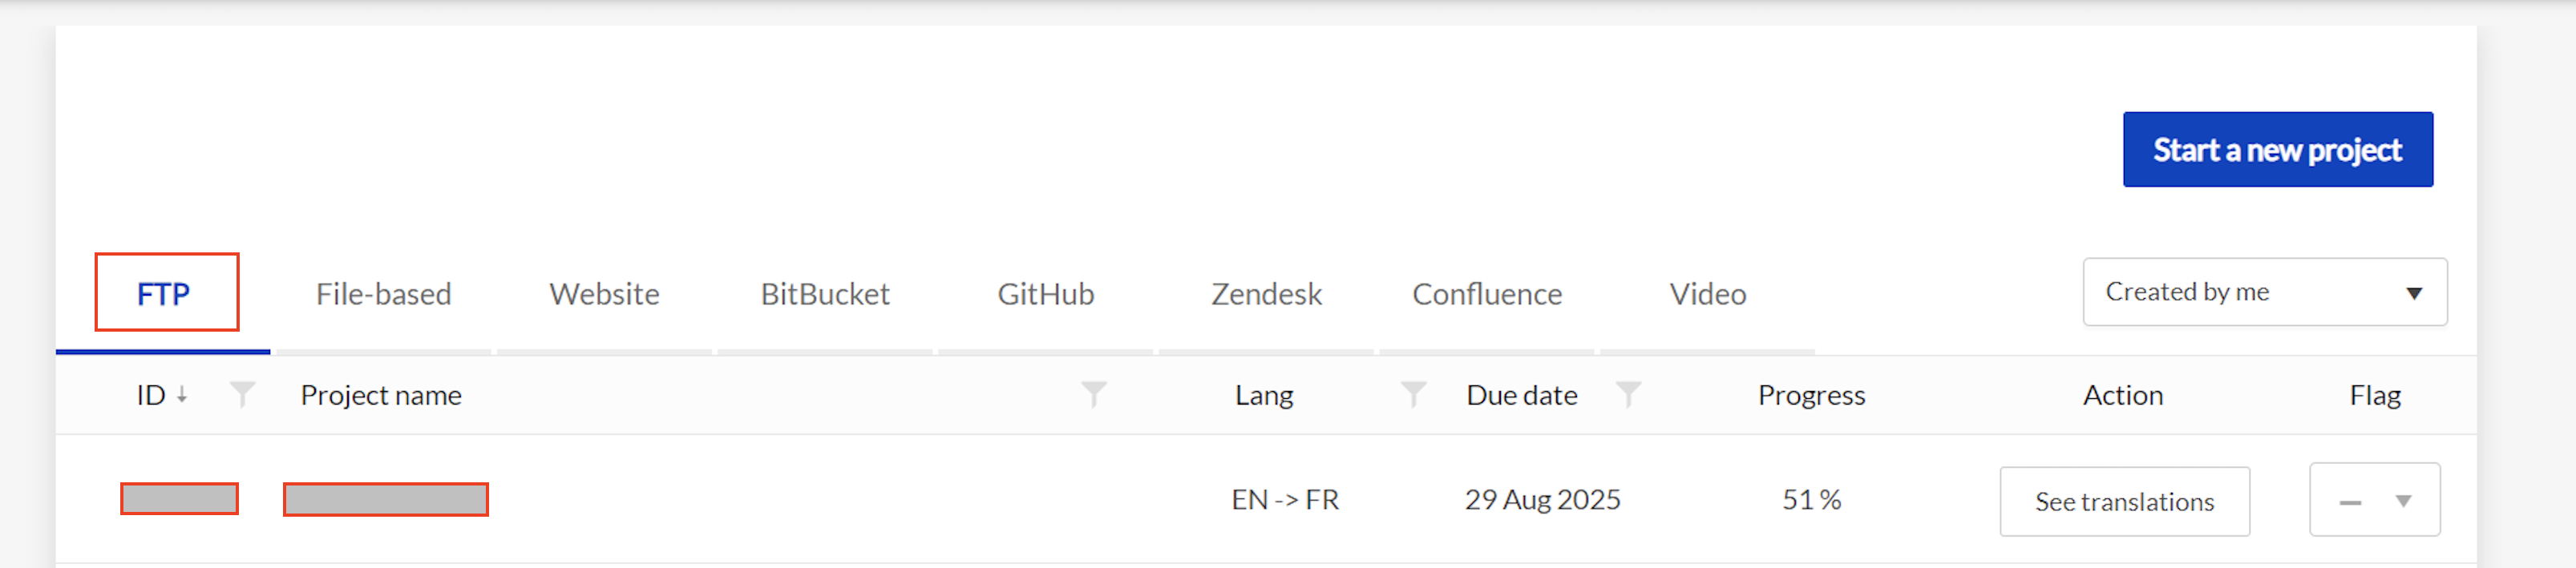
Showing FTP translation project created
- You can view the project’s progress by clicking on project:

Showing Project details
Managing FTP Projects
Once the FTP project is created, it will be listed under Connected Sources in your TextUnited dashboard.
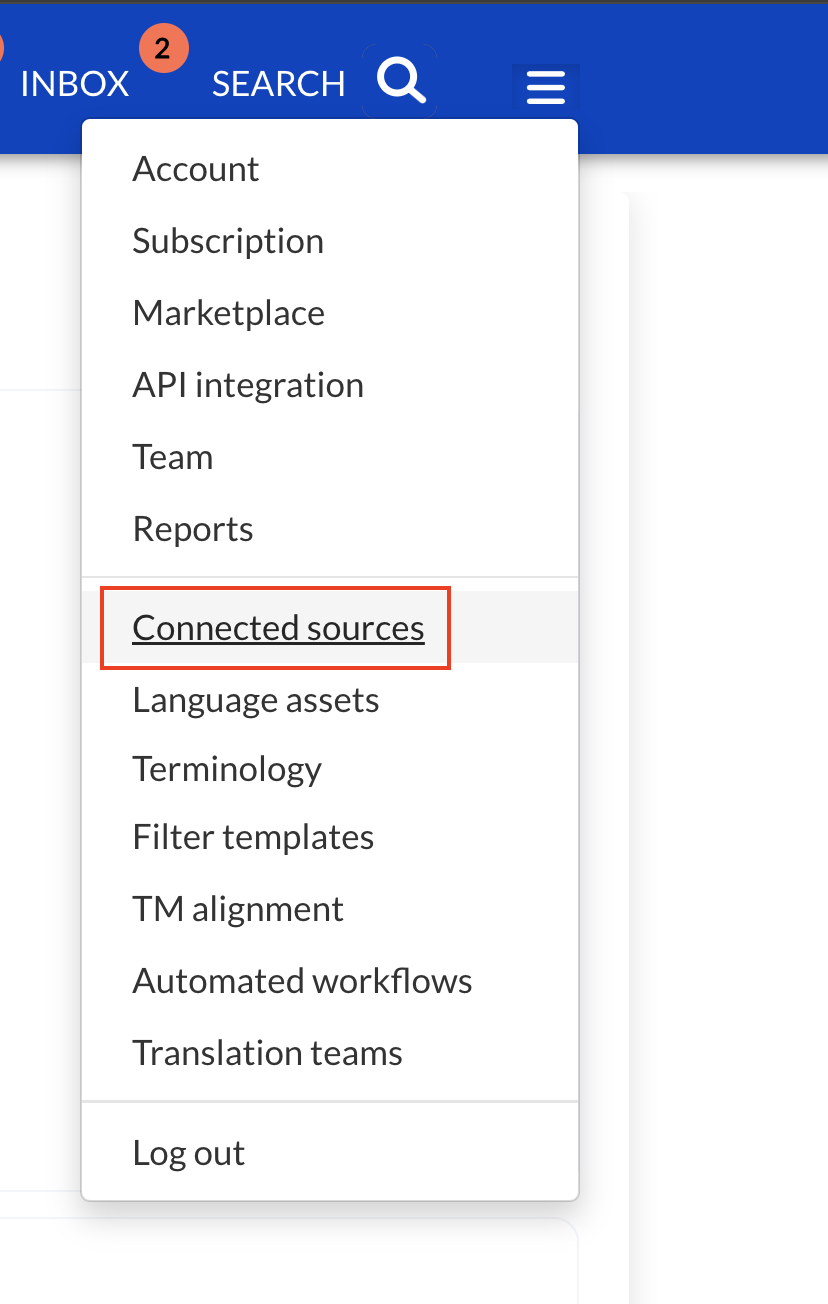
Connected Sources
- Once you click Connected sources under the FTP tab, you will see the following showing your project with options "Change credentials", "Change Source Files", "Sync," and "Delete":
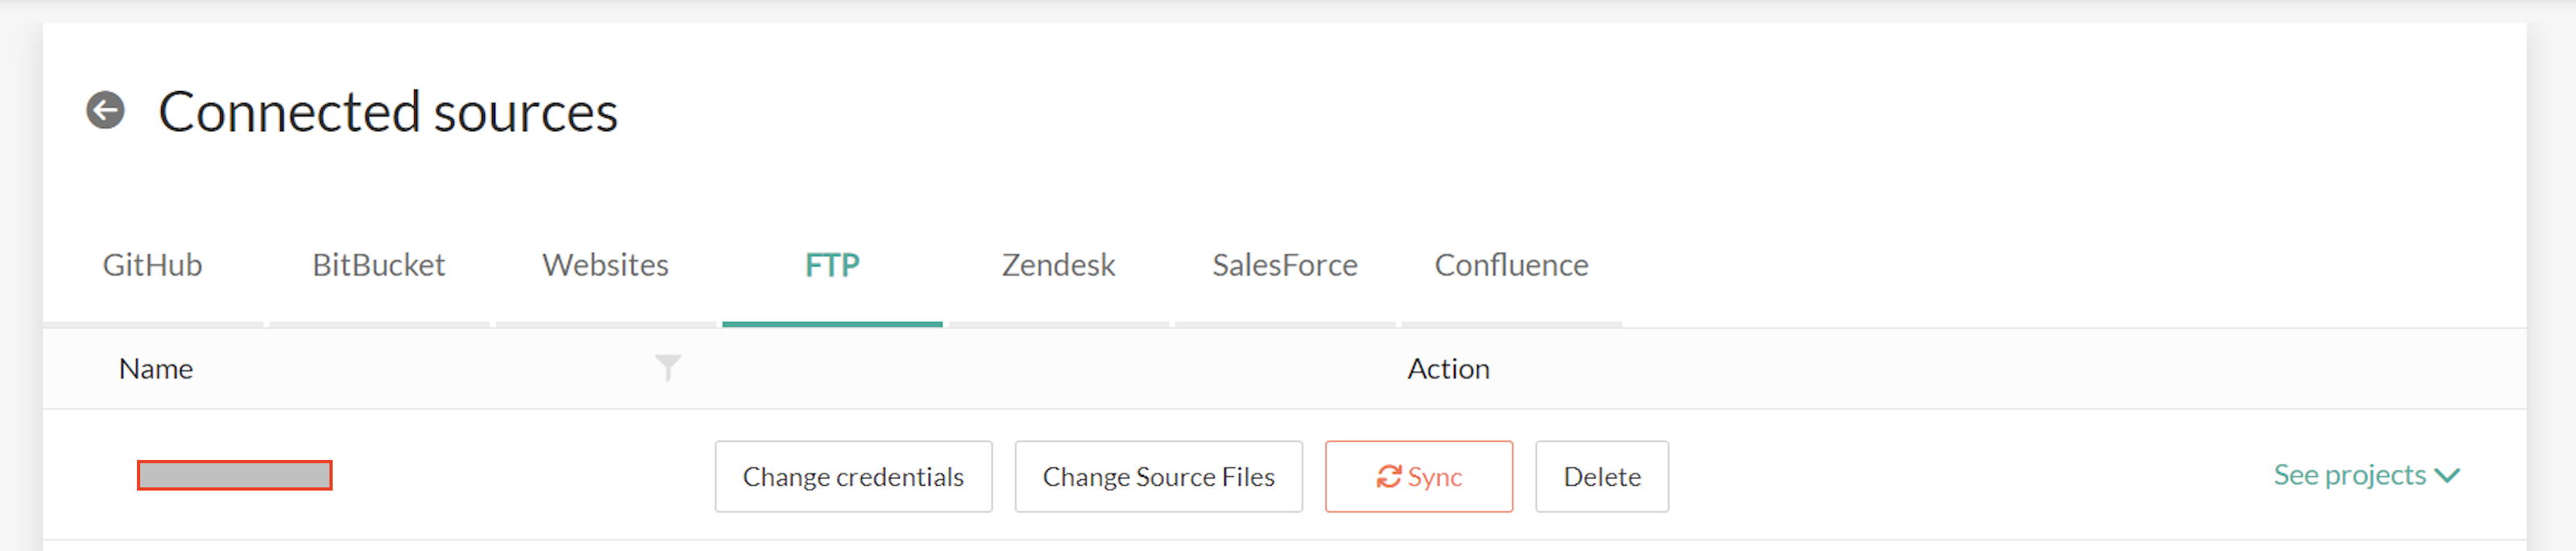
FTP Project in Connected Sources
- Change Credentials: Update your FTP login credentials if needed.
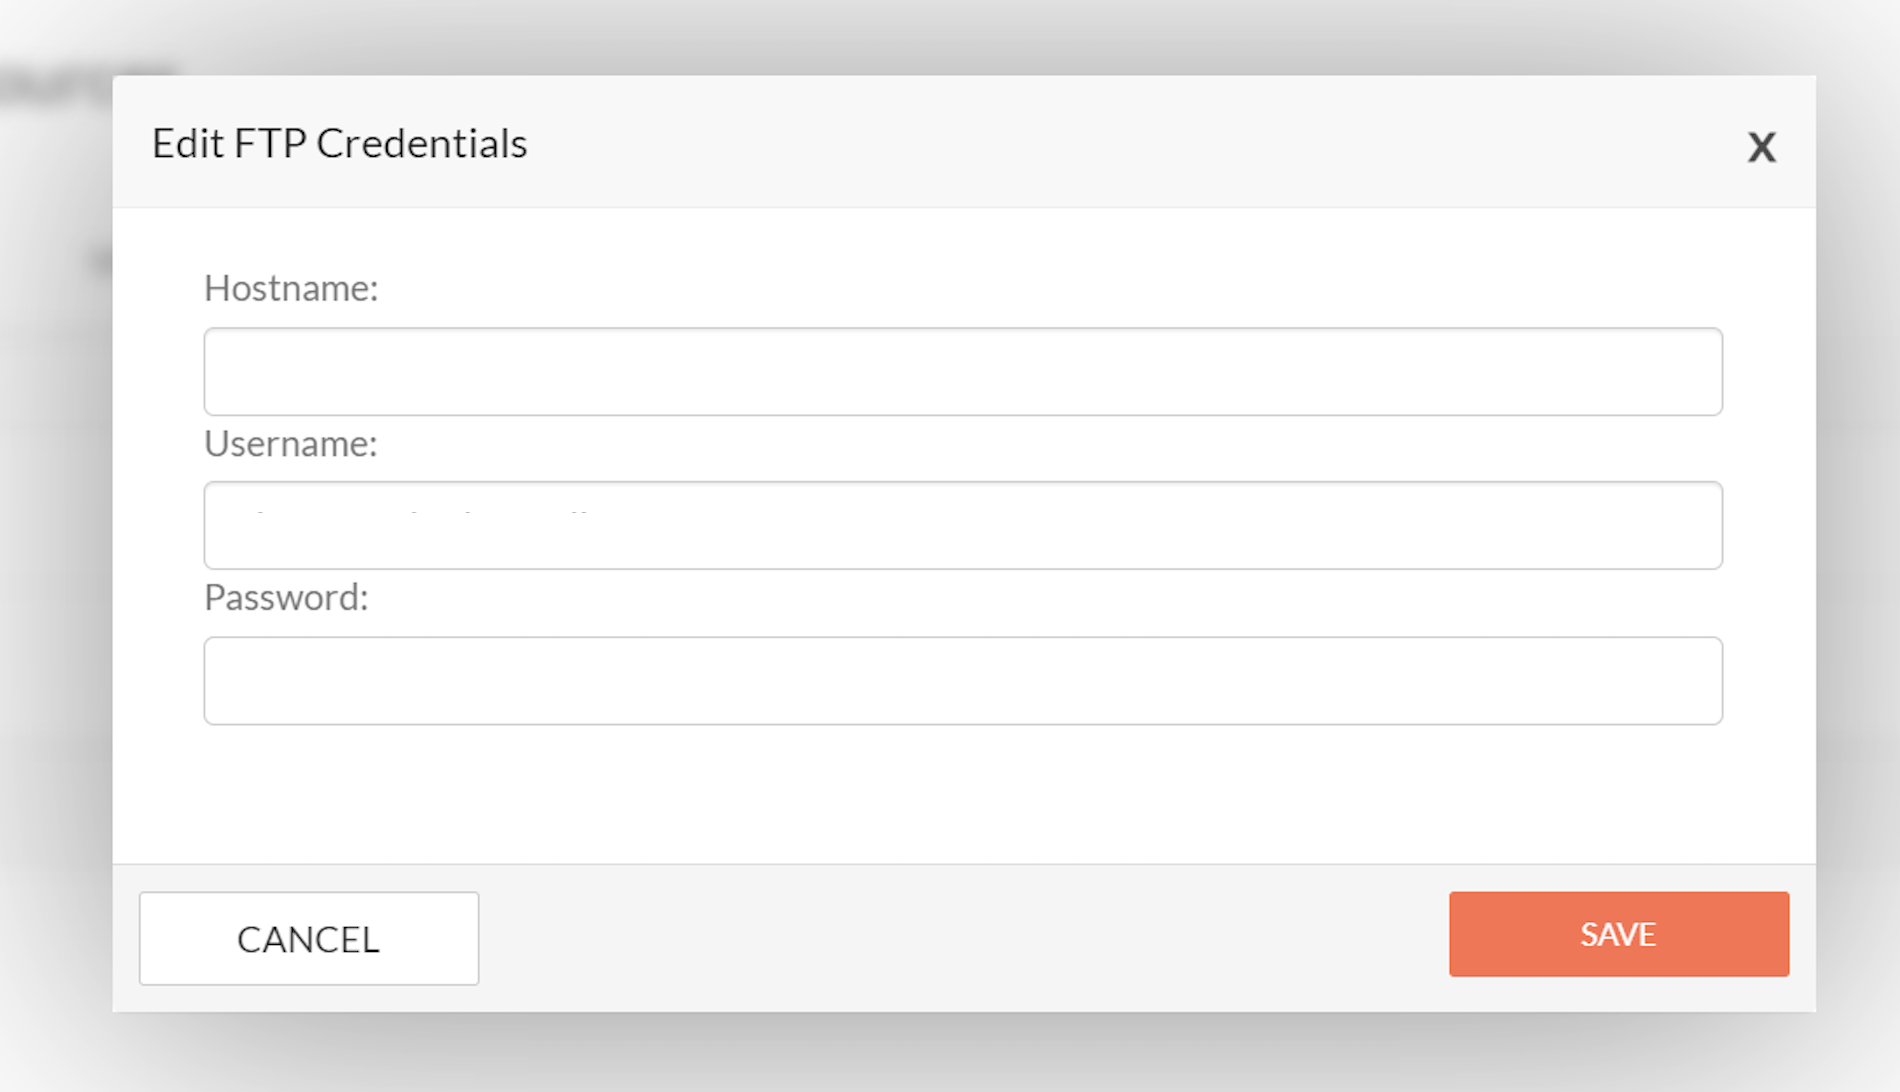
Edit FTP Credentials
- Change Source Files: Modify the files or folders being translated.
Change Source Files
- Sync: Sync translated files back to your FTP server.
- Options for syncing:
- Get current source files: Download the latest files from the FTP server.
- Send current translated files back: Upload translated files back to the FTP server.
- Options for syncing:
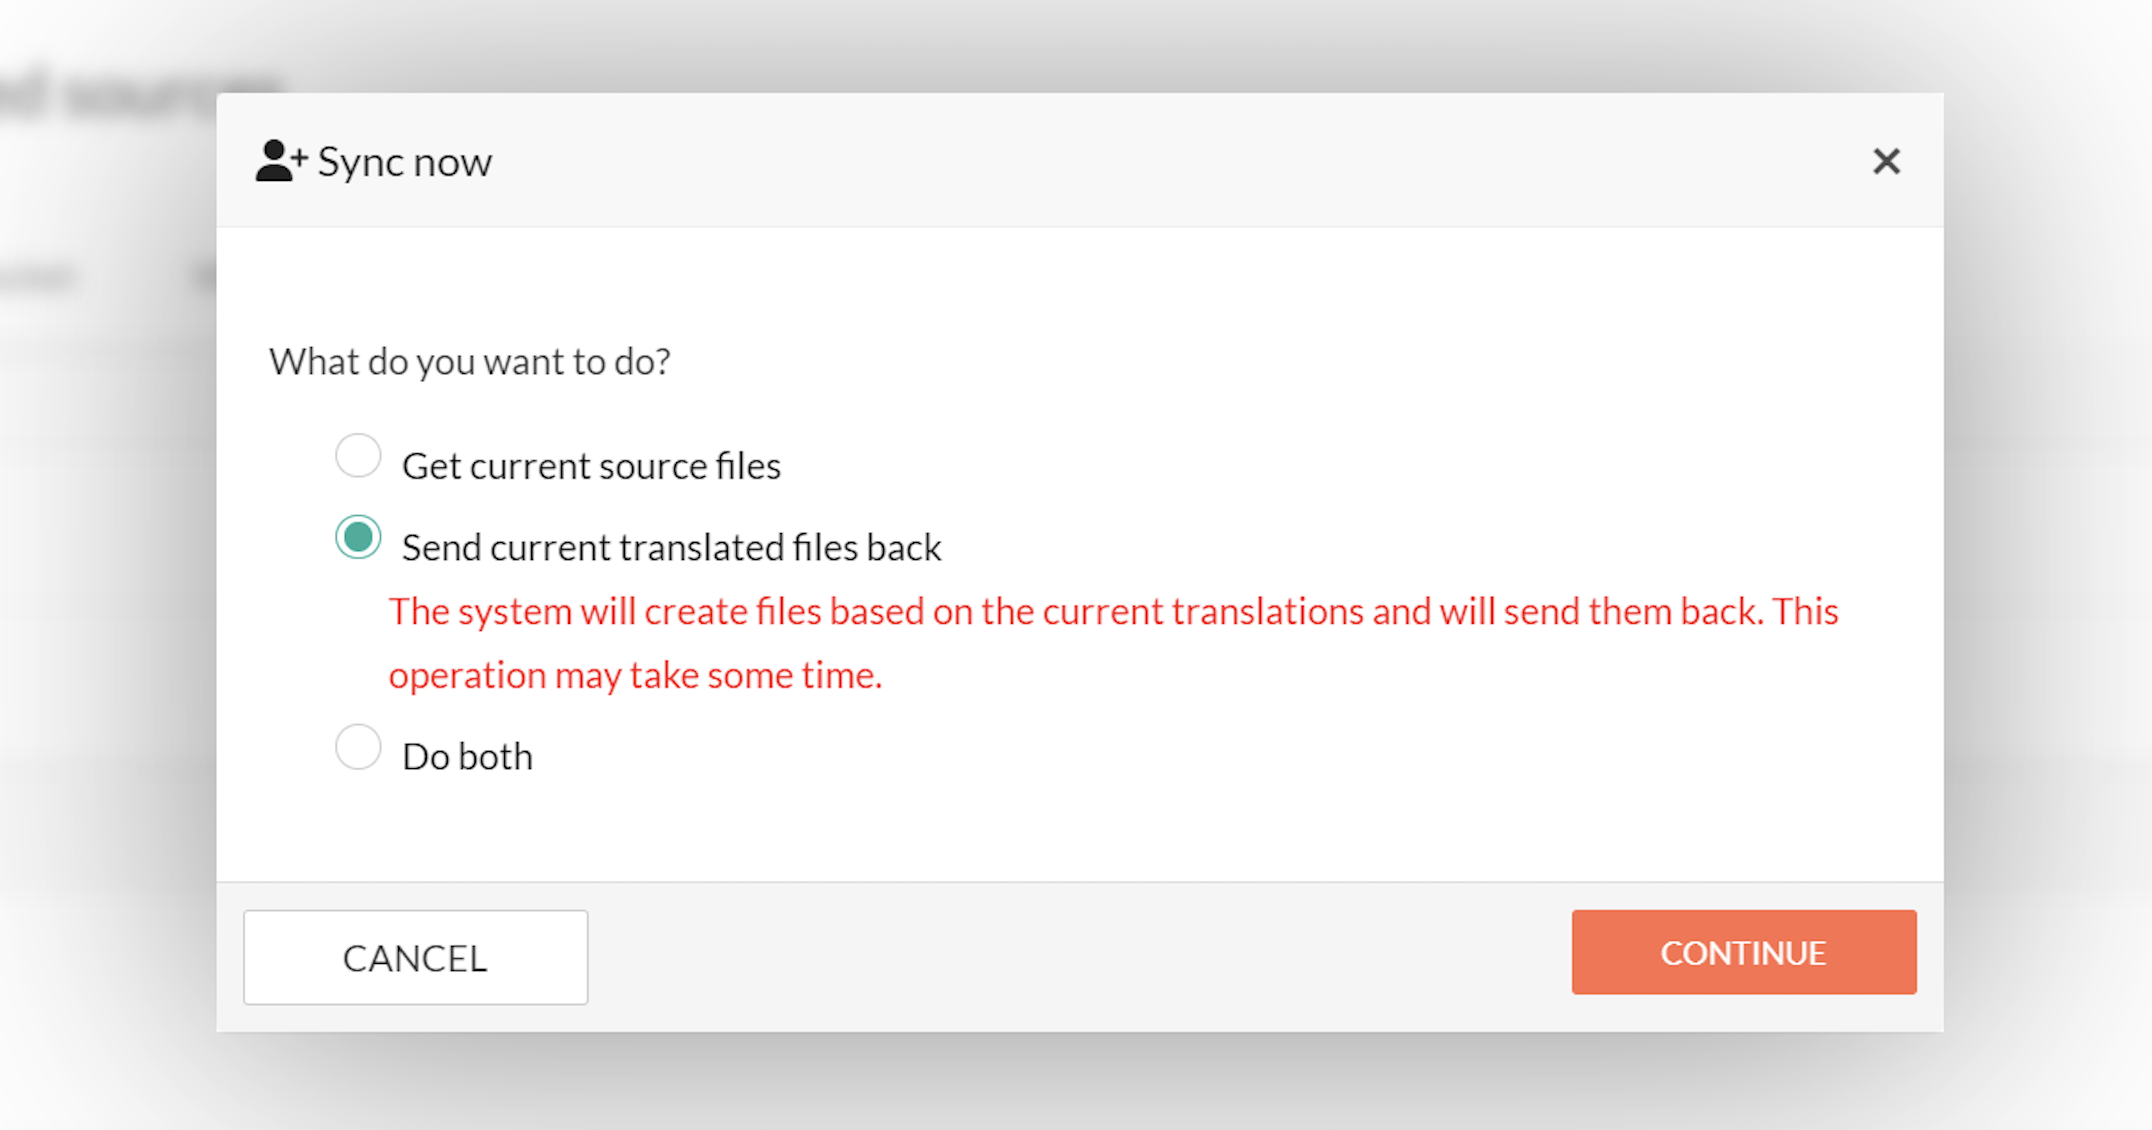
Sync options
Syncing Translated Files
- To sync files, click the Sync button in the Connected Sources section.
- Choose what you want to do:
- Send current translated files back: Send the completed translations back to the FTP server.
- A confirmation message will appear once the operation is complete, indicating that the files have been successfully uploaded.
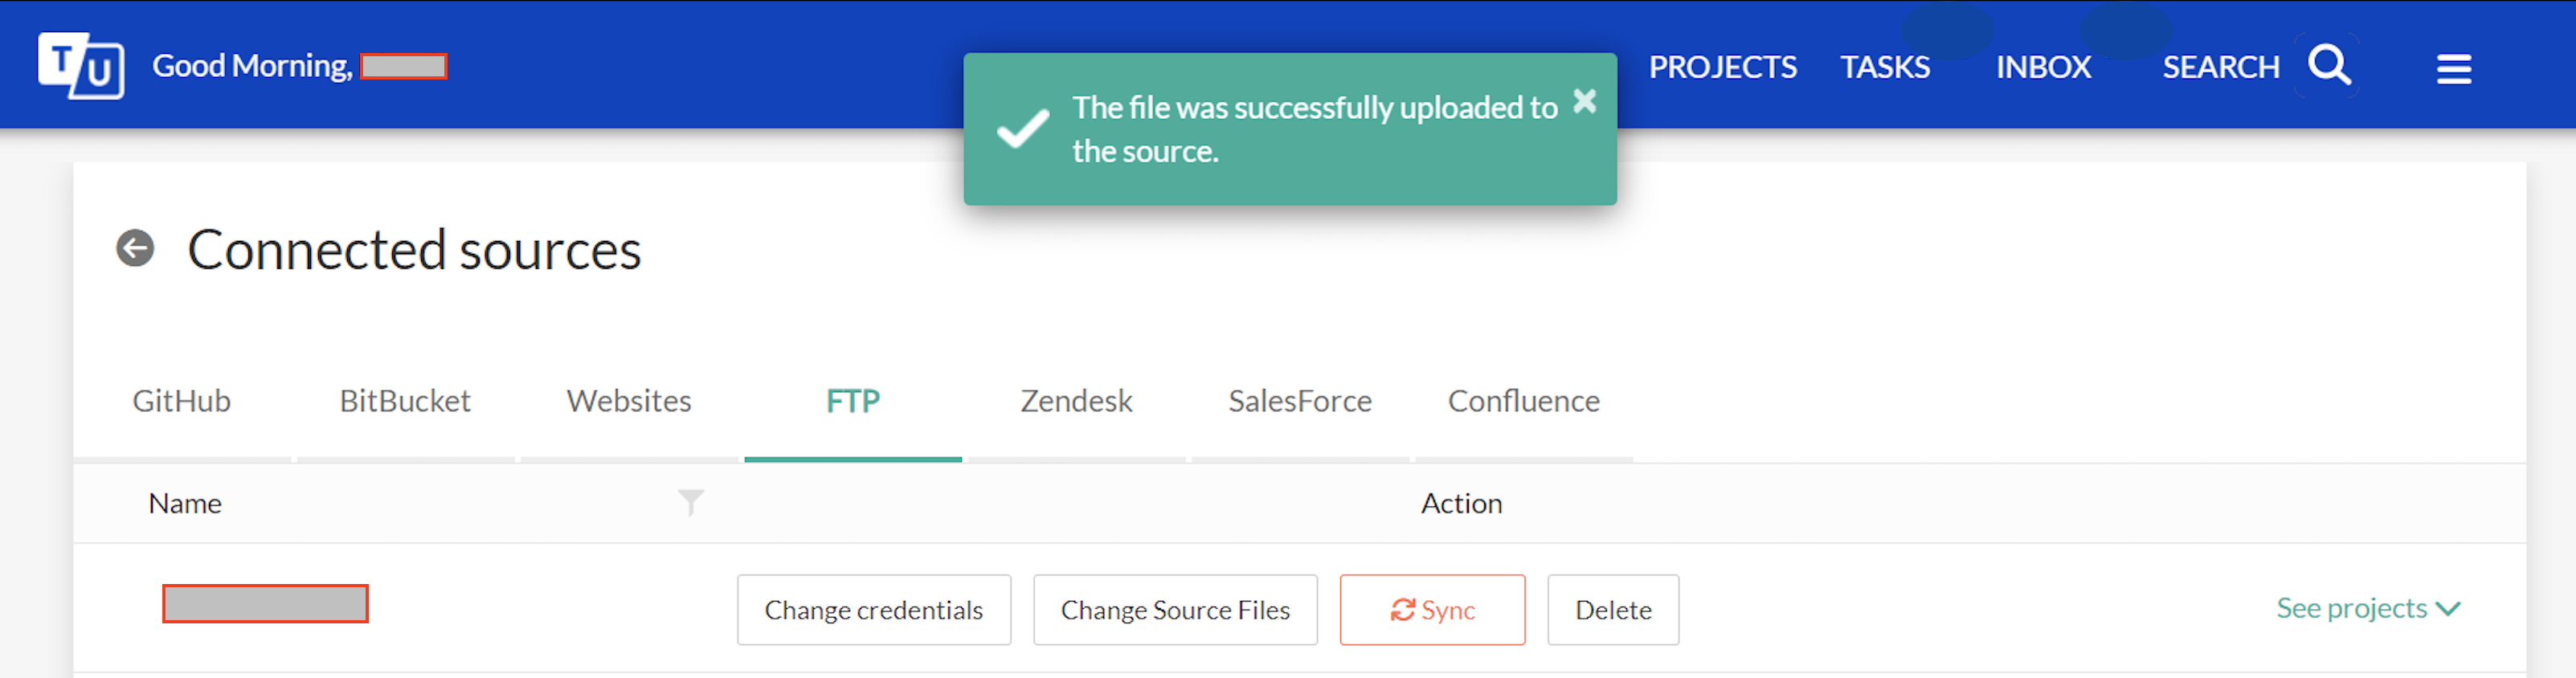
Sync Success message
Success!
By following these steps, you can successfully set up and manage an FTP-based translation project in TextUnited. For further assistance, feel free to contact TextUnited support or refer to the documentation in the help center.
Updated 9 months ago