Registering and Creating an Account
Starting your journey with TextUnited begins by registering and creating an account. The process is simple, designed to suit both individuals and businesses, ensuring a personalized experience tailored to your needs. Below is a detailed guide on how to complete the registration, including filling out the signup form, providing personal and business information, and answering key questions about your industry, role, and company size.
Getting Started
Step 1: Visit TextUnited
- Go to the official TextUnited website.
- On the homepage, you'll see a "Free Trial" button that will take you straight to the sign-up page.

Showing the "FREE TRIAL" button that links to the Sign Up page
- If you prefer, you can click on the "Login" button in the top right corner.

Showing the LOGIN button
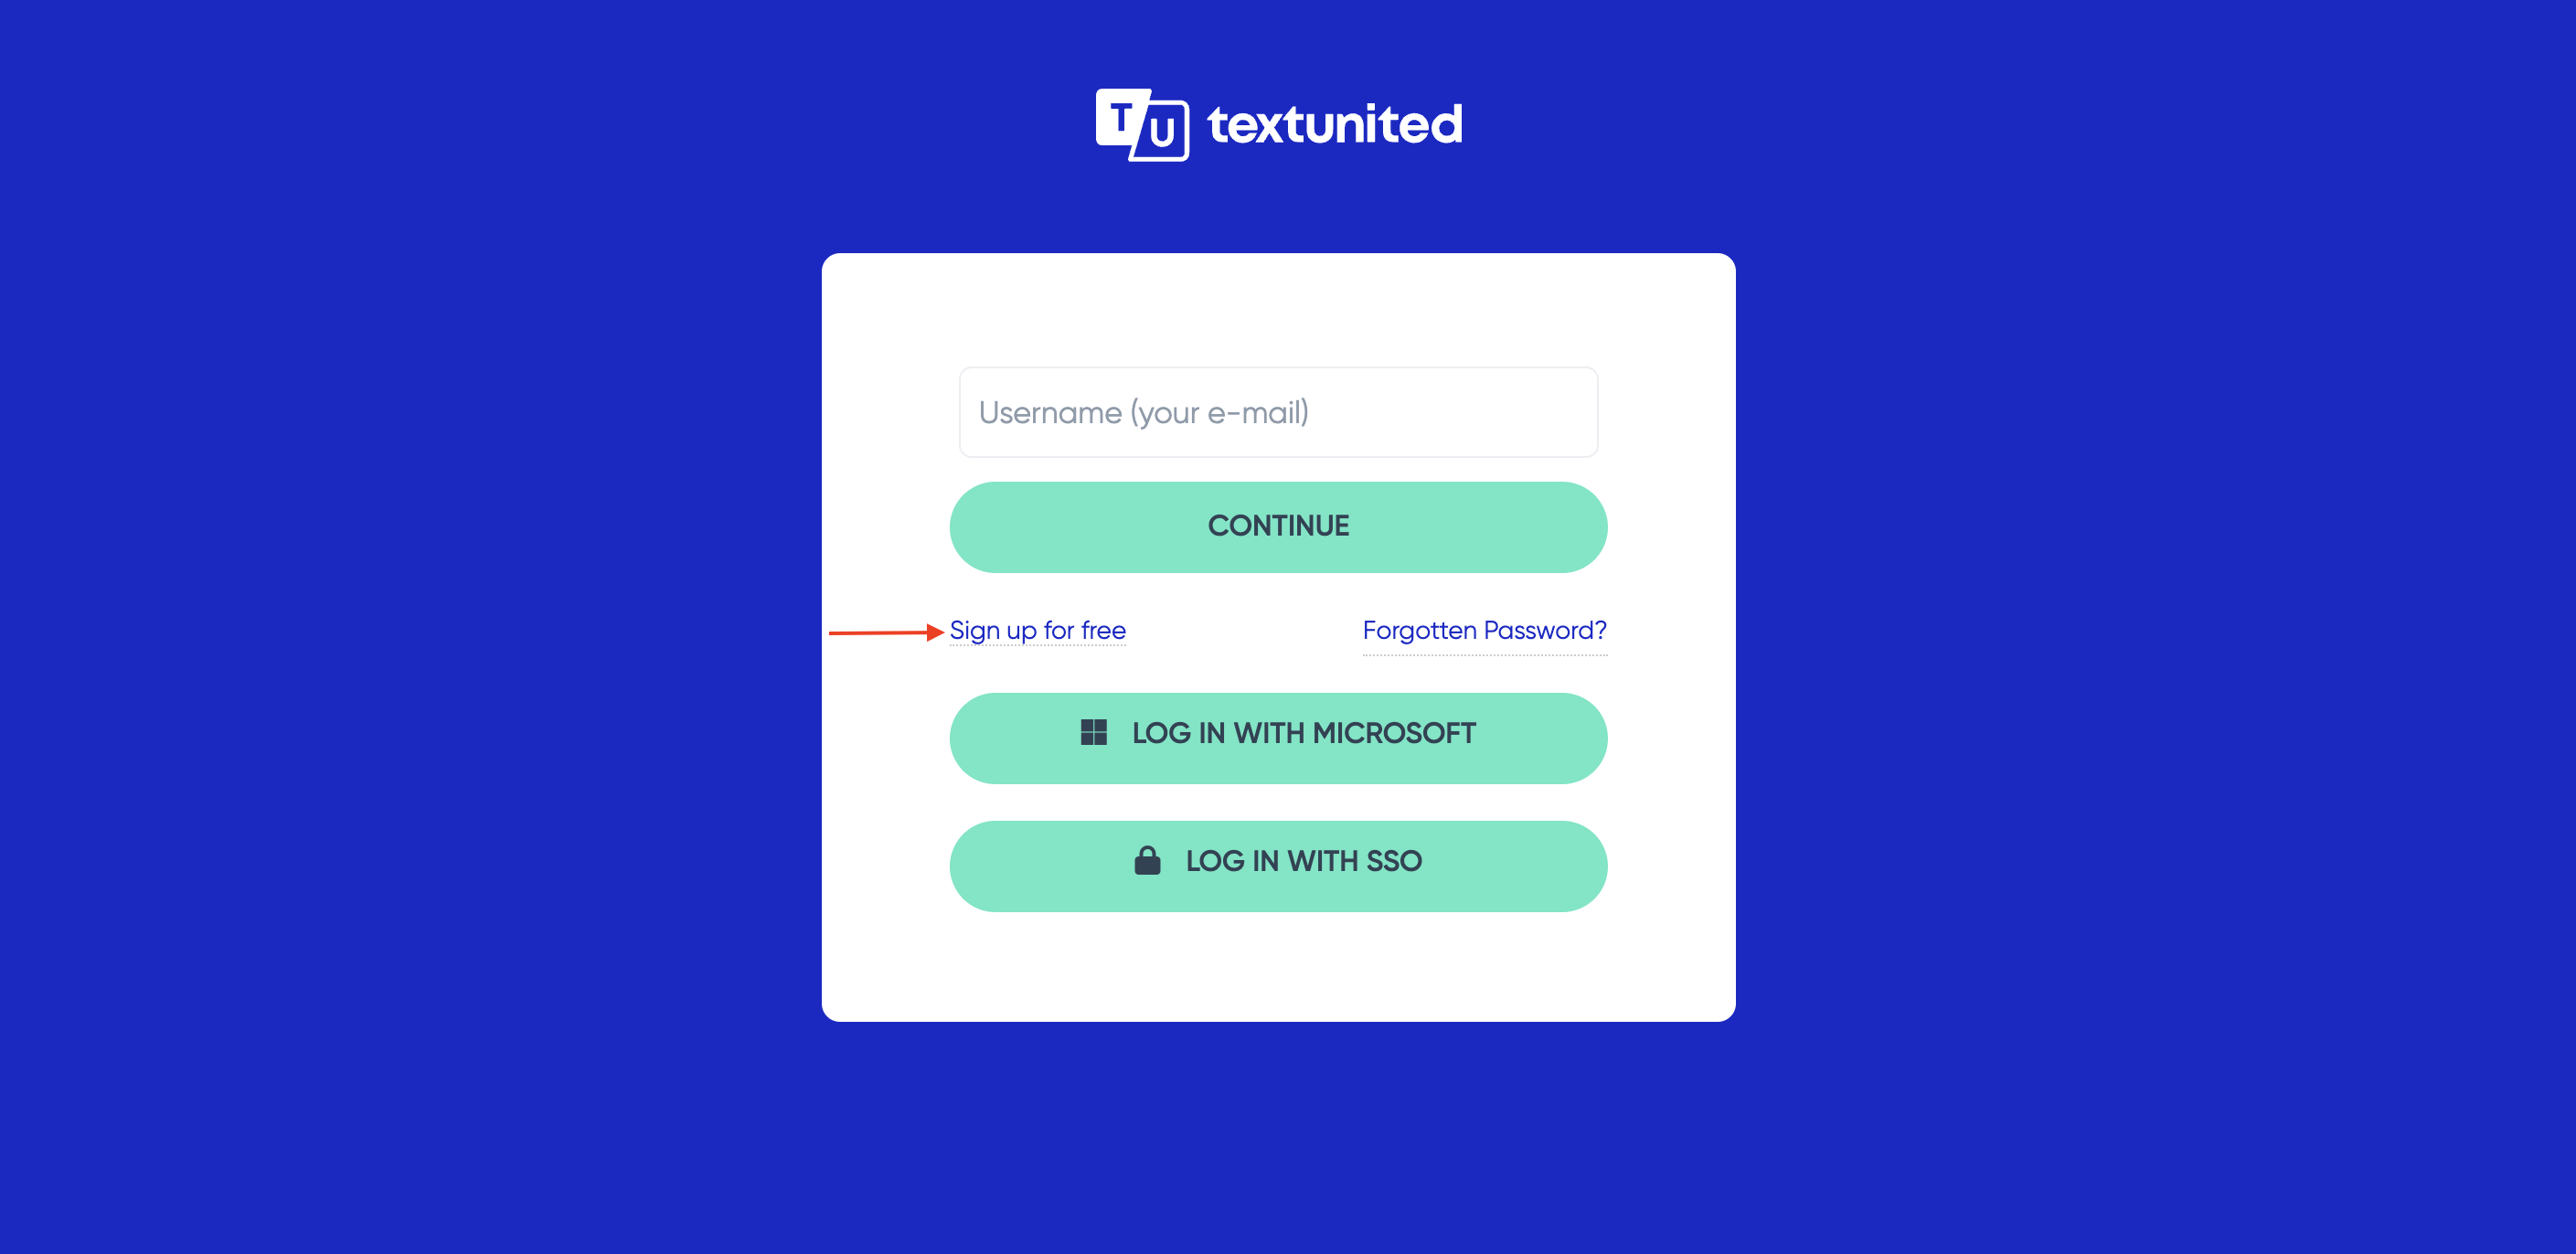
- Below the login form, there’s a "Sign Up for Free" link that also starts the sign-up process.

Sign Up for free
Step 2: Complete the Initial Signup Form
-
Fill out the initial signup form with your personal and business information.
-
Details Required:
- First Name, Last Name: Personal identifiers.
- Business Email Address: Your professional email address.
- Password: A secure password to protect your account.

Initial Sign-Up form
Step 3: Answer Key Questions
- Provide answers to several key questions to personalize your experience.
- Questions:
- Industry: Choose from a dropdown menu to receive tailored recommendations.
- Role: Specify your role within TextUnited. For translators, detail your source and target languages and any specializations. For company administrators, state your organizational role.
- Company Size: Indicate the number of employees in your company to determine the appropriate level of service and pricing.
Step 4: Tailored Signup Process Based on Role
- As a Translator:
- Choosing the Translator role, you will need to select the source language you can translate from, specify how many target languages you can translate into, and enter or showcase your specialization.
- This personalized approach helps you find projects that match your skills and interests, increasing your chances of success on the platform.
- As a Company Administrator:
- After identifying your role and company size, you'll be guided through setting up your account, including choosing your subscription plan, inviting team members, and configuring project settings.
- This setup process prepares you to manage projects smoothly from the beginning, making the most of TextUnited’s features to meet your objectives.
Note
All roles, including Business Leader (CEO or head of department), Business User (HR, Legal & Finance), Localization Manager, Marketing Manager, Product Manager, DevOps Manager, and others except the Translator role, fall under the Company Administrator.
Step 5: Finalize and Activate Your Account
- Double-check the information you've provided to make sure everything is accurate, including your contact details, company info, and role specifications.
- Submit your application. Once it's approved, you'll get a confirmation email.
- Follow the steps in that email to activate your account and begin using TextUnited's features and services.
Updated 10 months ago
