Account Setup
To get started with TextUnited, follow these straightforward steps to create your account and configure your settings:
Creating a TextUnited Account
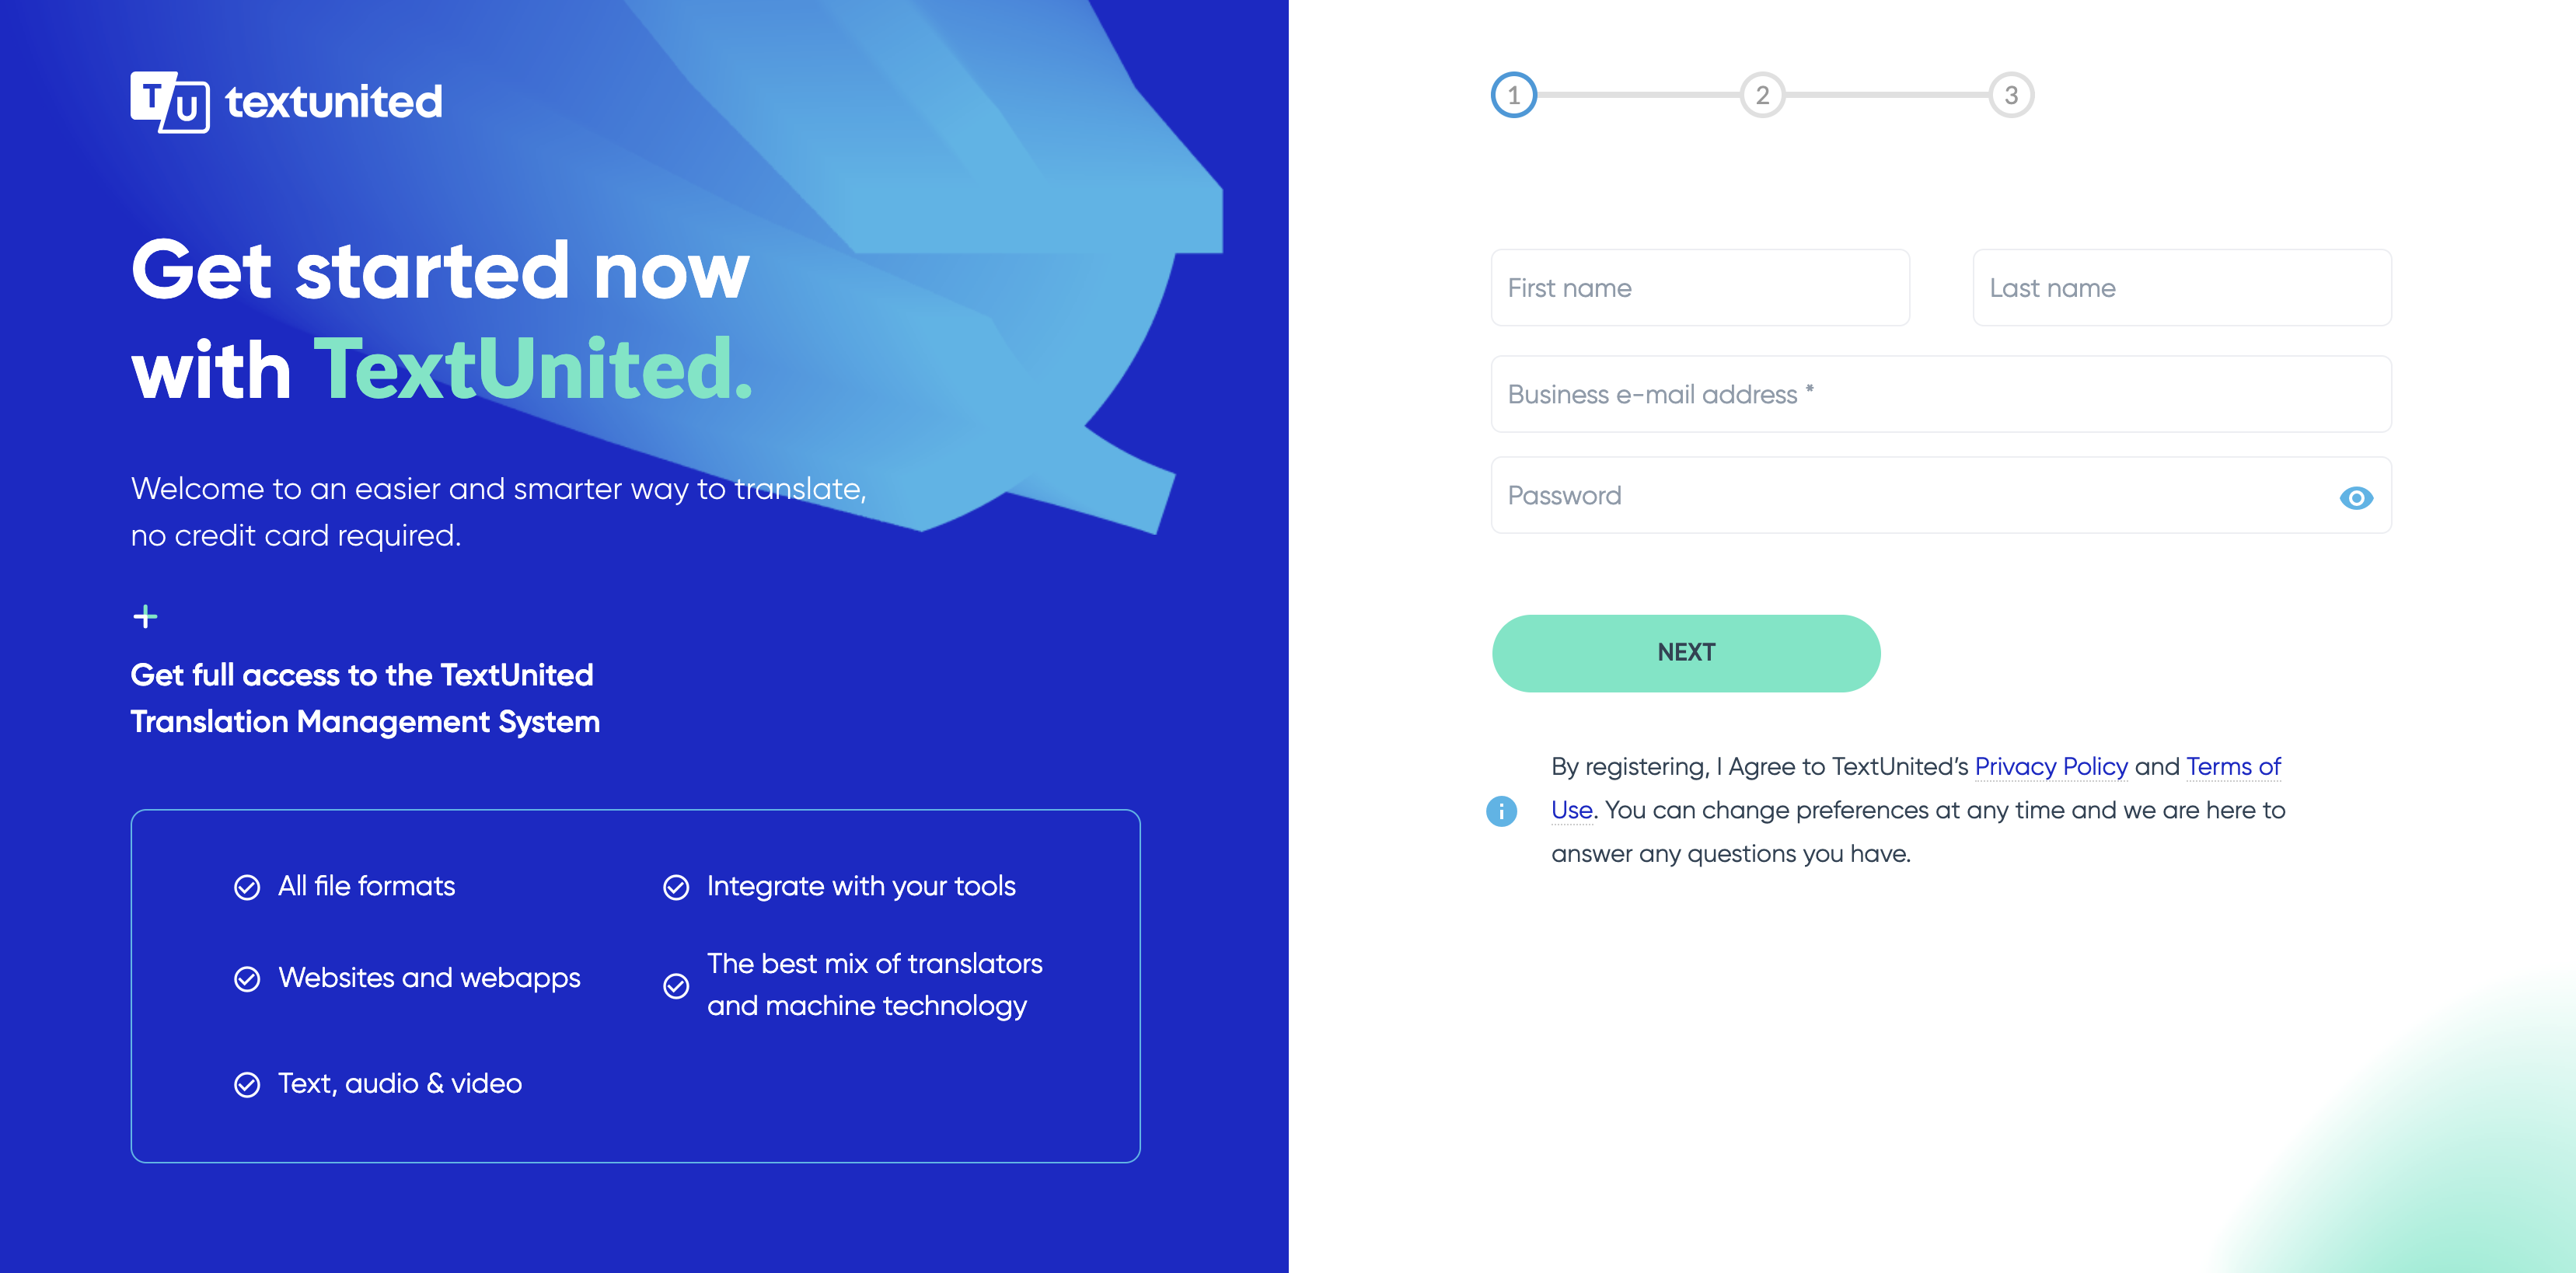
- Visit TextUnited.com and click on the "LOGIN" button located at the top right corner of the homepage.
- Click the "Sign up for free" button to create a new account.
- Fill in the registration form with your first name, last name, and business email address, and choose a strong password. You will also need to select your industry, role, and company size.
- Choose your subscription plan carefully. Each plan comes with different features and pricing to suit your needs. For individual users, our Starter Plan is perfect; for teams, consider the Essential and Extended plans; and for global companies, consider the Enterprise plan.
- Click "Register" to complete the signup process. You’ll receive a confirmation email. Follow the instructions to verify your account.

Creating an Account on TextUnited
Setting up your TextUnited account
Once registered, personalize your account to tailor TextUnited to your needs:
Account Settings
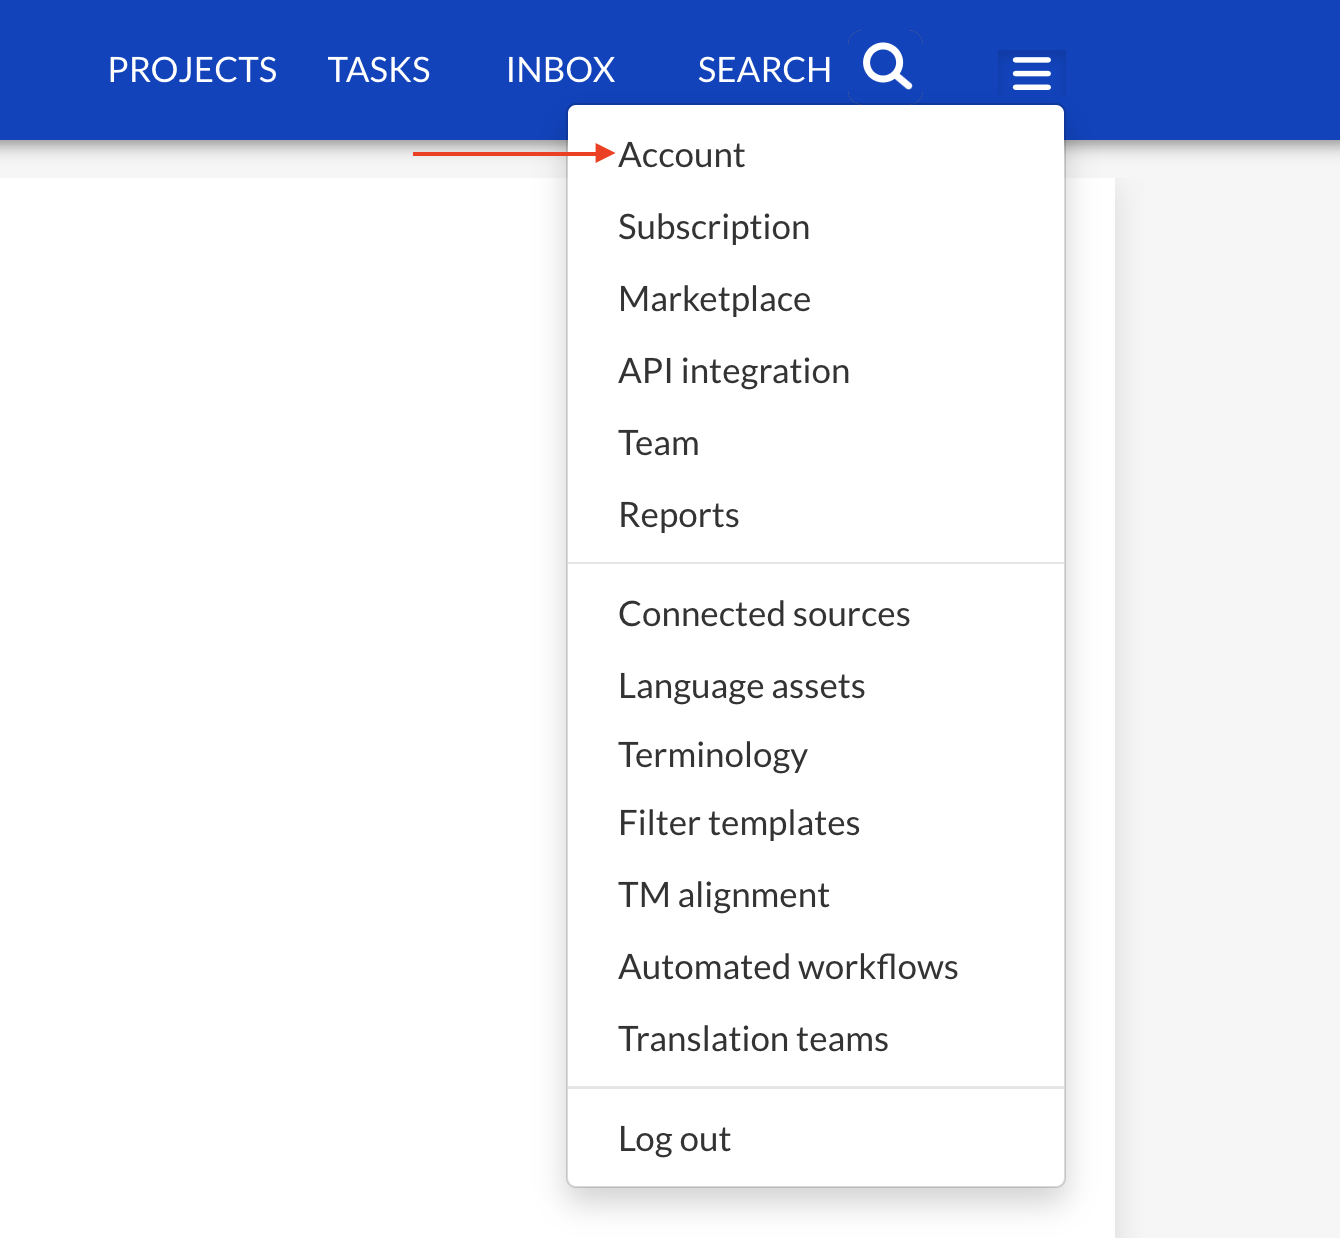
Log in to your TextUnited account. Navigate to the "Account" section in the top-right corner.

Account Settings
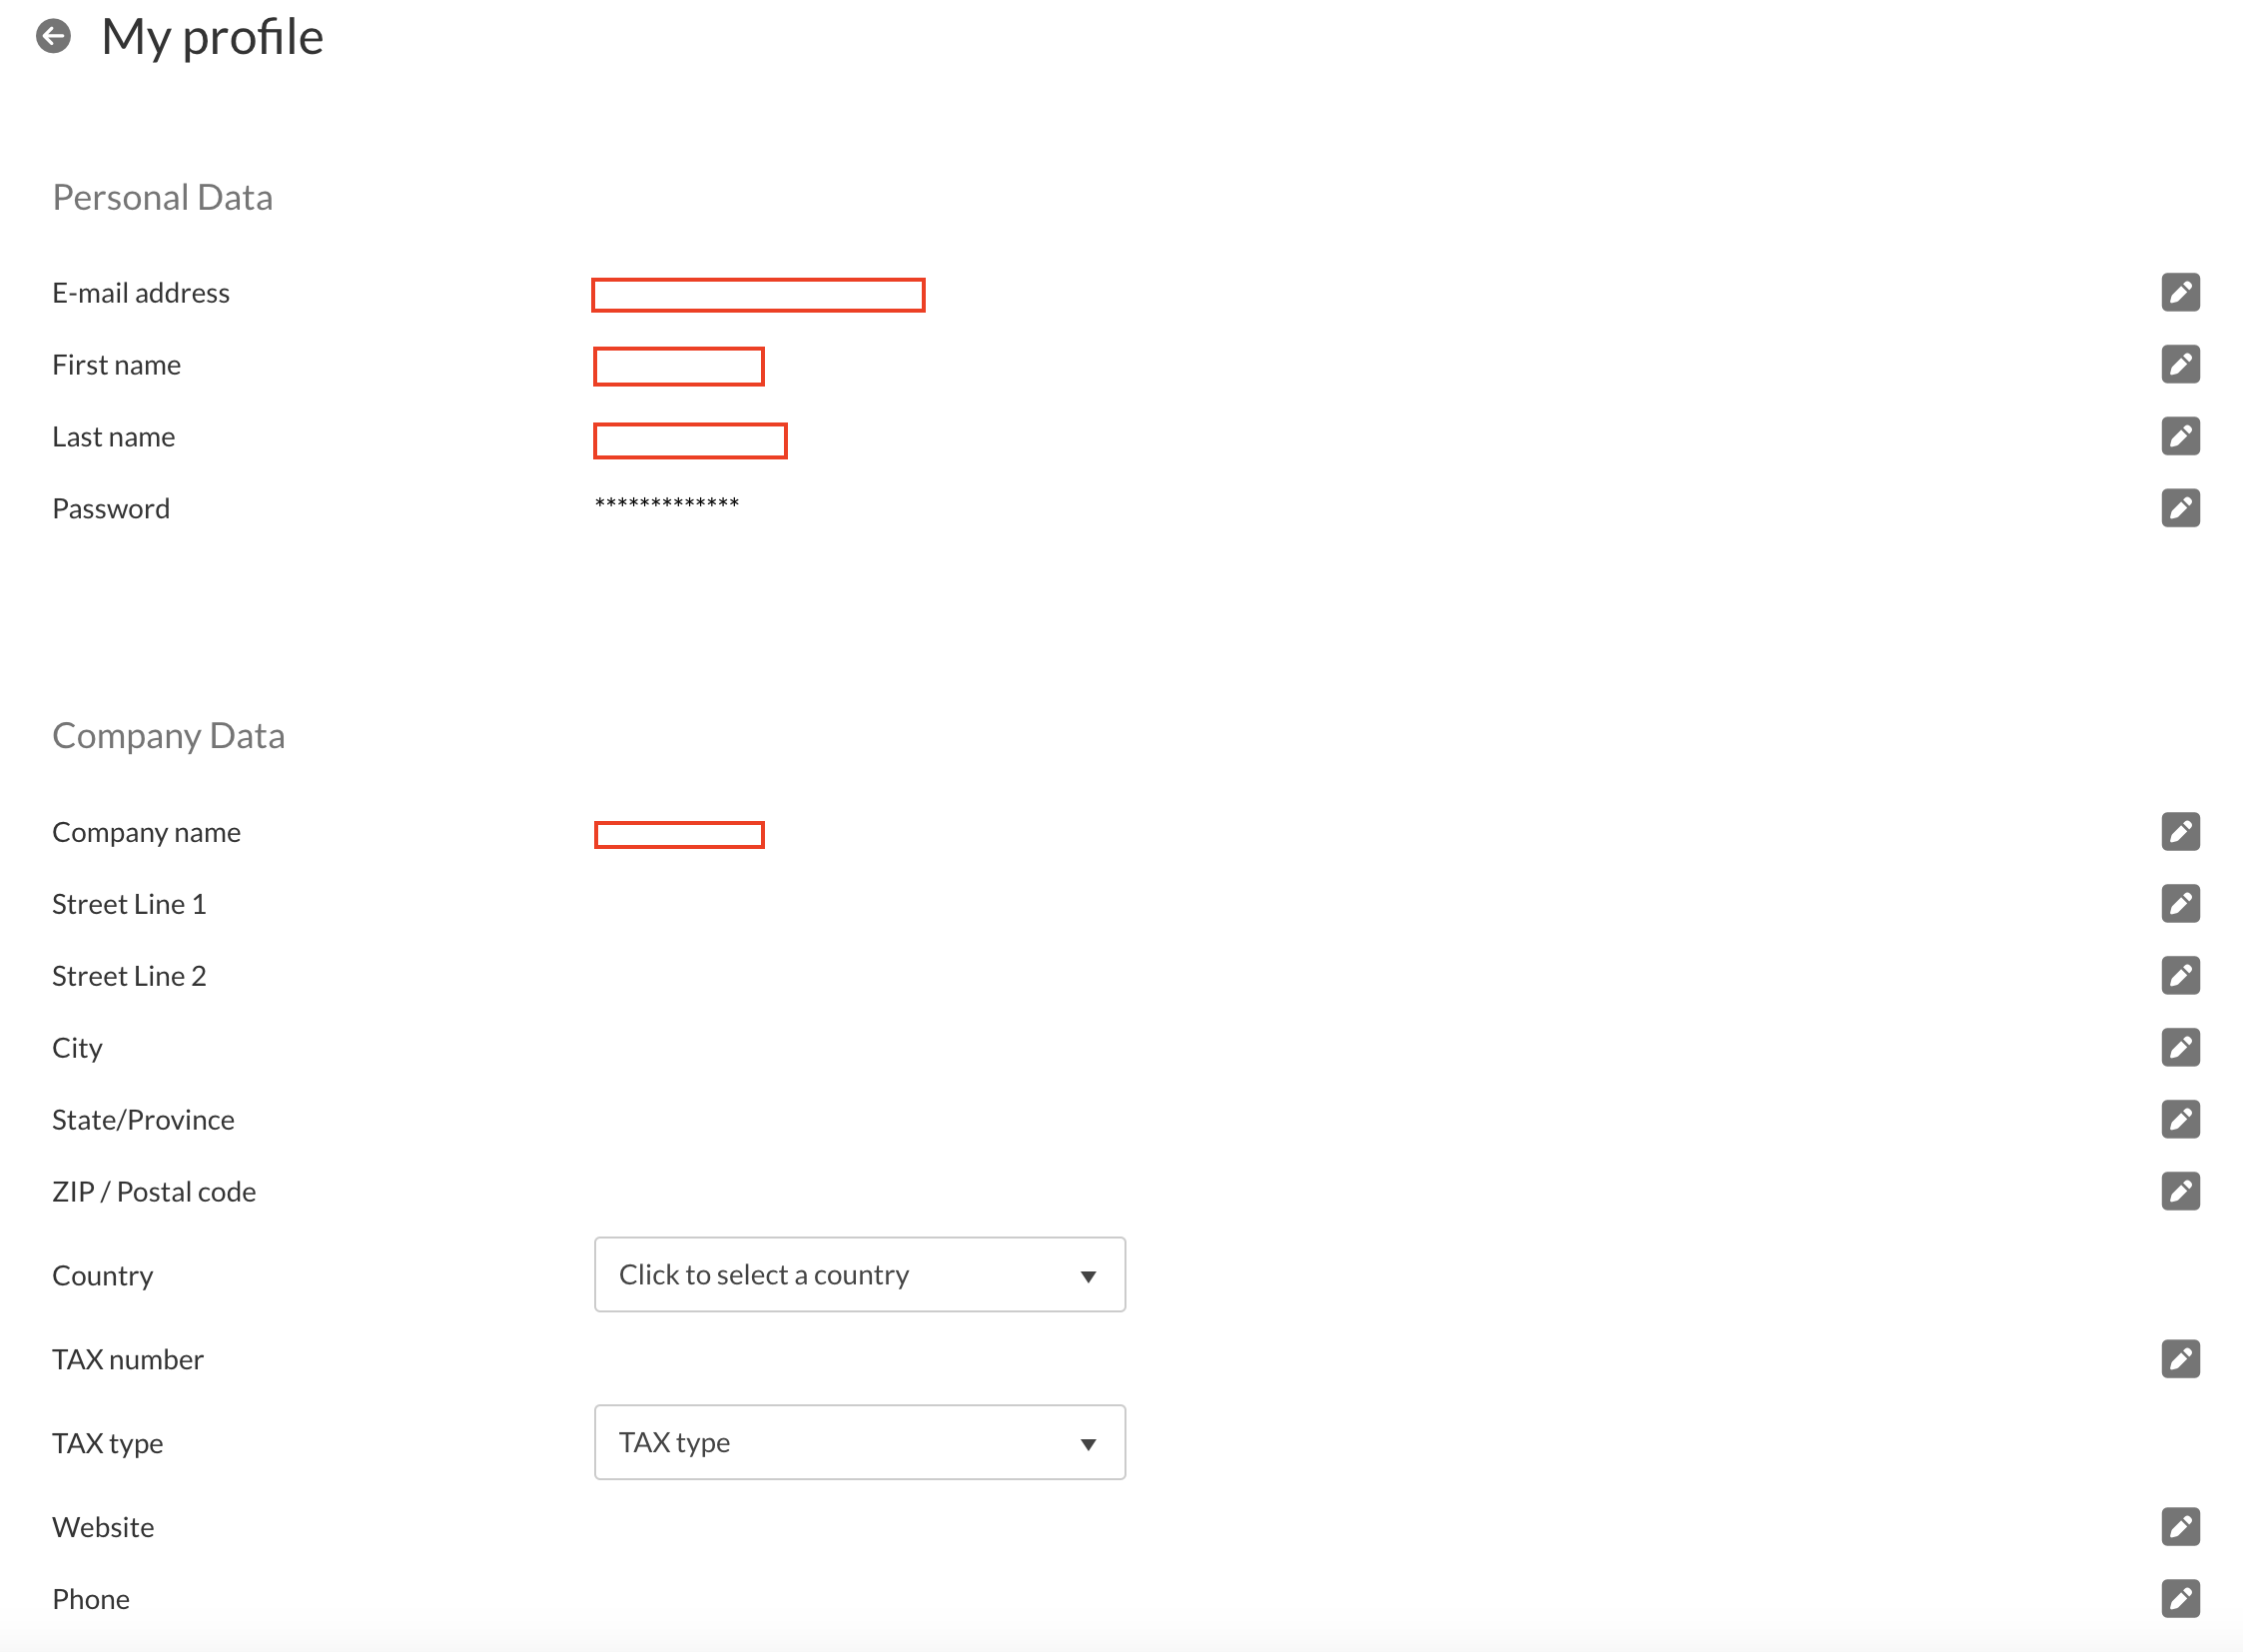
Adding Personal and Company Data
Update your profile information, including your full name, job title, and company (if applicable). This helps us tailor communications and recommendations to your role.

Profile Settings
Adding Payment Method
- Navigate to the "Credit Card" section in your profile settings.
- Enter your card details or click "ADD A NEW CARD" to add a new payment method. This is crucial for managing subscriptions and paying for additional services or features you opt for within TextUnited.

Adding Card Details in Profile Settings
Company Settings
If you're representing a company, you'll find several settings tailored to corporate needs:

Options available in the Company Settings
Review the "Company Settings" section to configure options that best suit your organization's workflow and security standards.
- Two-Factor Authentication: Enhances security by requiring a second verification step when logging in.
- Delete Source and Target Files When Archiving Projects: Automatically removes original and translated files once projects are archived, saving storage space.
- Do Not Store Source and Translated Content for Automatic Translations: Disables storing content for automatic translations, potentially increasing processing speed but reducing reusability.
- Allow Translators to Preview Files: Grants translators the ability to preview files before accepting them for translation.
- Allow Translators to Generate QA Reports: Permits translators to create Quality Assurance reports, aiding in the review process.
- Allow Translators to Use Machine Translation: Enables translators to utilize machine translation tools within TextUnited.
- Allow Viewing All Projects by Power Users: Allows designated power users to access projects across the organization.
- Use DeepL: Integrates DeepL for professional translation services. Requires a separate subscription to DeepL and provision of an API-CAT-Key.
Single Sign-On (SSO) Configuration
- In the "SSO Settings" section, choose how you'd like to authenticate:
- Logging in with SSO or Login and Password: Offers flexibility between traditional login methods and SSO.
- Logging in with SSO Only: Restricts access to your account exclusively via SSO, enhancing security.
- Set your SSO URL and enter the GUID provided by your identity provider. The GUID (Globally Unique Identifier) is a unique string that identifies your SSO configuration, ensuring secure and accurate authentication.

Showing the options provided in the SSO Settings
App Settings
Customize your app experience in the "App Settings":
- Set Number of Projects Per Page: Adjusts how many projects are displayed on a single page, improving readability and navigation.
- Set Default Filter: Tailor the default view of your project's dashboard. Options include viewing all projects, projects sent to TextUnited, projects done within the company, ongoing projects, completed projects, or projects created by you.

Showing the options provided in the App Settings
Note: You can always update these settings later if your preferences change.
Updated 11 months ago
