GitHub Integration
This guide walks you through the process of integrating TextUnited with GitHub, allowing you to translate GitHub content directly within TextUnited. This integration helps you manage multilingual content more efficiently, making it easier to reach a global audience.
Before you begin
Ensure you have access to both your GitHub repositories and a TextUnited account. If you don't have a TextUnited account, refer to this guide to learn how to create one.
Step-by-Step Integration Process
Initial Setup
Step 1: Start a New Project
From your TextUnited dashboard, navigate to "Start a new project" and select the GitHub integration option.

GitHub Integration Option
Step 2: Connect to GitHub
You will be redirected to the GitHub login page. Enter your GitHub credentials to establish a secure connection with TextUnited.

Connect to GitHub
Next, authorize the connection with TextUnited:
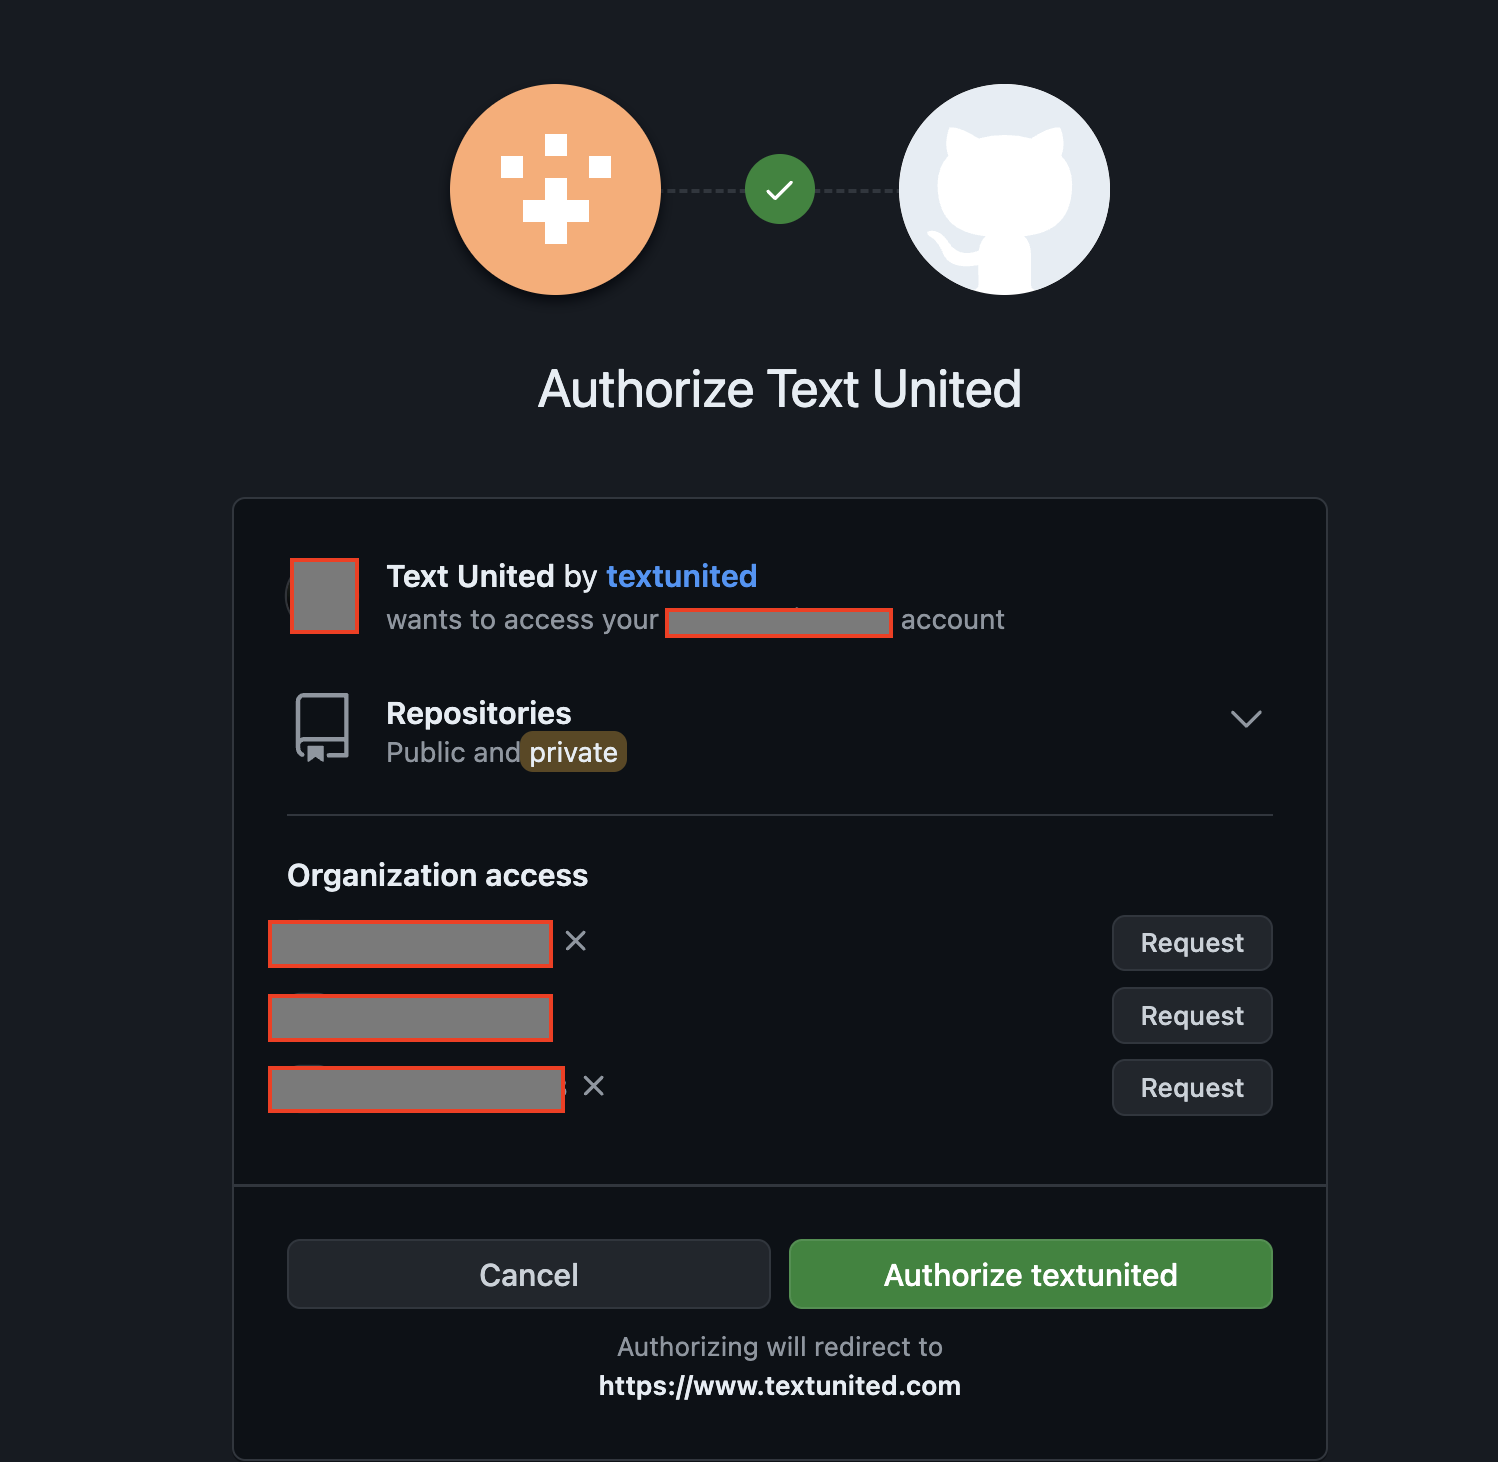
Authorize GitHub connection with TextUnited
Choosing Content for Translation
Step 3: Enter Project Name
Once you've connected your GitHub to TextUnited, a modal with a list of steps will appear. Start by entering your project name:
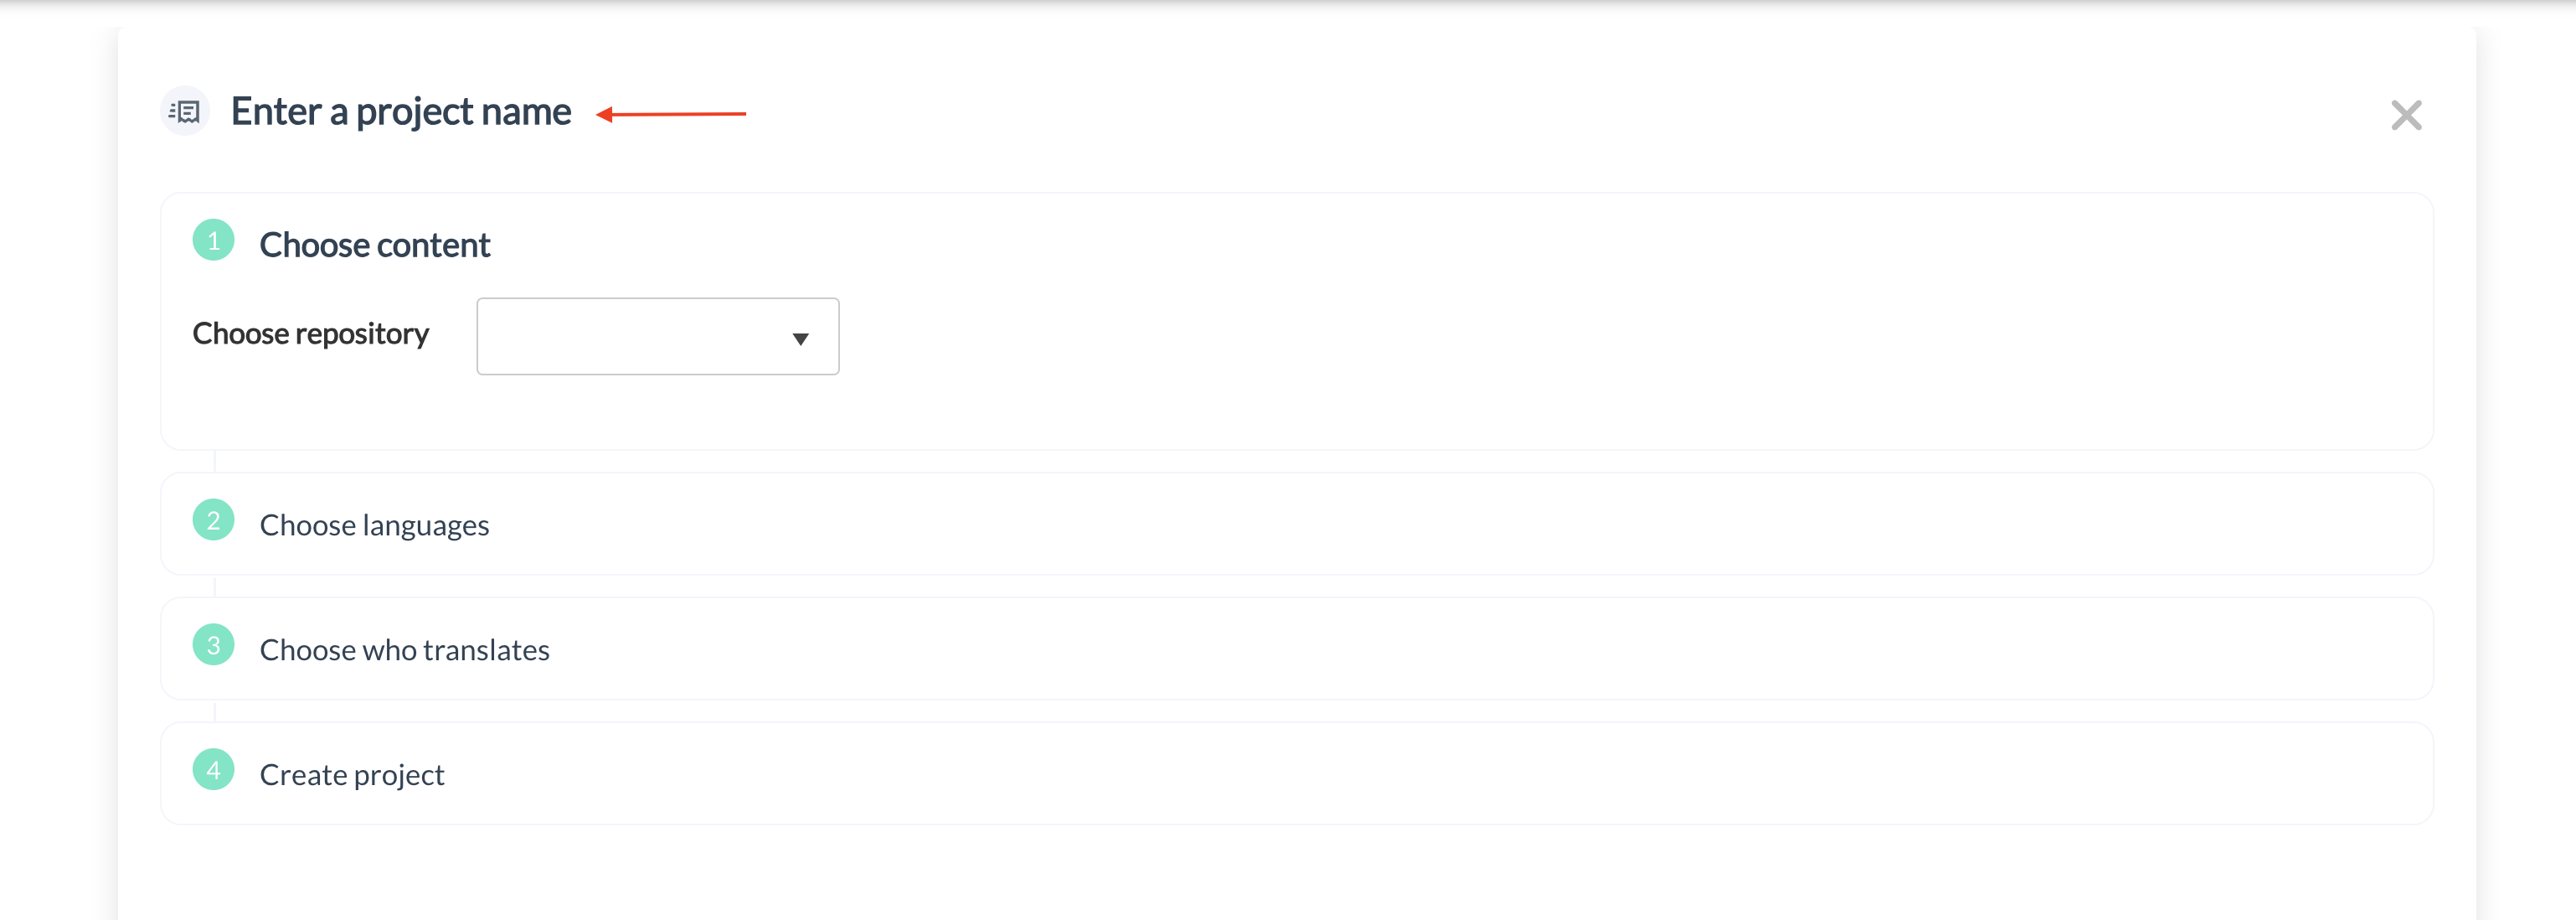
Enter Project Name
Step 4: Select Files and Folders
Choose the content you wish to translate by selecting individual files, folders, or entire repositories. If opting for a whole repository, ensure all files are compatible with TextUnited's translation capabilities. Unsupported file types may prevent the project from being created successfully. Refer to this article to find the supported file types.
Click the dropdown and select the repository that contains your content:

Choose repository
Once you have selected the repository, select the files or folders you'd like to translate from the repository:
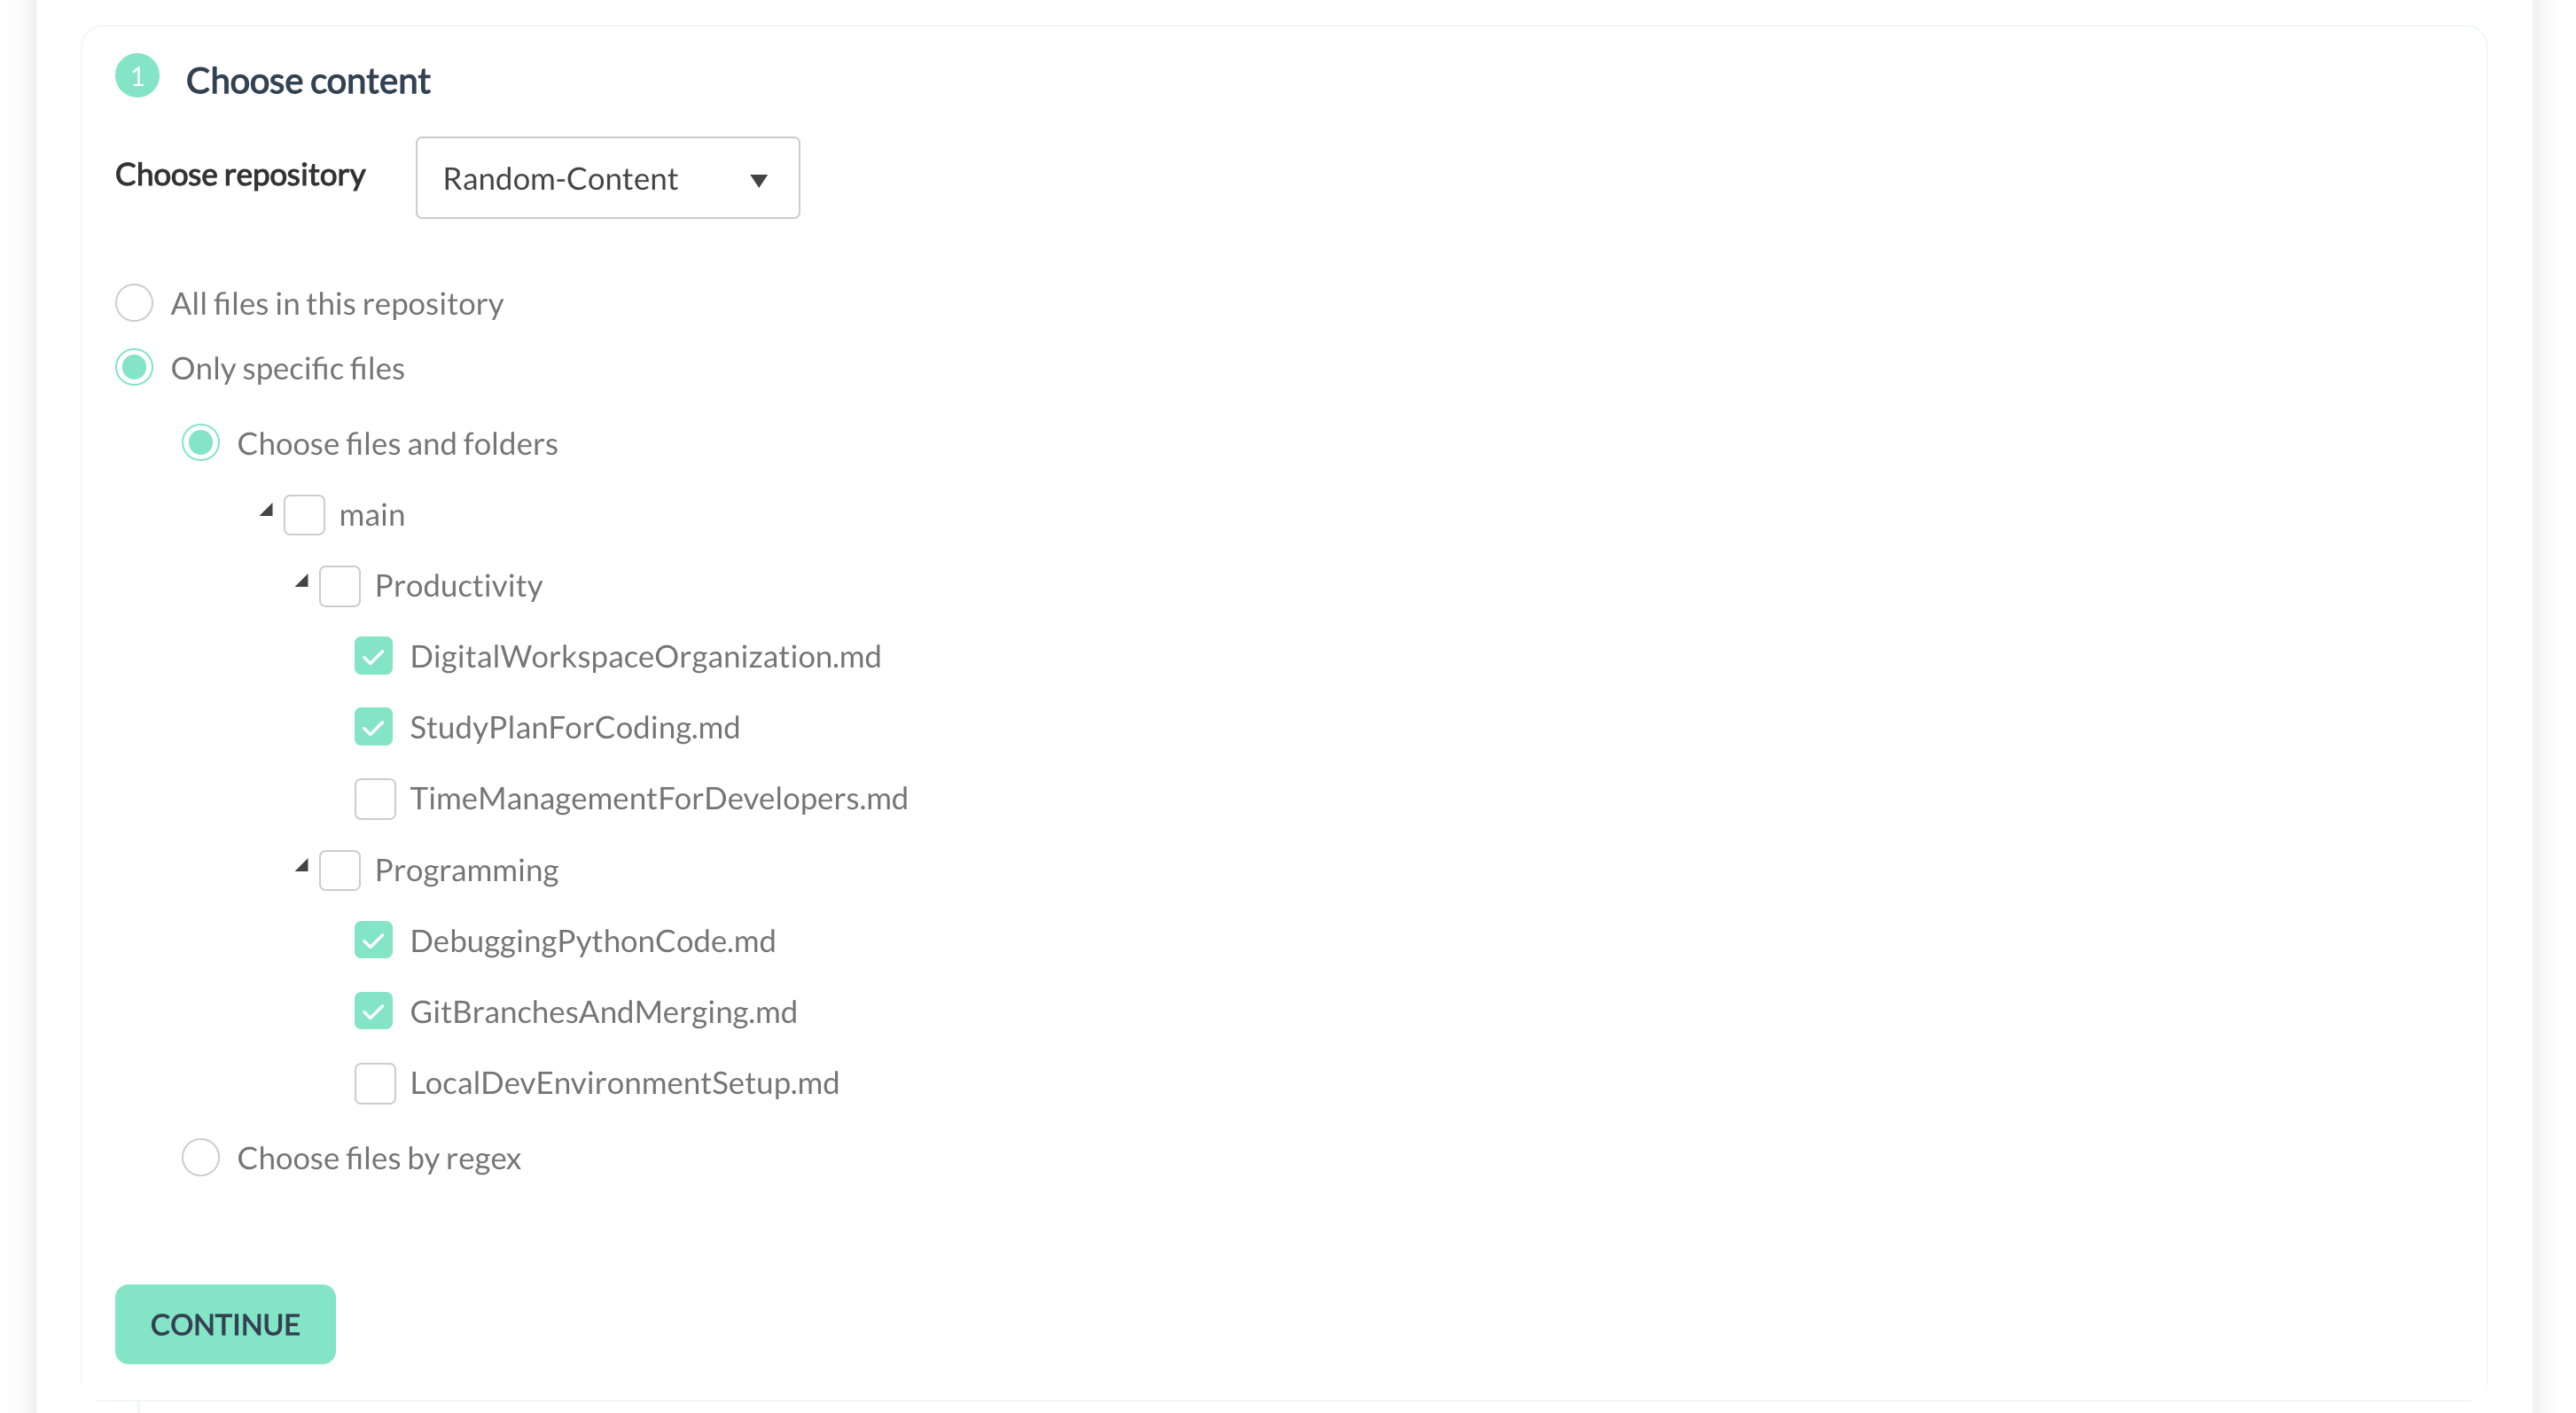
Choose files to translate
Step 5: Language Selection
Indicate the source language of your files and select the target language(s) for translation. This step is crucial for ensuring the content is accurately translated into the desired languages.

Choose languages
Choosing Translation Service
Step 6: Select Translation Service
-
Decide between two service options:
- Me & My Team: Choose this option if you prefer to translate the content yourself or delegate the task to someone from your team.

Choose who translates - ME & MY TEAM option
- Professional Full Service: Opt for TextUnited to manage the translation process. Our project managers will handle the project and assign professional translators.

Choose who translates - Professional Full Service
Step 7: Review Settings
Carefully review your selections to ensure they align with your requirements. Make adjustments as necessary before proceeding.
Step 8: Create the Project
- Click on "CREATE A PROJECT" to initiate the translation project. This action finalizes the setup and begins the translation process.

Create project
- Once you click the "CREATE A PROJECT" button, a modal will open. Choose either "DEFAULT" or "MANUAL" depending on your preference.
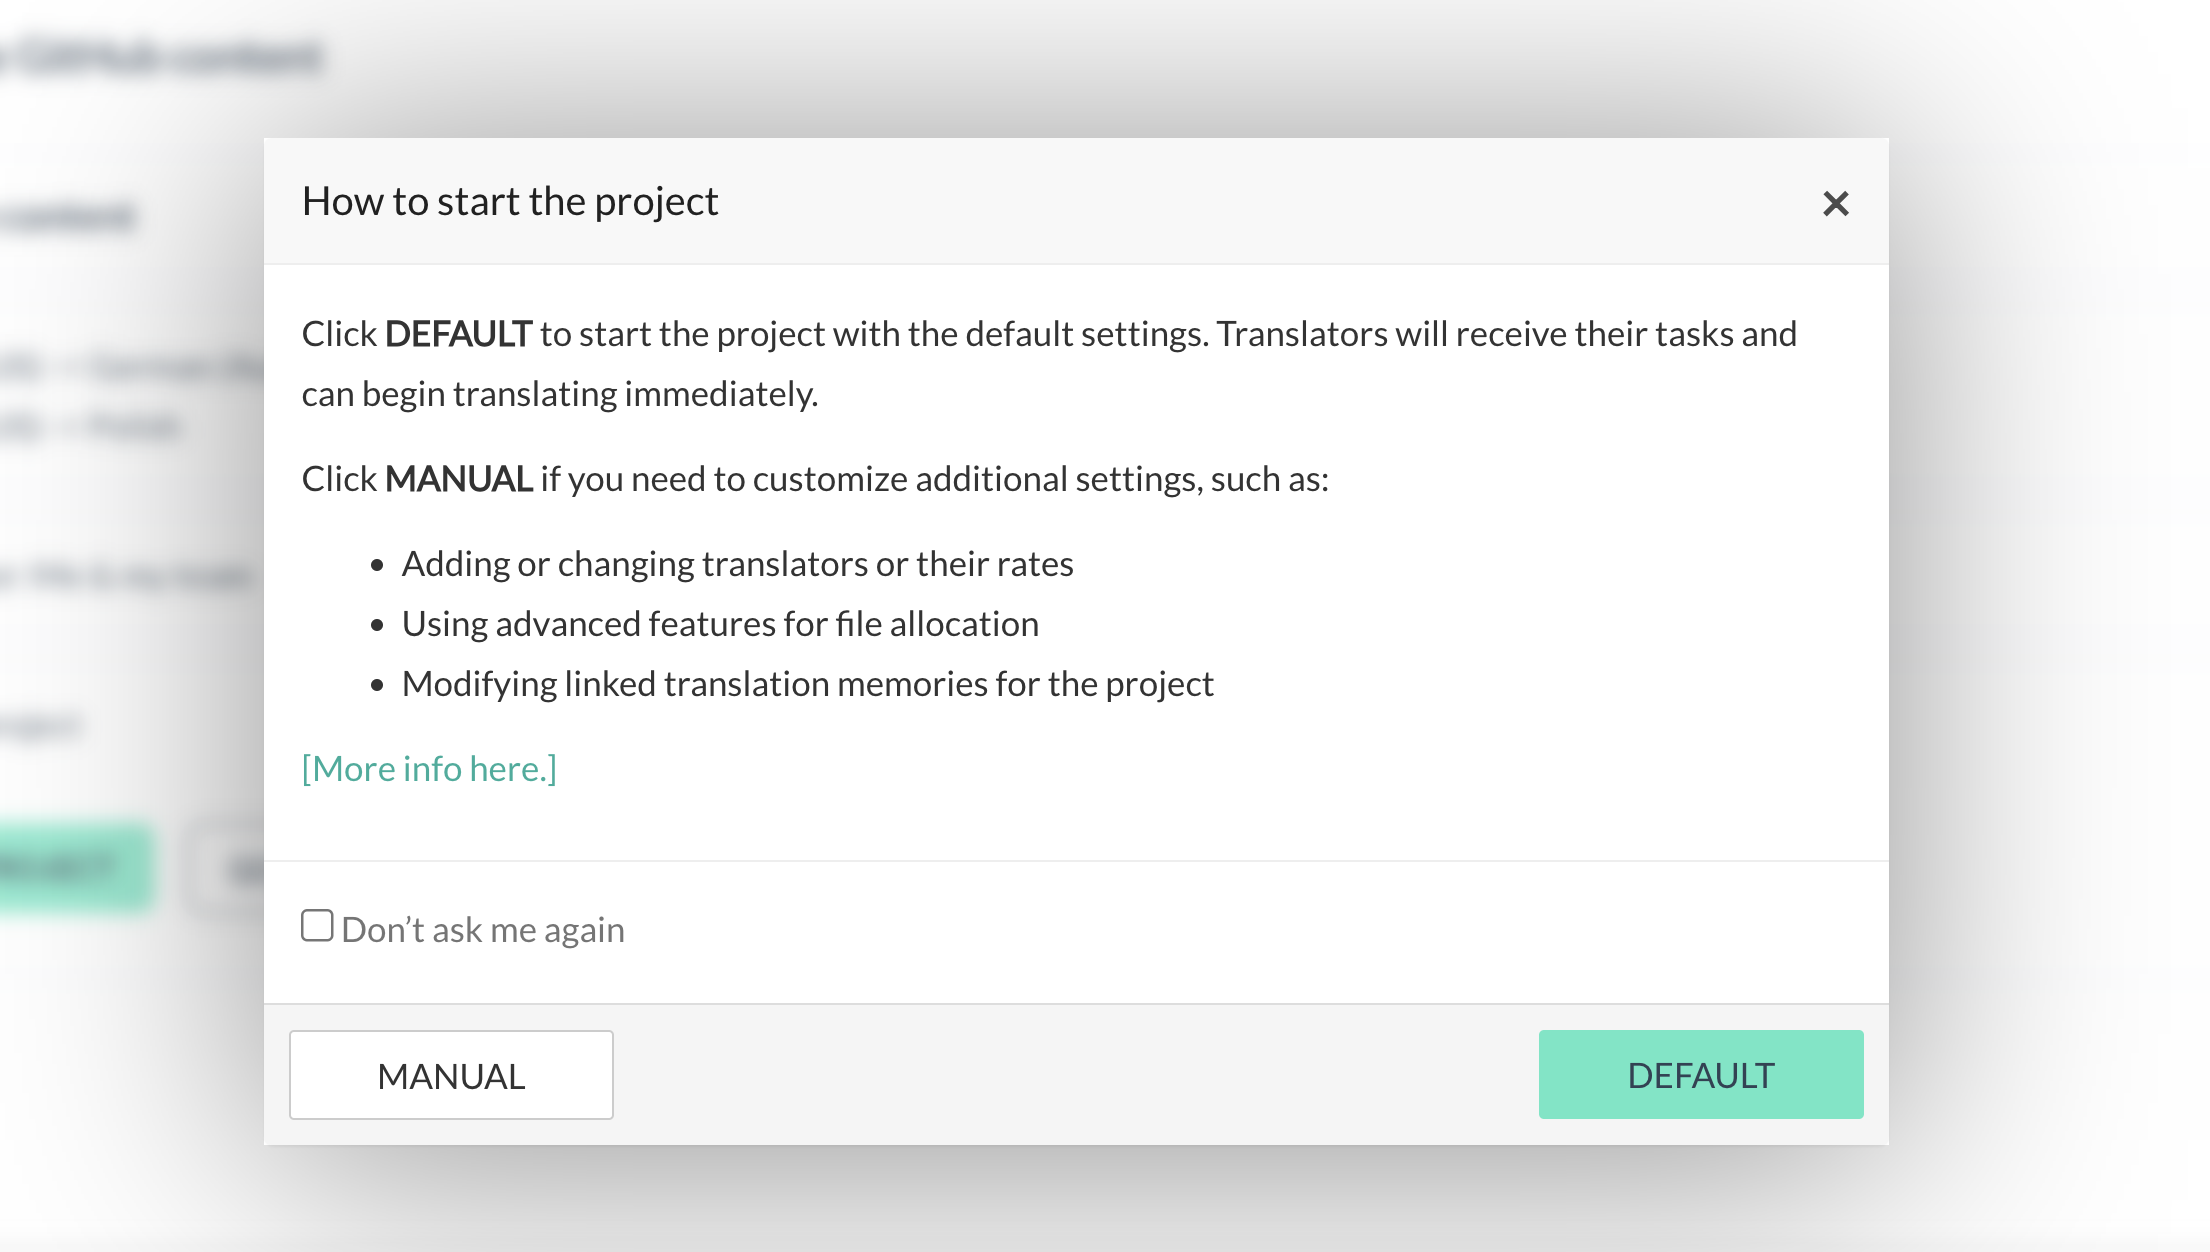
MANUAL and DEFAULT button
- Your project will start, and you'll see the following loading information. Please wait for it to finish loading.
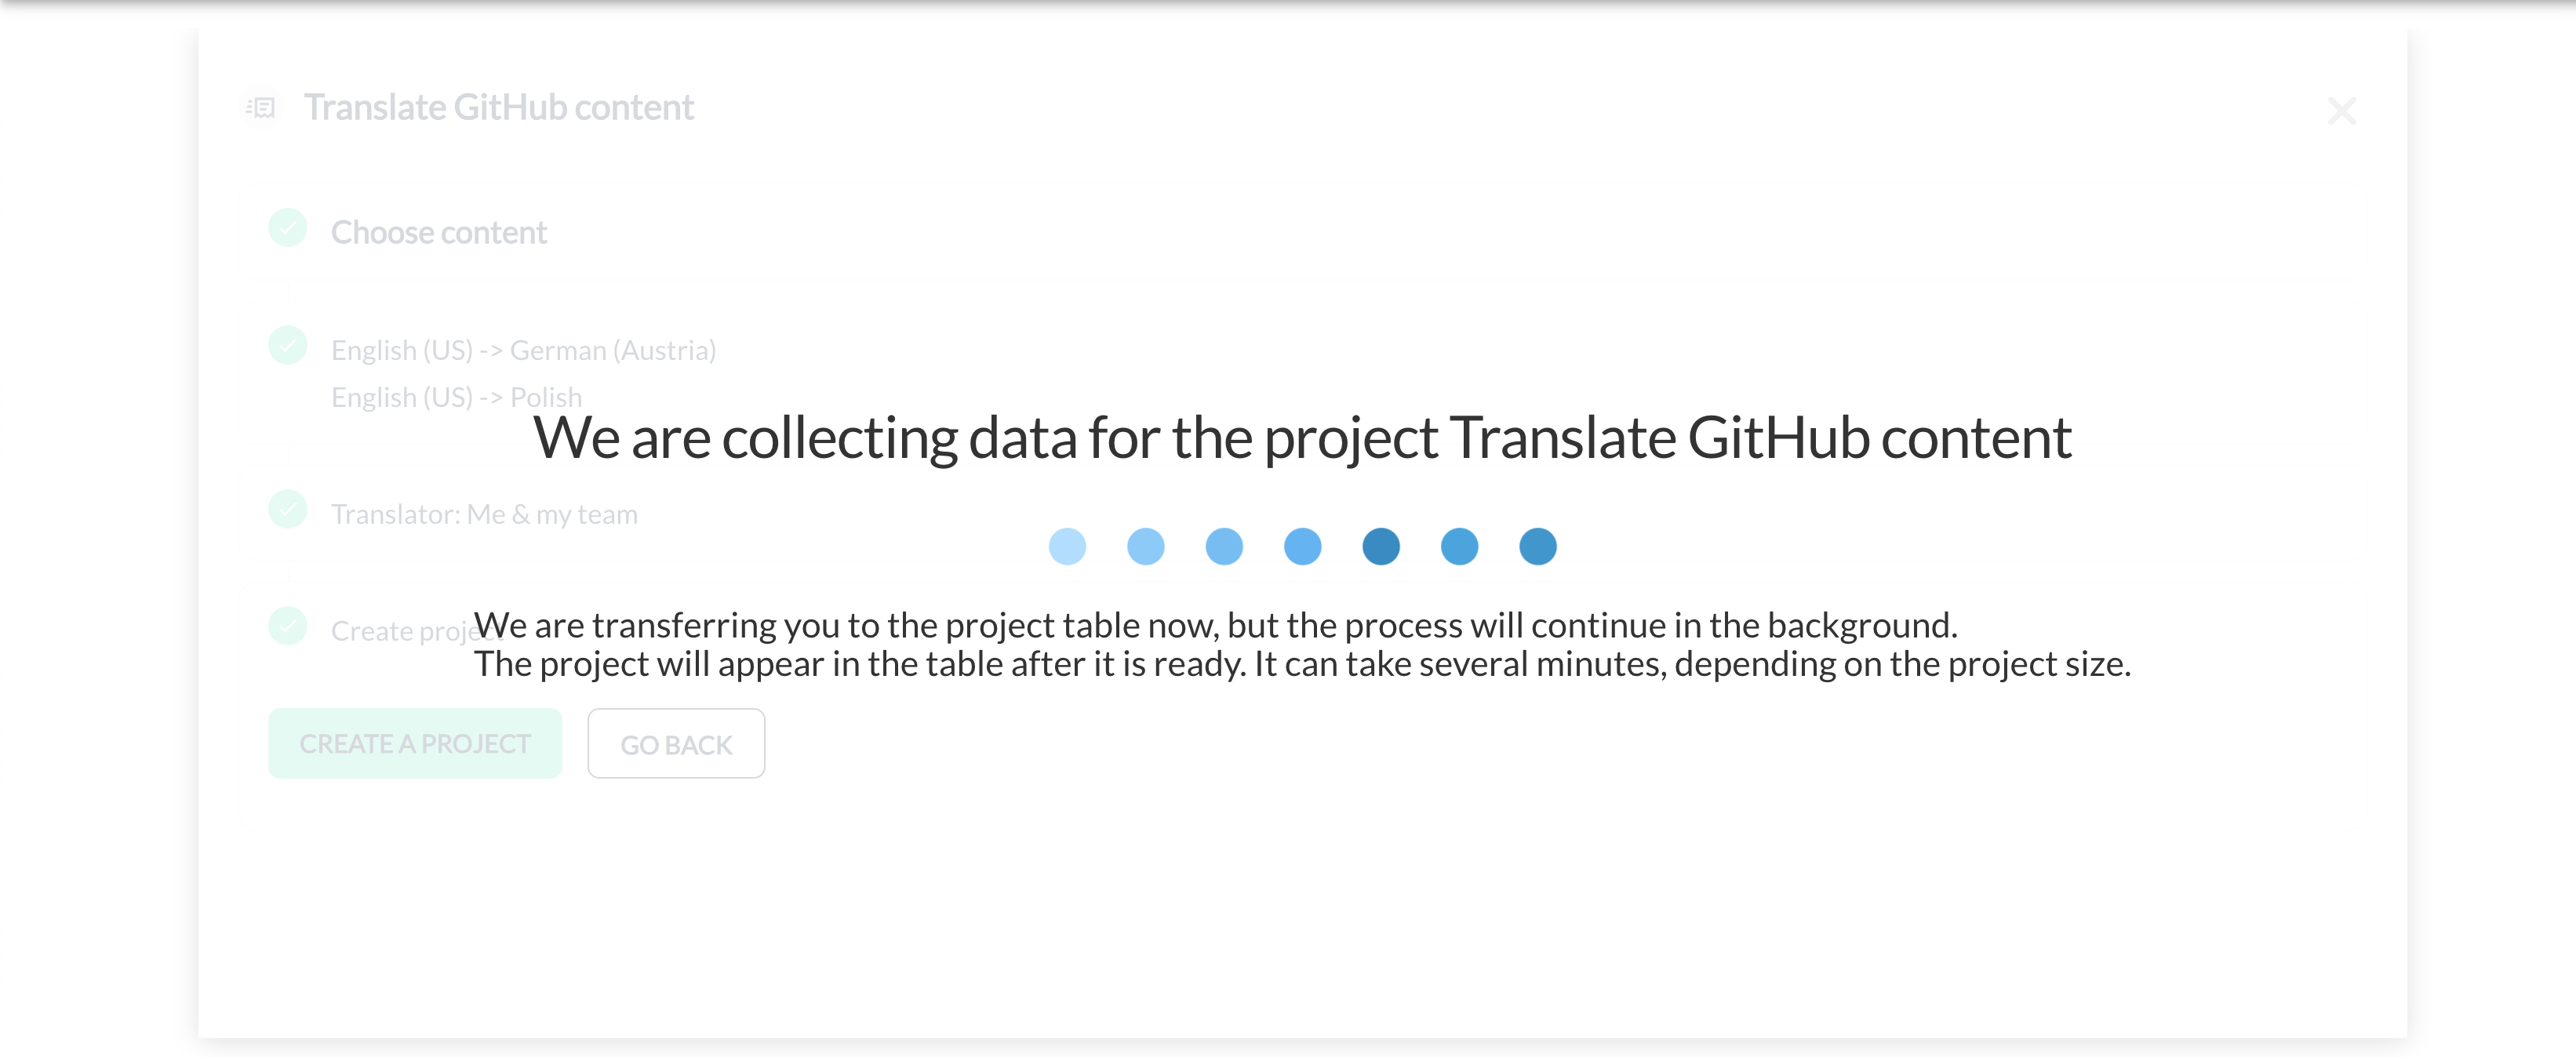
Project Creation
- After your project has been successfully created, you will find it under the GitHub tab.
Step 8: Edit and Sync Translations
- In the translation editor, edit the translated content as needed.
- Once finished, go to the project details and click "SYNC BACK" to send the translated content back to GitHub.
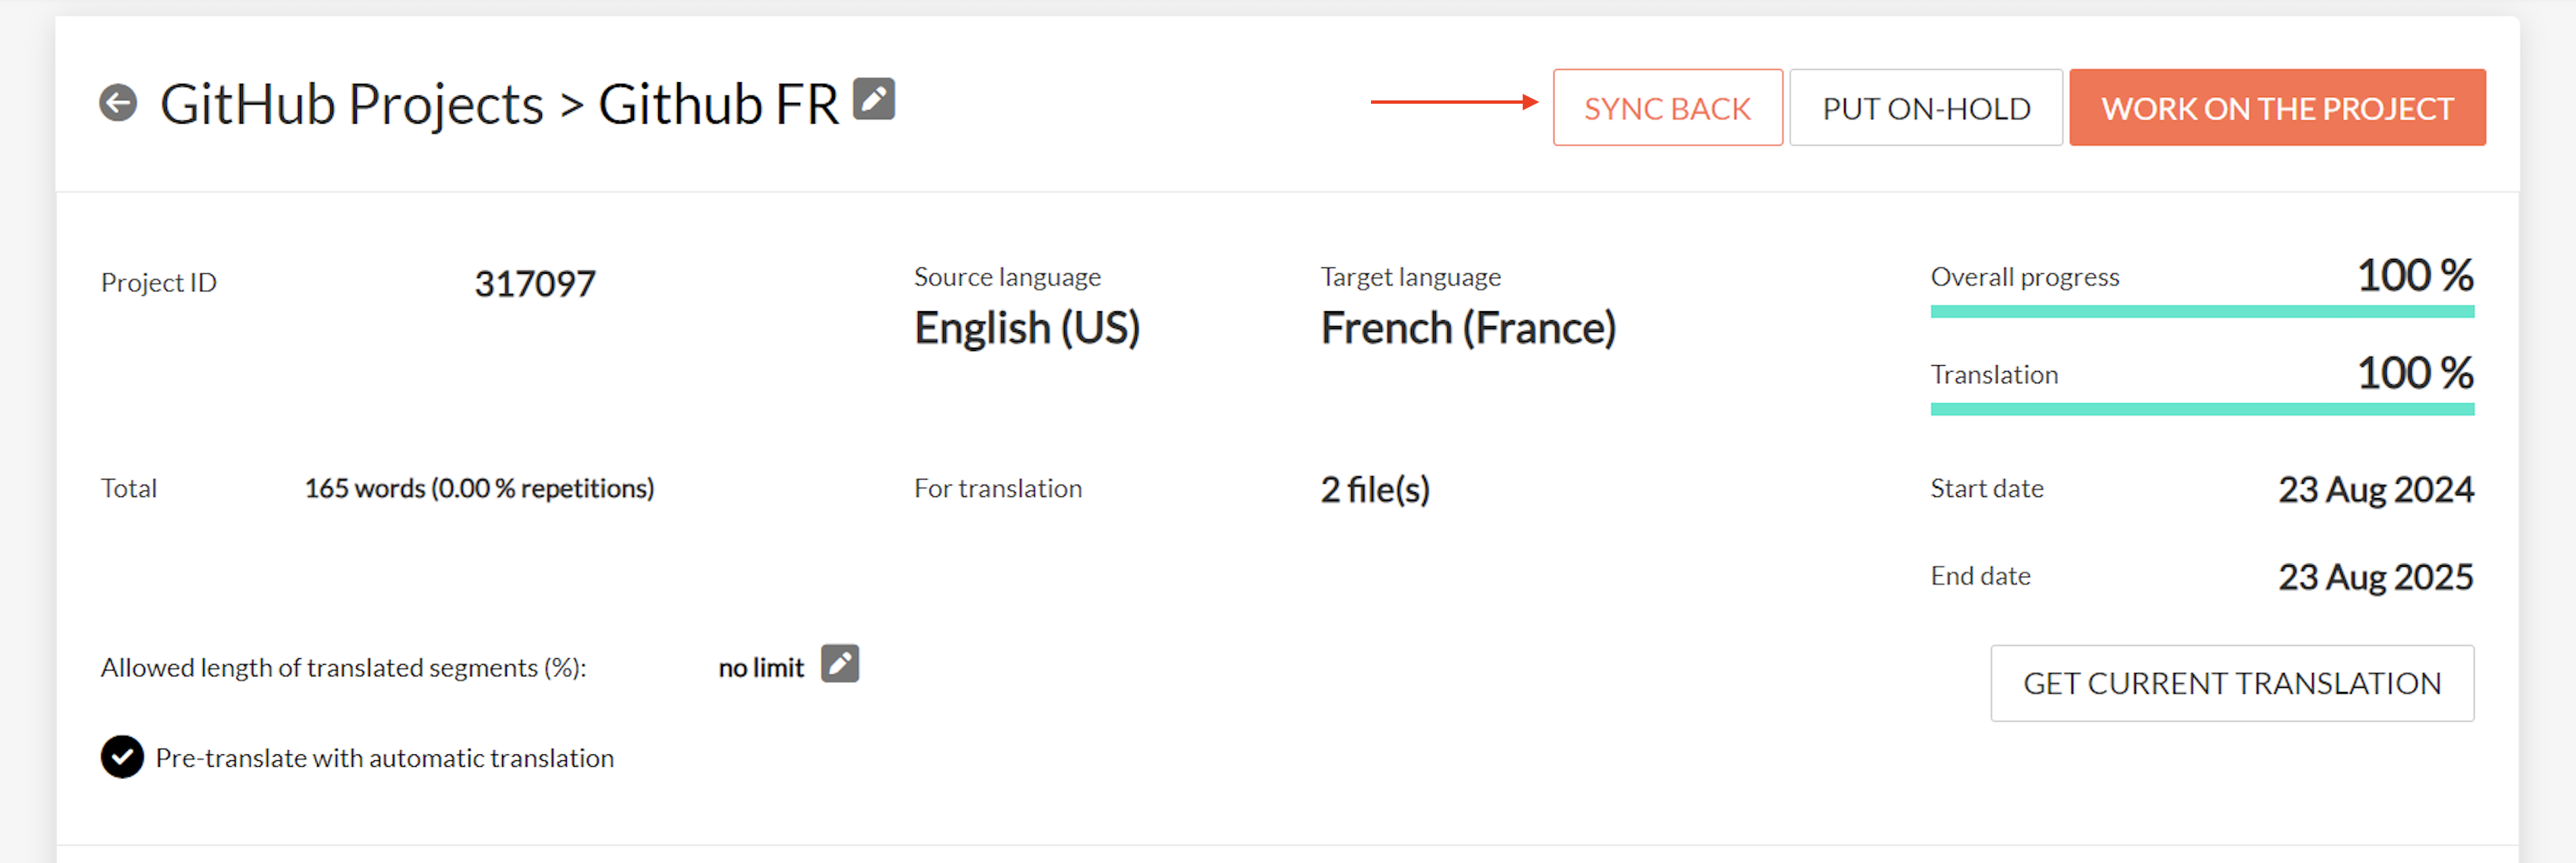
Sync back
Note
The Translator needs to click on "FINISH THE TASK", before the translated files can be SYNCED back to the GitHub repository. Refer to the documentation for "Managing Translation Tasks".
Managing Connected Sources
Upon creating a GitHub project, a connected source is automatically established. Go to the top-right, click the hamburger menu, and then select "Connected sources":
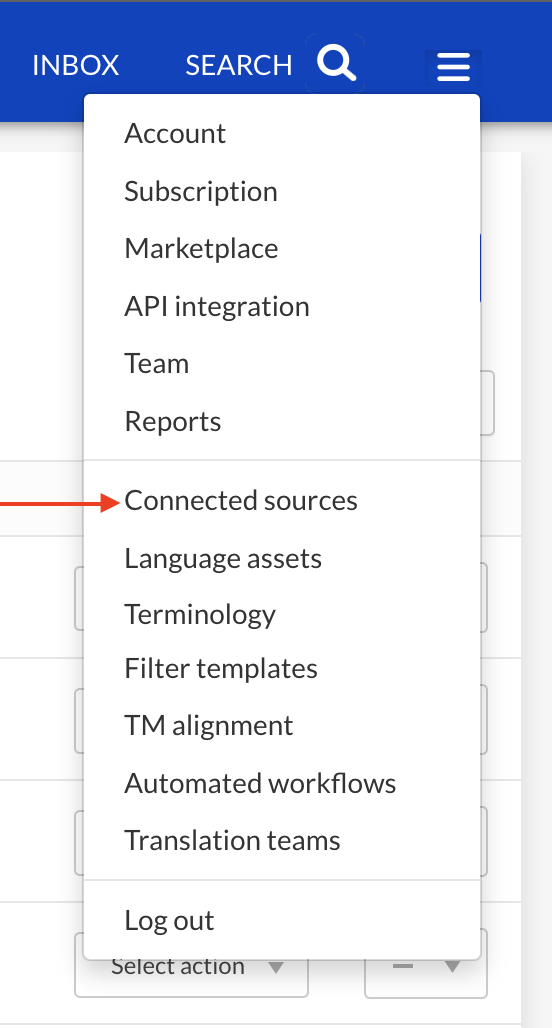
Click "Connected sources"
This connected source in the GitHub category offers several functionalities.
Editing Source Files
- Easily add new files or update existing ones without initiating a new project. This feature is invaluable for maintaining up-to-date content.

GitHub Connected Source
- Click "Change Source Files" to add new articles or update existing ones without creating a new project.

Change Source Files
- This flexibility allows for dynamic content management, ensuring that your documentation remains current and relevant. Select your files and click "UPDATE":
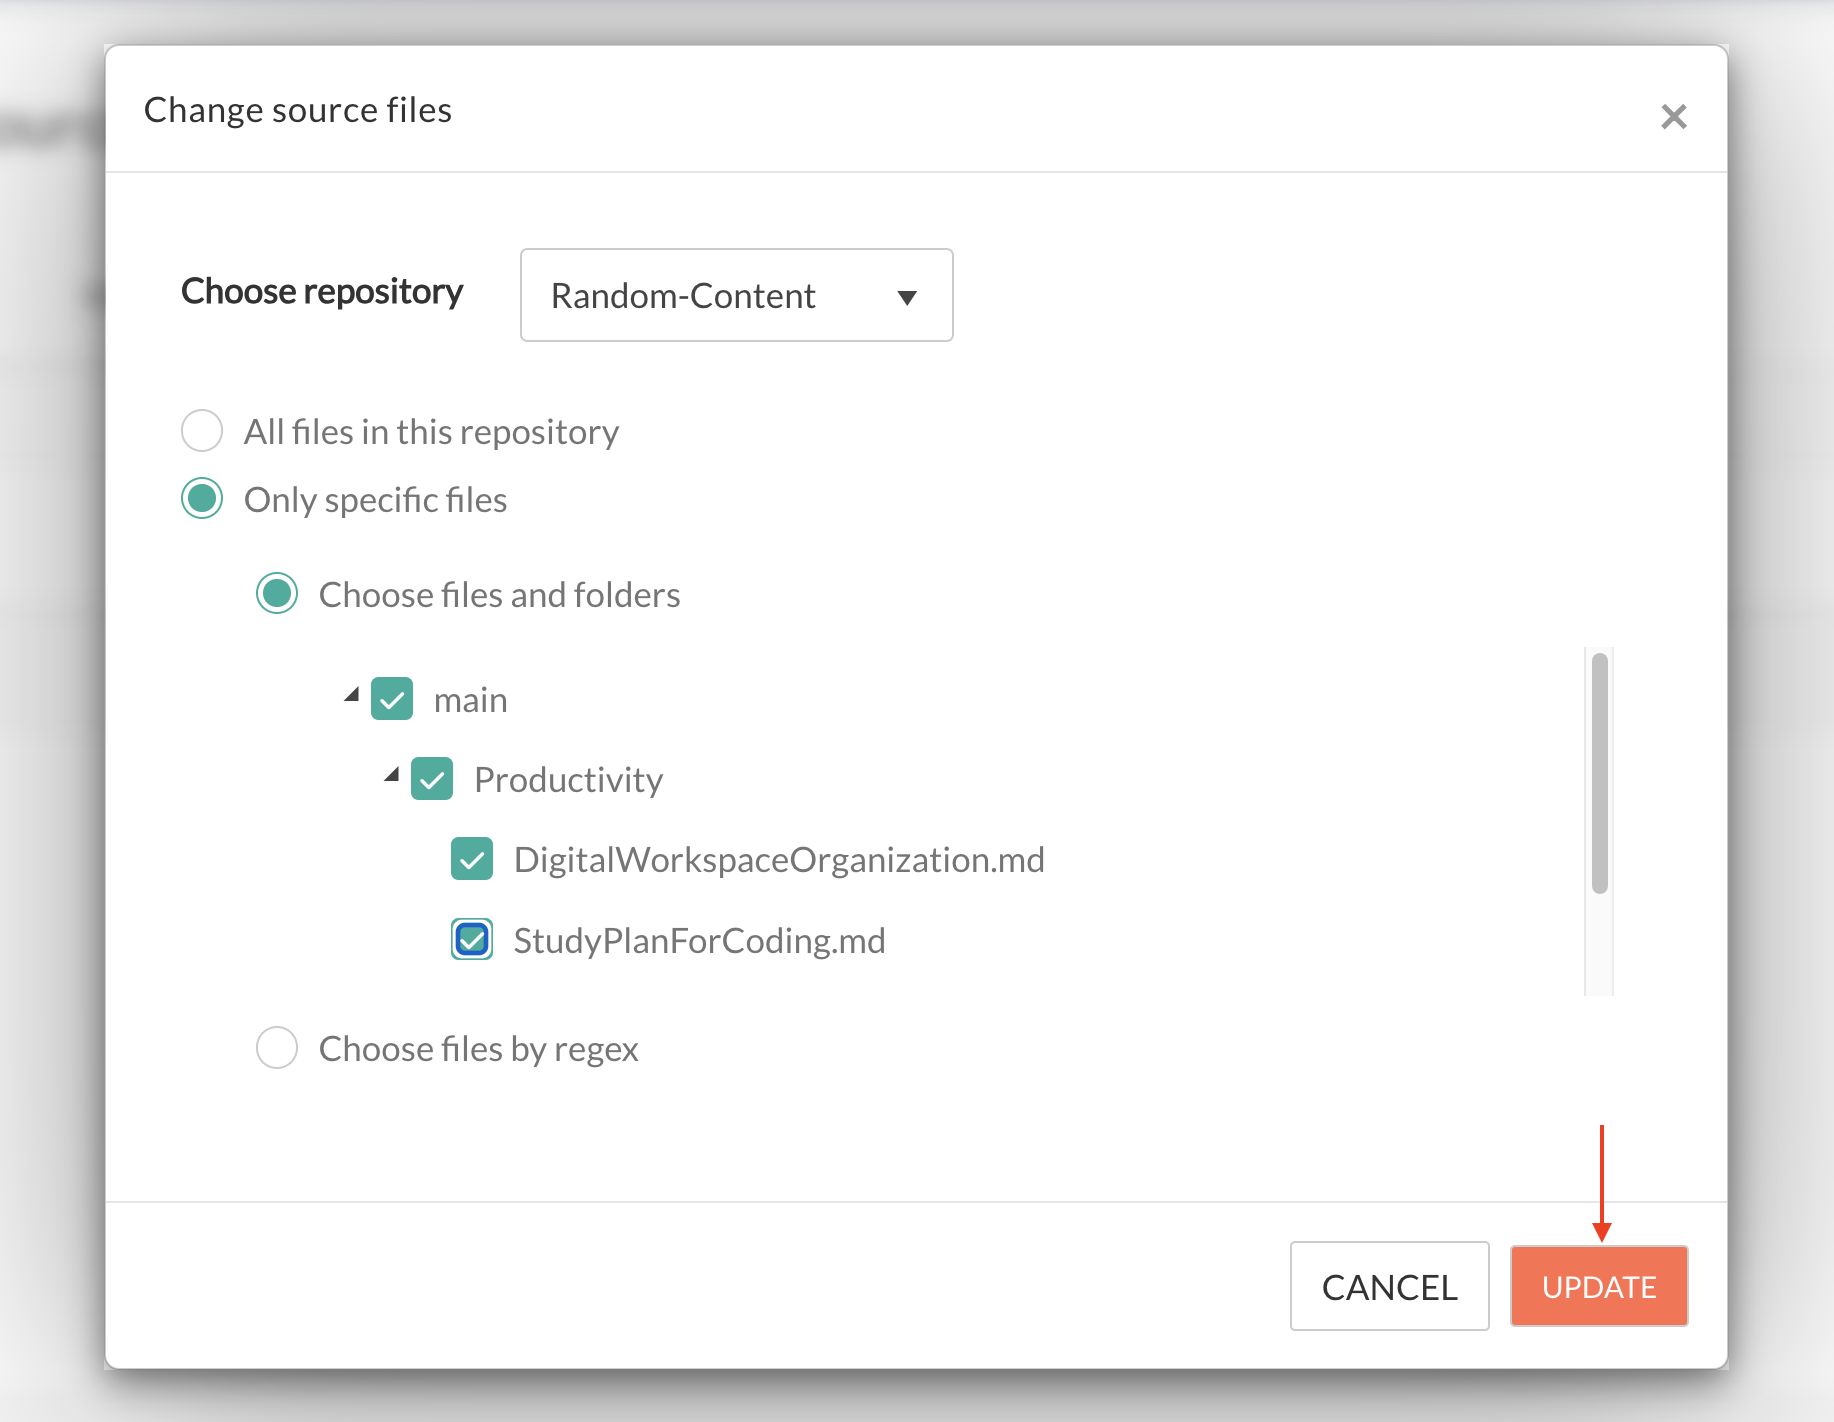
Showing where you can change your source files
- Confirm the source files you are about to change, and then click either the "CANCEL" or "UPDATE" button.
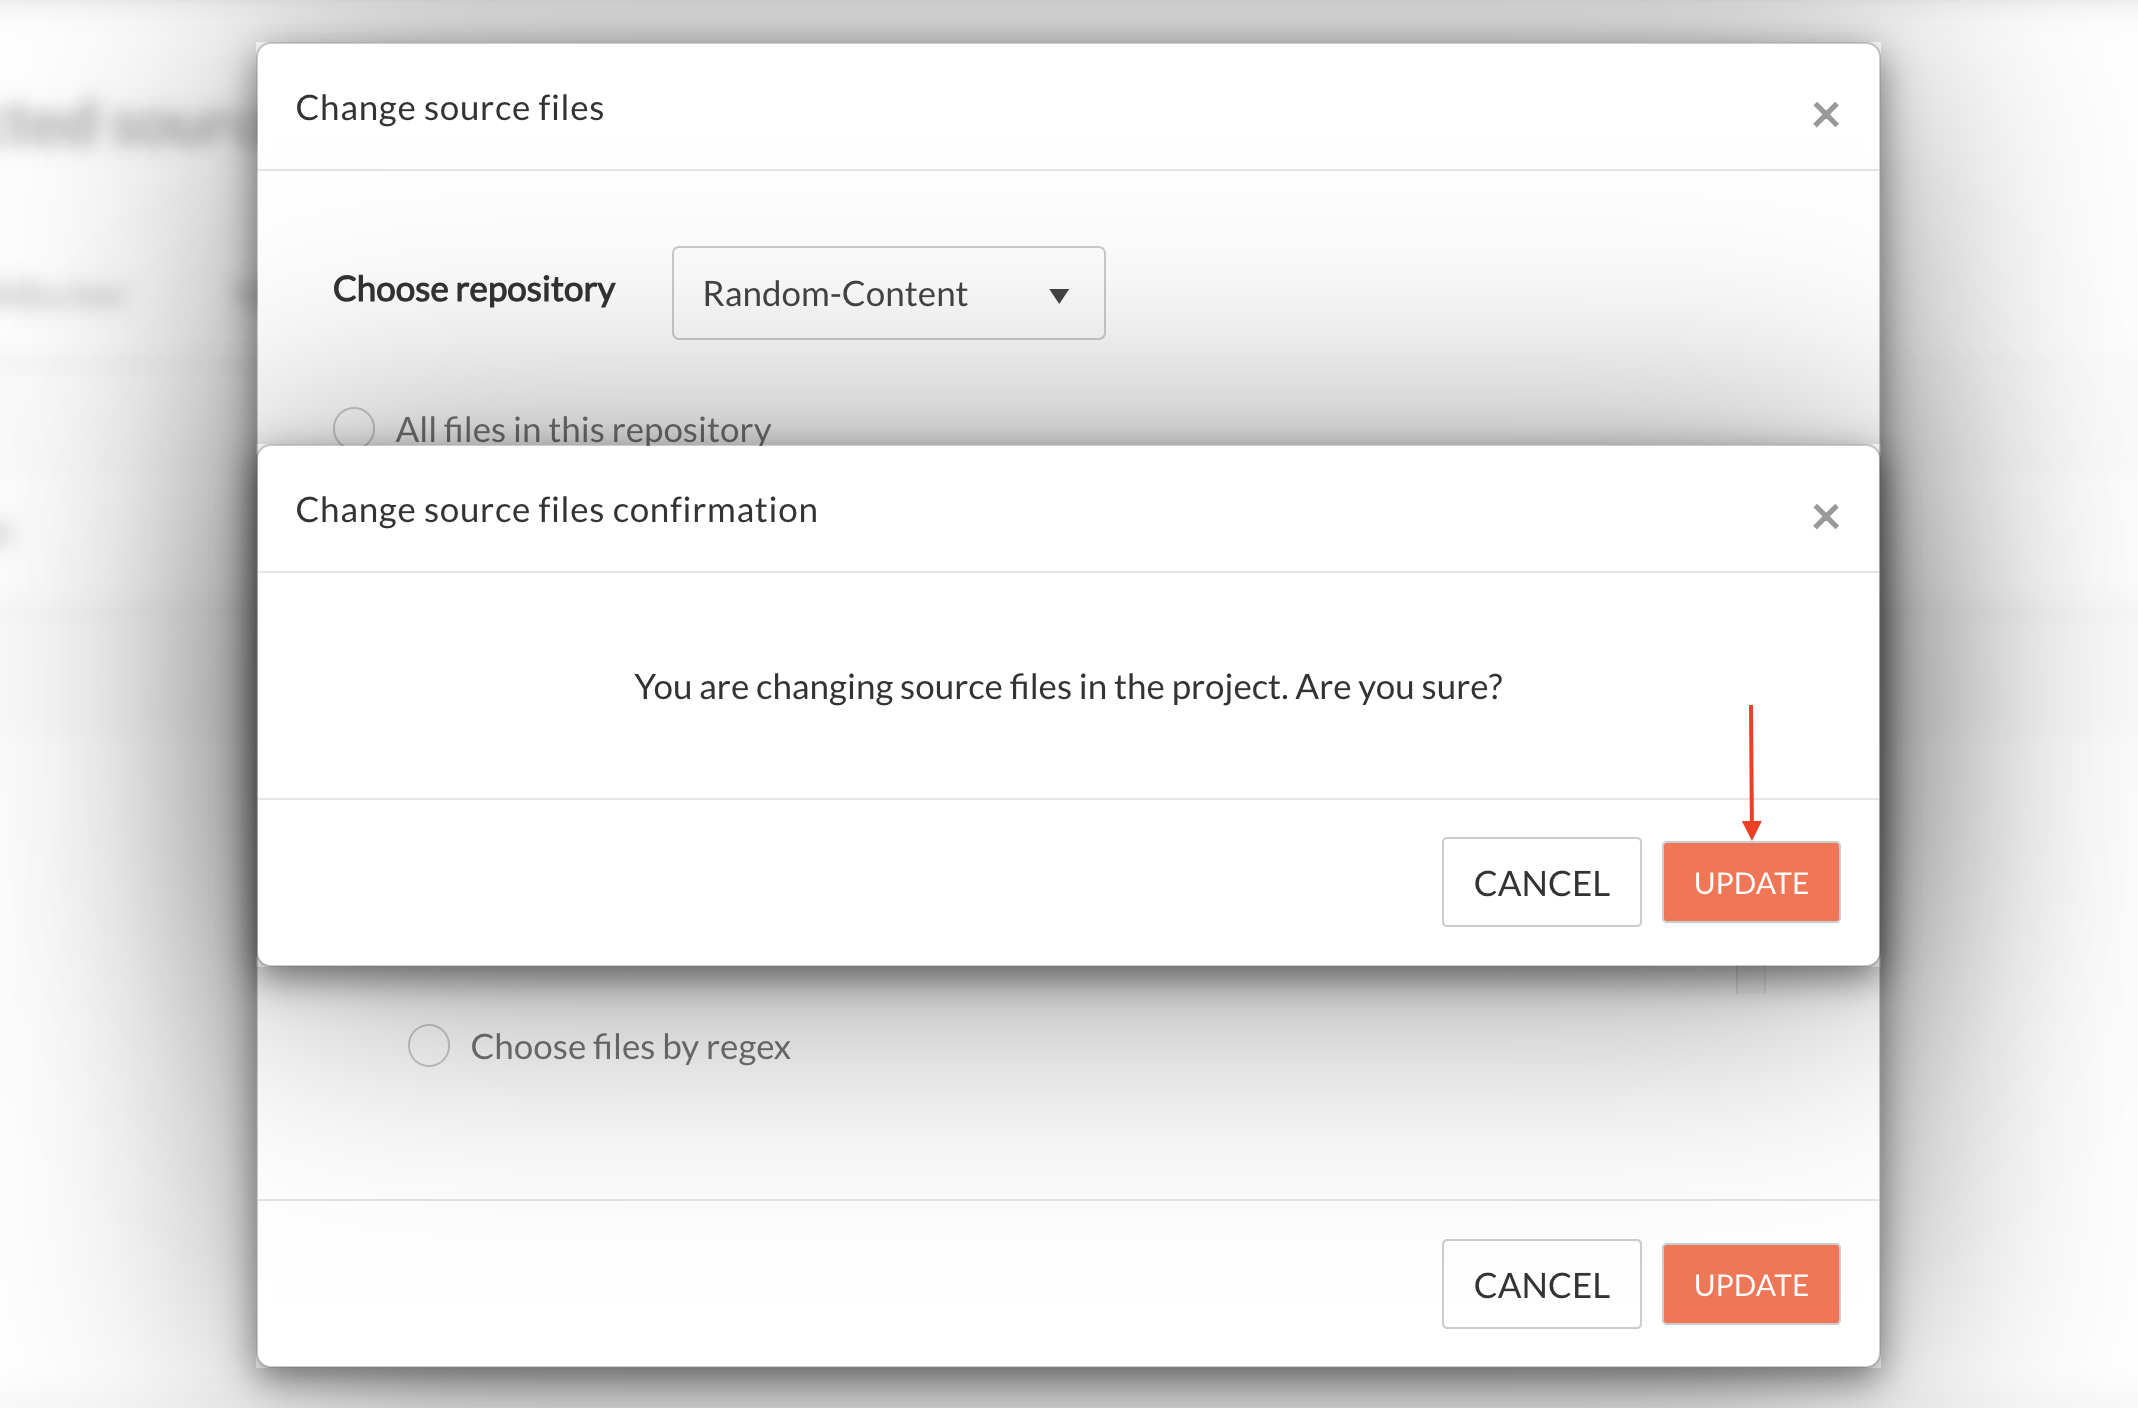
Change Source Files confirmation
Synchronization Options
Click "Sync" to see the options available for synchronization:

GitHub Sync button
The options include the following:
Get Current Source Files
This option updates your source files with the latest changes from GitHub. It ensures that your translations are based on the most current content, preventing discrepancies between the source material and its translations. The system creates files based on the current translations and sends them back, which may take some time.
This operation is particularly useful when there have been updates or additions to your GitHub repository since the last translation, guaranteeing that the translations reflect the latest state of your content.
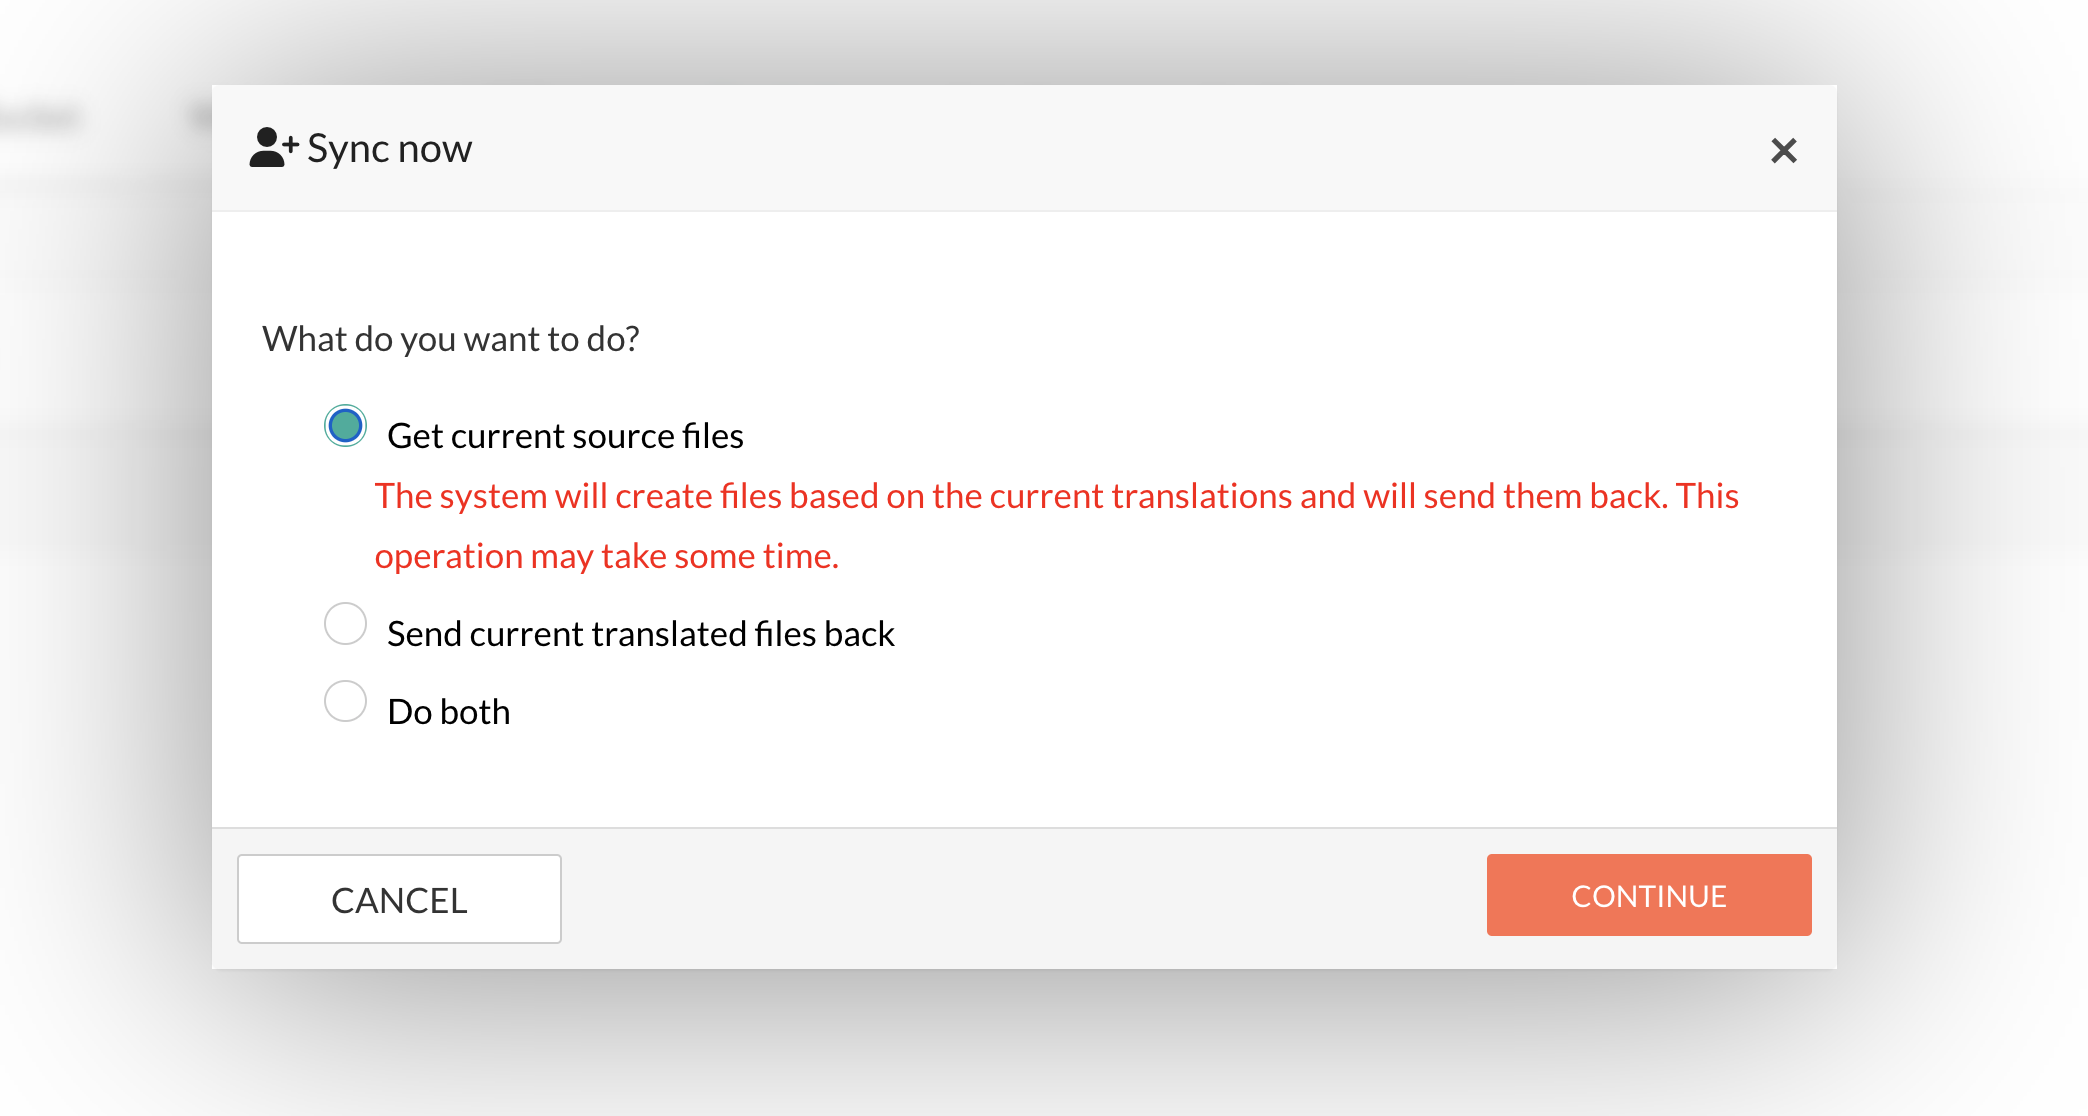
Showing the "Get current source files" option
Send current translated files back
Utilizing this option, you can synchronize your translated files back to GitHub. This keeps your repository up-to-date with the translations, ensuring that anyone accessing the repository sees the most recent translations alongside the original content.
Like the previous option, this operation involves creating files based on the current translations and sending them back, which may require some time. It's an effective way to maintain consistency and accuracy across your GitHub projects.
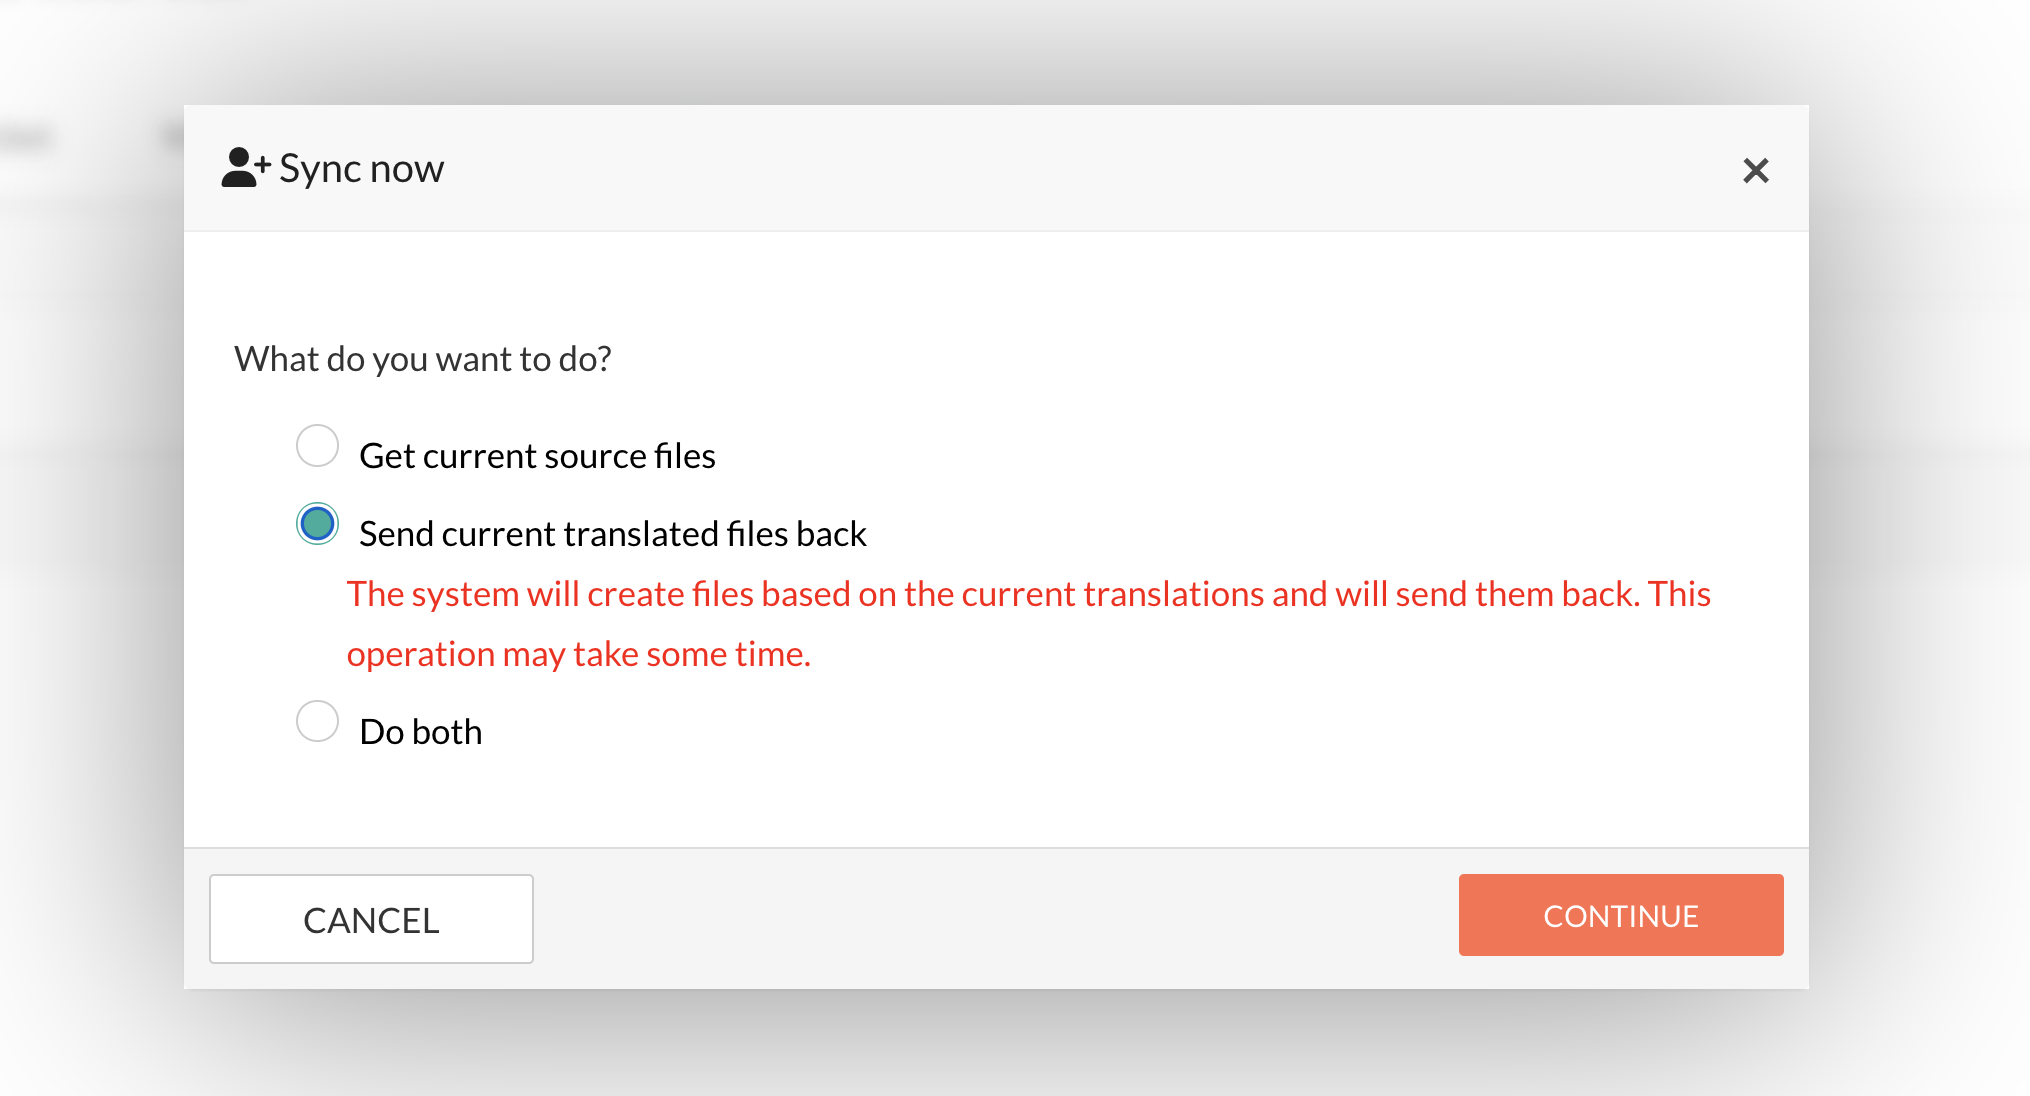
Showing the "Semd current translated files back" option
Do Both
For a comprehensive approach to file synchronization, you can opt to combine both options. This means the system will perform both the update of source files with the latest changes from GitHub and the synchronization of translated files back to GitHub.
This dual-action ensures that your source files are consistently updated with the newest content, and your translated files are kept in sync with the repository. Although this operation may take some time, it offers a streamlined solution for maintaining up-to-date and accurate translations across your GitHub projects.
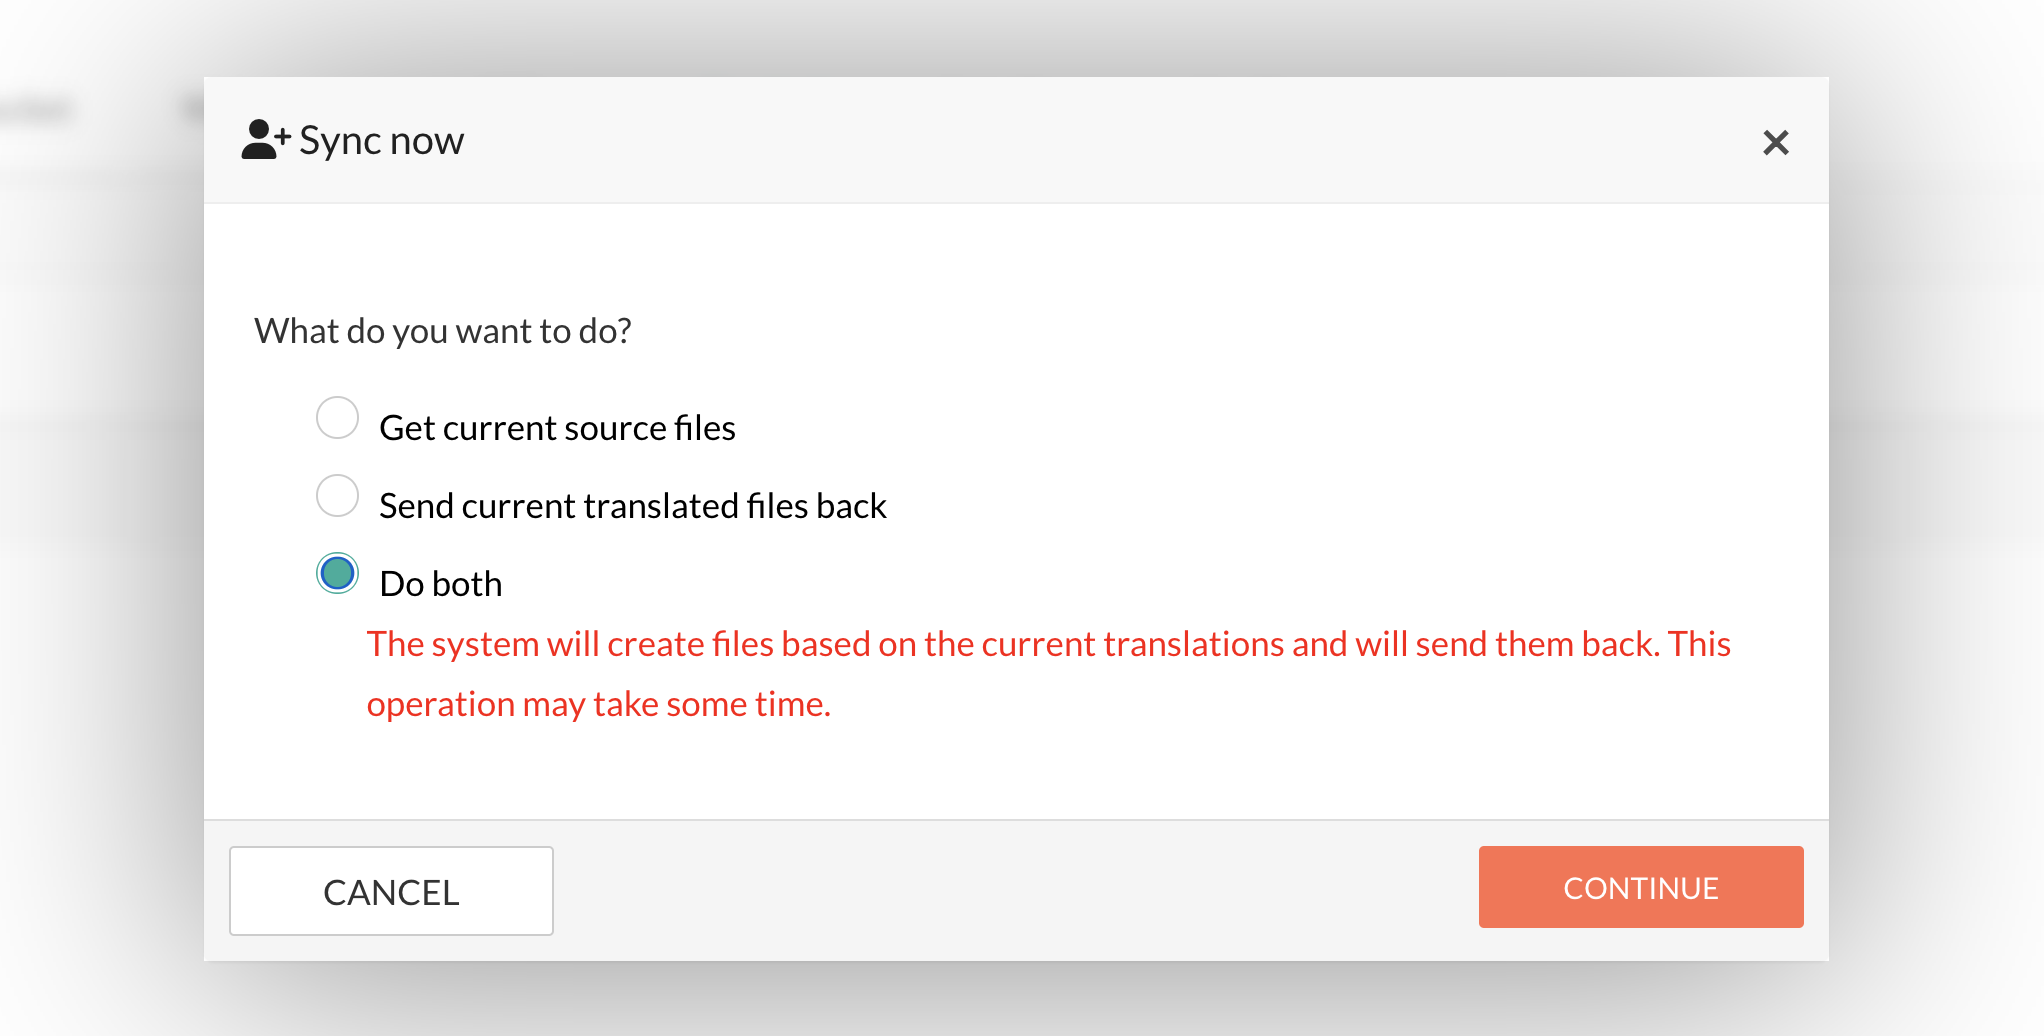
Showing the "Do both" option
Continuous Translation
Automate future translations for similar content by setting up continuous translation. Click "Set continous translation":

Showing "Set continous translation" button
This feature monitors your GitHub repository for new or updated content matching your criteria and automatically triggers translations, saving time and effort.
Once you click "Set Continuous Translation," a modal will open. Enter your GitHub token and follow the instructions to obtain your GitHub token:
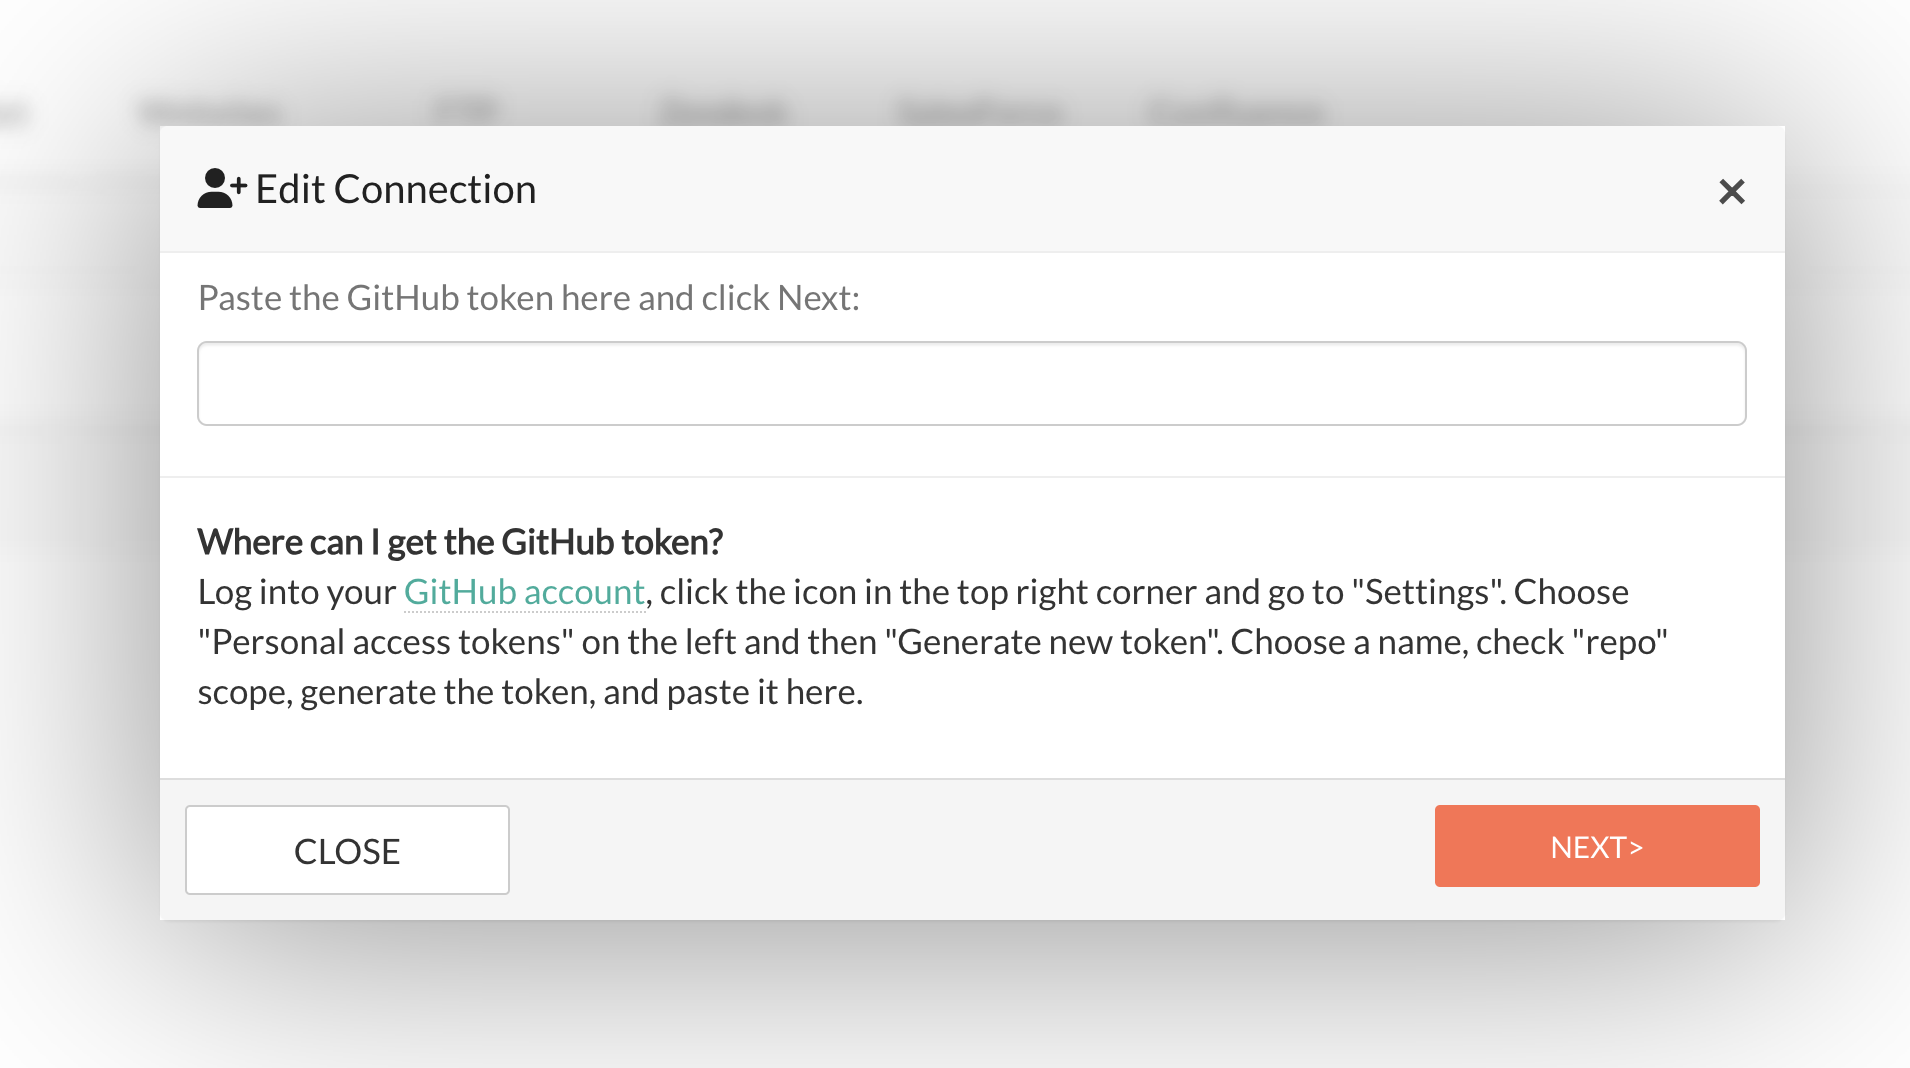
Edit Connection
To obtain your access token, go to your GitHub settings, click on "Personal access tokens" dropdown and select "Tokens (classic)"

Personal access token > Tokens (classic)
On the "Personal access tokens (classic)" page, click on the "Generate new token" dropdown and select the option for general use "Generate new token (classic)":

Generate new token (classic)
Deleting a Connection
If you decide to discontinue the integration, you can remove the connection between TextUnited and GitHub. Consider this action carefully, as it cannot be undone. Click "Delete":

Delete button
Updated 9 months ago
