Upload Files
The "Upload Files" option in TextUnited is a versatile tool that allows you to import documents, images, or any other type of file from your local storage or network for translation. This feature is particularly useful when you have pre-existing content that requires translation, giving you the flexibility to handle your translation projects efficiently.
Why Use This Option?
Choosing the "Upload Files" option can be beneficial for several reasons:
- Direct Access: If you have documents, spreadsheets, presentations, or other files ready for translation, uploading them directly saves time and effort.
- Custom Projects: For projects where the source material is already prepared, this option allows you to get started quickly without needing to reformat or re-enter your content.
- Versatility: Whether you're dealing with text documents, multimedia files, or even entire folders of content, the "Upload Files" option accommodates a wide range of formats and sizes.
How to Use the "Upload Files" Option
To start translating your files, follow these steps:
Step 1: Initiate the Upload Process
- Click to Begin: Start by clicking the "Upload files" button on the dashboard. This action opens a modal window designed for easy file management.

Showing the "Upload Files" option
- Provide Project Name: At the top of the interface, you'll find an input field where you can enter a name for your project. This name will help you identify the project later on.
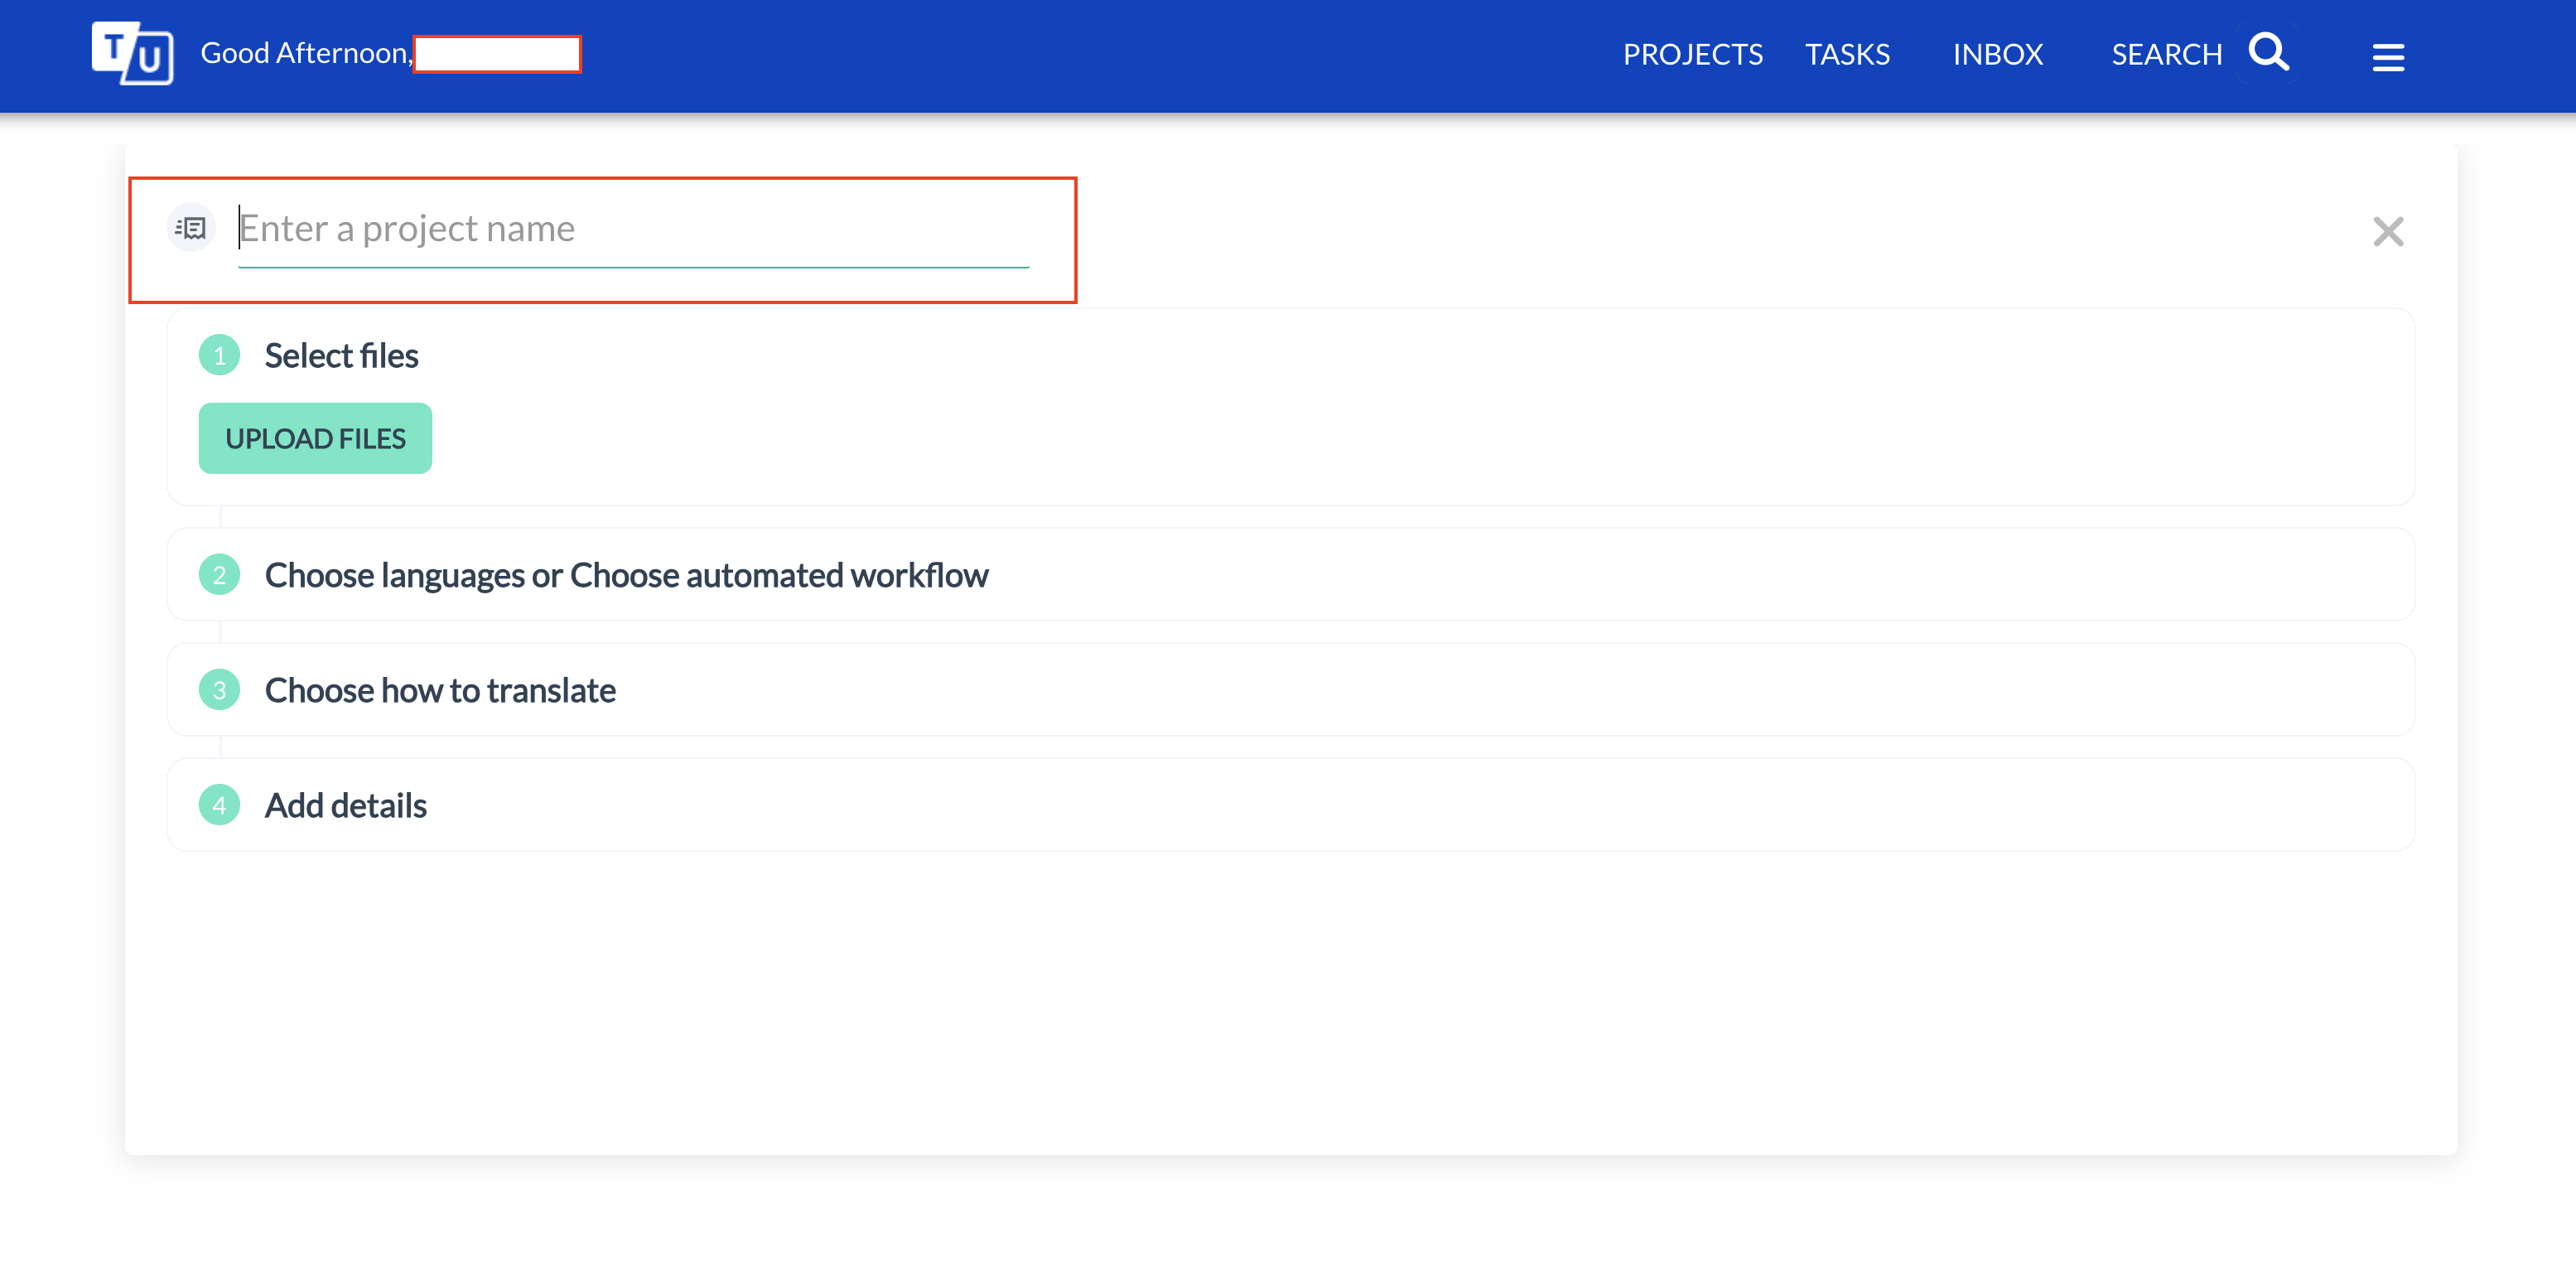
Showing input field for entering your project name
Note
The interface outlines four sequential steps that you must follow. Completing one step before moving to the next ensures a structured approach to setting up your project.
Step 1A: Select Files or Folders
- Click the "UPLOAD FILES" button:
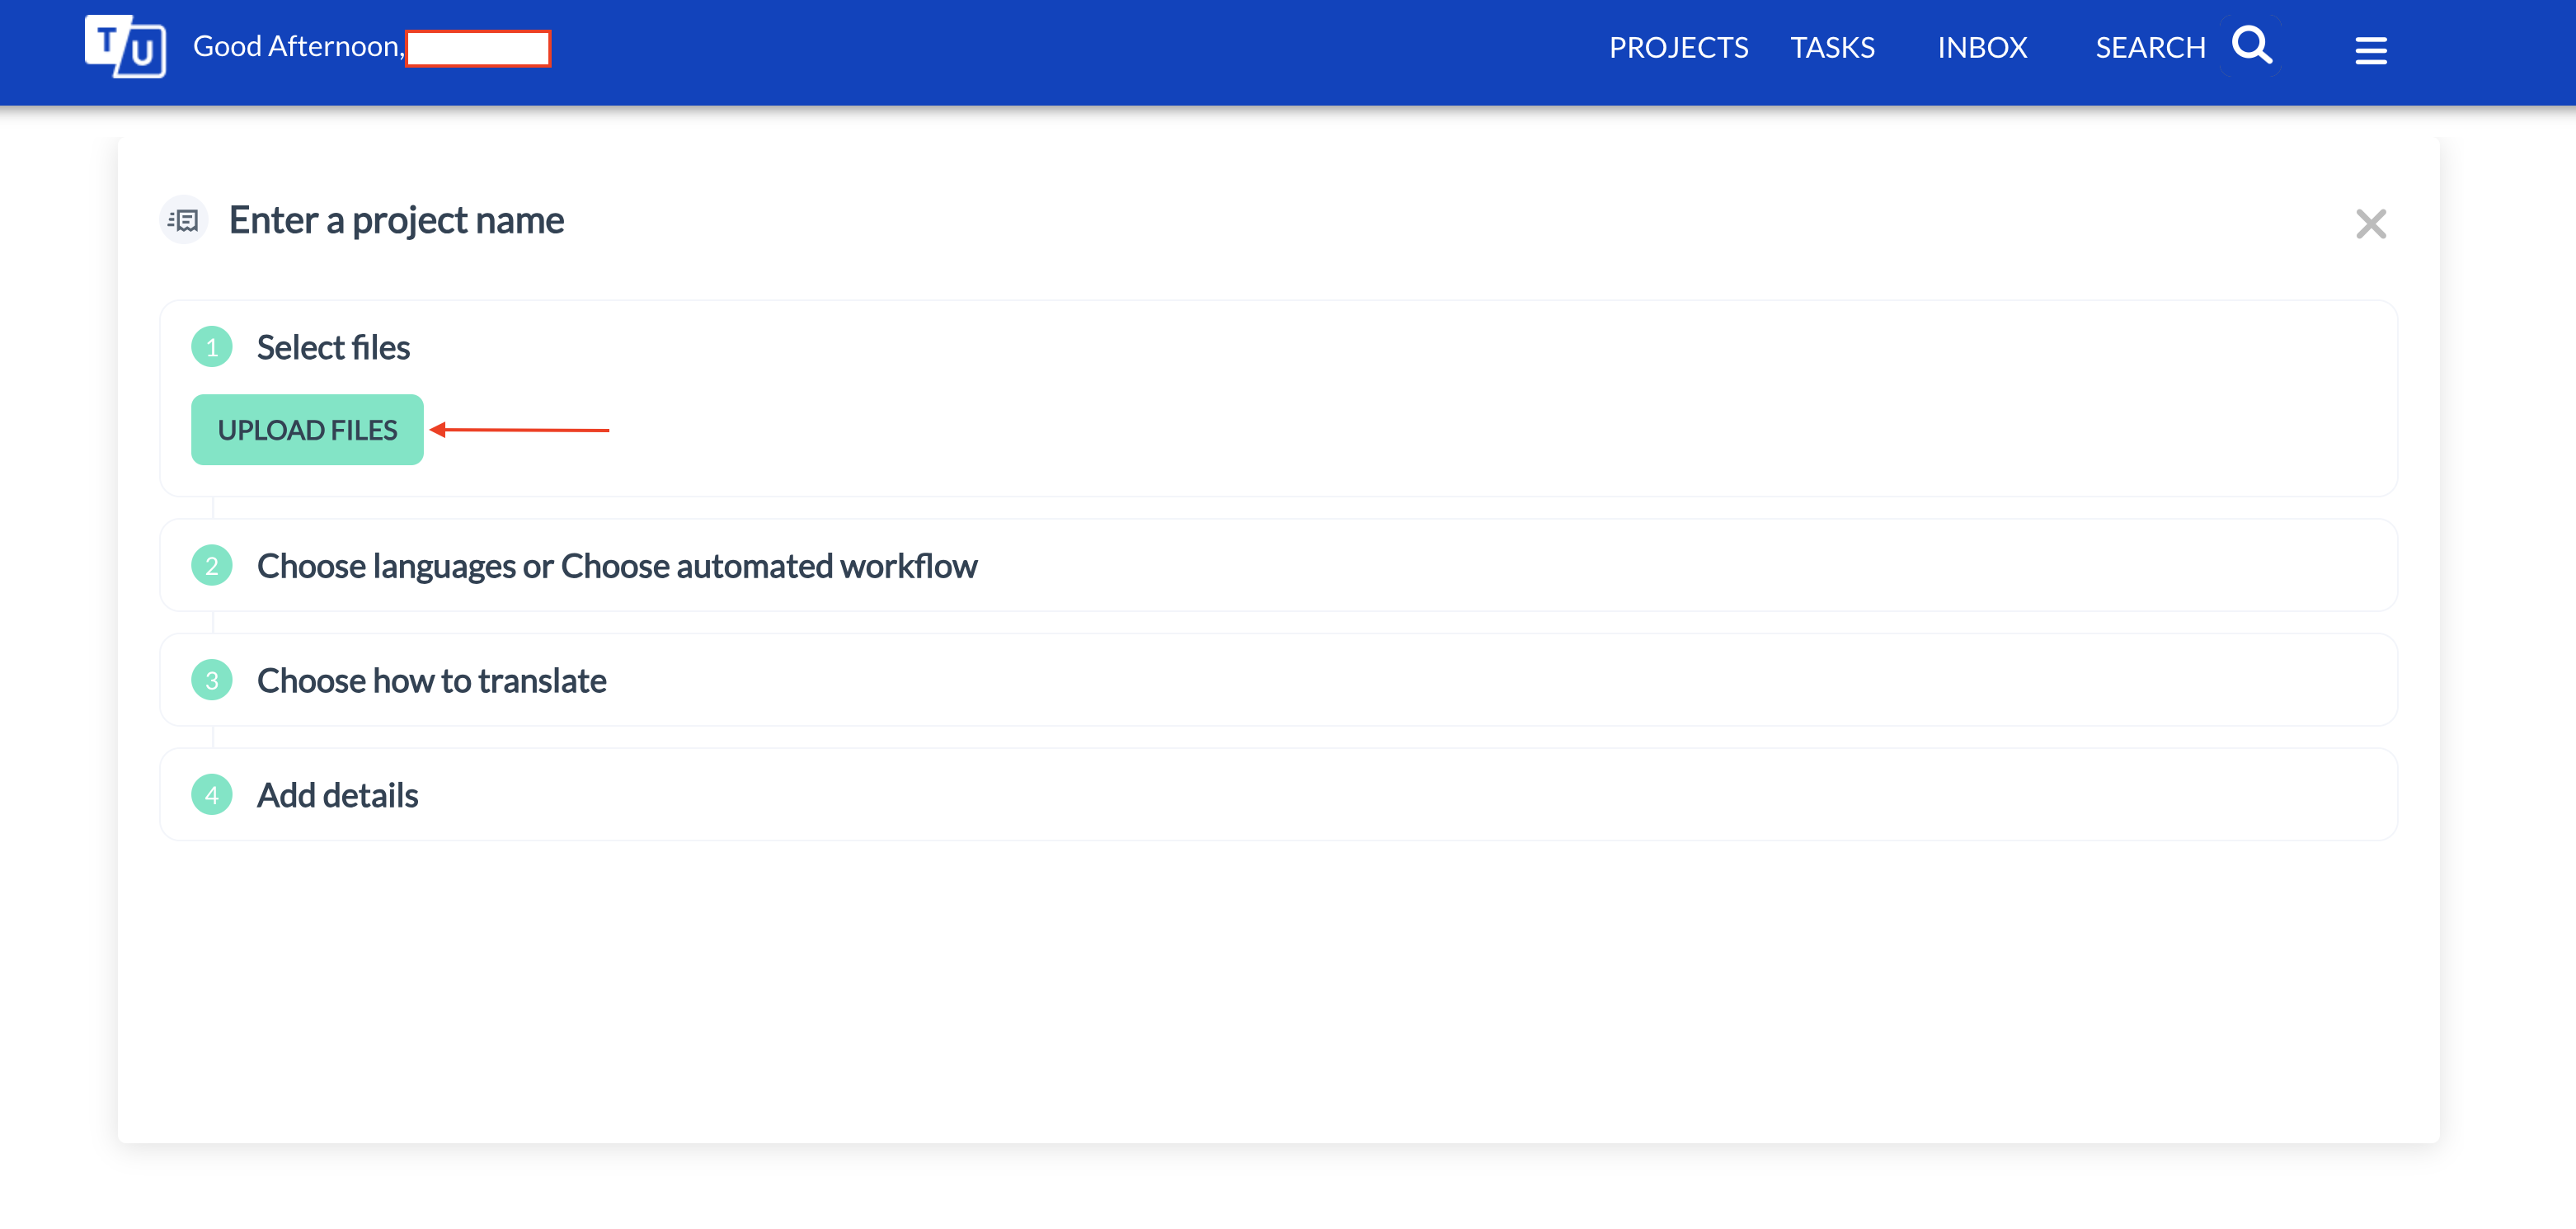
Showing the "UPLOAD FILES" button
- Choose Type: Inside the modal, you're presented with two main choices: "Files" and "Folders.":
- Select "Files" if you're uploading individual documents or media files.
- Opt for "Folders" if you need to upload an entire directory of content at once.
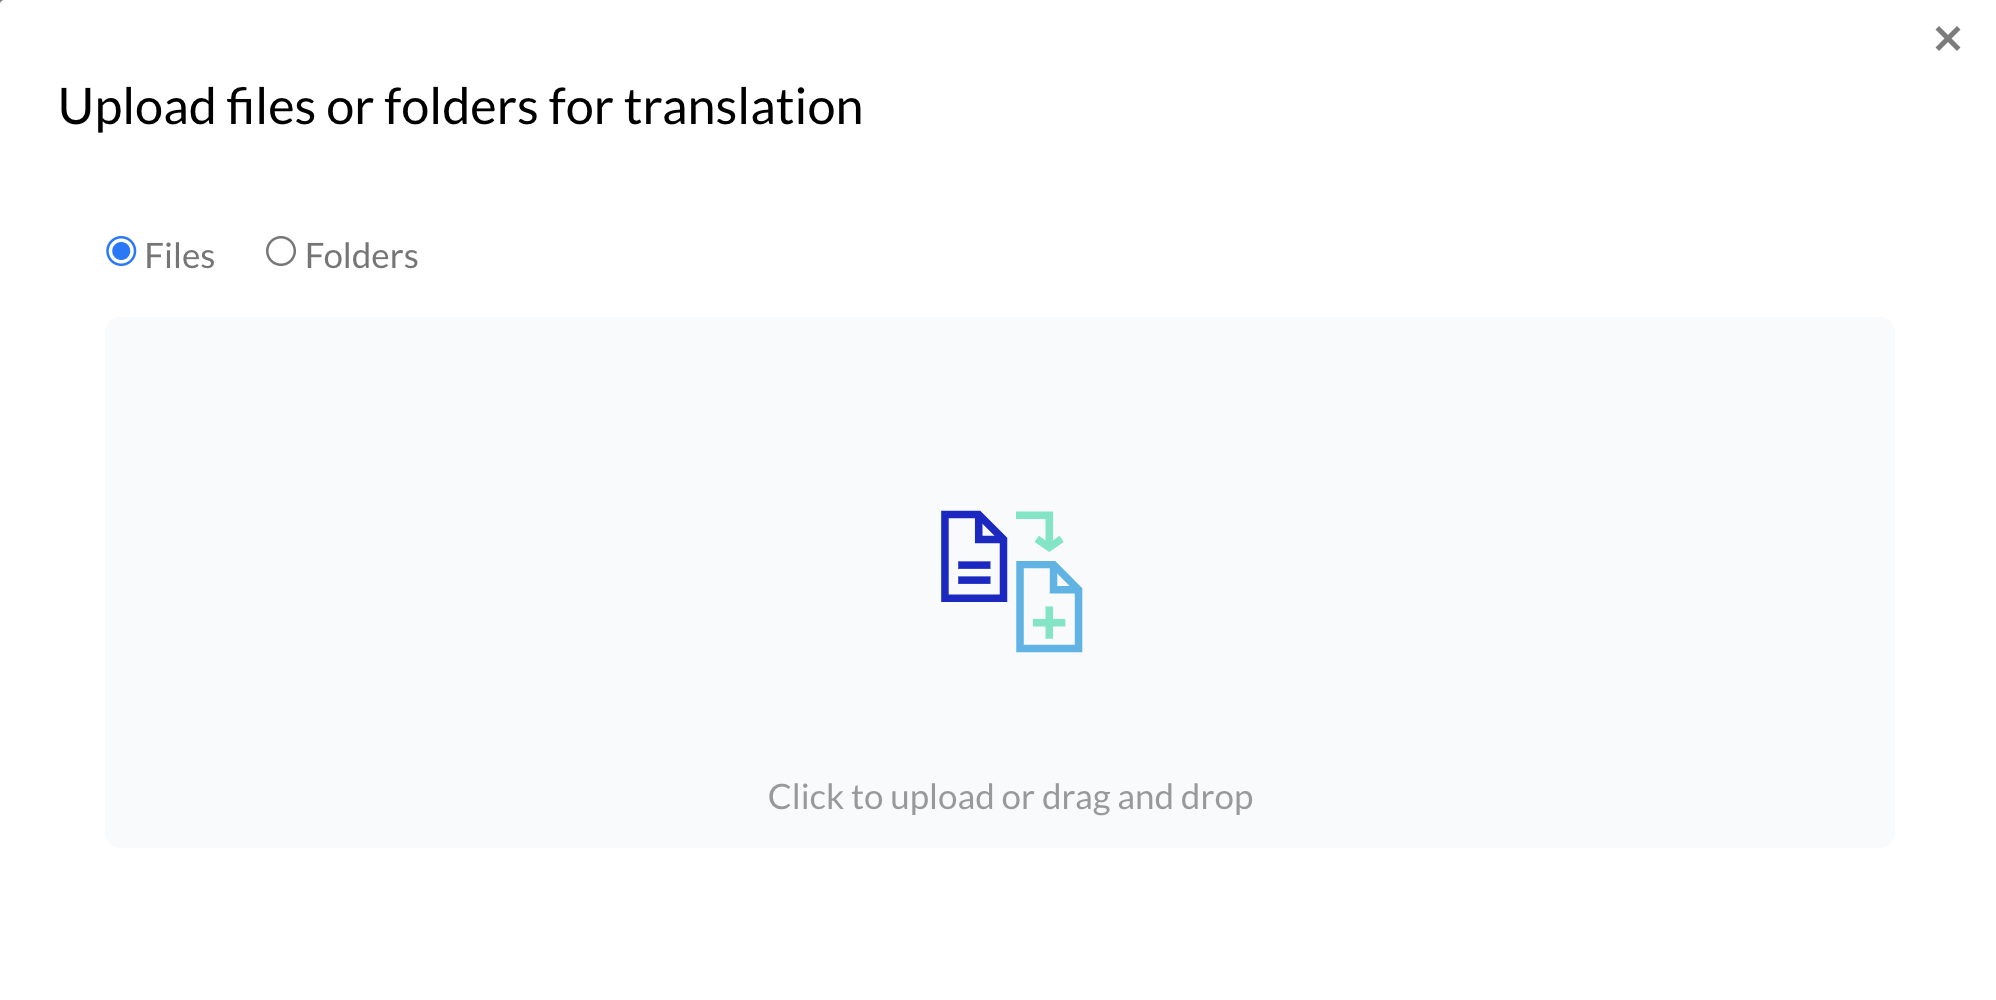
Showing the "Files" and "Folders" option
- Upload Method: Click the central button to upload or drag and drop your files or folders into the designated area. This method offers convenience and ease of use, allowing you to upload multiple items simultaneously.
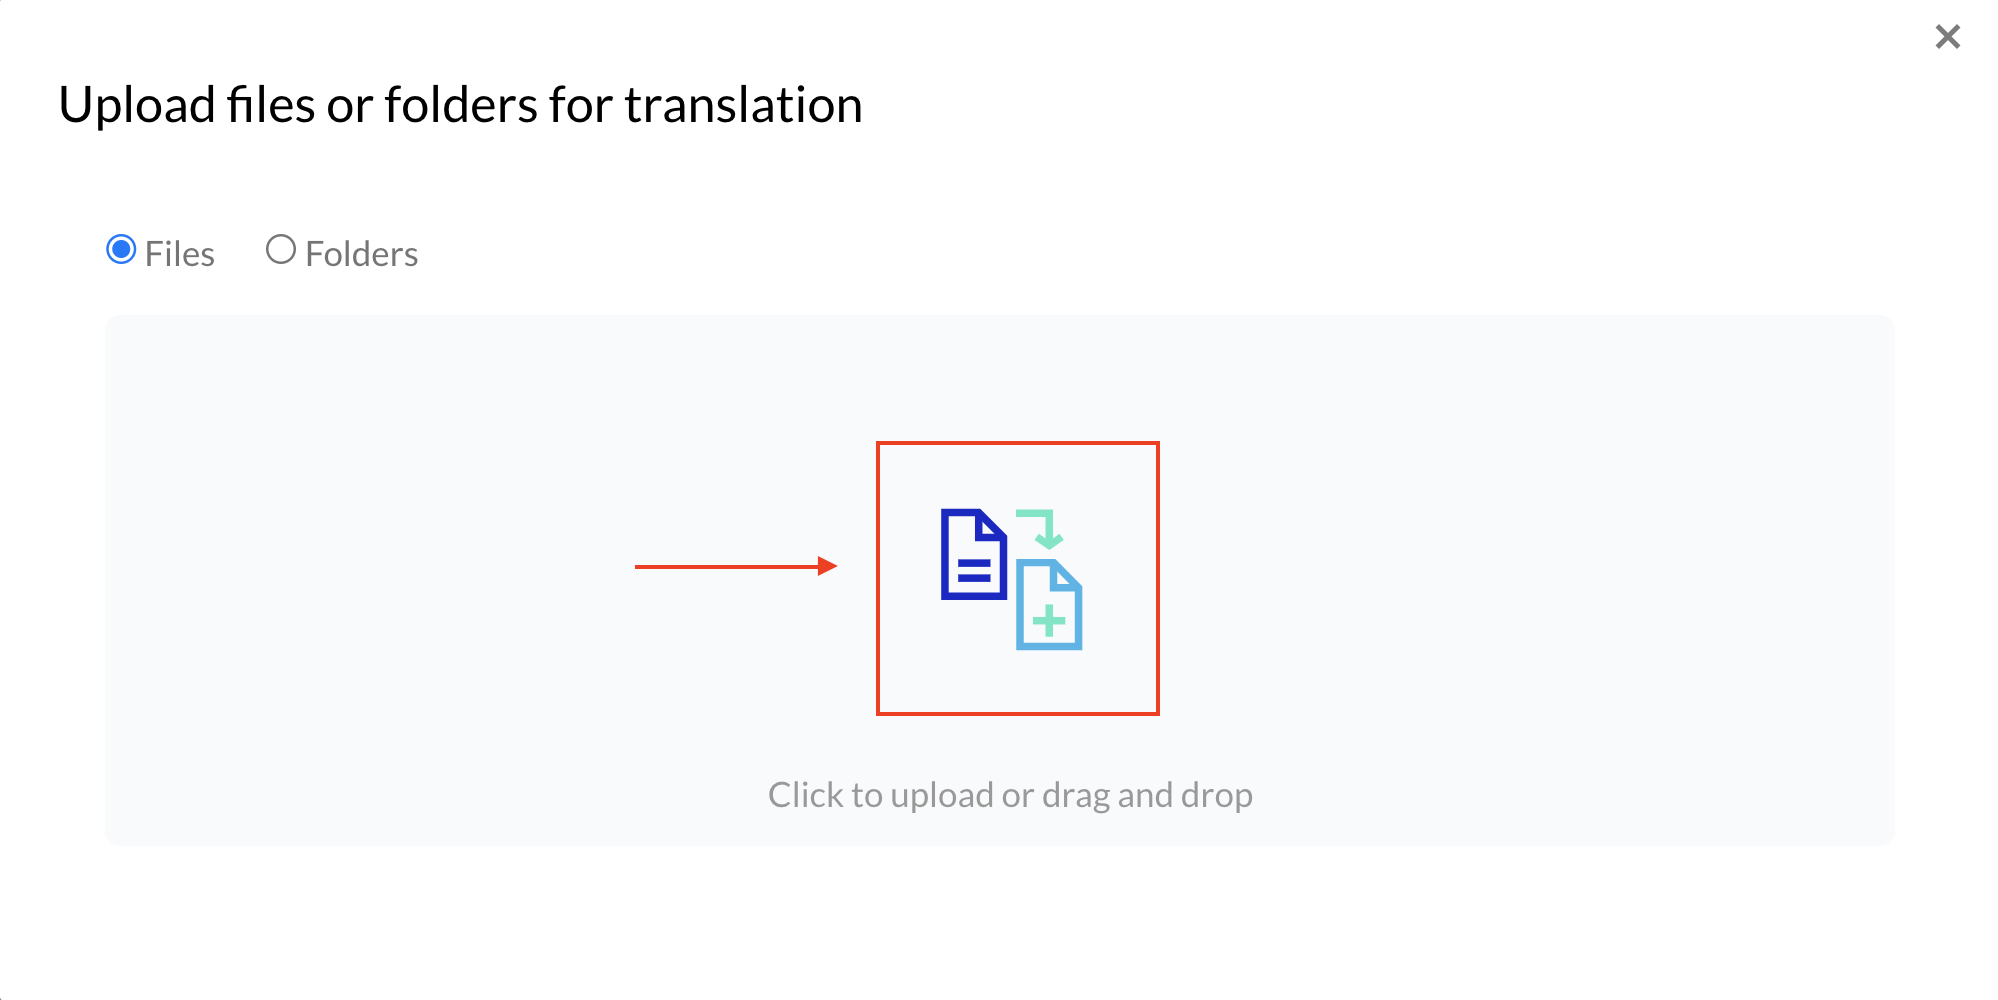
Showing the Drag and Drop button
- Confirmation and Continuation: Upon successful upload, a confirmation message appears, marked with a checkmark icon. This indicates that your files or folders have been uploaded successfully. Click "Continue" to proceed to the next phase of the process.
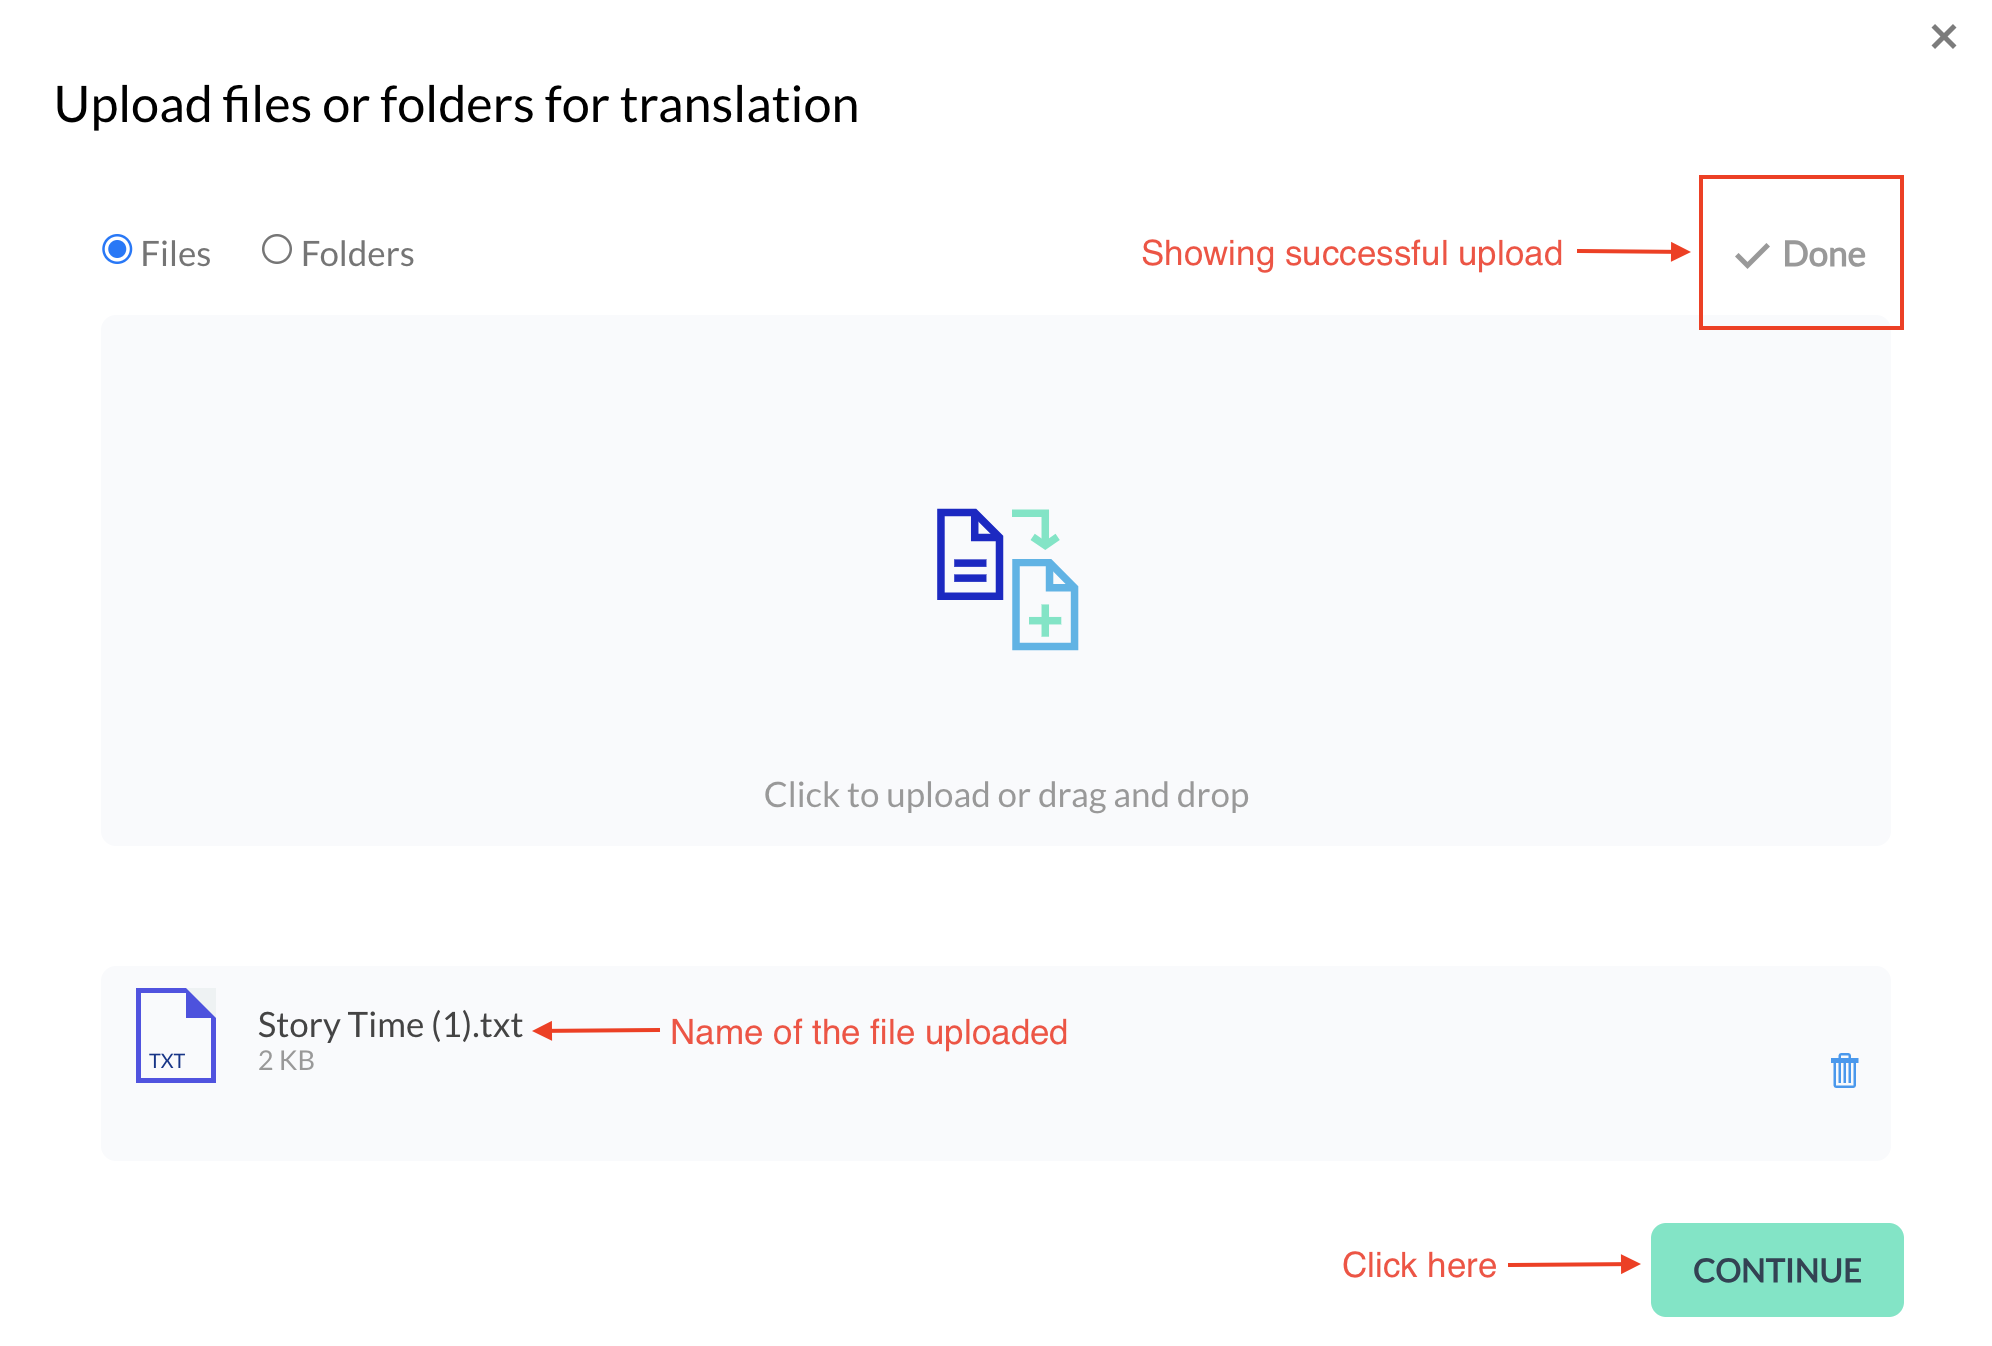
Showing successful upload of a file
Step 1B: Configure File Processing
- View Uploaded File: After uploading, you'll see essential details about your file(s), including the file name and the total word count (volume).

Showing details of a file
- Select Appropriate Filter: The "Filters" section is crucial for ensuring TextUnited processes your content accurately. Depending on the file type, select the appropriate filter. This step is vital for maintaining the integrity and formatting of your original content during translation. Click "OPTIONS" to see the filters available:

Showing the "OPTIONS" button
What are Filters?
Filters help categorize and process your content based on its format or characteristics. They play a crucial role in ensuring that your content is handled apropriately during the translation process. For instance, if you're uploading a document formatted in HTML, selecting the HTML filter ensures that TextUnited recognizes the structure of your content, preserving links, headings, and other elements that are unique to HTML documents.
Similarly, if your file contains code snippets or technical terms, choosing the appropriate filter (such as Code or Technical Terms) can help maintain the accuracy and specificity of the translation. By carefully selecting filters, you ensure that your content is translated with precision, taking into account its specific format and context.
- Once you click the "OPTIONS" button, a modal will open where you can select the filter(s) you'd like to apply to the content of your uploaded file. Then, click the "SELECT NEXT FILTER" button:
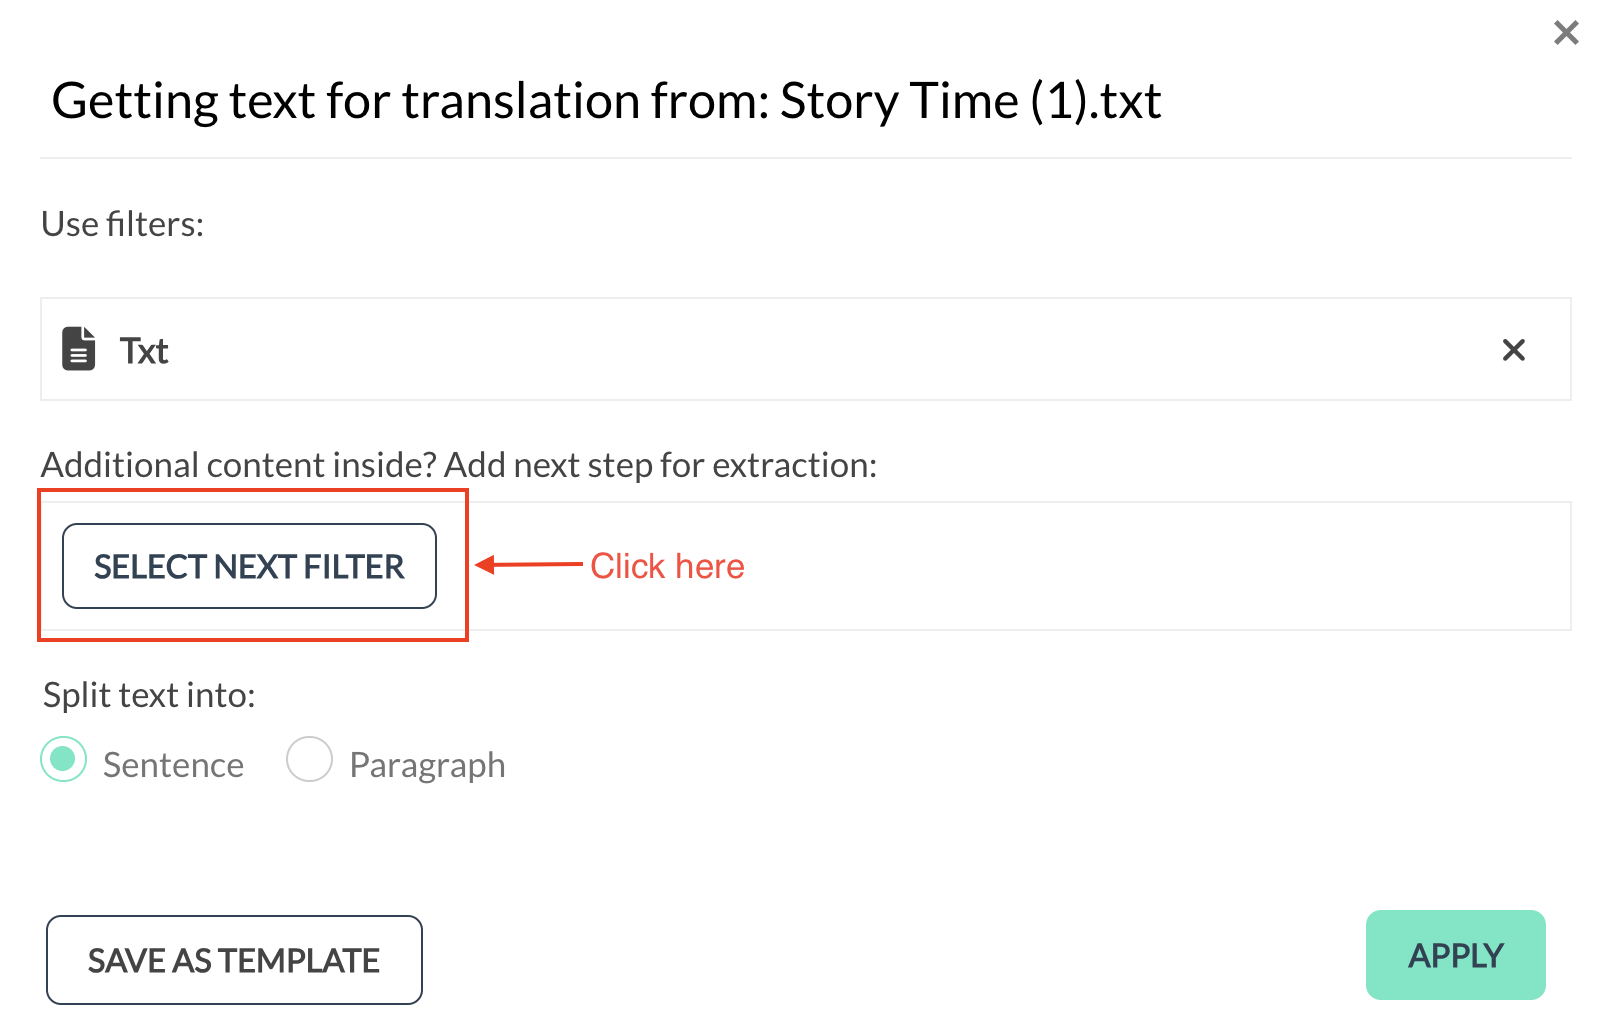
Showing the "SELECT NEXT FILTER" button
- When you click the "SELECT NEXT FILTER" button, you will see a long list of filters available:
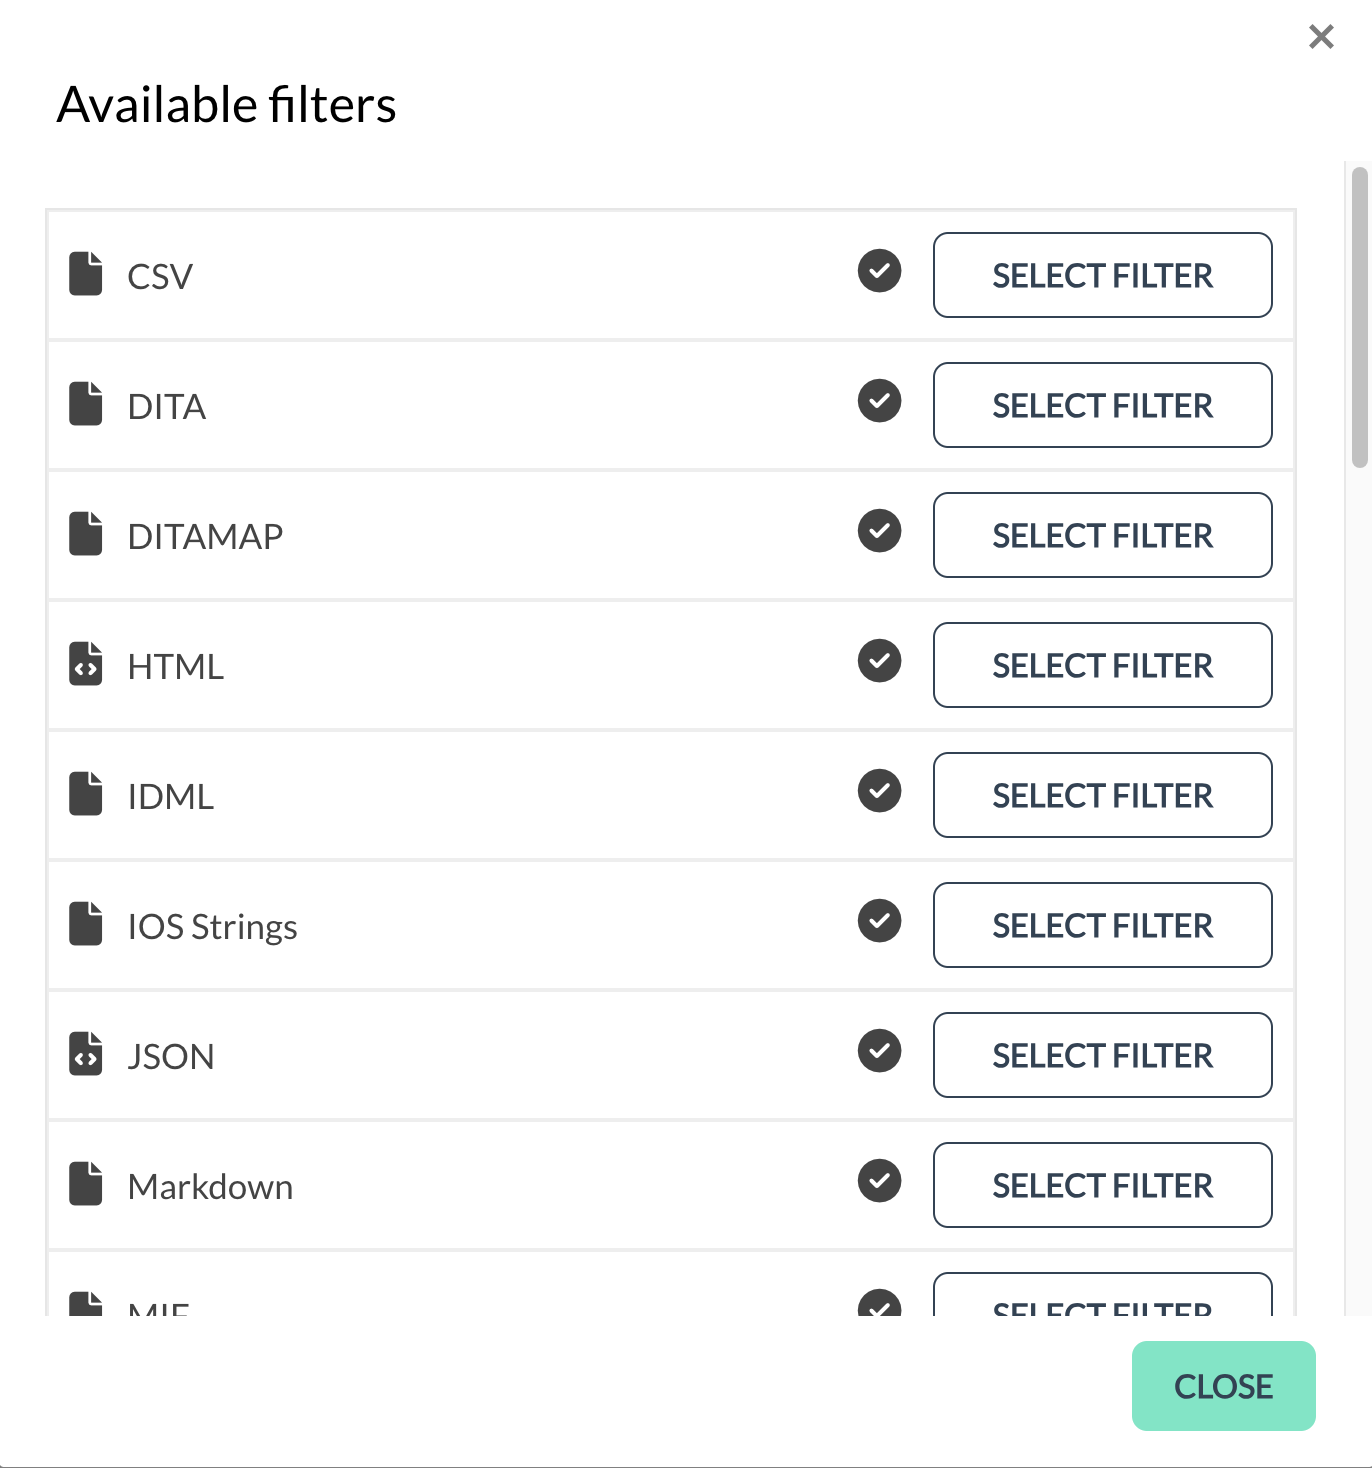
Showing some of the available filters
The table below shows a description and use cases of each of these filters. Understanding these will help you determine which filter to apply to your file:
| Filters | Description | Use Case |
|---|---|---|
| CSV | Comma-Separated Values format. | Extracts and translates data from CSV files, useful for database entries or lists. |
| DITA | Darwin Information Typing Architecture. | Processes technical documentation and learning materials, supporting modular content. |
| DITAMAP | DITA Map. | Organizes and links topics in a DITA map, aiding in complex documentation structures. |
| HTML | HyperText Markup Language. | Preserves hyperlinks, tags, and other HTML-specific elements during web content translation. |
| IDML | InDesign Markup Language. | Ensures layout and design elements are maintained when translating InDesign documents. |
| IOS Strings | iOS localization strings. | Translates iOS app strings, ensuring consistency across different versions and devices. |
| JSON | JavaScript Object Notation. | Handles JSON-formatted data files, useful for translating dynamic data structures. |
| Markdown | Lightweight markup language. | Translates README files, documentation, and other plain-text documents with simple formatting. |
| MIF | Multimate Format. | Manages multiple languages within a single document, ideal for multilingual projects. |
| MS Excel | Microsoft Excel spreadsheet. | Translates Excel spreadsheets, ensuring formula accuracy and cell reference preservation. |
| MS PowerPoint | Microsoft PowerPoint presentation. | Maintains animations, transitions, and slide layouts when translating PowerPoint slides. |
| MS Publisher | Microsoft Publisher publication. | Preserves layout and design elements when translating publications created in Microsoft Publisher. |
| MS Visio | Microsoft Visio diagram. | Translates diagrams and flowcharts, ensuring shape, line, and annotation accuracy. |
| MS Word (.docx) | Microsoft Word document. | Preserves styles, tables, and other formatting elements when translating Word documents. |
| ODT | OpenDocument Text format. | Ensures compatibility with OpenOffice or LibreOffice Writer when translating documents. |
| PO | Portable Object format. | Translates gettext catalogs, ideal for software applications and interfaces. |
| POT | OpenDocument Presentation Template. | Creates templates of presentations in OpenOffice or LibreOffice Impress, ensuring consistent branding and formatting. |
| Properties | Windows .properties file format. | Translates properties files in Java or Android development, ensuring accurate application settings. |
| Properties UTF-8 | Windows .properties file format encoded in UTF-8. | Supports a wider range of characters beyond ASCII when translating UTF-8 encoded properties files. |
| RC File | Resource Compiler file. | Translates resource compiler files used in game development, ensuring accurate localization of game assets and UI elements. |
| Regex | Regular Expressions. | Translates patterns defined by regular expressions, useful in various programming contexts. |
| Resx | .NET Resource file. | Localizes .NET applications, ensuring string and resource accuracy. |
| SBV | SubRip subtitle file. | Translates subtitles in SubRip format, ensuring accurate dialogue and timing information. |
| SRT | Subtitle Resource Track. | Another popular format for subtitles, ensuring accurate translation of dialogue and timing. |
| SUB | Generic subtitle file format. | Translates subtitles, ensuring accurate dialogue and timing information across various subtitle formats. |
| SVG | Scalable Vector Graphics. | Translates vector graphics, ensuring path, shape, and text accuracy within SVG files. |
| TS File | Qt Linguist TS file. | Localizes applications developed with Qt, ensuring string and resource accuracy. |
| Xliff | XML Localization Interchange File Format. | Exchanges localization data between tools and translators, ensuring consistency across different stages of the localization process. |
| XMB | XML Mind Map. | Translates mind maps created in XMind, ensuring node, branch, and label accuracy. |
| XML | Extensible Markup Language. | Handles XML-formatted data exchange and configuration files, useful for translating XML data. |
| XML via API | XML data accessed via API. | Translates XML data fetched through APIs, ensuring structure and content accuracy. |
| YAML | YAML Ain't Markup Language. | Translates configuration files and data serialization in YAML format, ensuring key-value pair and structure accuracy. |
- Text Splitting Options: TextUnited gives you the option to split your text into sentences or paragraphs for better readability and organization. Make your selection based on your preference or the requirements of your project.
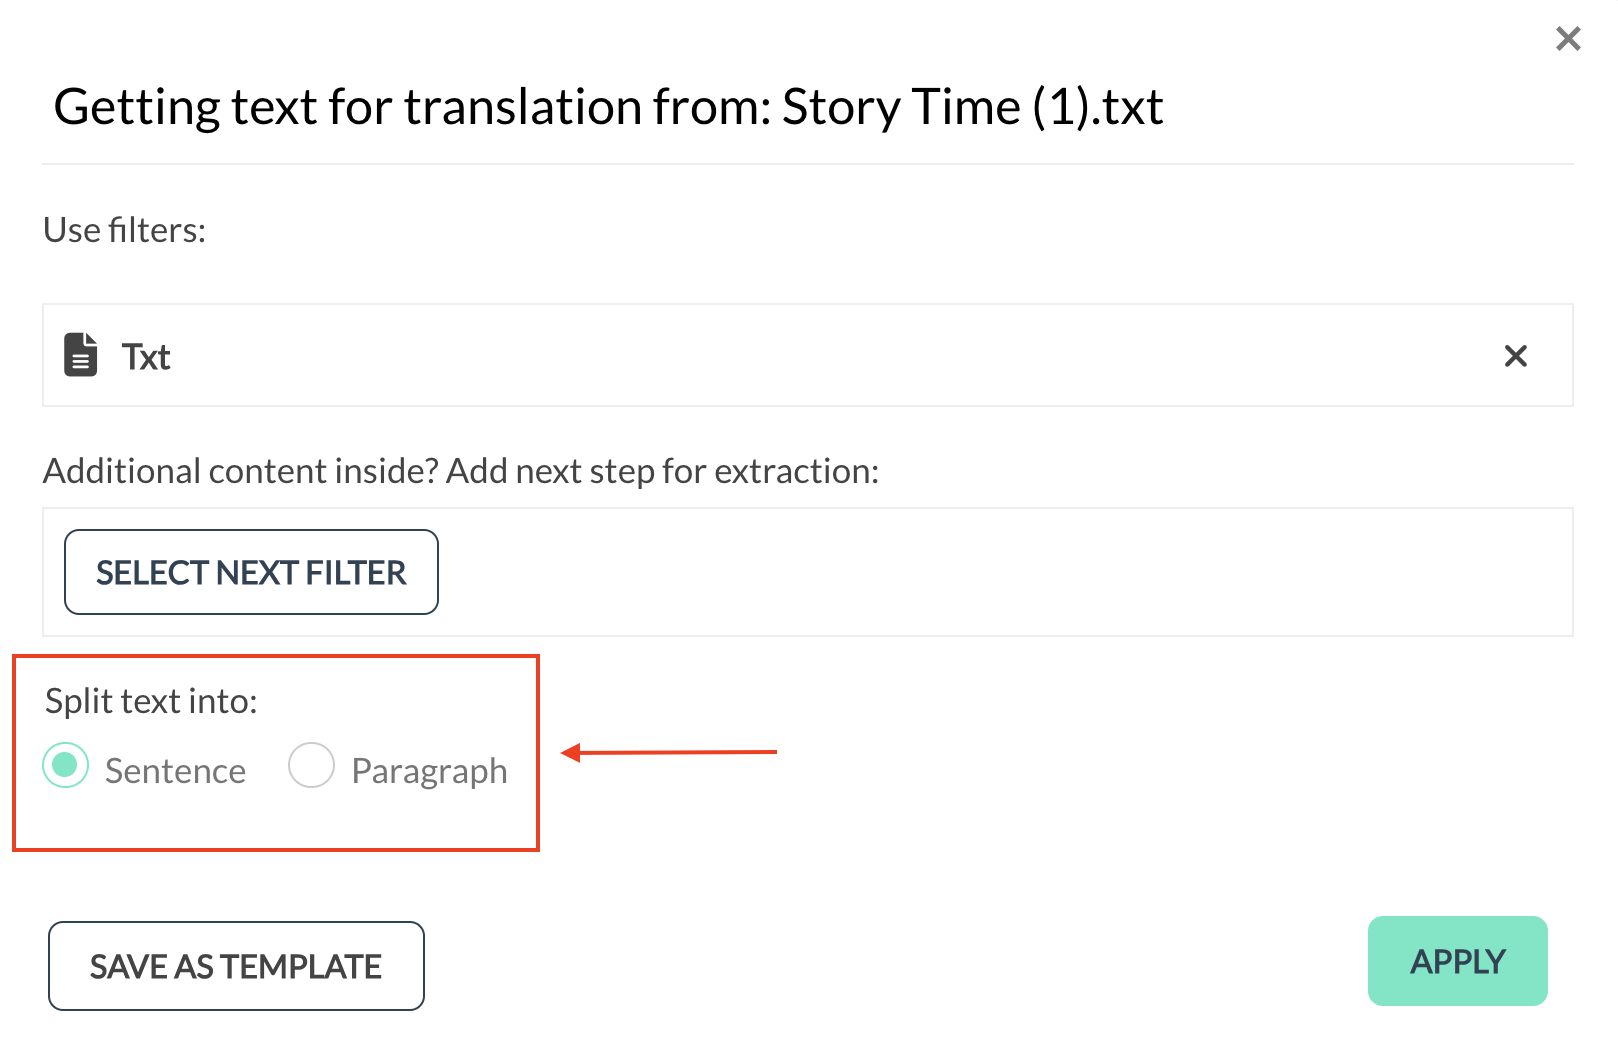
Split text into Sentence or Paragraph
- Save as Template: If you anticipate using similar settings for future projects, consider saving these preferences as a template. Click "SAVE AS TEMPLATE" to apply these settings automatically to future uploads.
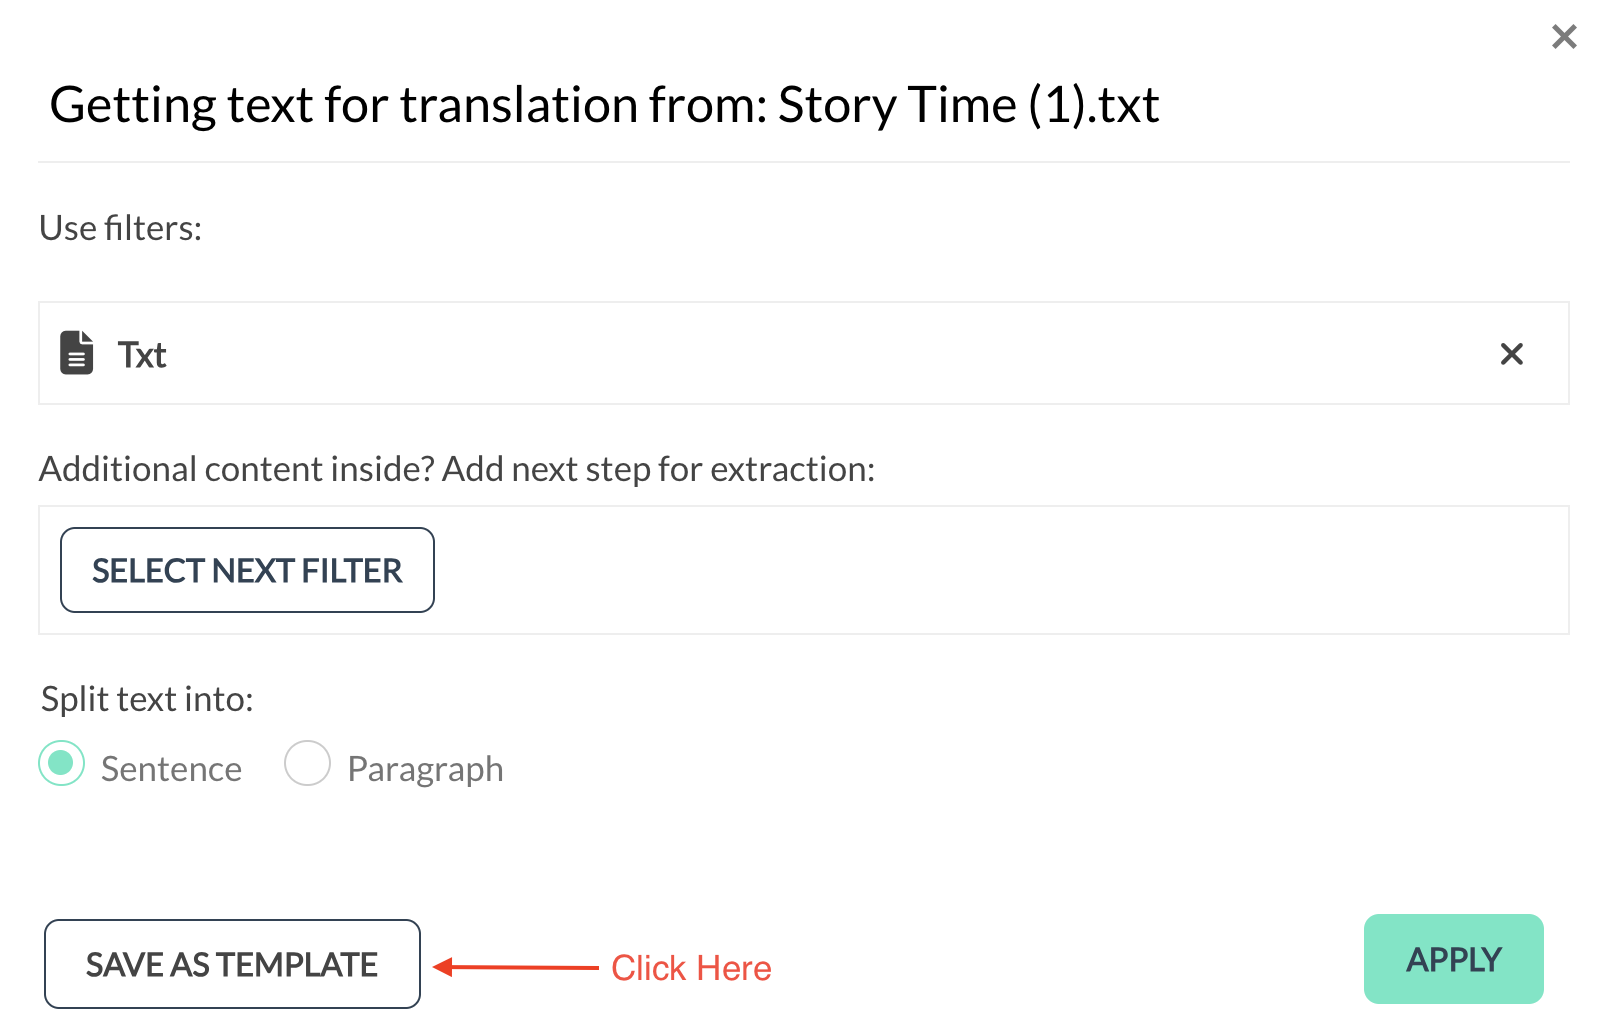
Showing the "SAVE AS TEMPLATE" button
- Finalize Settings: Click "Apply" to apply your chosen settings to your project. This action finalizes your preparation for the translation process.
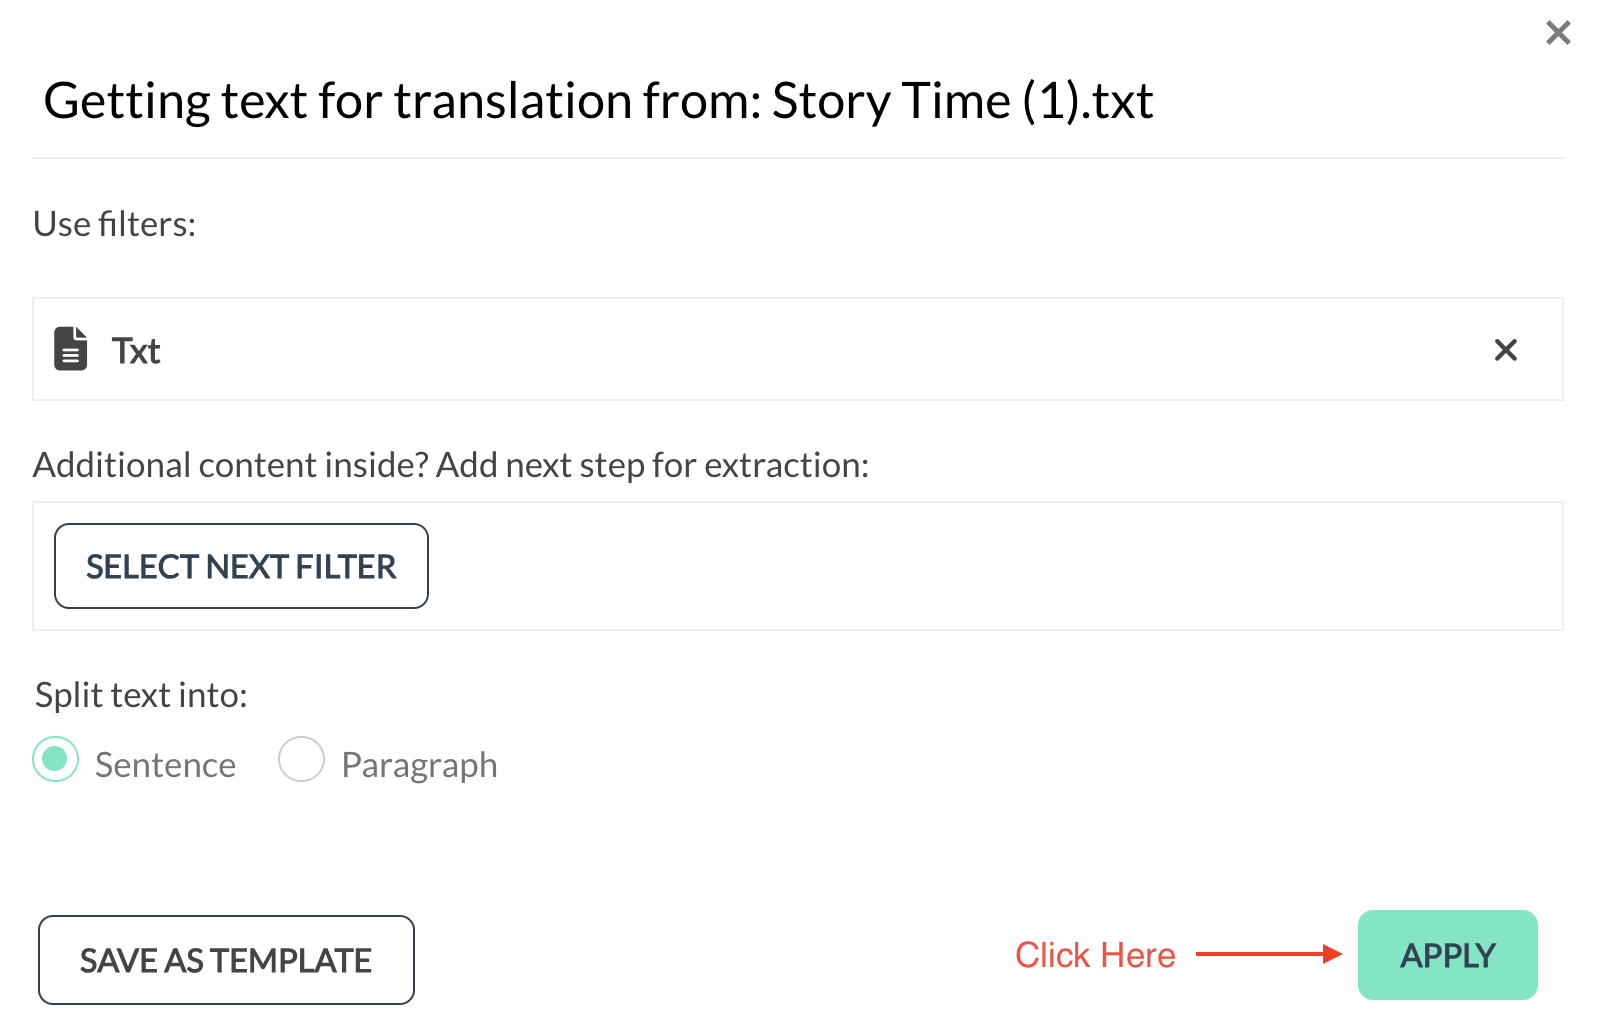
Click the "APPLY" button
Step 1C: Review and Adjust
- Preview Content: Before moving forward, you have the opportunity to preview how your content will be processed. Click "PREVIEW" to see a sample of how your text will be split (into sentences or paragraphs). This step helps ensure that the processing aligns with your expectations.

Showing the "PREVIEW" button
If your text is split into sentences, once you click the "PREVIEW" button, you'll see something like this:
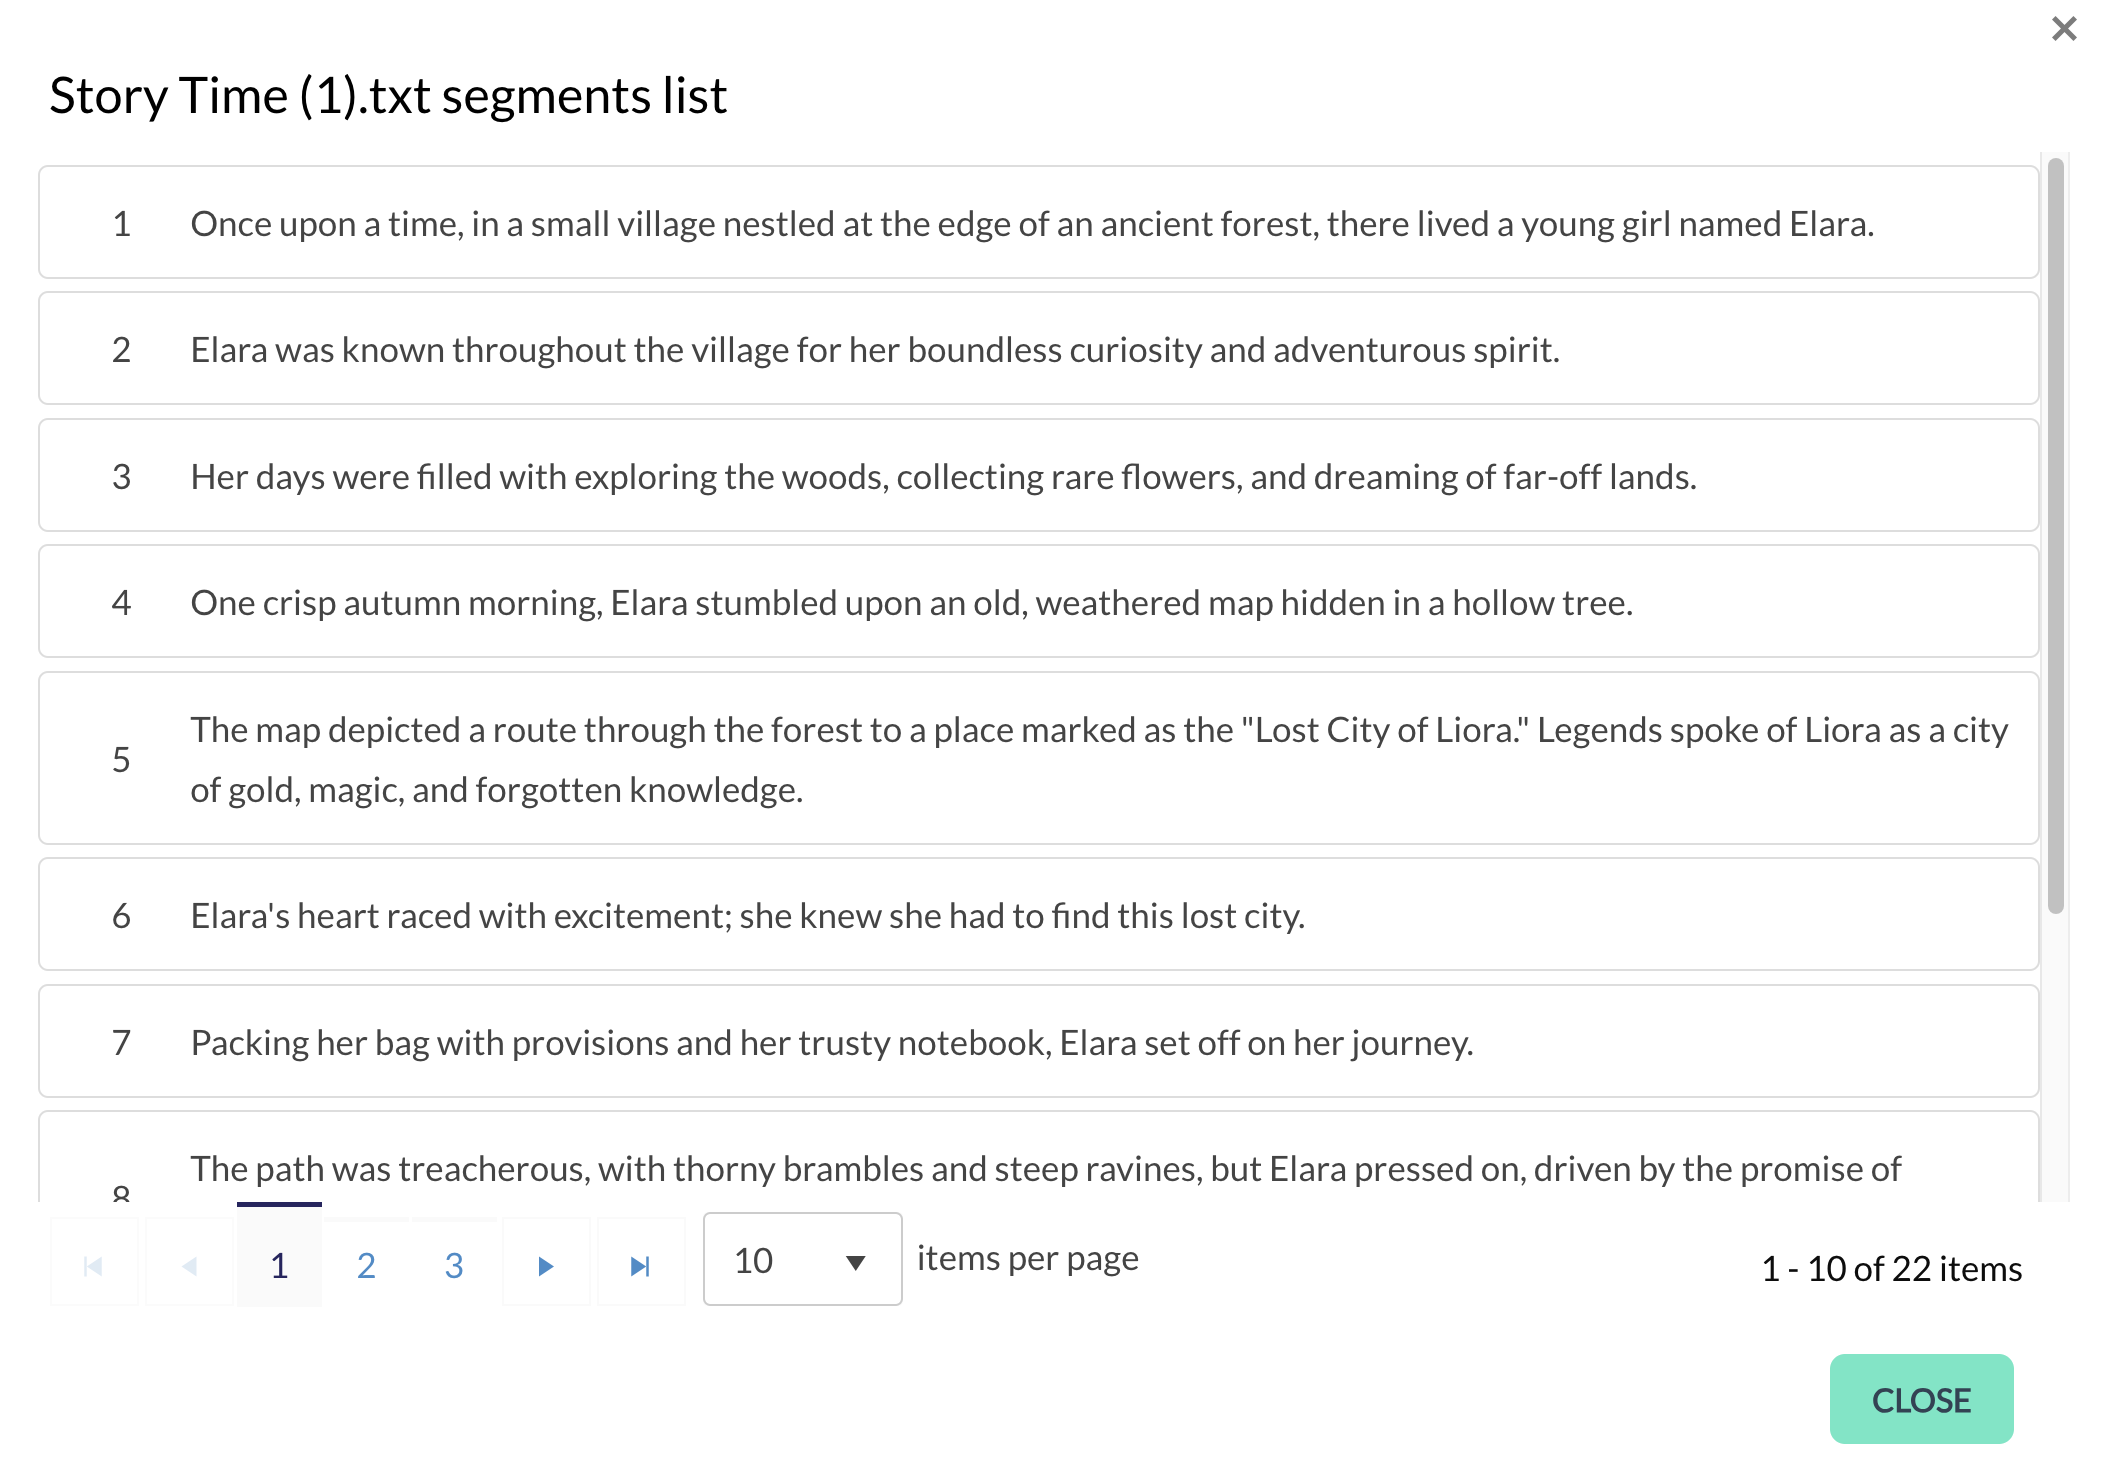
Displaying text split into sentences
- Remove Unwanted Files: If you decide that you no longer need a particular file after uploading, you can remove it from your project. Click "REMOVE" to initiate the deletion process.

Showing the "REMOVE" button
- A confirmation dialog box will appear, asking if you're sure you want to delete the file. Choose "YES" to confirm or "NO" to cancel the operation.

Dialog Box for the REMOVE button
- Proceed to Next Step: After reviewing your selections or making adjustments, click "Continue" to advance to the next step in the process.
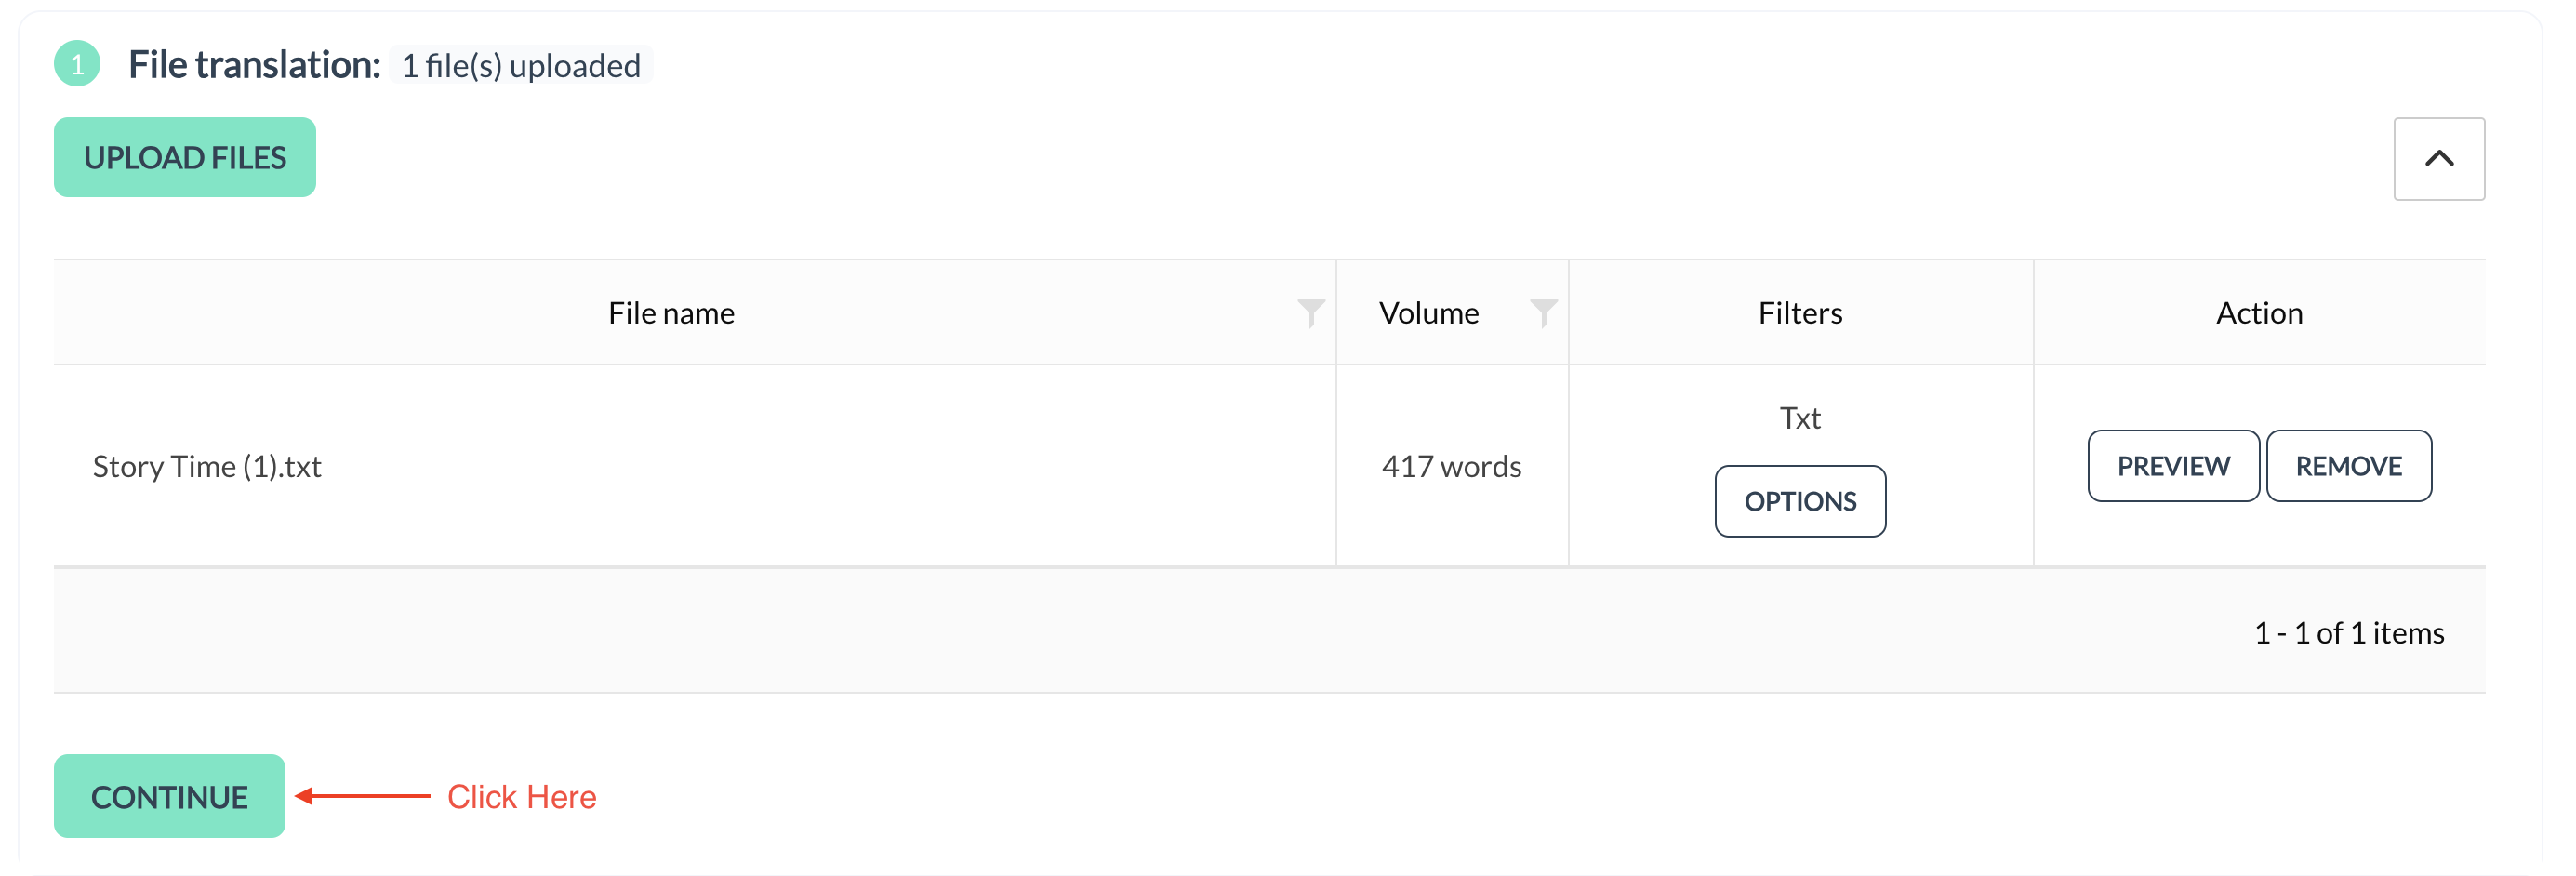
Showing the "Continue" button to proceed to the next step
Step 2: Choose Languages
After configuring the file processing settings, the next step is to select the languages for translation. This decision is pivotal as it determines the direction of your translation project.
Step 2A: Source Language Selection
- Automatic Detection: TextUnited automatically detects the source language of your file, aiming for accuracy with most common languages.
- Manual Correction: If the detected language is incorrect or if your file contains multiple languages, you can manually adjust the source language from the dropdown menu.

Showing the "Translate from" field for selecting your source language
Step 2B: Target Languages Selection
- Select Target Languages: Choose the languages you wish your content to be translated into. You can select anywhere from 1 to 20 languages for your project.
- Language Tone Preference for French and German: If French or German is among your target languages, you'll have the option to choose between "No preference", "Formal", or "Informal" tones for your translation. This option allows you to tailor the tone of your translation to match your project's requirements.

Showing the field for selecting your target languages
Step 2C: Proceed to Next Step
- Confirm Language Choices: After selecting your source and target languages, and making any necessary adjustments for French or German, click the "CONTINUE" button. Your language choices will be confirmed, and you'll proceed to the next step.

Click the "CONTINUE" button
Step 3: Choose How to Translate
Deciding how your translation project will be handled is the focus of the third step. TextUnited offers both self-service and managed service options, catering to different needs and workflows.
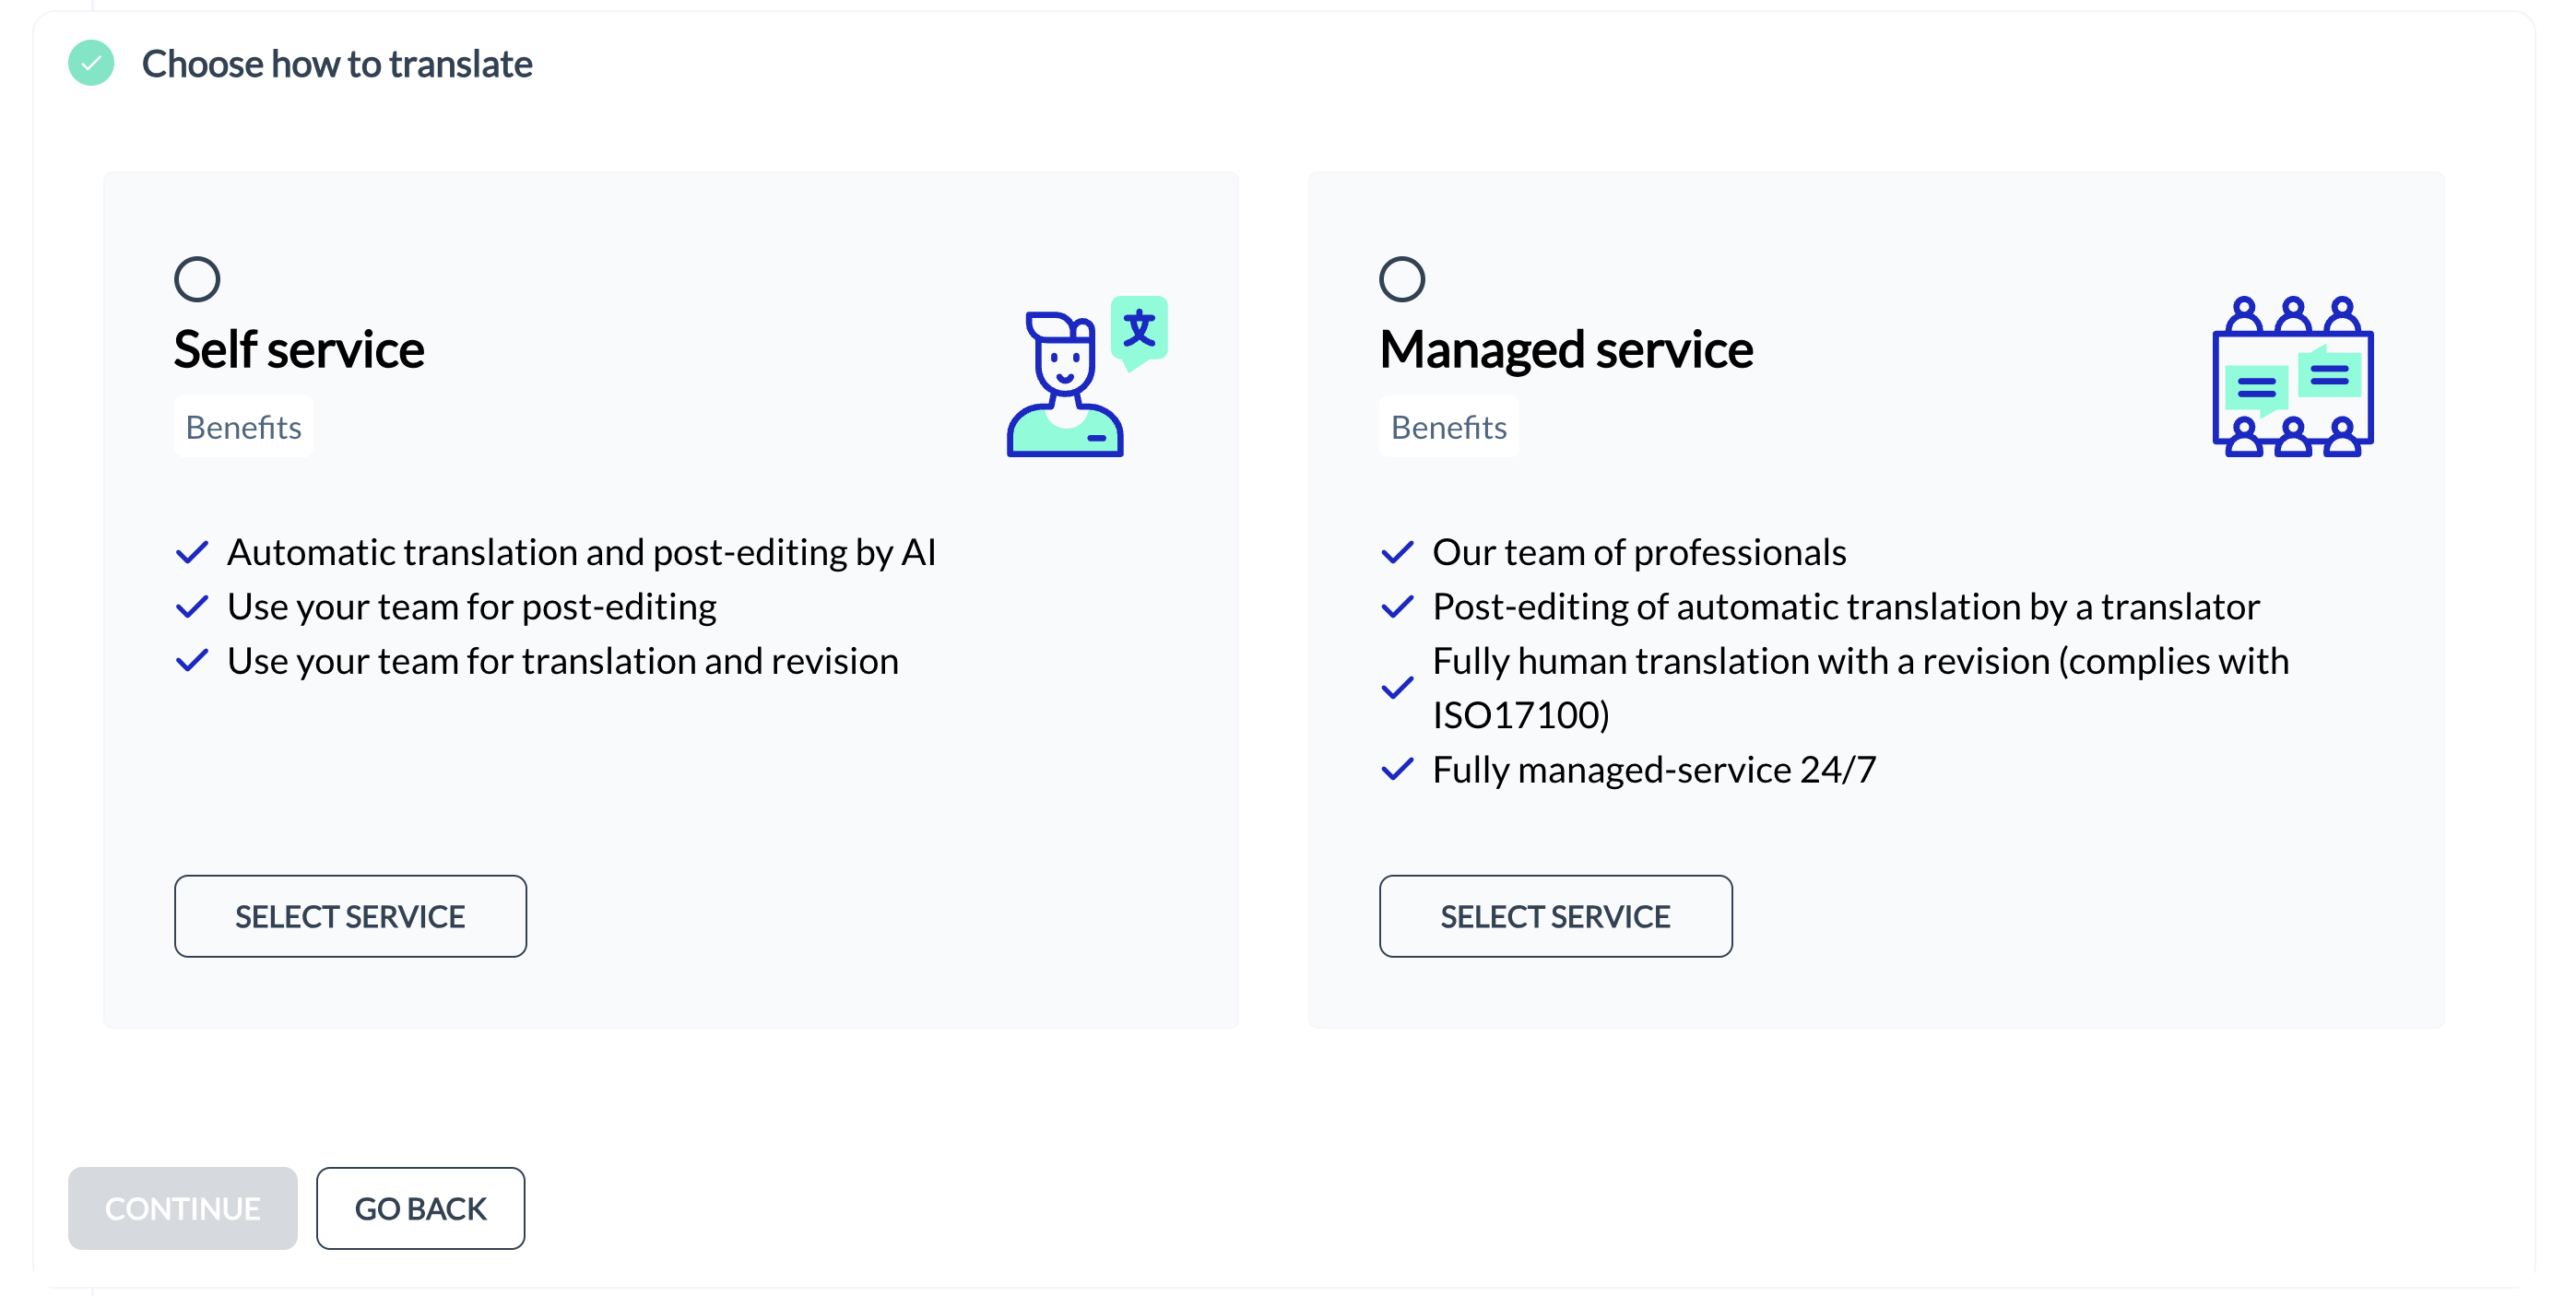
Choose how to translate (Showing the options available for translation)
Step 3A: Self-Service Option
- Benefits:
- Automatic translation and post-editing by AI.
- Option to use your team for post-editing.
- Capability to use your team for translation and revision.
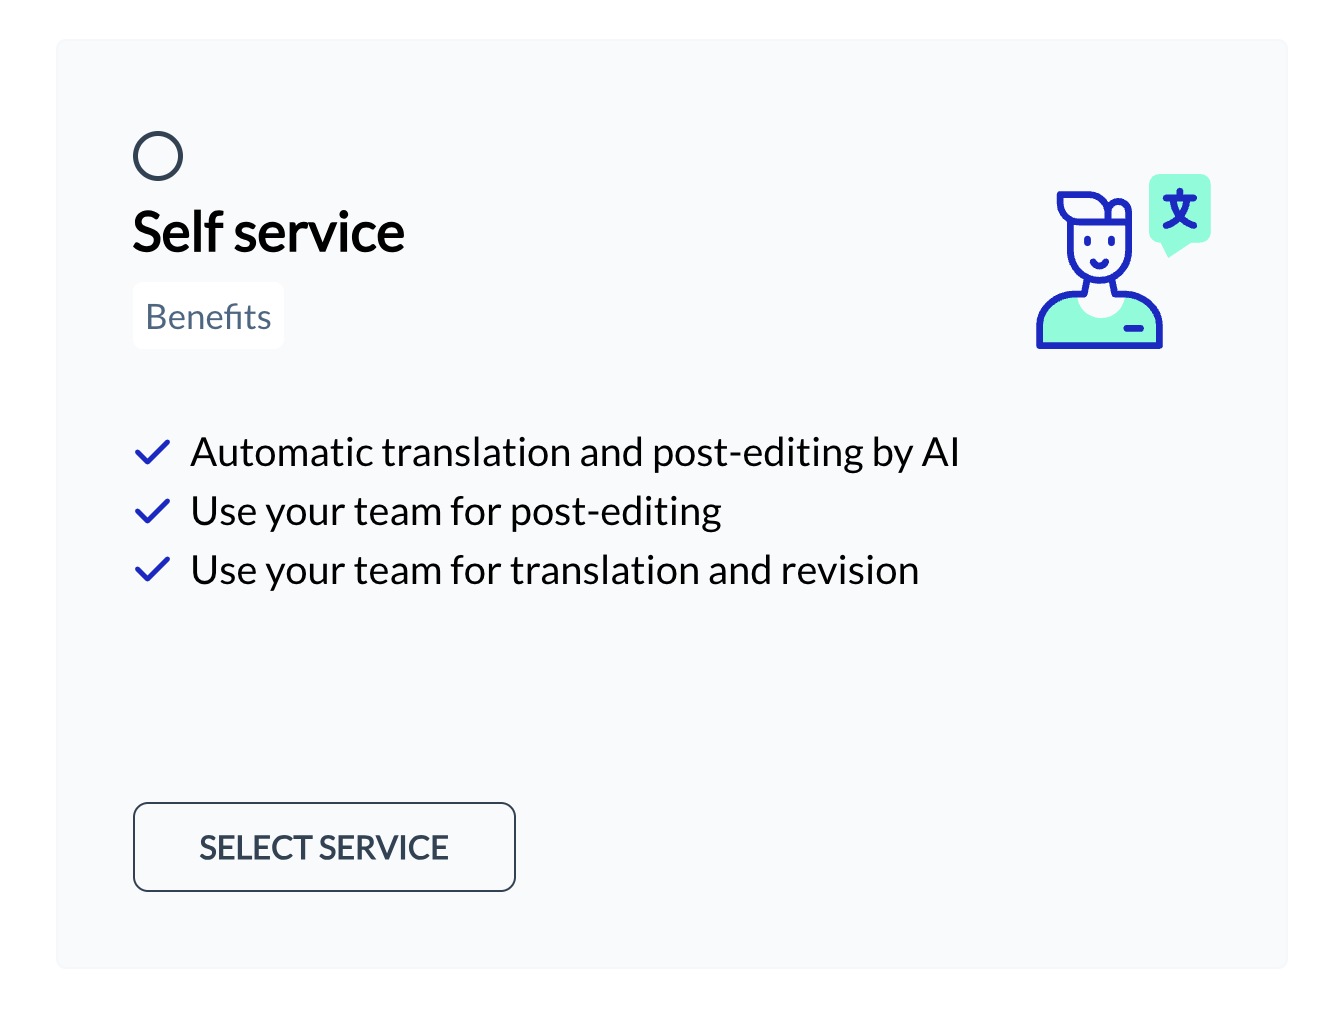
Showing the benefits of the Self service option
- Selection: Click the "SELECT SERVICE" button to explore the self-service options, which include automatic translation, post-editing of automatic translation, human translation, and human translation with revision.

Options available for the "Self service" option
Step 3B: Managed Service Option
- Benefits:
- Post-editing of automatic translation by a professional translator for consistency and accuracy.
- Fully human translation supported by translation memory for quality and consistency.
- Fully human translation with a revision by a second translator for enhanced quality and compliance with ISO 17100 requirements.
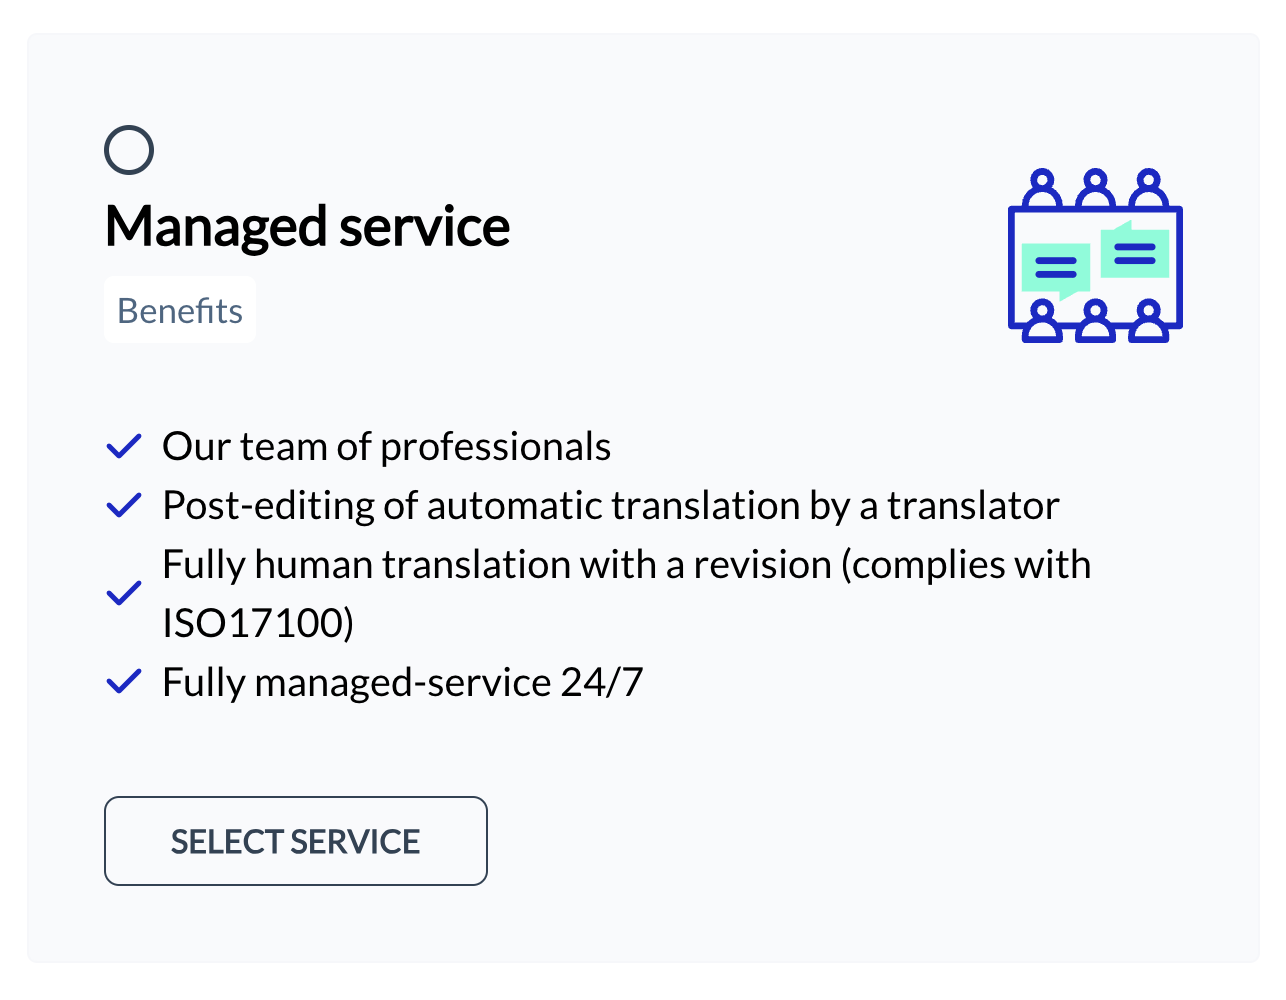
Benefits of the "Managed service" options
- Selection: Choose the managed service option if you prefer having TextUnited handle the translation process, including finding the right translators and managing the project.

Showing the options available for the "Managed service" option
Step 3C: Finalize Your Choice
- Decision Time: Decide whether you want to manage the translation process yourself (self-service) or have TextUnited handle it (managed service). Click the "CONTINUE" button to finalize your choice and proceed to the next step.
Step 4: Add Details
Before finalizing your project setup, take a moment to add any additional details that might be relevant to your project.

Showing the "Add details" step
Step 4A: Total Words and Remaining Words
- Project Scope: View the total number of words in your project and the number of words remaining within your subscription limit. This information helps you stay informed about your translation capacity.
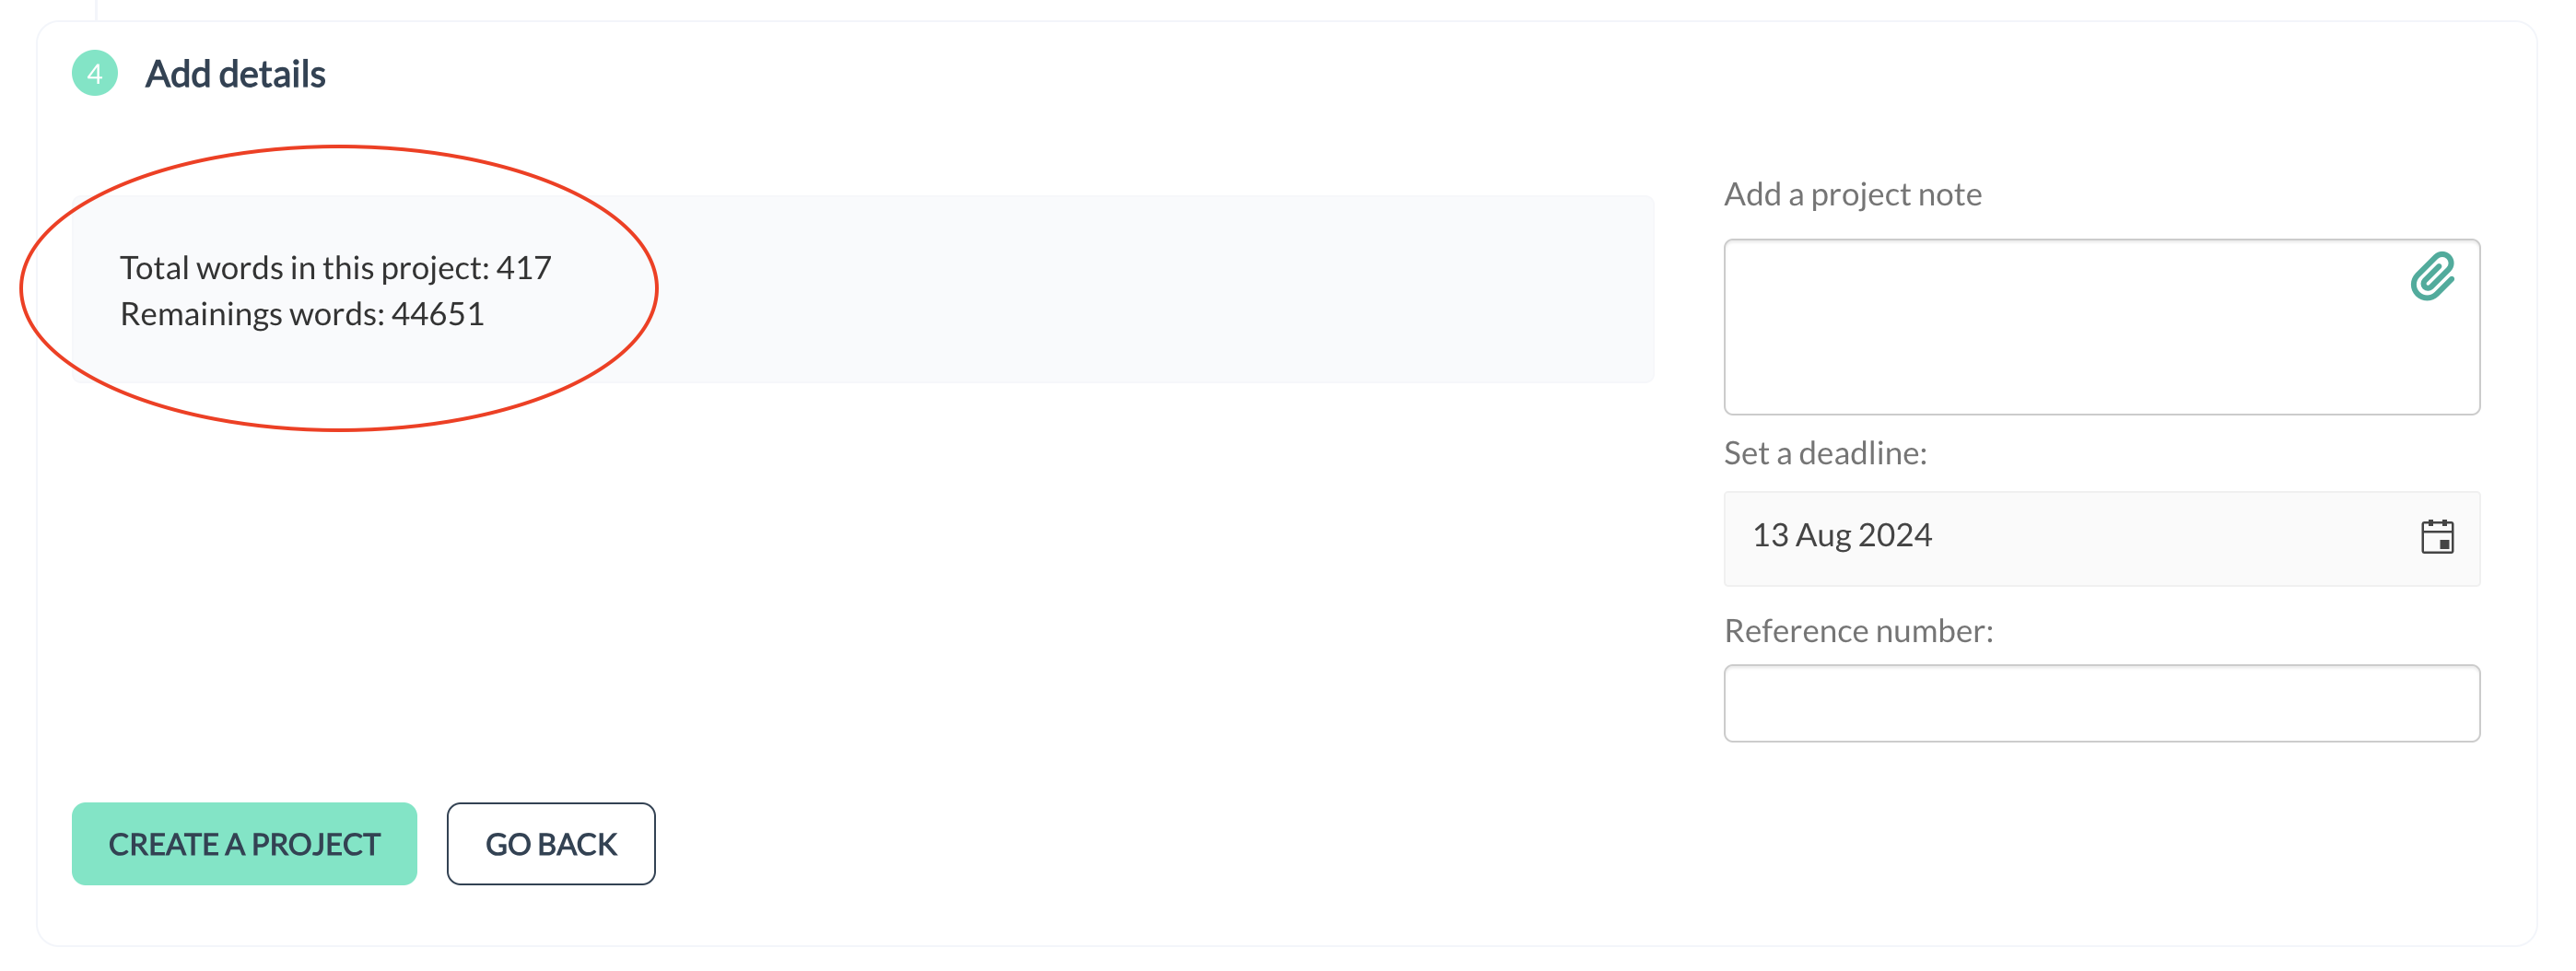
Showing the total number of words in your project and the remaining words
Step 4B: Additional Details
- Project Note: Add a note to your project if there are specific instructions or requirements you'd like to highlight.
- Deadline Setting: Set a deadline for your project completion to keep track of your timeline.
- Reference Number: Input a reference number for your project if applicable, helping you easily identify and manage your projects.
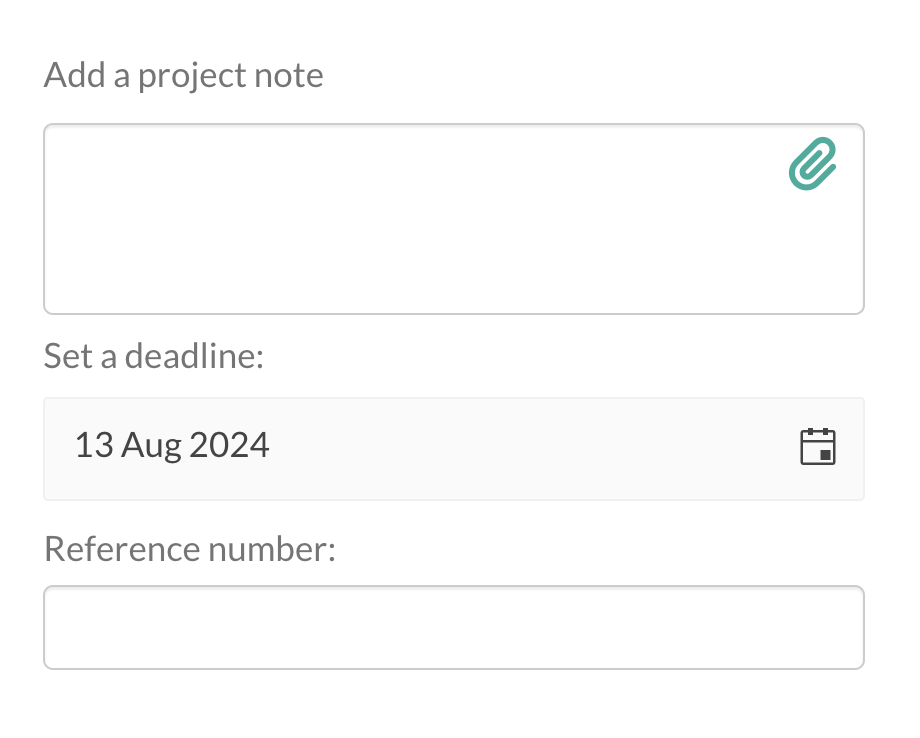
Showing additional details to add a project note, set a deadline and a reference number
Step 4C: Create or Go Back
- Final Action: Once you've entered all necessary details, click the "CREATE A PROJECT" button to officially start your translation project. If you're not satisfied with your selections, click "GO BACK" to revisit and adjust any settings.
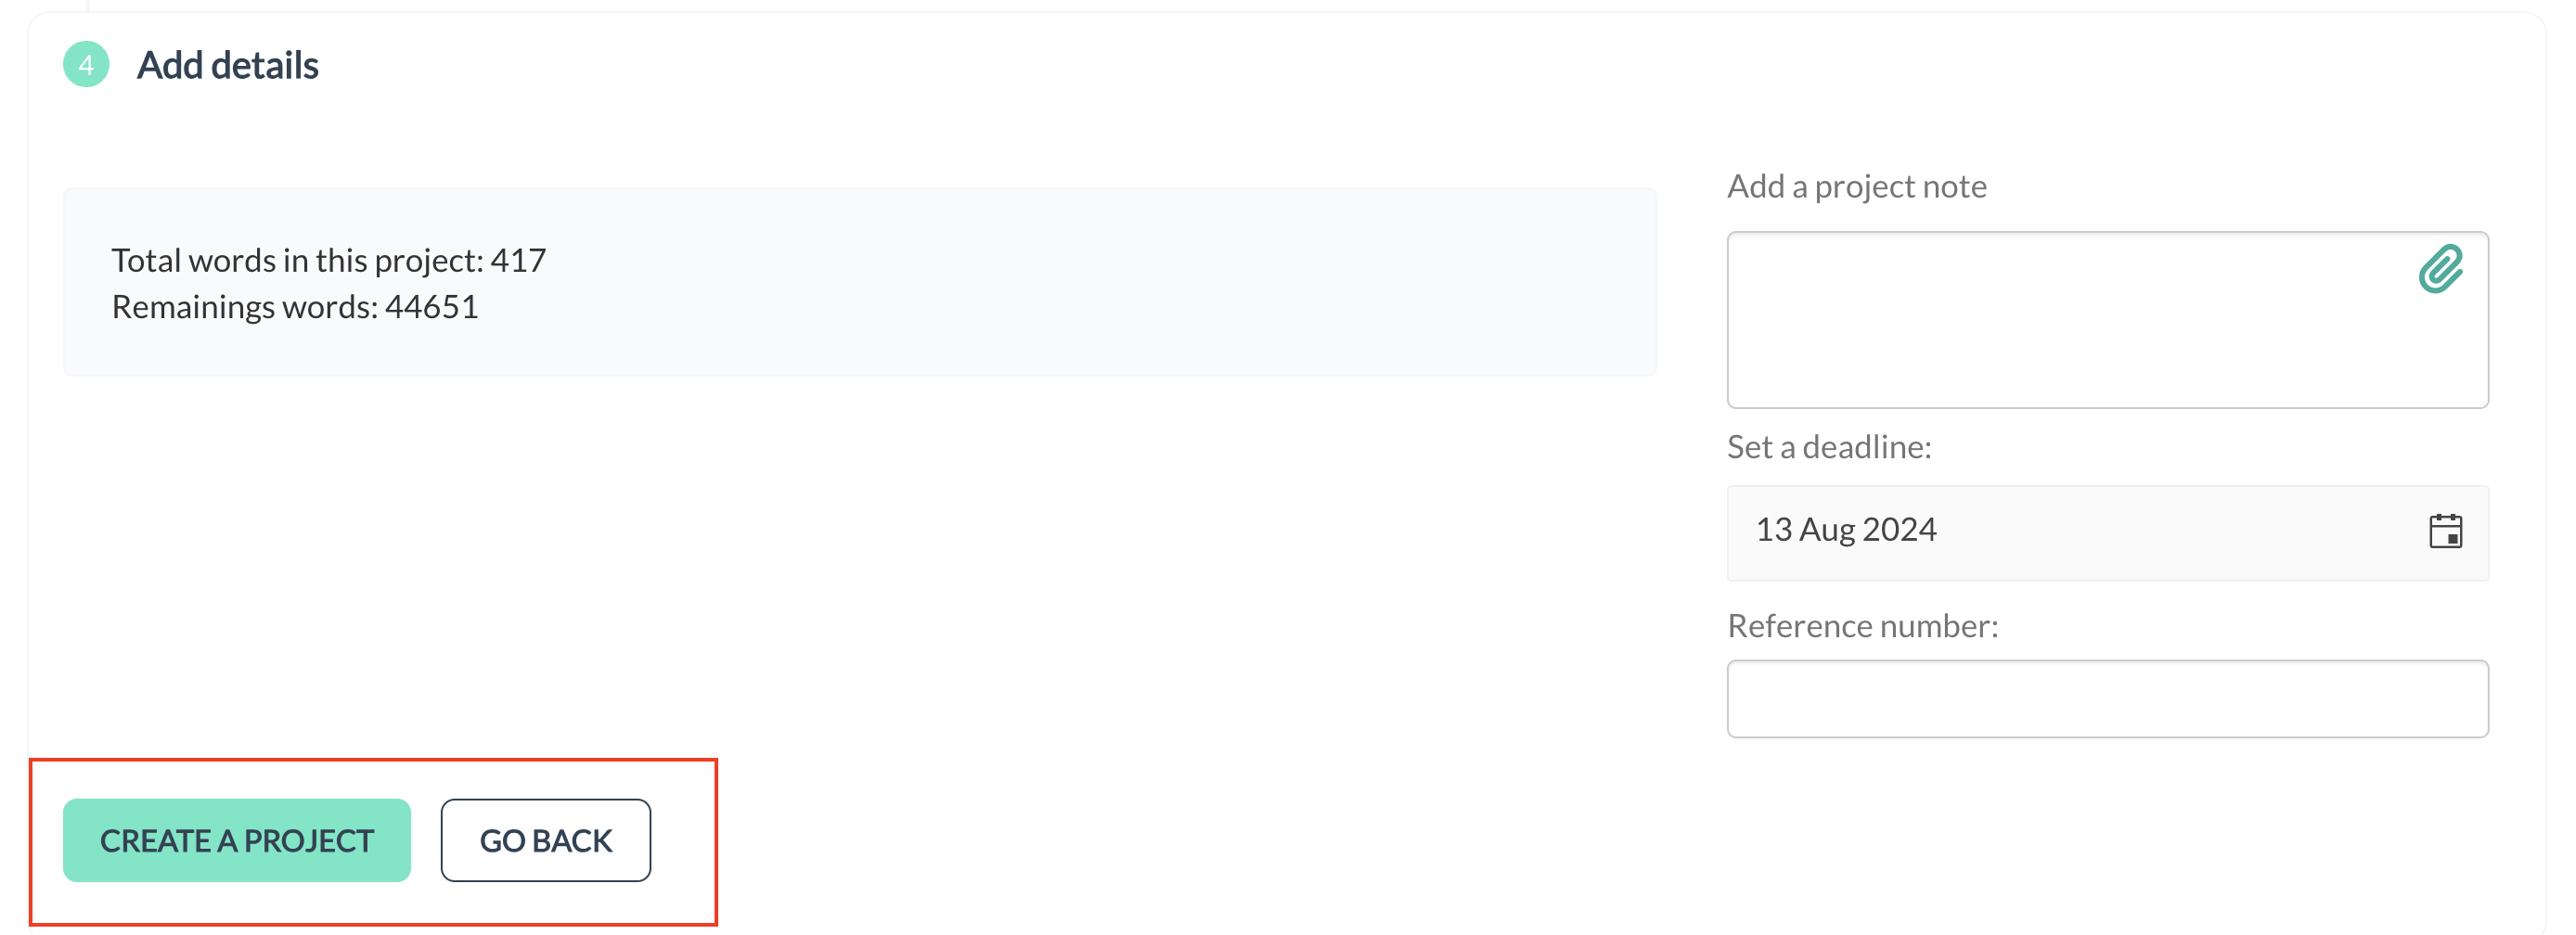
Showing the "CREATE A PROJECT" and "GO BACK"
Step 4D: Start the Project
Upon clicking the "CREATE A PROJECT" button, a modal will open, providing you with instructions on how to commence your project. Here, you have two primary options to choose from: "DEFAULT" and "MANUAL".
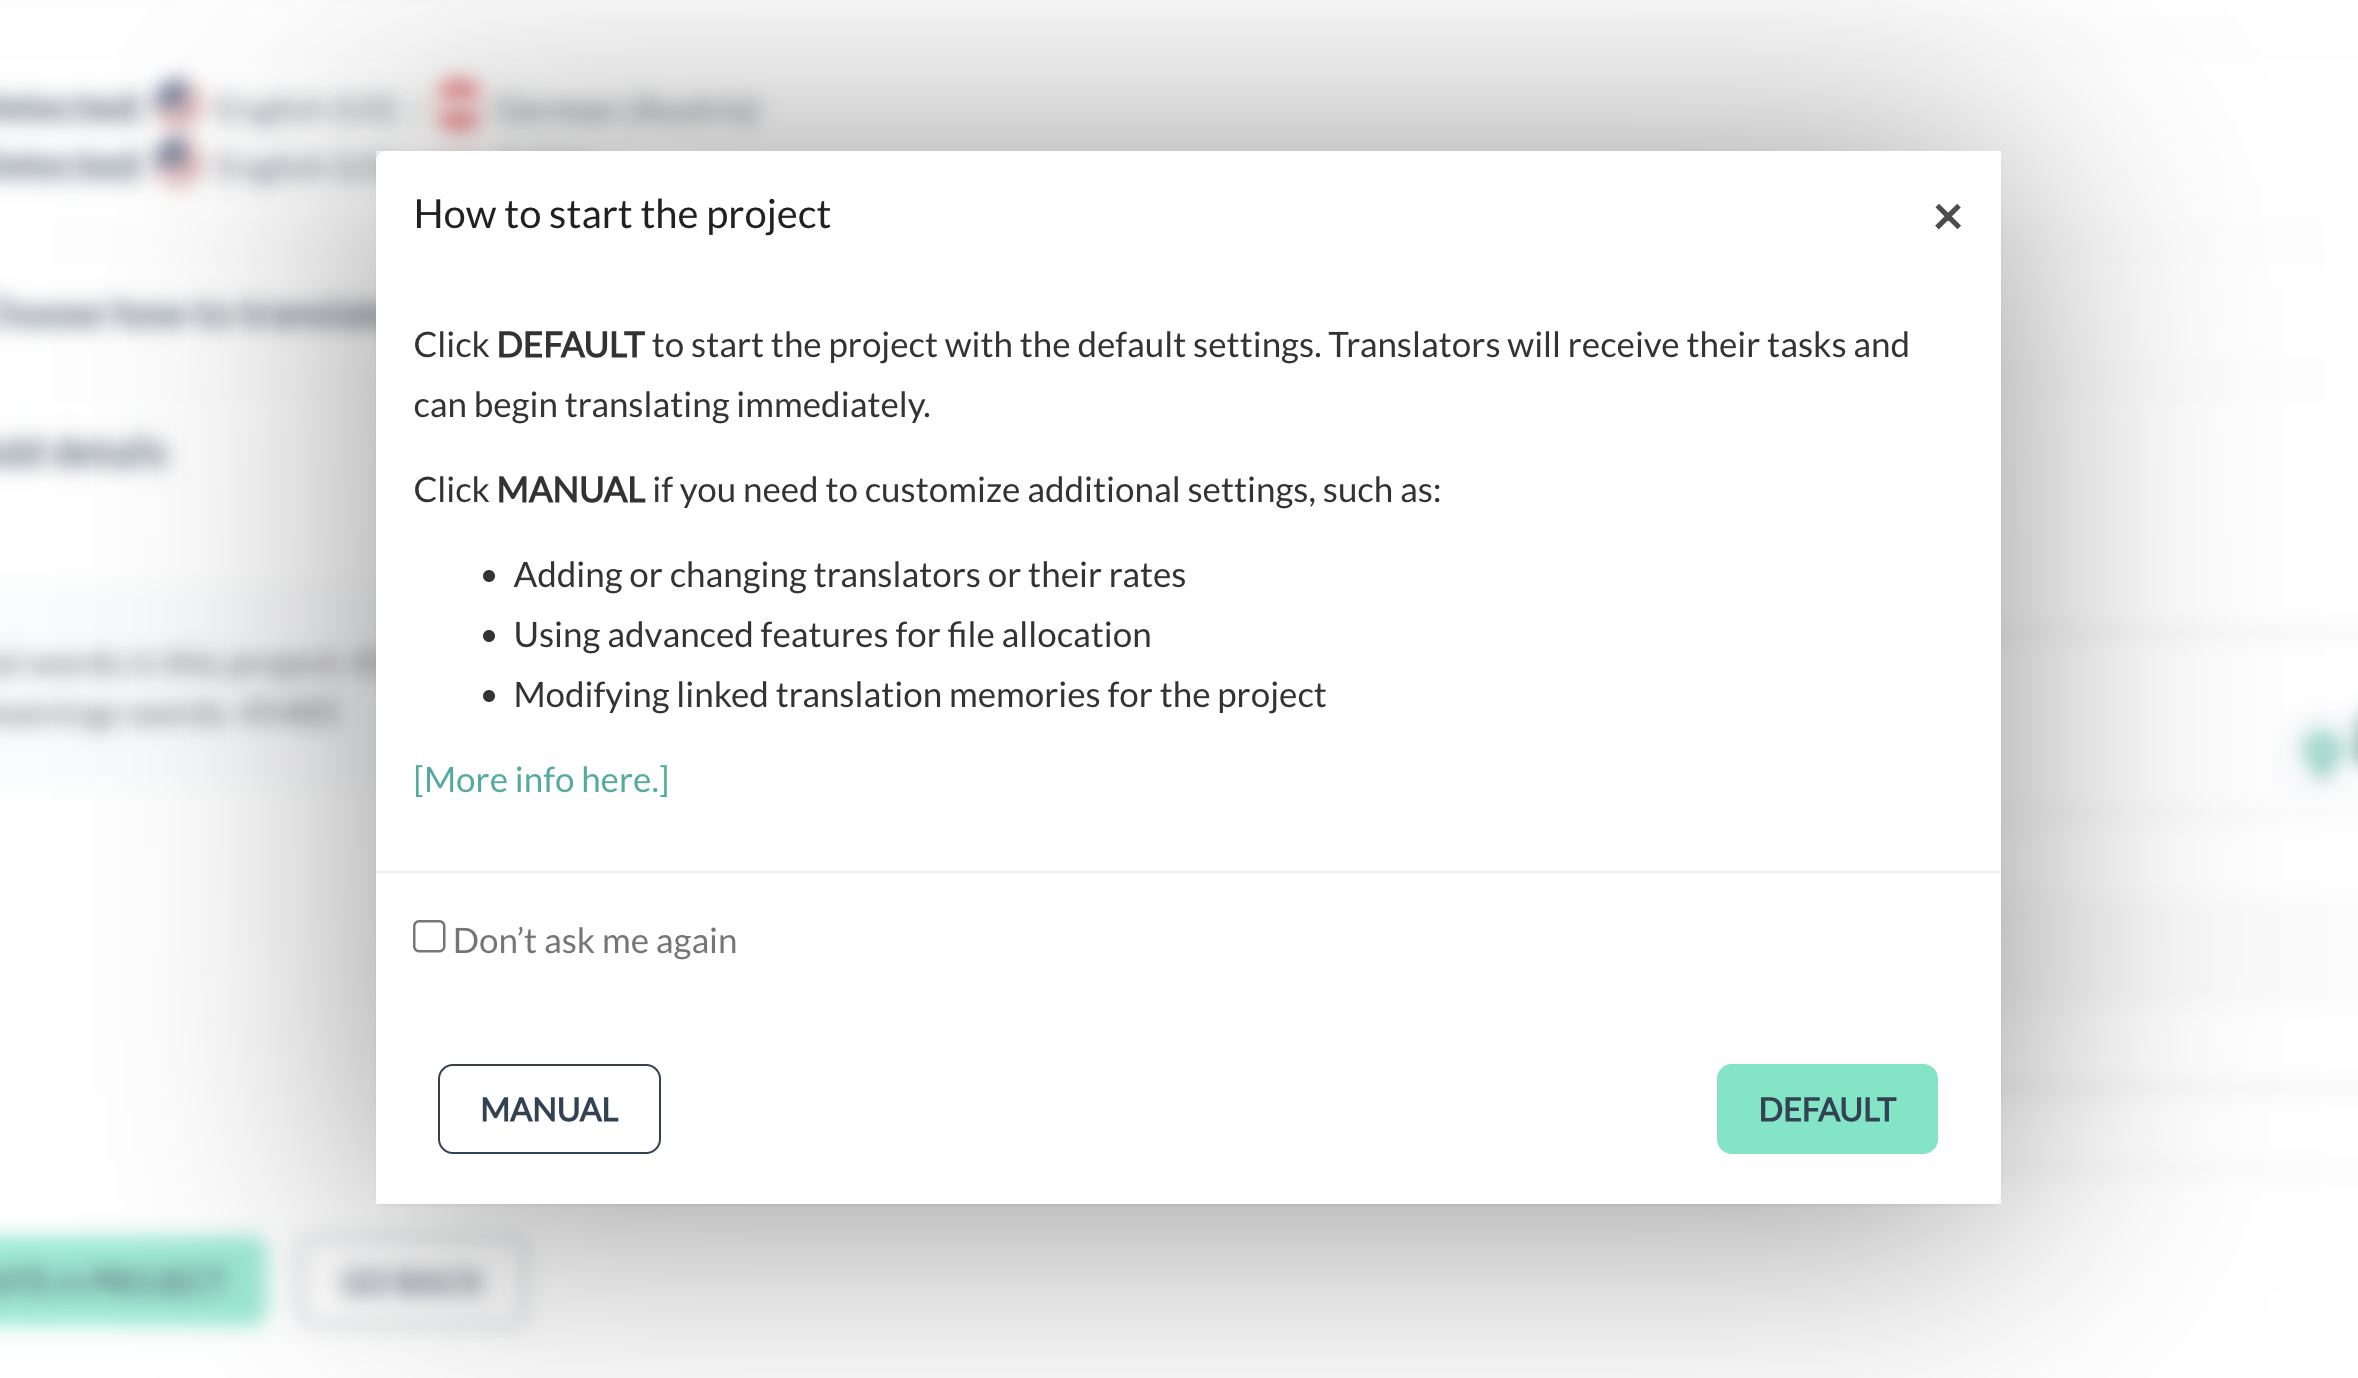
Showing instructions on how to start the project
Starting with Default Settings
- Click DEFAULT: Choosing this option starts your project with the default settings. Translators assigned to your project will receive their tasks and can begin translating immediately. This option is ideal for straightforward projects where minimal customization is required.

Showing the "DEFAULT" button
Customizing with Manual Settings
- Click MANUAL: If your project necessitates customization beyond the default settings, select this option. You'll have the ability to:
- Add or Change Translators: Customize the list of translators or their rates according to your project's needs.
- Utilize Advanced Features: Access advanced features for file allocation, allowing for more precise control over how files are distributed among translators.
- Modify Linked Translation Memories: Adjust linked translation memories for the project, enhancing consistency and quality across your translations.

Showing the "MANUAL" button
Additional Resources
- "More Info Here" Button: For further guidance on project preparation and accessing advanced settings, click the "More info here" button. This will redirect you to the TextUnited Help Center article on Project Preparation, providing comprehensive information on:
- Accessing Advanced Settings for Ongoing Projects
- Project In-Preparation Features Available After Accessing Advanced Settings
- Managing Source Files
- Work Allocation Strategies
- How to Allocate Files Efficiently
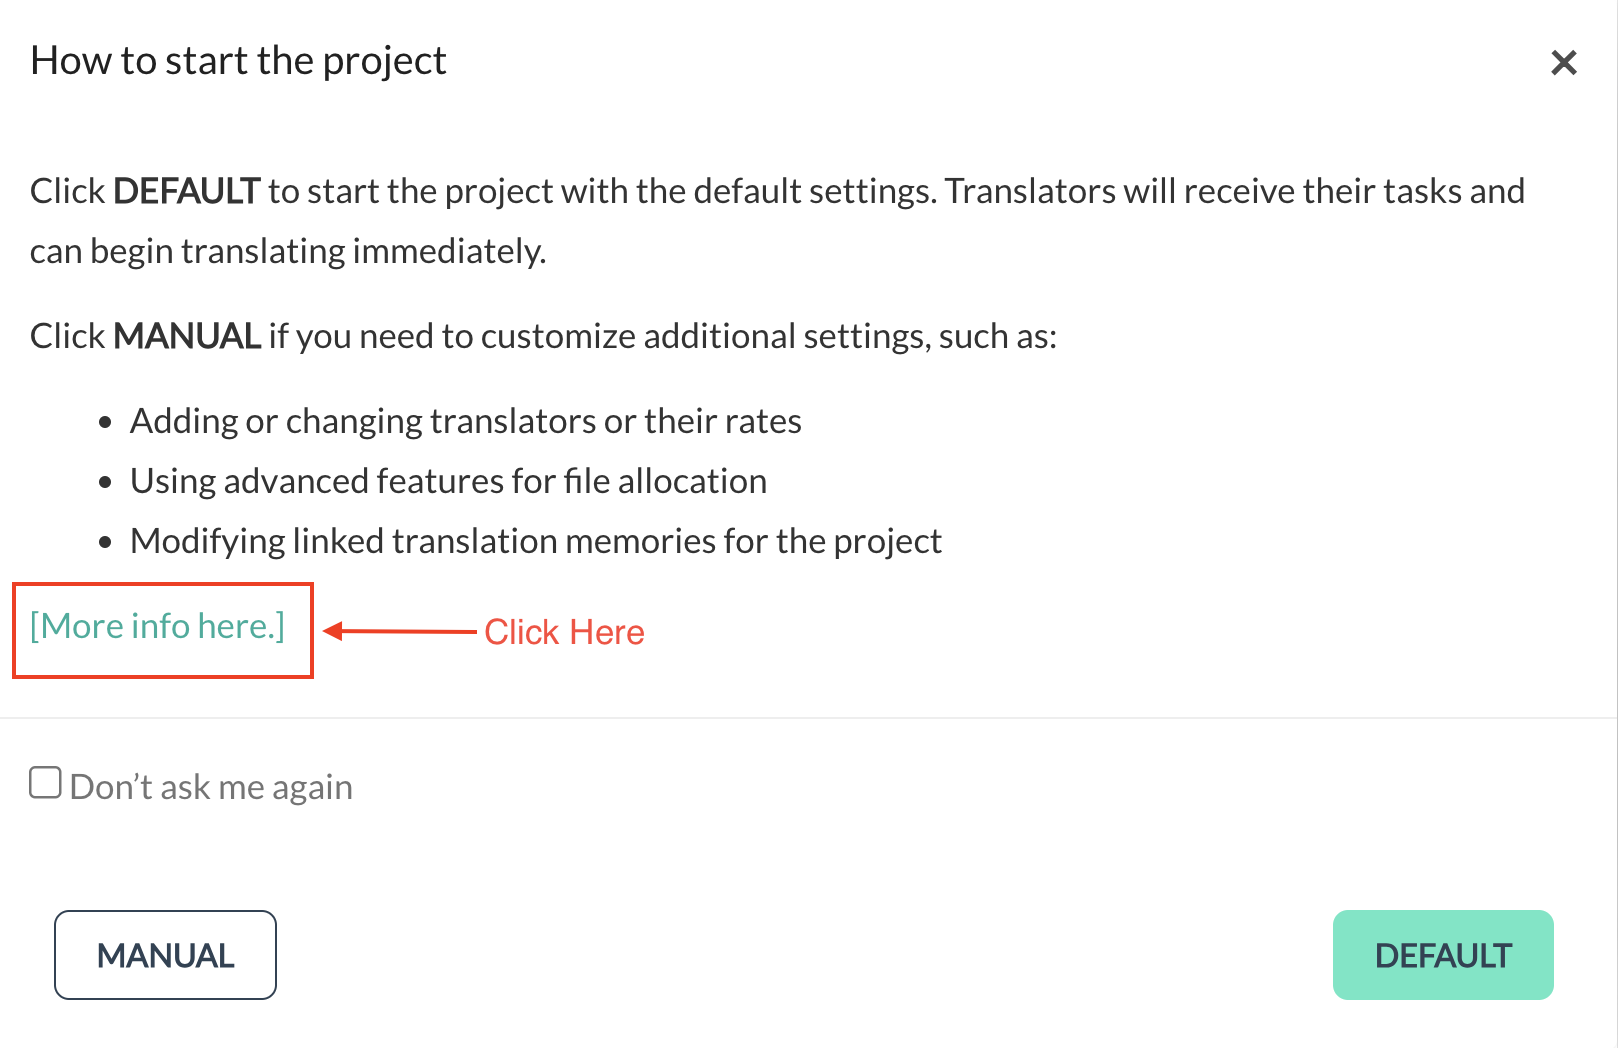
Showing the "More info here" button
Preventing Future Prompts
- "Don't Ask Me Again" Checkbox: If you prefer not to be prompted with these options again in the future, check the box labeled "Don't ask me again". This will prevent the modal from appearing in subsequent projects.
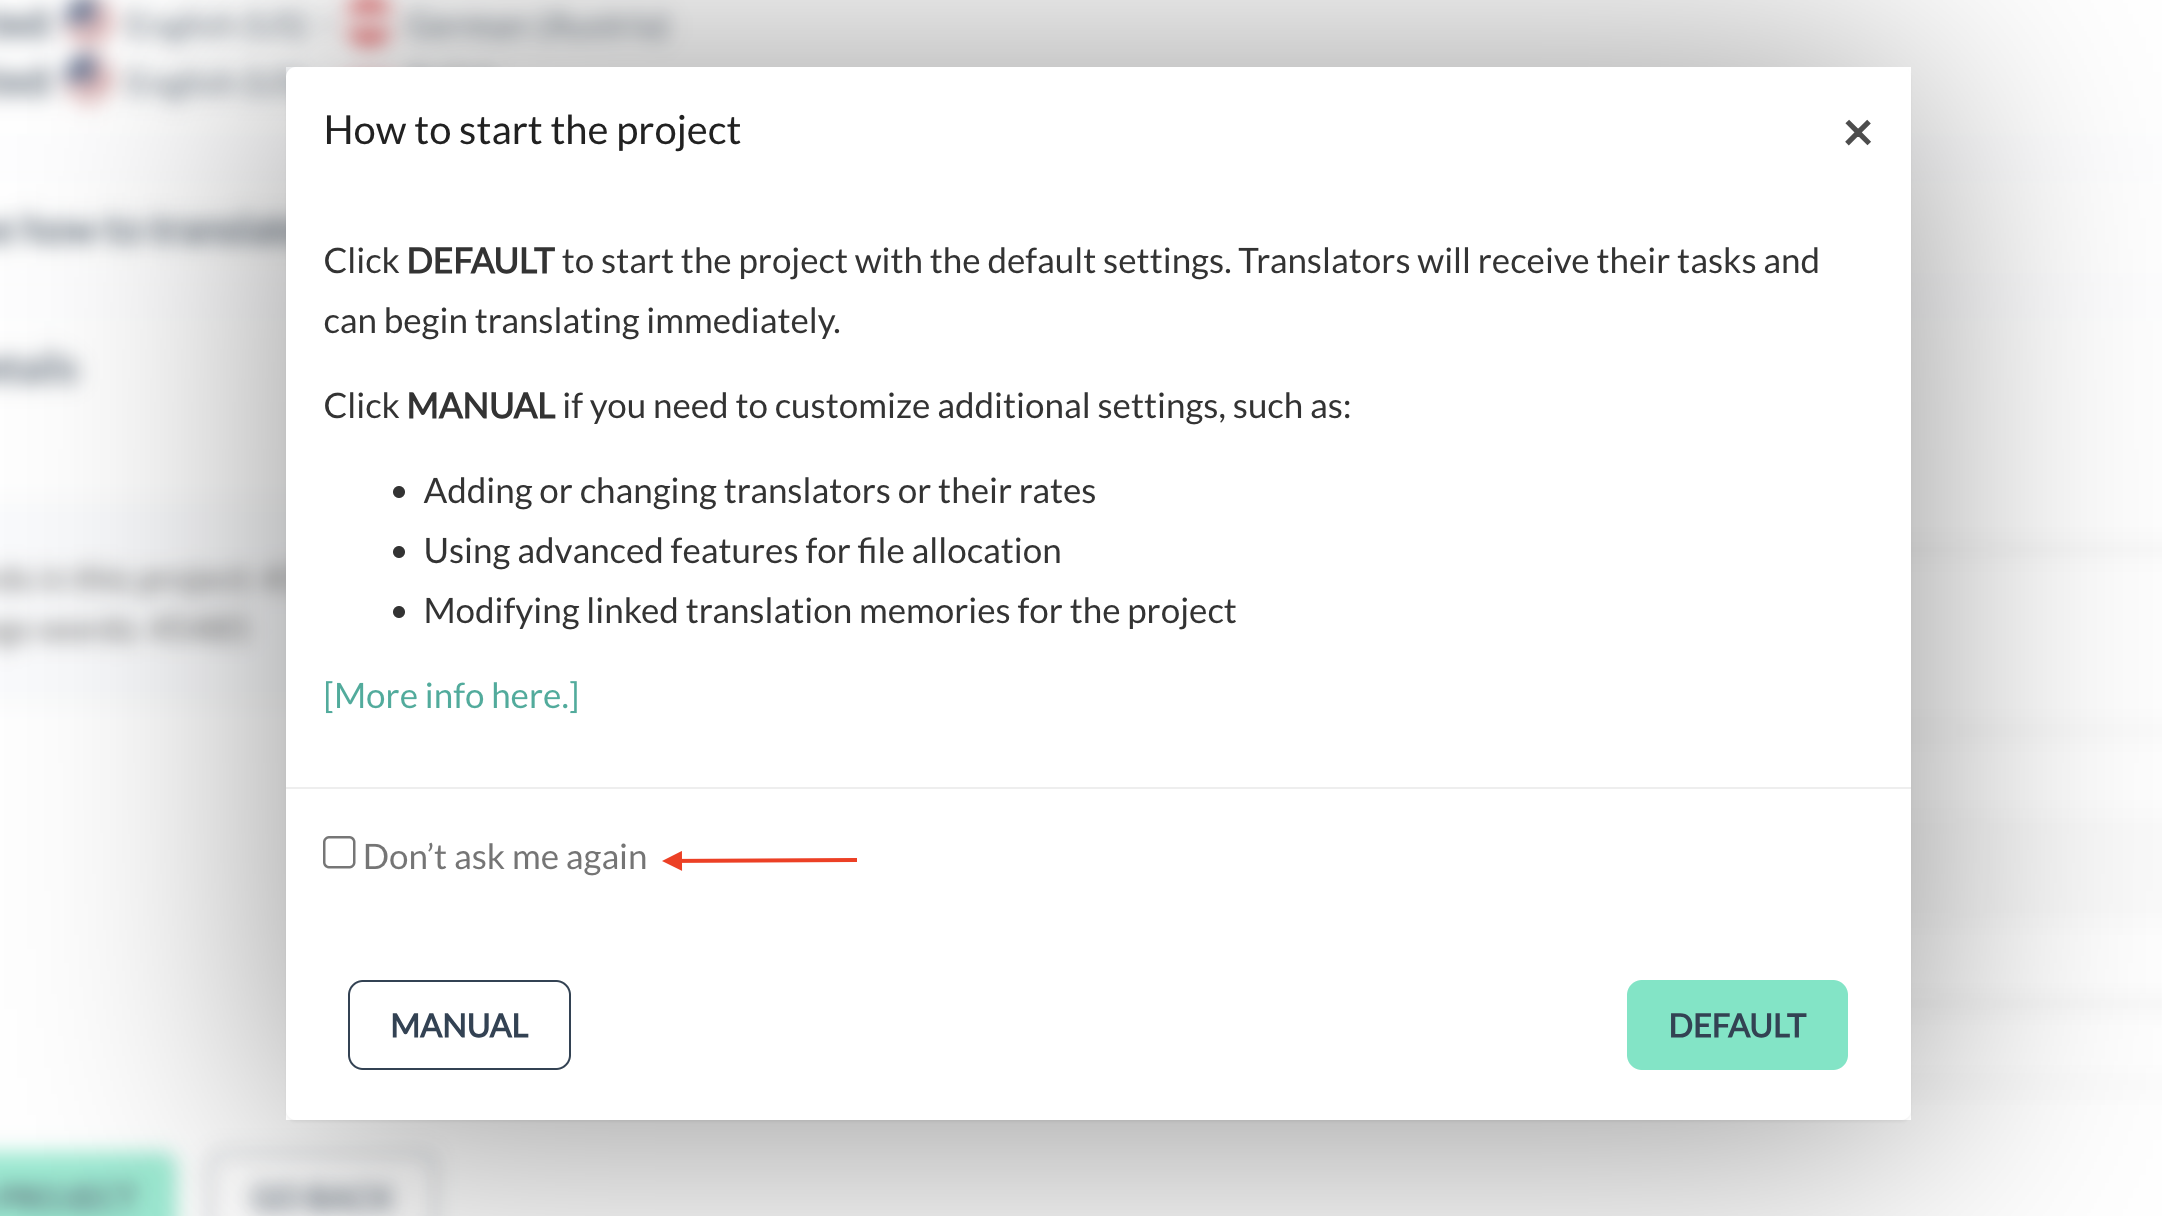
Showing the "Don't ask me again" checkbox
Final Actions
- Choose Your Path: Ultimately, click either the "MANUAL" or "DEFAULT" button to proceed with your chosen method of starting the project. Each button represents a distinct approach to managing your translation project, allowing you to tailor the process to fit your specific requirements.
After completing all the steps, you will see the following:
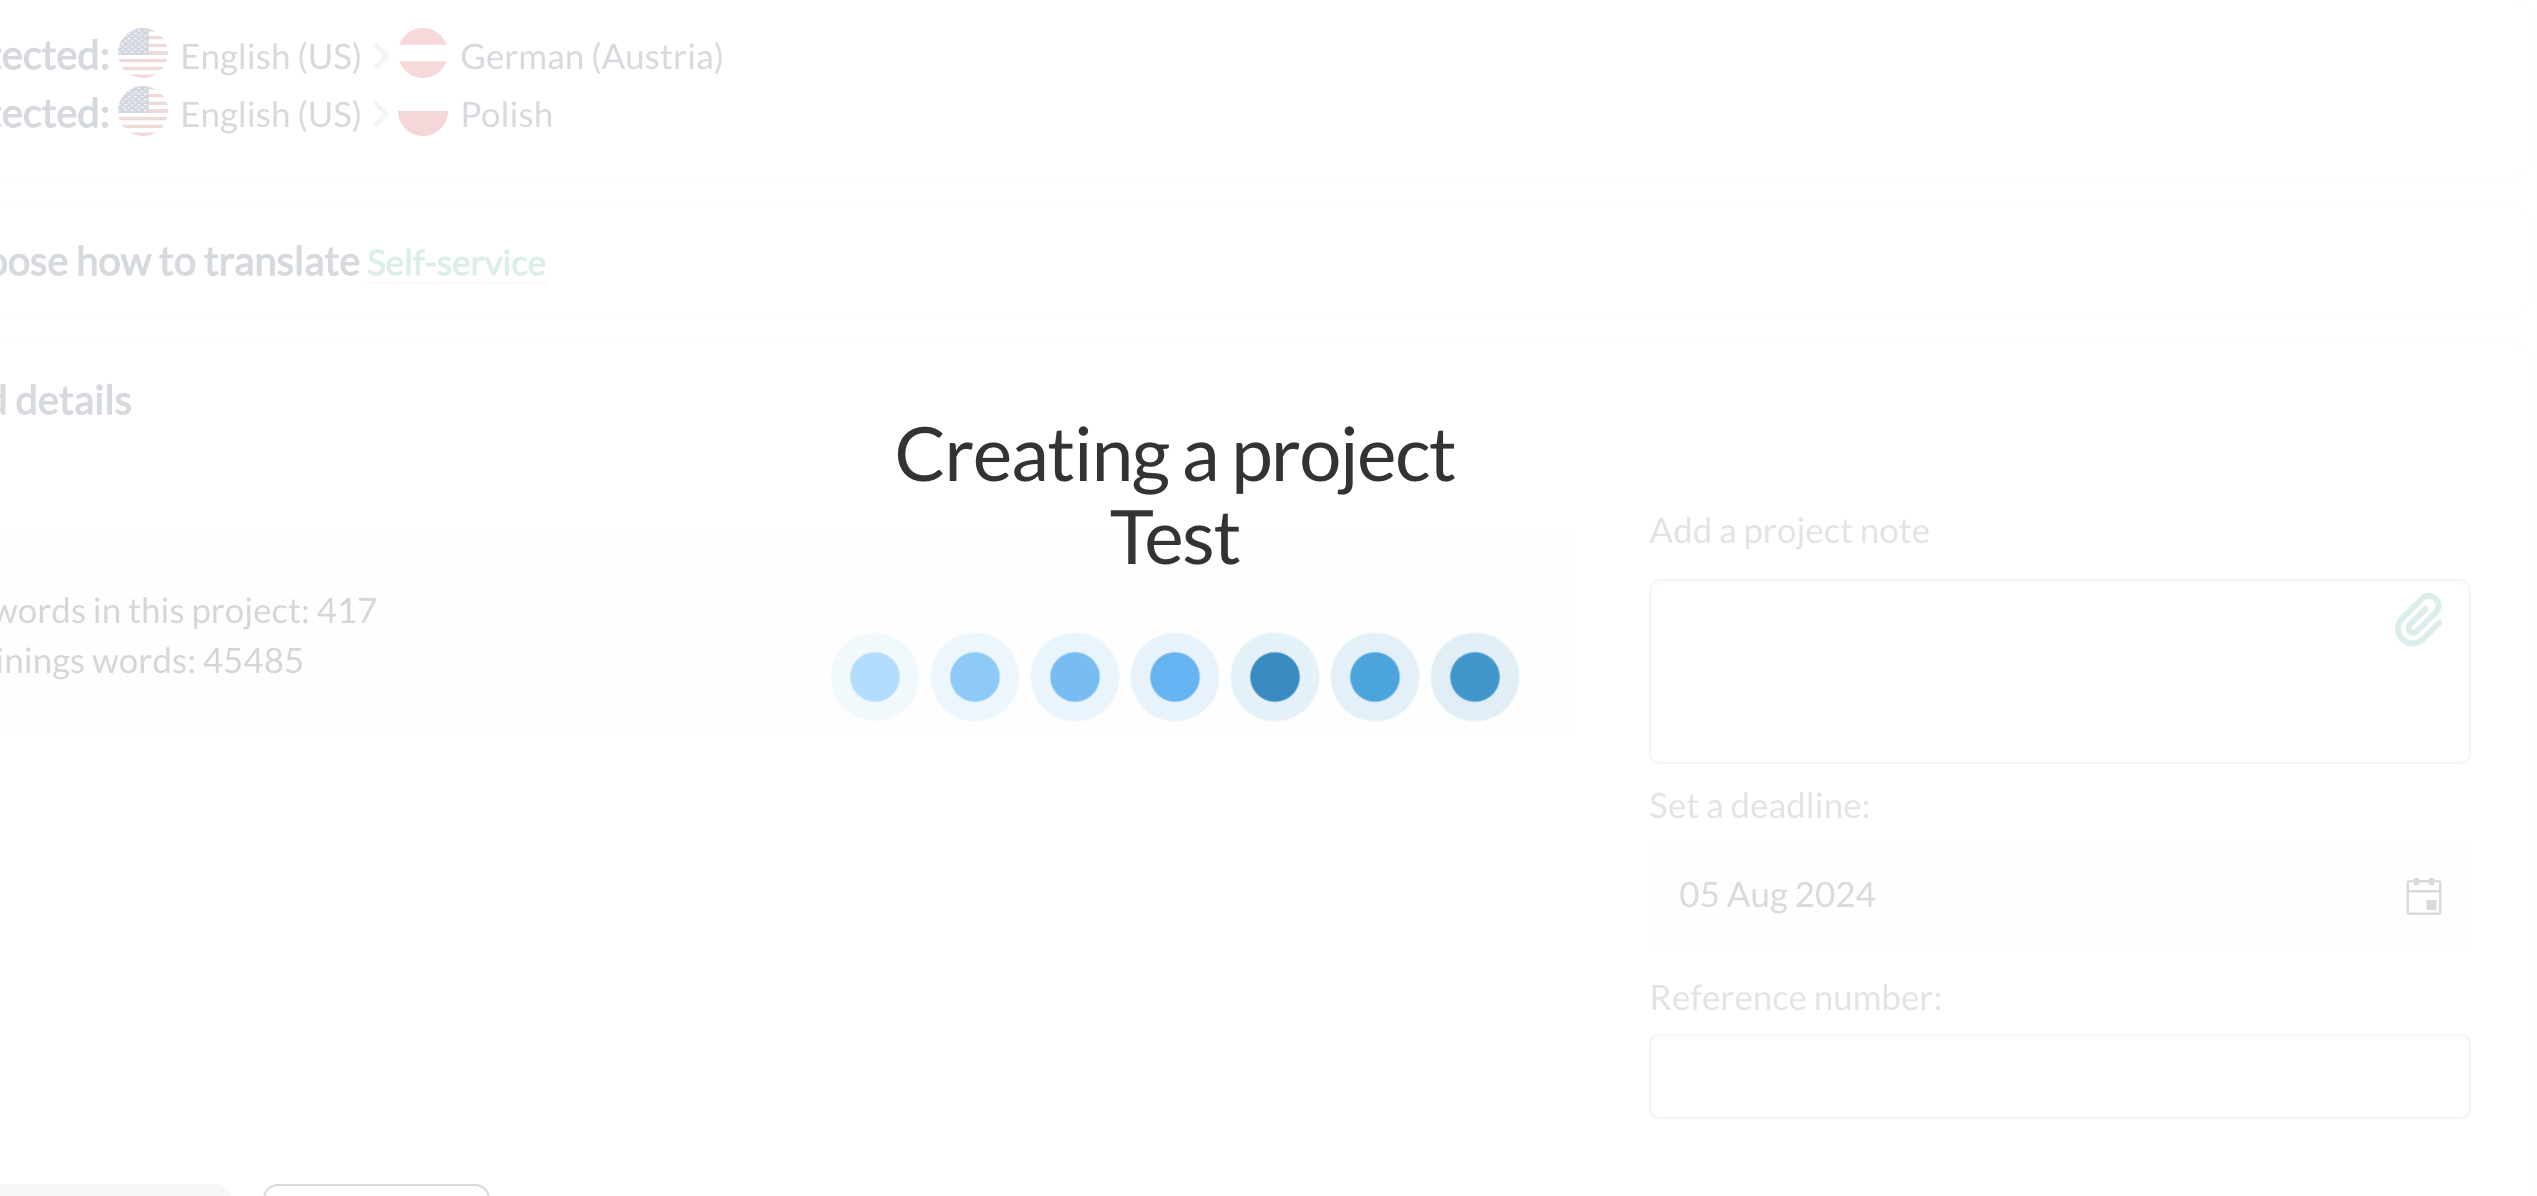
Showing Project Creation
Once your translation project is created, you can find it in your dashboard as follows:

Showing Project Details
Updated 10 months ago
