Bitbucket Integration
This guide shows you how to integrate TextUnited with Bitbucket, allowing you to translate content directly from your Bitbucket repositories. This integration is especially helpful for translating code comments, documentation, and other text-based content, making it easier for development teams to communicate and collaborate across cultures
Before you begin
Ensure you have access to both your Bitbucket instance and a TextUnited account. If you don't have a TextUnited account, refer to this guide to learn how to create one.
Step-by-Step Integration Process
Step 1: Initiate a New Translation Project
- Log into your TextUnited account.
- Navigate to the dashboard and select "Start a new project".
- Choose "Bitbucket integration" from the list of available integrations.

Choose the "Bitbucket Integration" icon
Step 2: Connect to Bitbucket
You will be redirected to the Bitbucket login page. Enter your Bitbucket credentials to establish a secure connection with TextUnited.
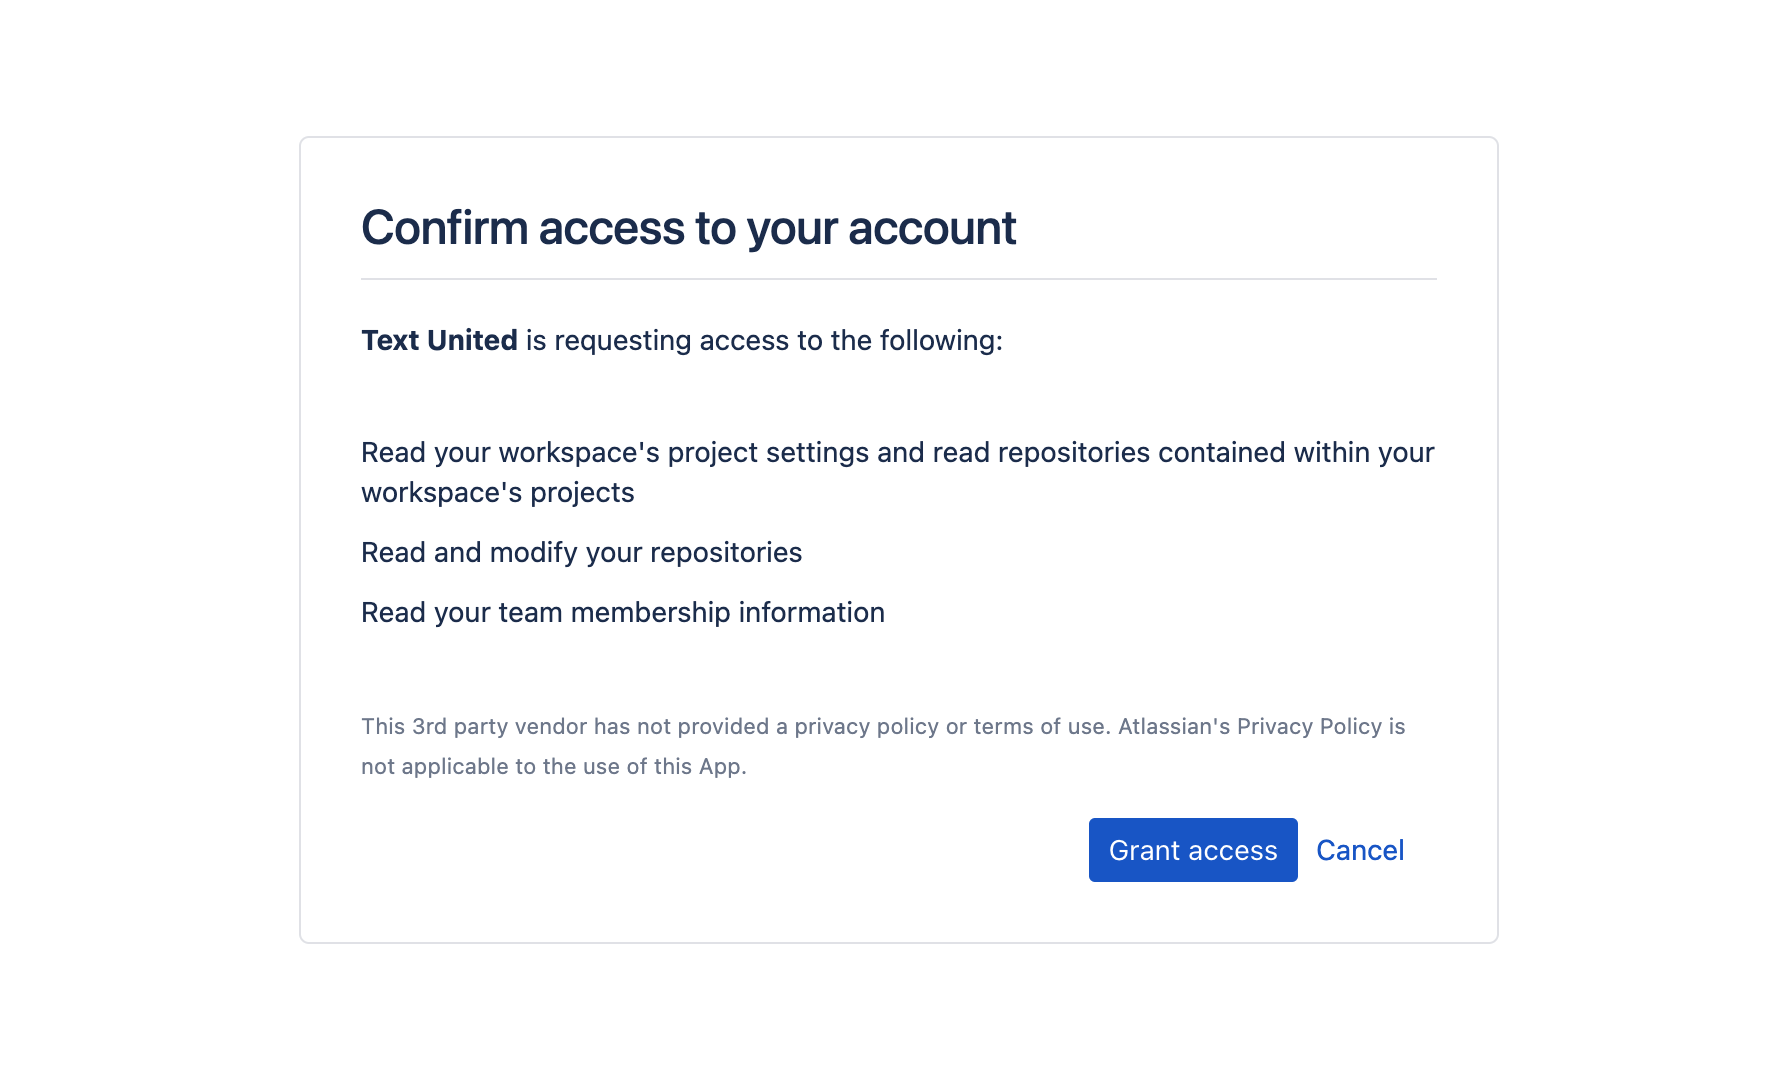
Grant TextUnited access to your Bitbucket
Important Note
When connecting, you have the flexibility to choose individual files, folders, or entire repositories for translation. However, if opting for an entire repository, ensure all files within are marked as "translatable" by TextUnited. Unsupported file types or non-translatable files will prevent the successful creation of a translation project.
Step 3: Enter Project Name
Once you grant TextUnited access to your Bitbucket account, you will see a modal with a list of steps. Start by entering your project name:
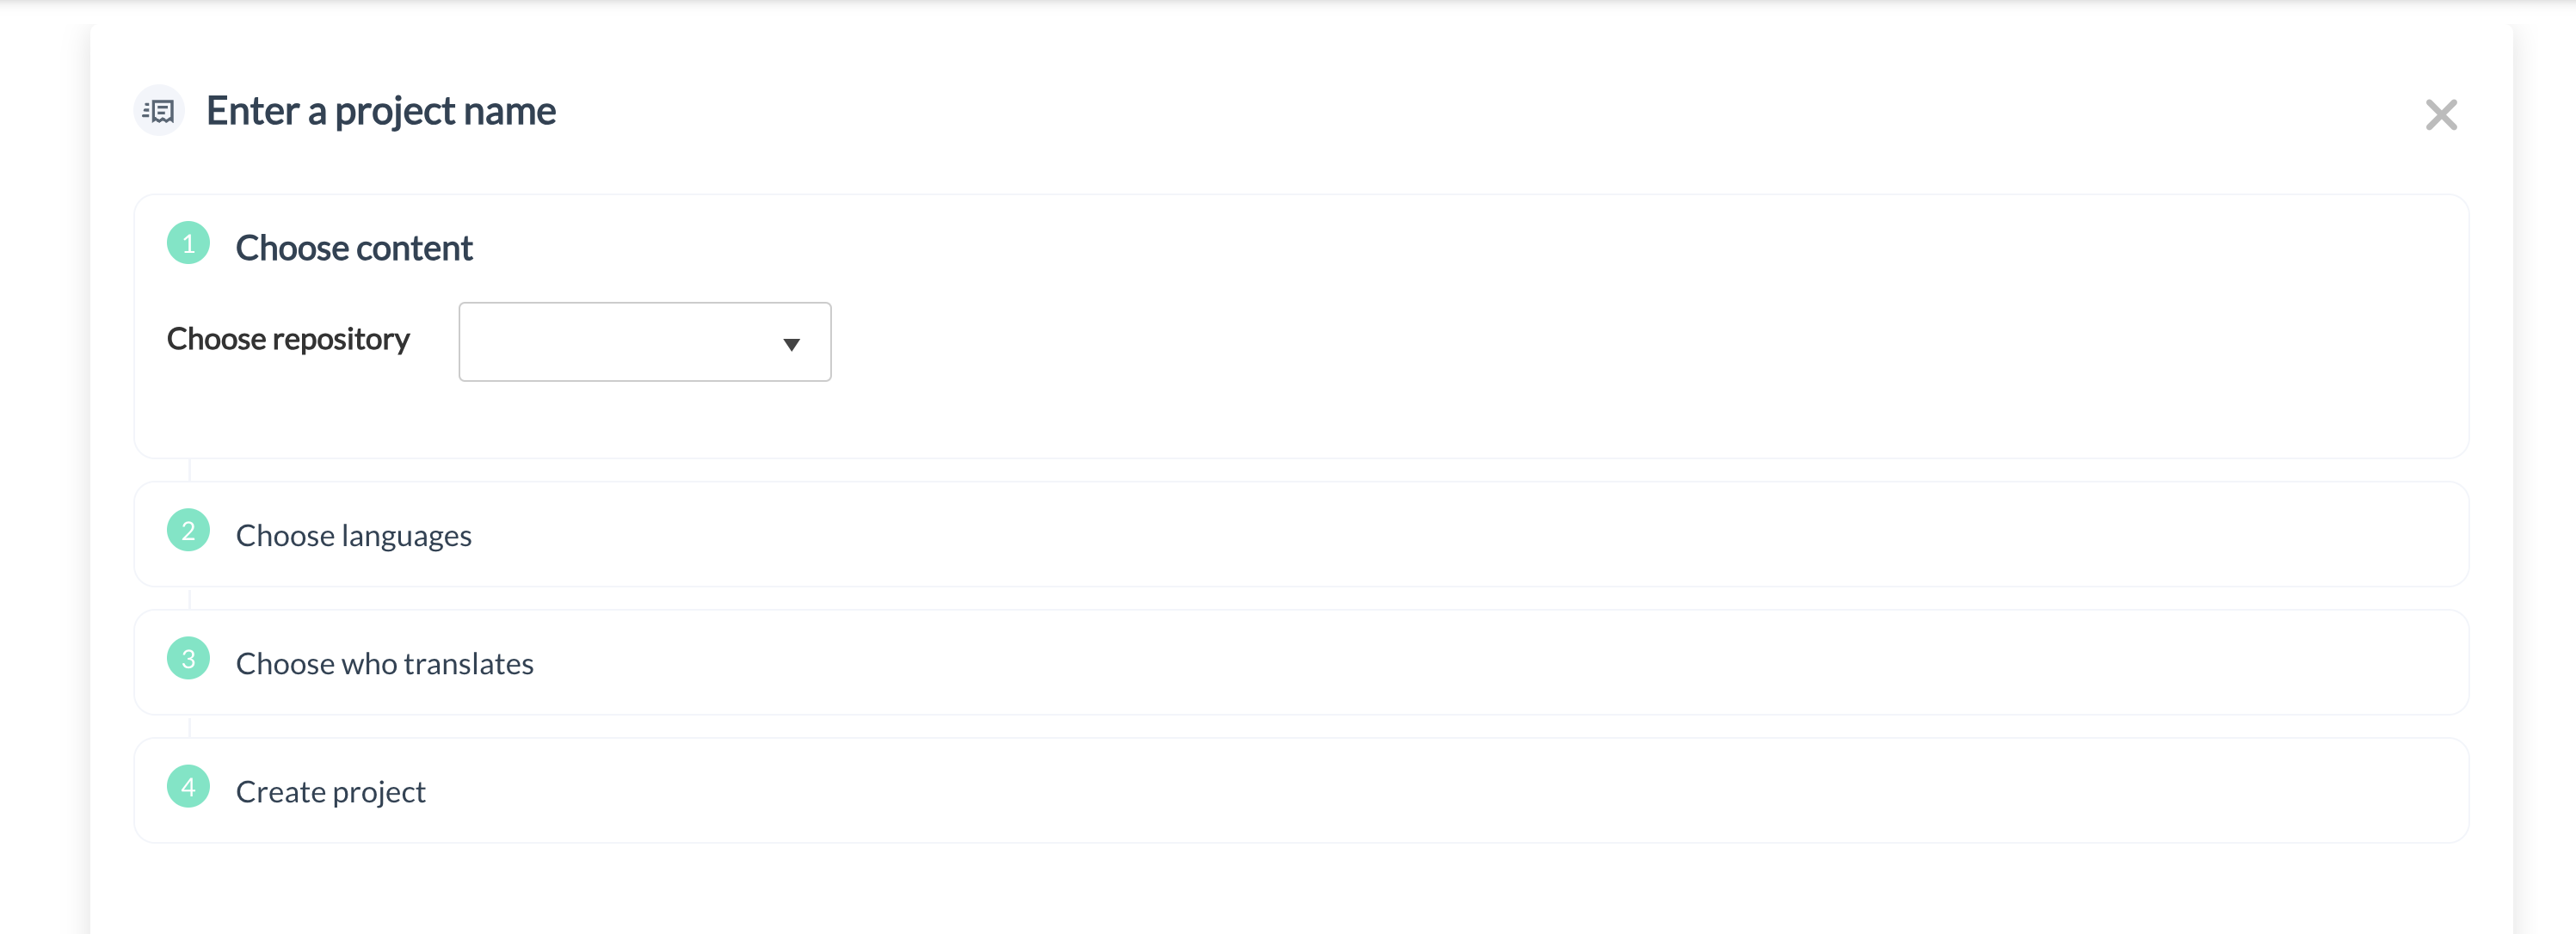
Enter Project Name
Step 4: Select Content for Translation
Browse through your repositories and select the specific files, folders, or entire repositories you wish to translate.
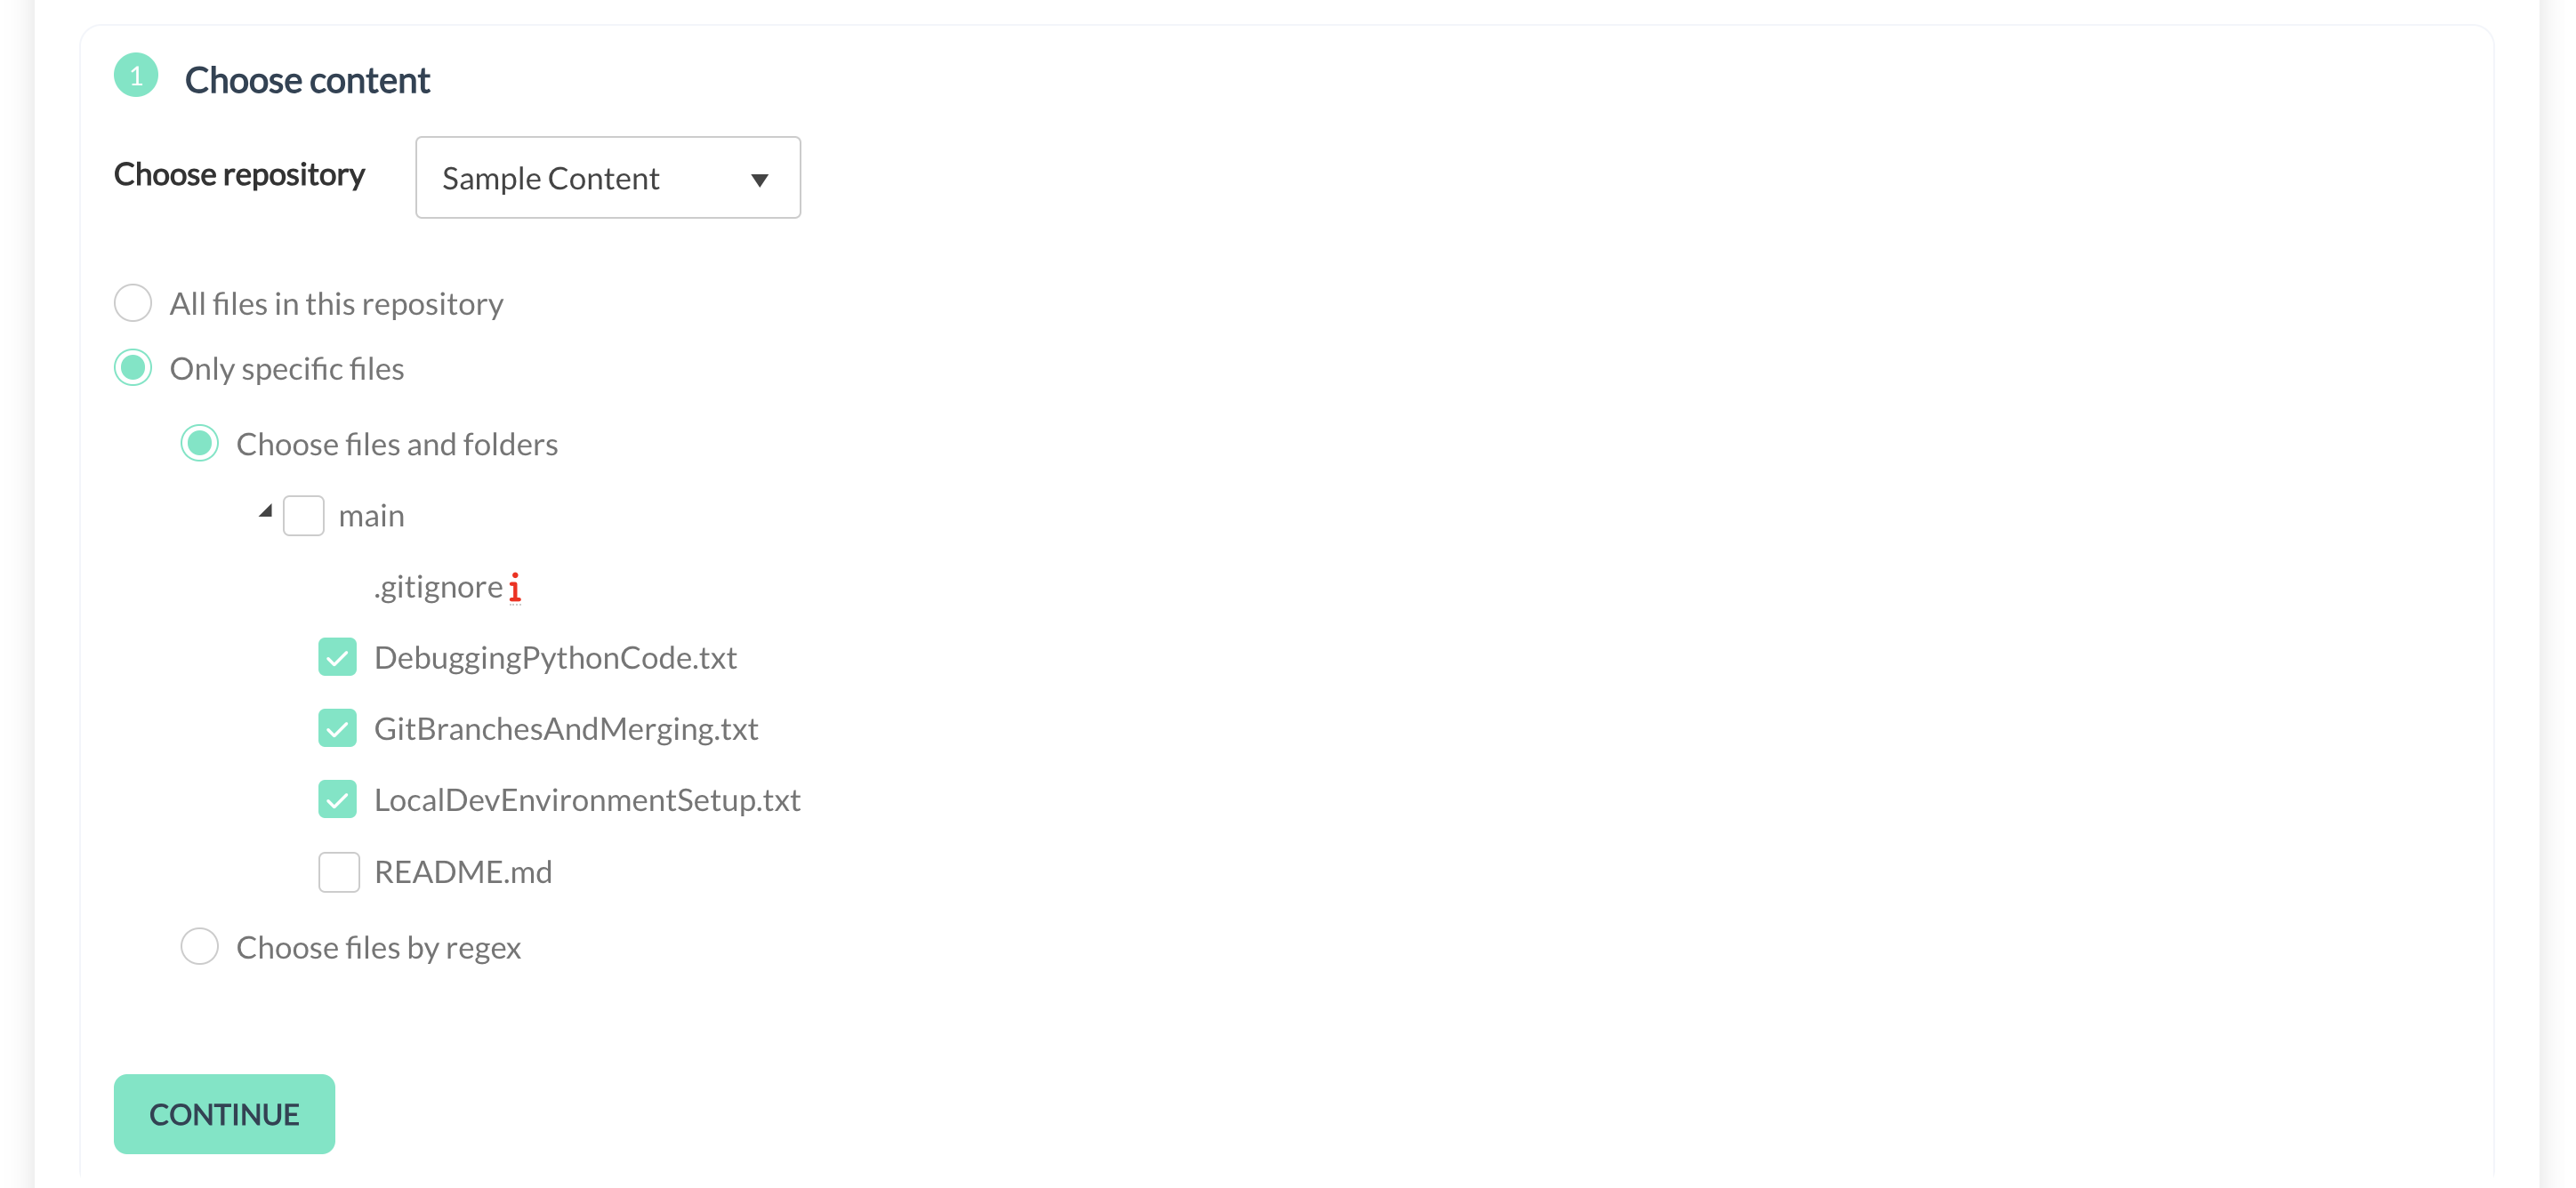
Choose the specific files or content you want to translate
Supported file formats
To find out all the file formats that are supported by TextUnited, refer to this article.
Step 5: Specify Language Settings
- Indicate the source language of your files.
- Choose the target language(s) for translation. This selection determines the direction of the translation process.

Select Languages
Step 6: Choose Translation Service
- Me & My Team: Take control of the translation process yourself or delegate it to someone within your team. This option offers greater flexibility and control over the translation workflow.
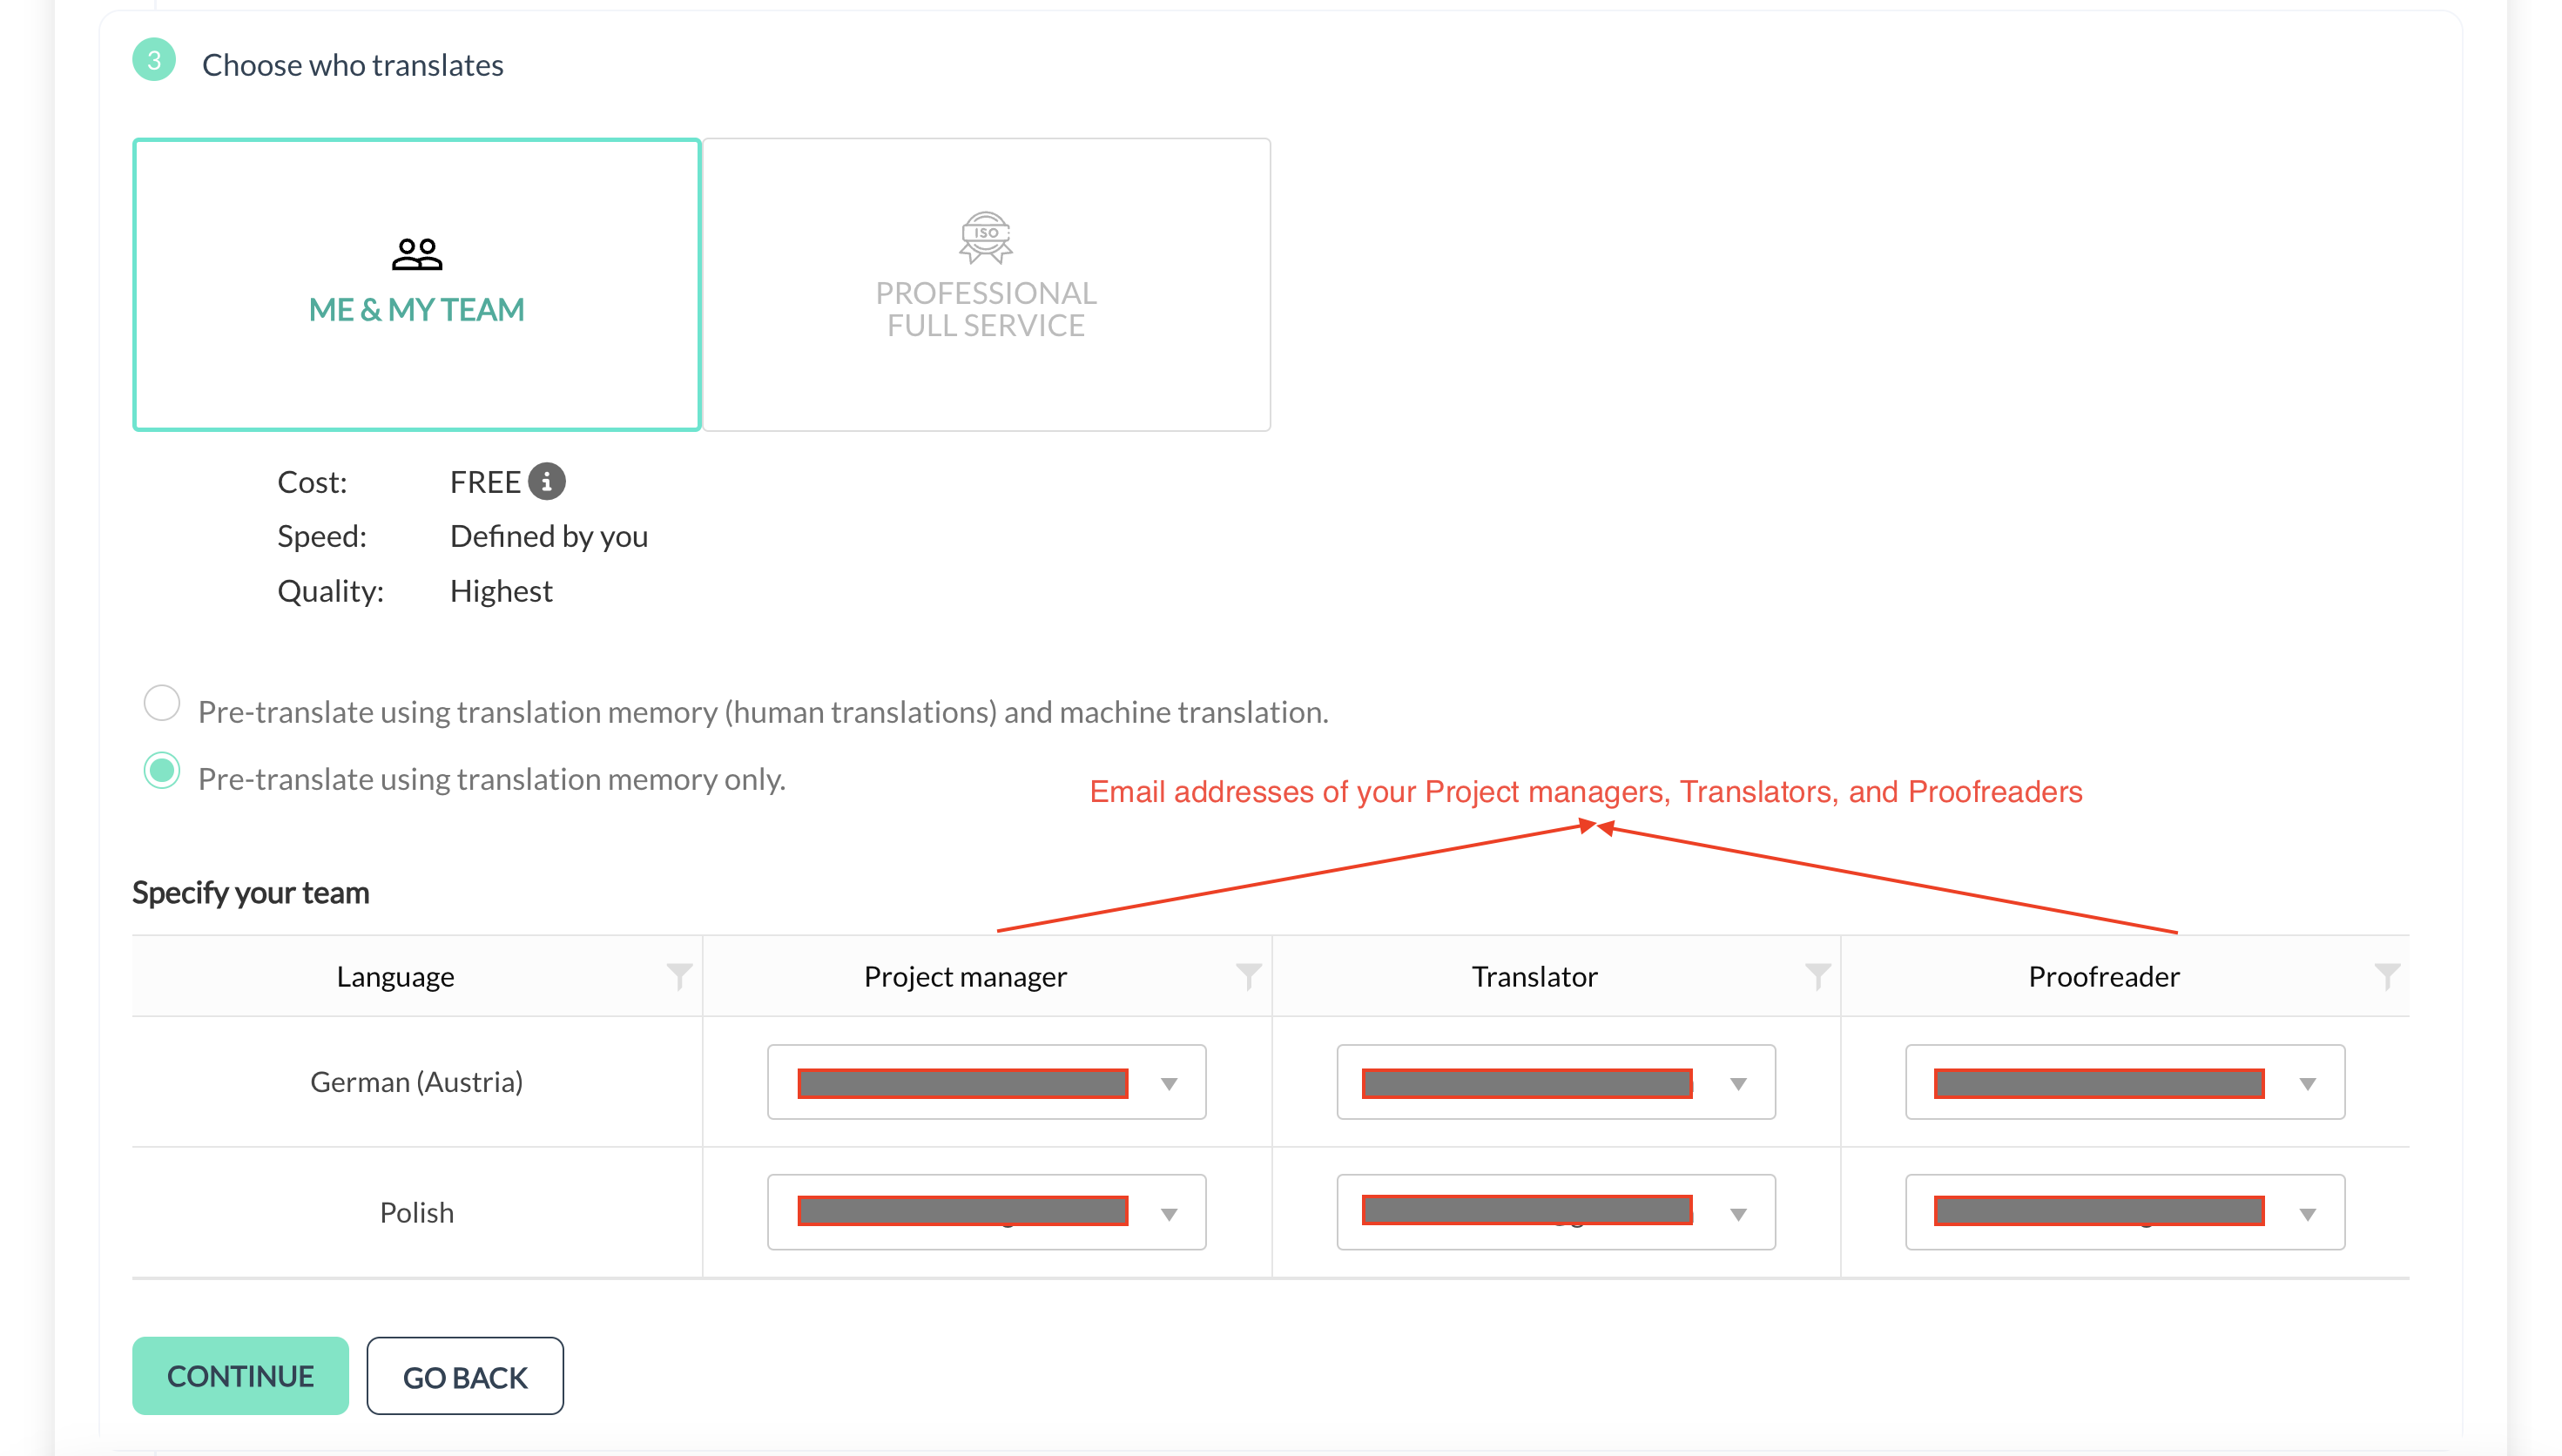
Choose who translates - ME & MY TEAM option
- Professional Full Service: Opt for TextUnited's project management services. Your project will be assigned to experienced project managers and professional translators.
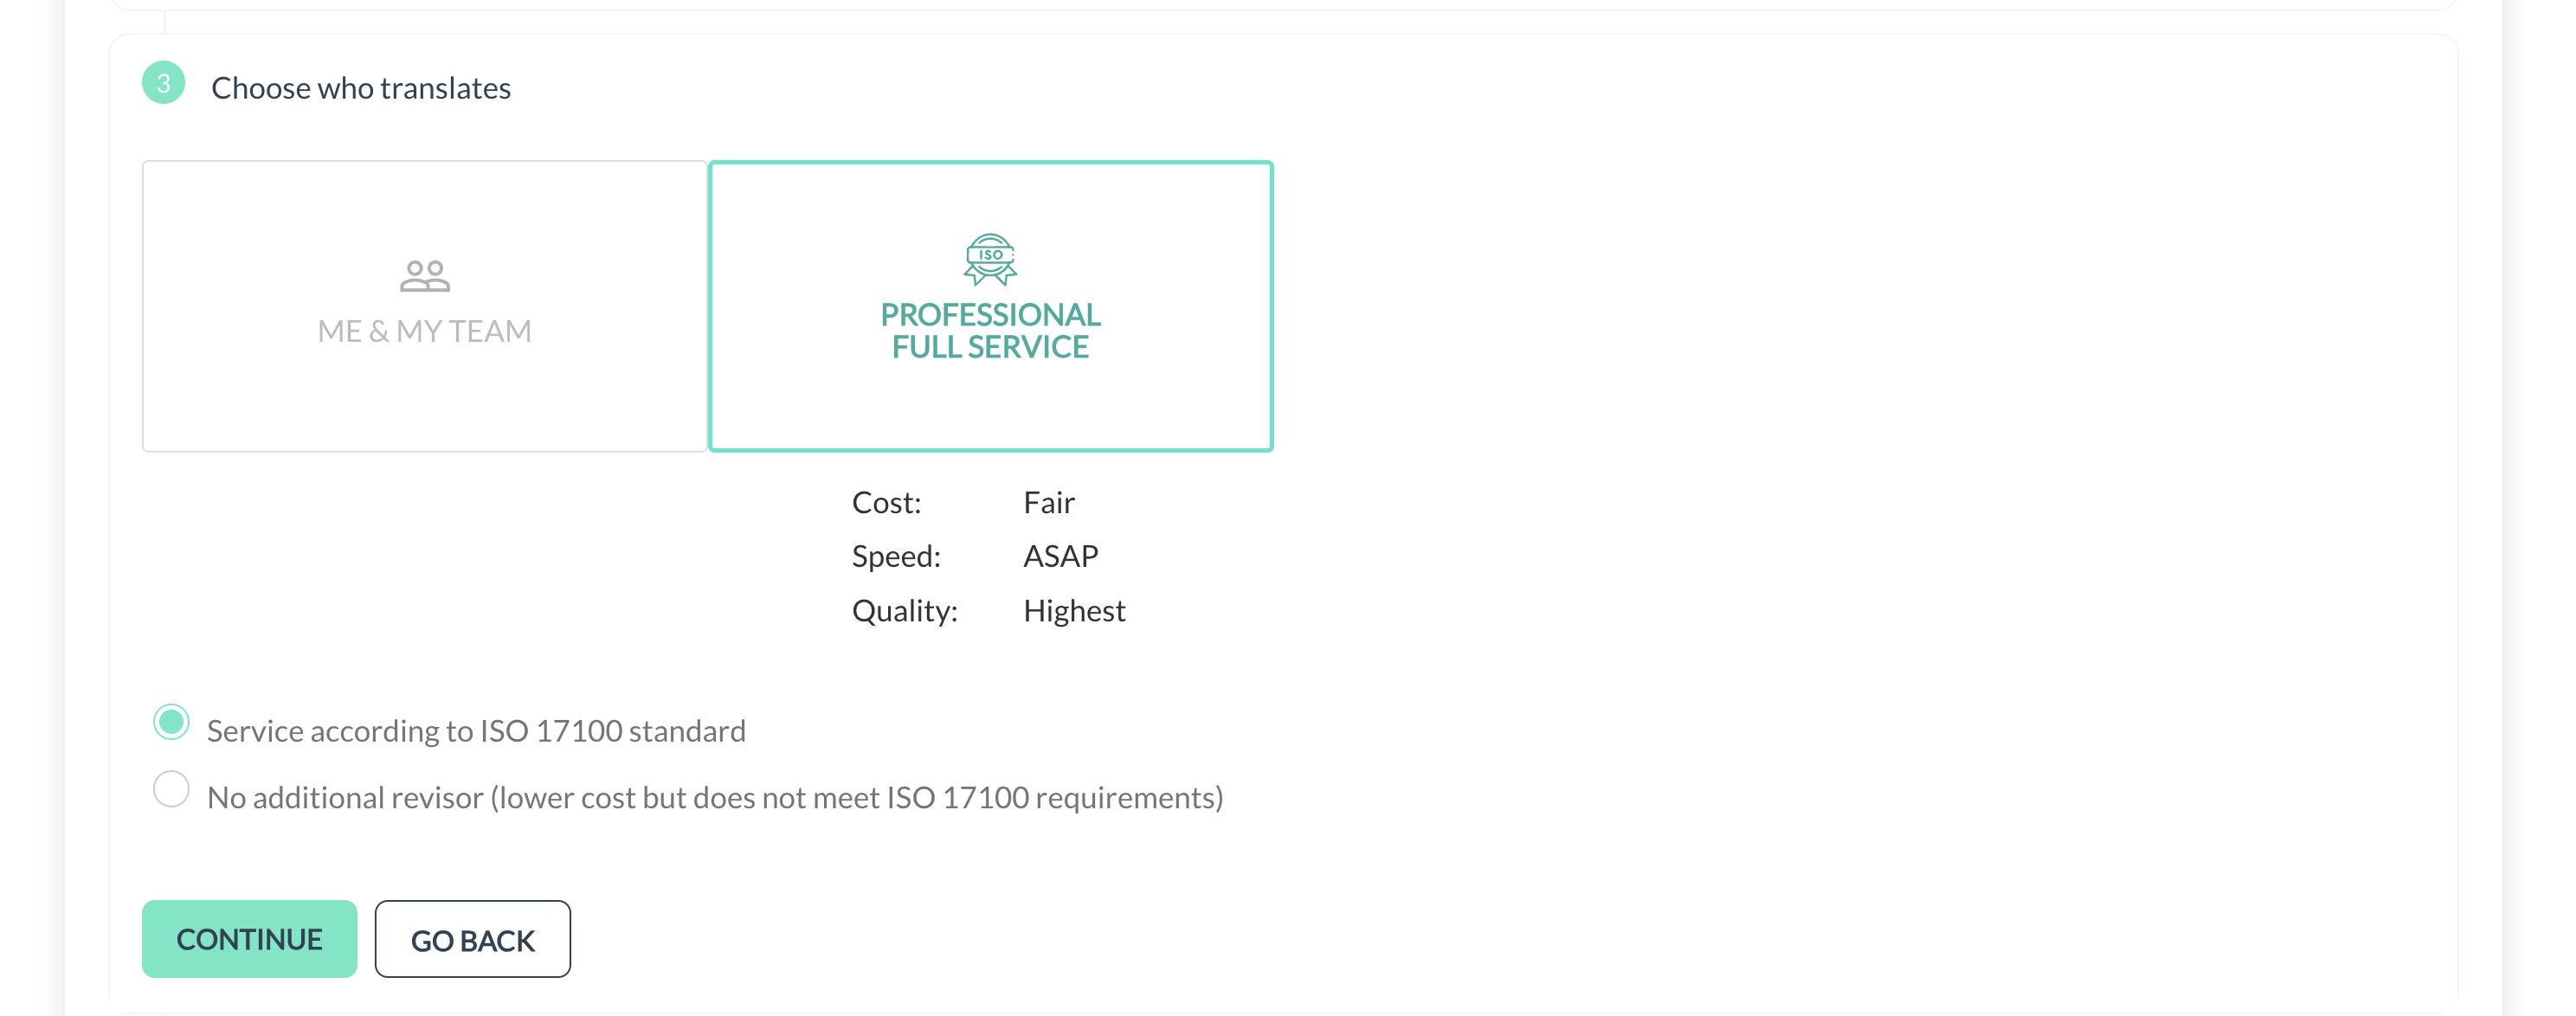
Professional Full Service
Step 7: Finalize Project Setup
- Carefully review your project settings to ensure all selections align with your requirements.
- Click on "CREATE A PROJECT" to finalize the setup and initiate the translation process.

Create a Project
- Choose either "DEFAULT" or "MANUAL" depending on your preference.
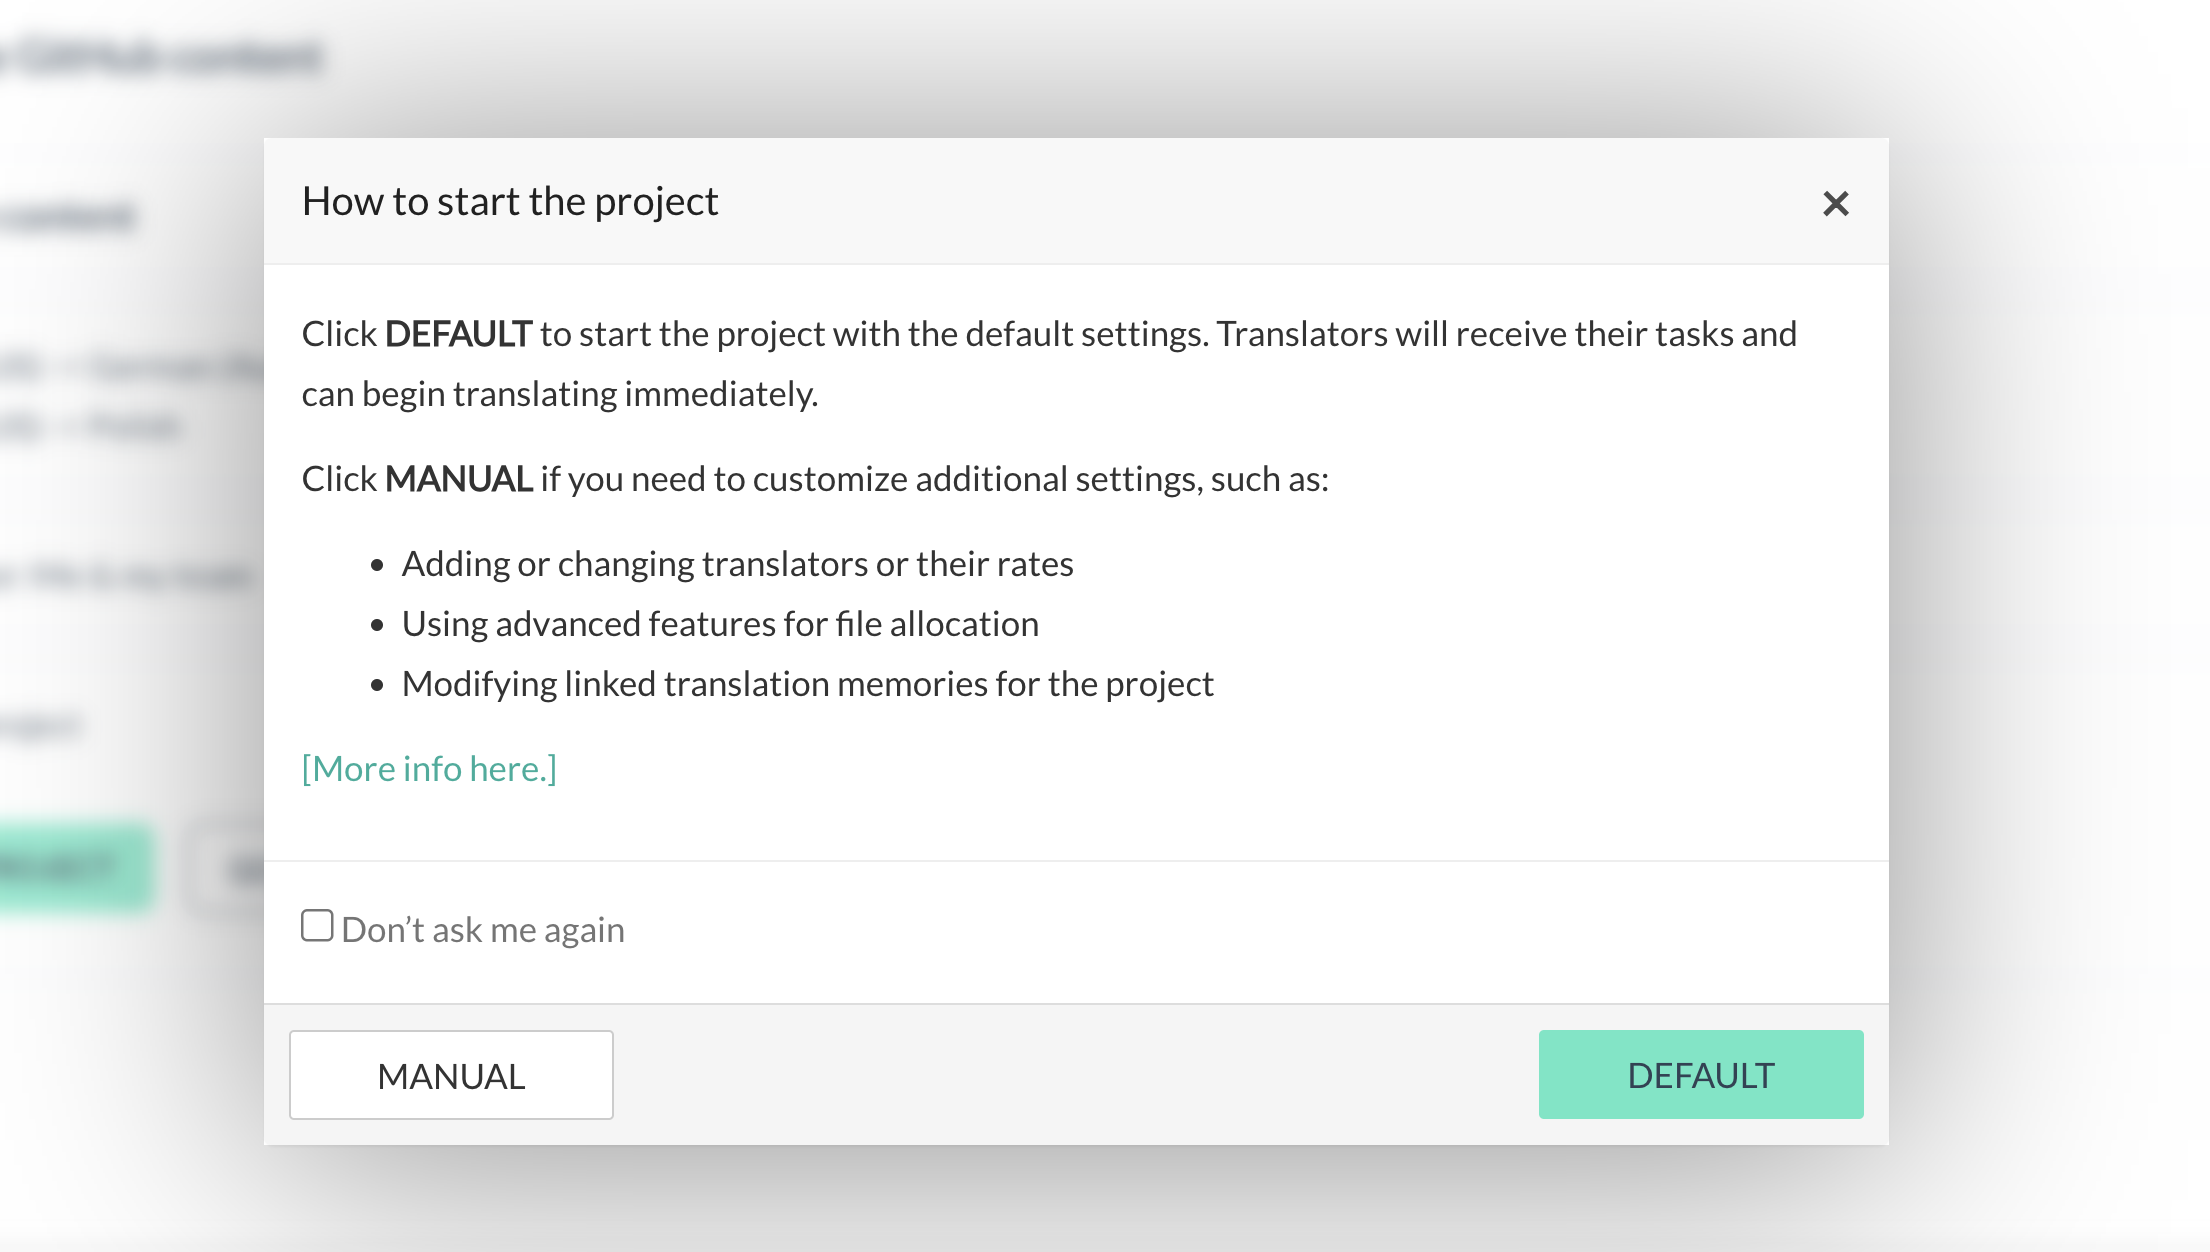
MANUAL and DEFAULT button
- Your project will start, and you'll see the following loading information. Please wait for it to finish loading.
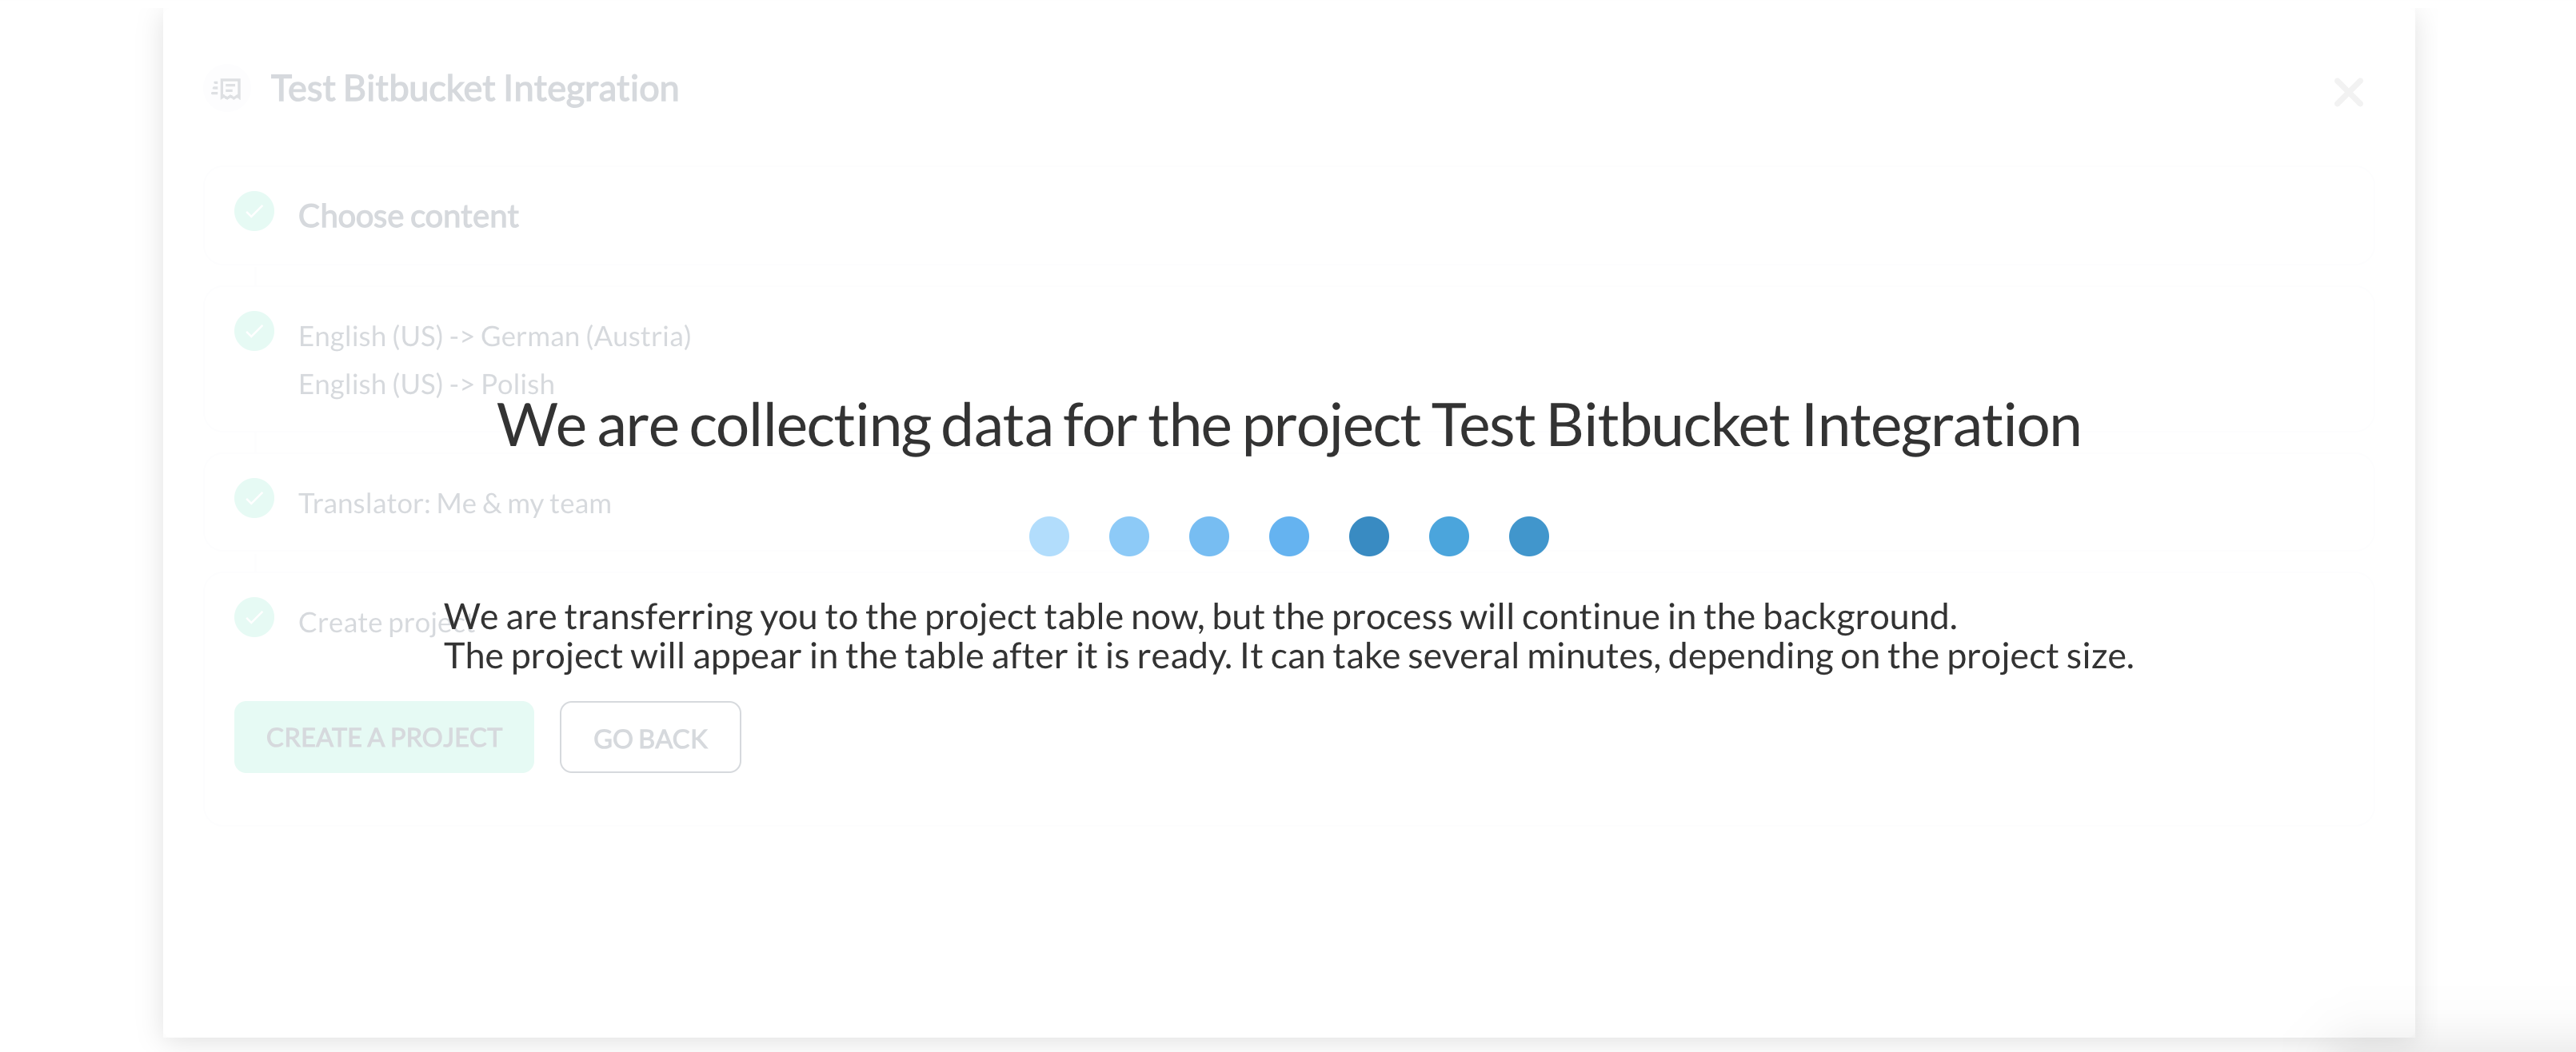
Project creation process
- After your project has been successfully created, you will find it under the Bitbucket tab.
Step 8: Review and Work on the Project
- Click the project name to view its details
- Click "WORK ON THE PROJECT" to start working on the project.
- Navigate to the article you wish to translate and click "Translate."
Step 9: Edit and Sync Translations
- In the translation editor, edit the translated content as needed.
- Once finished, go to the project details and click "SYNC BACK" to send the translated content back to Bitbucket.
Step 10: Managing Connected Sources
Once you've created a Bitbucket project, you automatically create a connected source.Each connected source in the Bitbucket category enables you to edit the project files, which is particularly useful when dealing with multiple languages or needing to update content post-translation.
- Go to the top-right, click the hamburger menu, and then select "Connected sources":
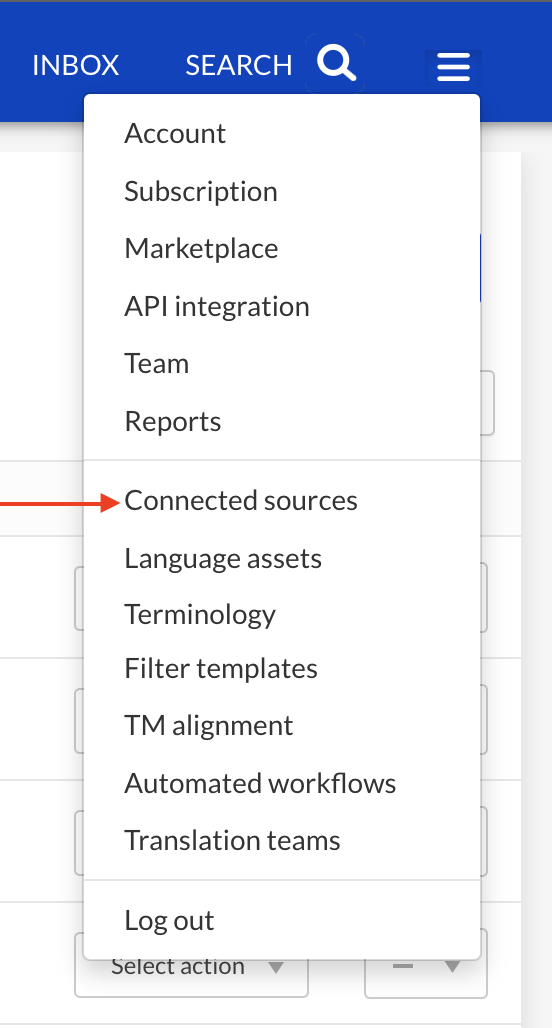
Click "Connected sources"
- Accessing Connected Sources: Navigate to the connected sources section within the Bitbucket category in TextUnited. This area is dedicated to managing the integration between TextUnited and Bitbucket, focusing on the content that has been or will be translated.

Connected sources (BitBucket)
- Click "Sync" to see the options available for synchronization:

Sync button
- Editing Source Files:
- Scenario: When you need to add new files or update existing ones in your Bitbucket repository.
- Action:
- Locate the project whose source files you wish to edit.
- Click on "Edit source files".
- Make the necessary changes to your files or add new ones.
- Save your changes. The project will automatically update to reflect these changes.
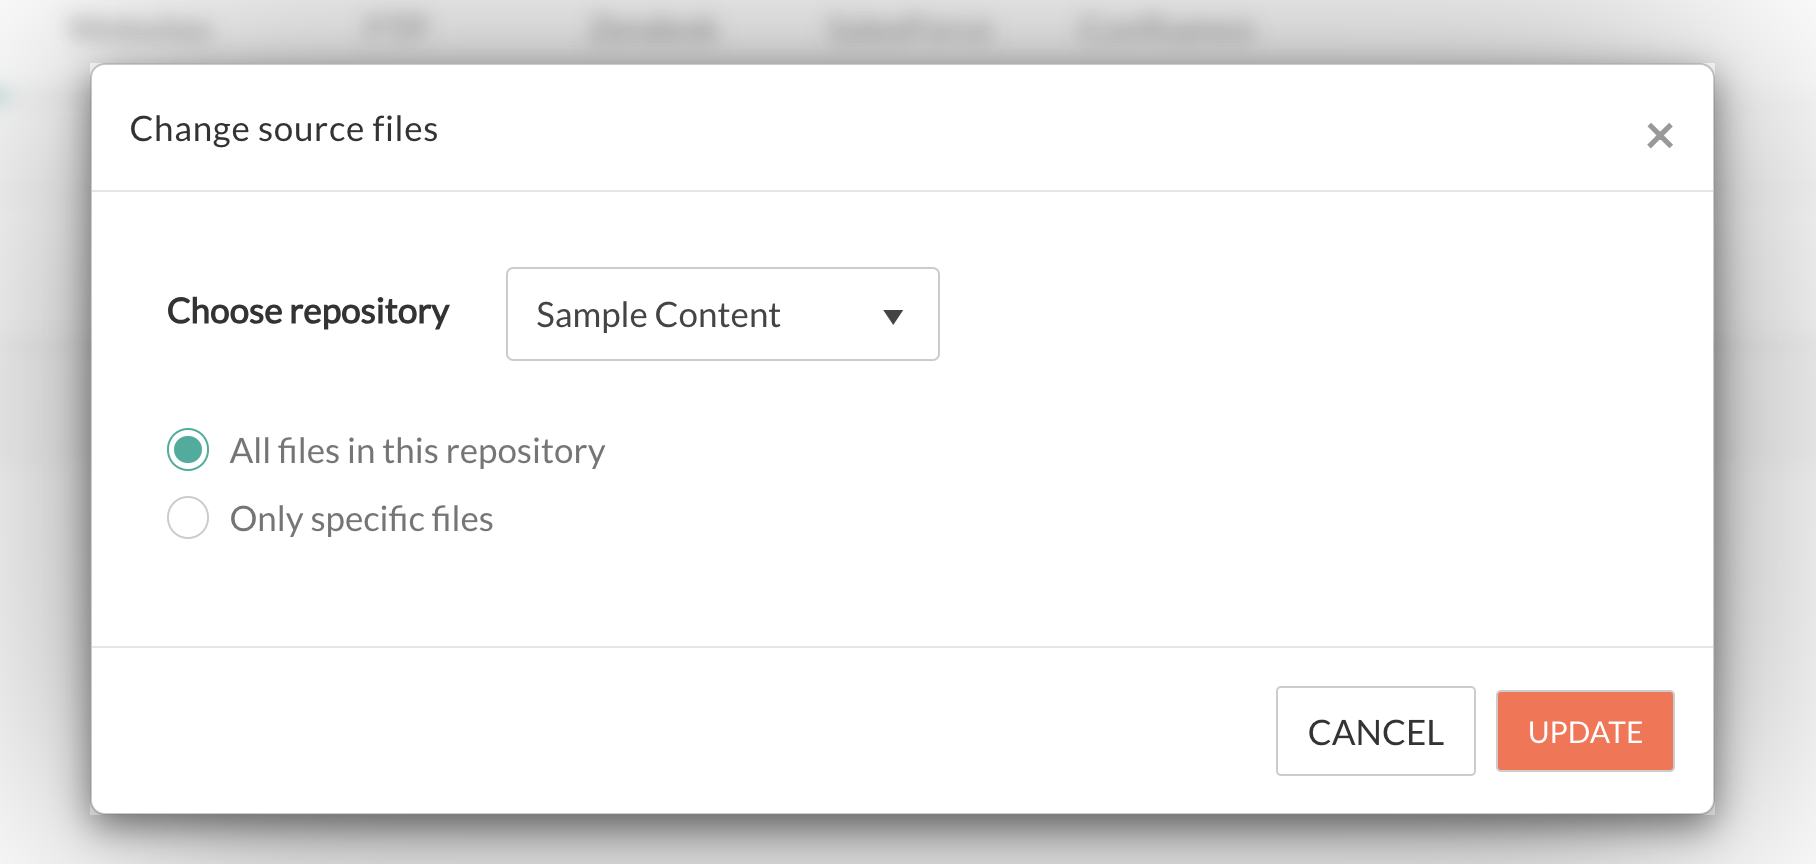
Change Source Files
-
Synchronization Options:
- Get Current Source Files: Ideal for scenarios where files have been updated or new content has been added to Bitbucket since the last translation. This option ensures that the latest version of the files is used for translation.

Showing the "Get current source files" option
- Send Current Translated Files Back: Useful for synchronizing translated files across all projects within a single Bitbucket connection, ensuring consistency and accuracy.
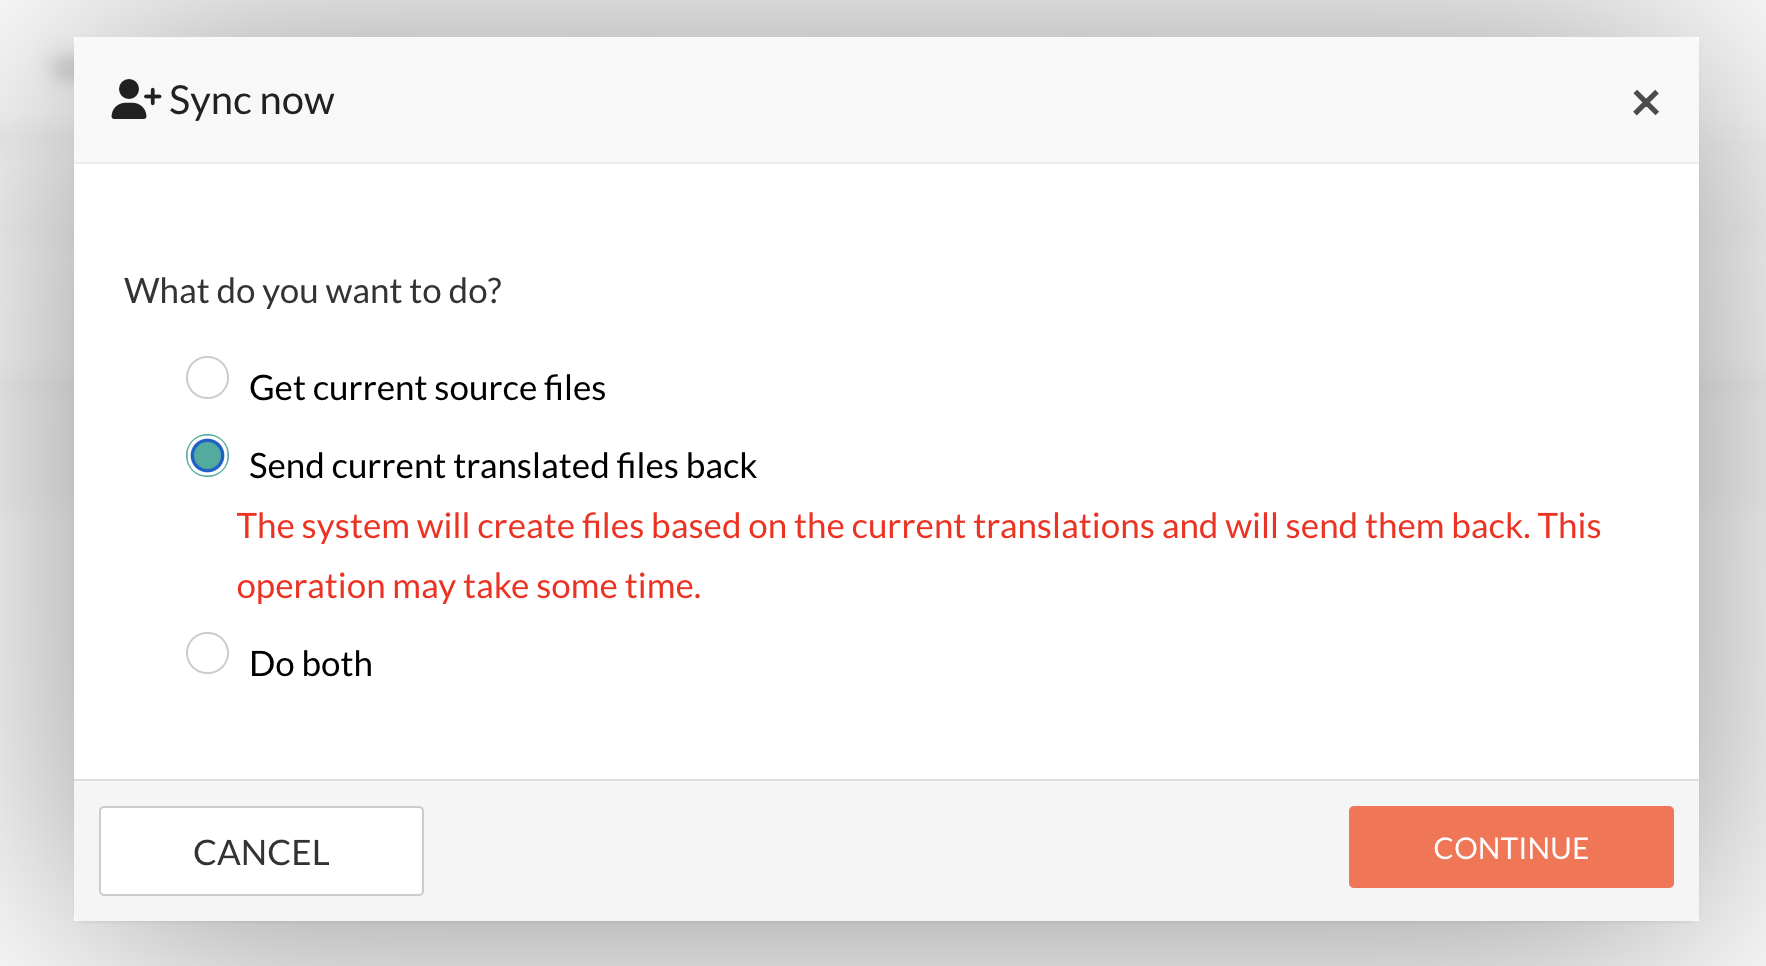
Send current translated files back
- Do Both: Combines the functionalities of the above options, synchronizing both the source files and sending back the current translated files.

Do Both
-
Continuous Translation:
- Set up continuous translation for similar content, automating the translation process for repetitive tasks. This feature monitors your Bitbucket repository for new or updated content matching your criteria and automatically triggers translations, saving time and effort.

Set continuous translation
-
Deleting a Connection:
- Remove the integration link between TextUnited and Bitbucket if no longer needed. This action is irreversible, so consider carefully before removing the connection.

Delete button
Updated 9 months ago
